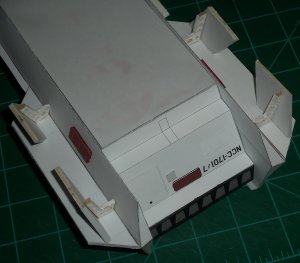
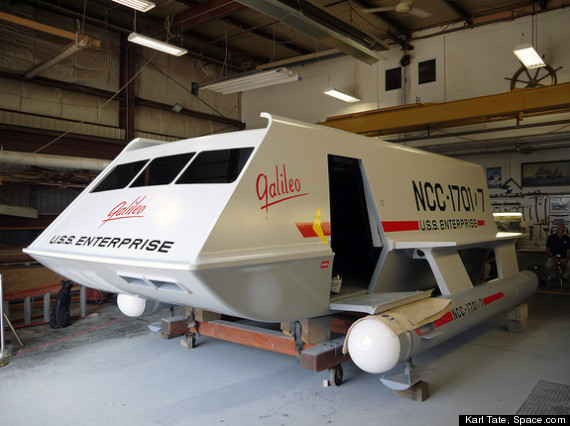
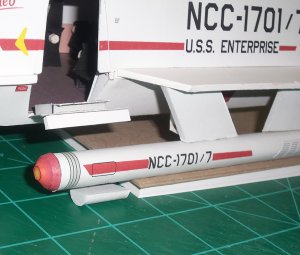
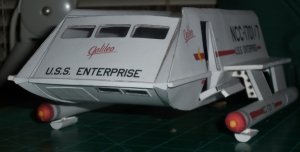
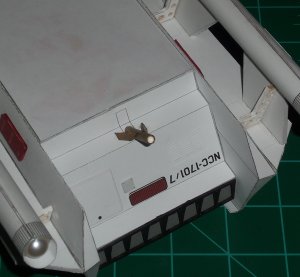
SIDE RAIL
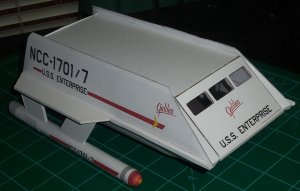
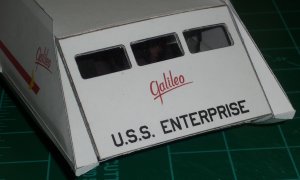
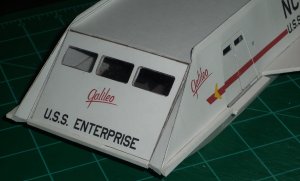
The side of Galileo has a lip molded all the way around the centerline that blends into the wings. My goal was to come as close as I can without doing any major mods to the existing design. I can’t say what I came up with was the best solution, but it does somewhat approximate what’s on the real Galileo.
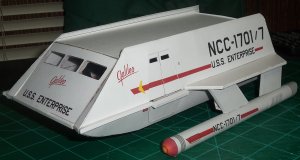
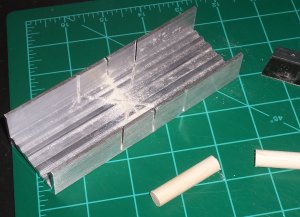
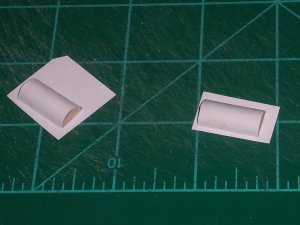
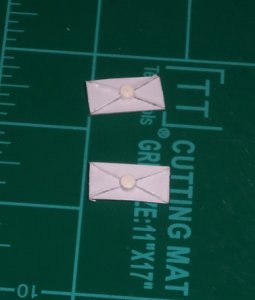
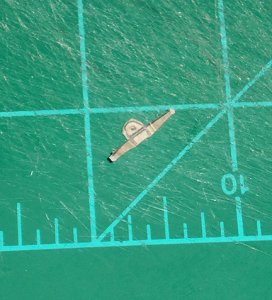
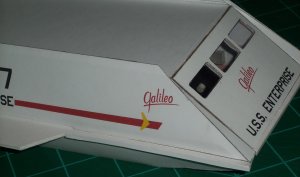
First, I glued scrap white card stock to cover the holes i had in the forward edge of the hull sides. I used my precision scissors to trim away the excess.
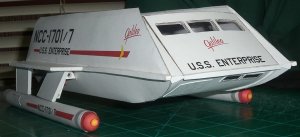
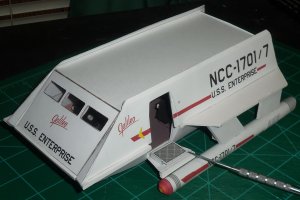
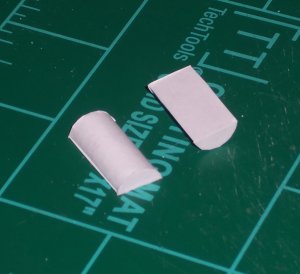
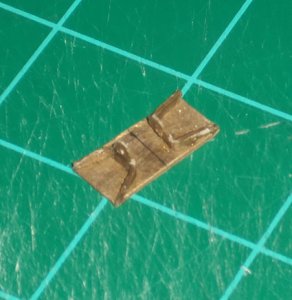
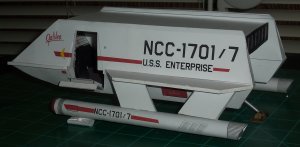
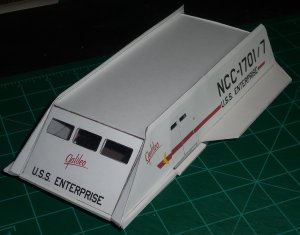
Next, I used pieces of my 2mm white backing board to cut strips 1/8” wide. I glued scrap white card stock to the sides for a uniform color to match the hull. For the starboard side I cut the ends to match the angle of the wing and the forward edge. For the port side I cut another strip to match the angle of the forward edge and to be flush with the door. Another piece was cut flush to match the lower part of the door that folds out. This is a problem because there should be a very small section that goes from the door frame to the wing that blends in, but I missed it during my redesign. The space I had left was too small to put one in. If I did another Galileo I’d just move the forward edge of the wing back a little where it should be and work that part in. As it is, the lower door doesn’t close tight at the centerline. I may have to rig something up, but I plan on displaying this most of the time with the doors open.
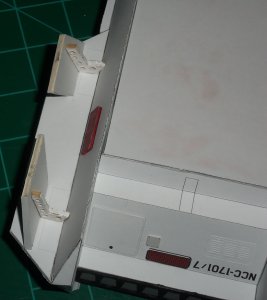
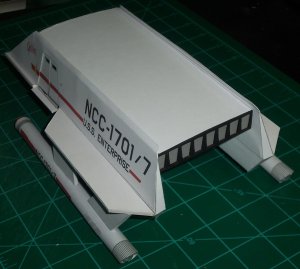
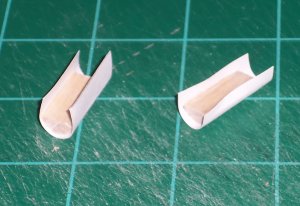
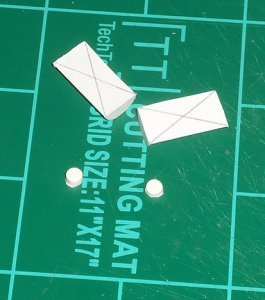
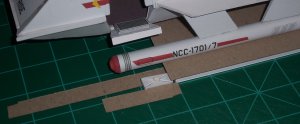
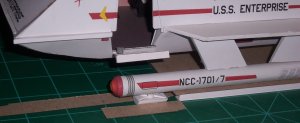
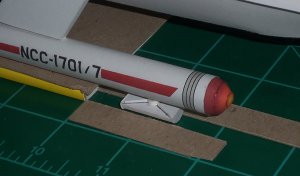
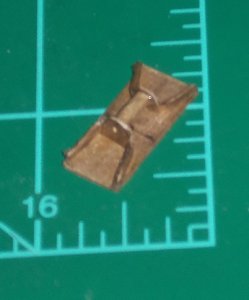
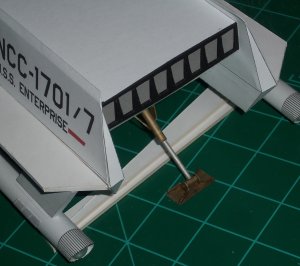
For the center edge of the hull, I cut another strip just under 1/8” wide to length. This is another shortcoming because the design creates triangular ends on the forward edges of the hull that don’t match. I’d have to use some serious customizing to come close to the actual smooth, flowing lip that Galileo has. So, I went for getting it as close as I can.")
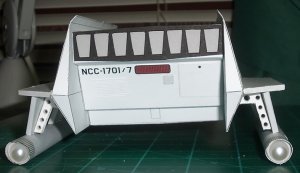
The side of Galileo has a lip molded all the way around the centerline that blends into the wings. My goal was to come as close as I can without doing any major mods to the existing design. I can’t say what I came up with was the best solution, but it does somewhat approximate what’s on the real Galileo.
First, I glued scrap white card stock to cover the holes i had in the forward edge of the hull sides. I used my precision scissors to trim away the excess.
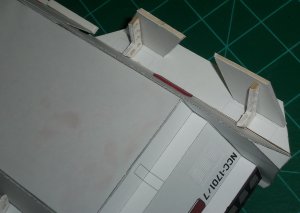
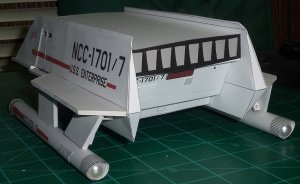
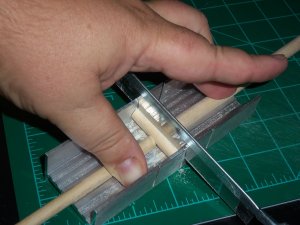
Next, I used pieces of my 2mm white backing board to cut strips 1/8” wide. I glued scrap white card stock to the sides for a uniform color to match the hull. For the starboard side I cut the ends to match the angle of the wing and the forward edge. For the port side I cut another strip to match the angle of the forward edge and to be flush with the door. Another piece was cut flush to match the lower part of the door that folds out. This is a problem because there should be a very small section that goes from the door frame to the wing that blends in, but I missed it during my redesign. The space I had left was too small to put one in.
If I did another Galileo I’d just move the forward edge of the wing back a little where it should be and work that part in. As it is, the lower door doesn’t close tight at the centerline. I may have to rig something up, but I plan on displaying this most of the time with the doors open.For the center edge of the hull, I cut another strip just under 1/8” wide to length. This is another shortcoming because the design creates triangular ends on the forward edges of the hull that don’t match. I’d have to use some serious customizing to come close to the actual smooth, flowing lip that Galileo has. So, I went for getting it as close as I can.

")