

Yes I know - but not particularly proud of ripping off a construction method I stumbled on. I'll let you be my guide as to whether to post a pic!
Discovering UHU02's 2001 Discovery One
- Thread starter Jacopo1969
- Start date
You are using an out of date browser. It may not display this or other websites correctly.
You should upgrade or use an alternative browser.
You should upgrade or use an alternative browser.
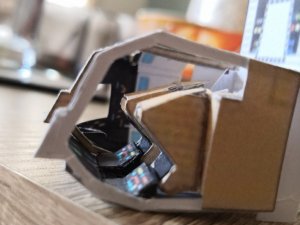
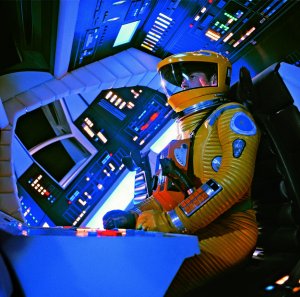
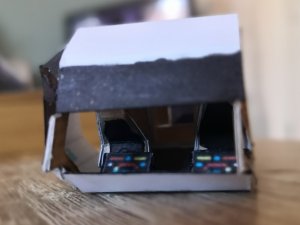
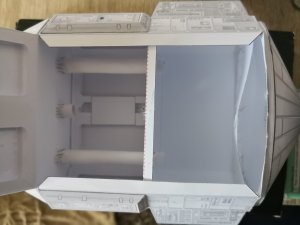
OK. Copyright breaches ahoy. Here's the interior I put together. I cut the skylight out as I figured any light making it through the sphere might allow you to see something. Will find out in due course! Sneaky view of rear corridor (leading to the centrifuge I won't be building!) and proof HAL is aboard, nestled in between the groups of screens (you can just see him, he's a bit blurred!)...
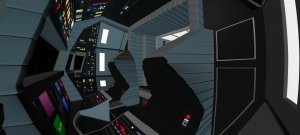
And a couple of hints as to the 'inspiration' for this
And a couple of hints as to the 'inspiration' for this
Attachments
-
 IMG_20191010_102823.jpg103.1 KB · Views: 17
 -
 IMG_20191010_103643~01.jpg76.7 KB · Views: 16
 -
 IMG_20191010_104011~01.jpg94.7 KB · Views: 16
 -
 discovery-xd-1-cockpit-exterior.jpg57.6 KB · Views: 16
 -
 post-9687-1259175150.jpg61.4 KB · Views: 14
 -
 va_kubrick_space_odyssey_2001_trade_05.jpg840.8 KB · Views: 13
 -
 d5dcfced39a1be2d25500a70a722b466.png72.4 KB · Views: 12
Last edited:

- Apr 5, 2013
- 13,876
- 10,216
- 228
Your model is coming out great. I don't buy the copyright breaches, your building a model in homage tto the film. It's free advertising for them, whoever "them" are. ")
I'm working on the assumption something will be better than nothing... ")
Attachments
An idea of intended outcomes...
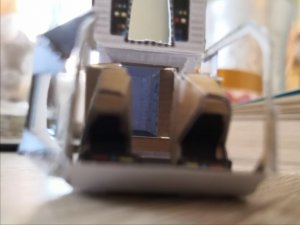
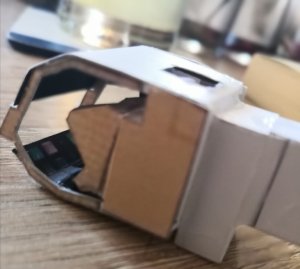
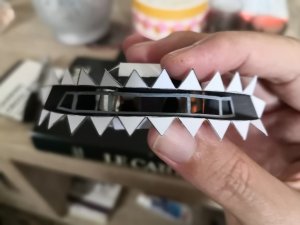
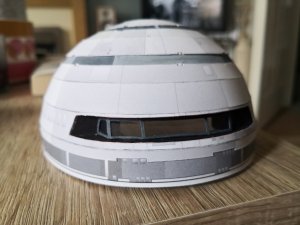
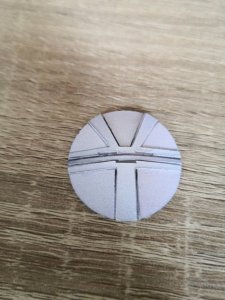
Just as @DanBKing and @lyter1958 before me, I couldn't live with the window arrangements that come with the kit. Research using pictures of resin kits suggests the frame is a lot wider than UHU02's, so here's my effort at a replacement - still needs glazing and gluing - will wait until the hemisphere is complete for assembly.
Looks like some of the flight deck may well be visible!
Attachments
Last edited:
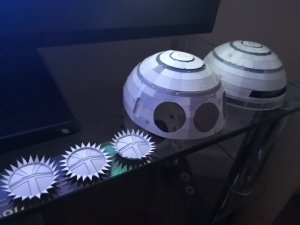
Is turning out REAL nice!!!the bottom hemisphere build
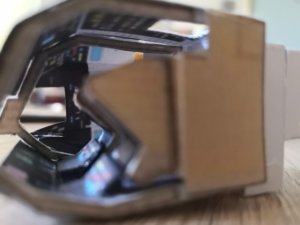
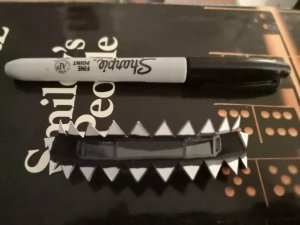
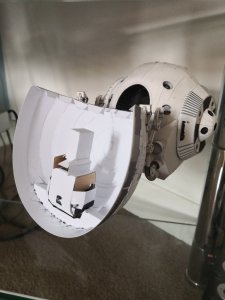
Window assembly ready for installation into hull...
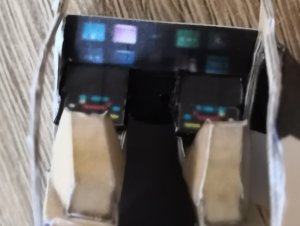
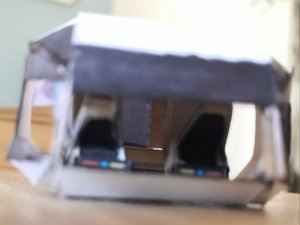
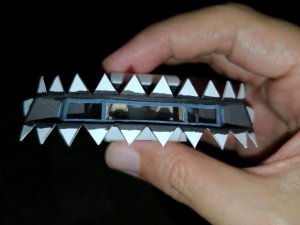
Looks like the interior may well have been worth building! And on that point it's worth mentioning I made a slight change to the recessed slot the windows are fixed to. Obviously the outer edge is fine in order to fix to the aperture in the hull. The vertical section has been narrowed to bring it well within the window frame, and closer to the width of the cockpit I made. Meant to take a pic before I fitted to the hull, but here's an idea of the revised shape I ended up using...
Looks like the interior may well have been worth building!
And on that point it's worth mentioning I made a slight change to the recessed slot the windows are fixed to. Obviously the outer edge is fine in order to fix to the aperture in the hull. The vertical section has been narrowed to bring it well within the window frame, and closer to the width of the cockpit I made. Meant to take a pic before I fitted to the hull, but here's an idea of the revised shape I ended up using...Attachments
Last edited:
This whole thing is really turning out beautifully!!!
You are doing a FANTASTIC JOB on this project!!!
You are doing a FANTASTIC JOB on this project!!!
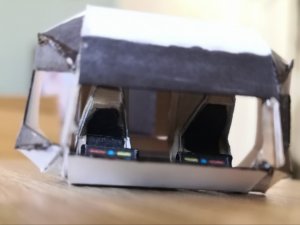
Thanks Rhaven Blaack. Really pleased with the view into the cockpit, particularly from the side, and that I replaced the window frame. Just hoping all the separate elements come together OK. Doesn't feel long away now (been building this for over a year!).This whole thing is really turning out beautifully!!!
You are doing a FANTASTIC JOB on this project!!!
I have to agree with @zathros Do all of the custom work that you want. I have built the Buck Roger Thunder Fighter with so many modifications and greebles, that I have made it as screen accurate as I can. I see that you are doing the same thing. So, by all means, continue!!!Thanks Rhaven Blaack. Really pleased with the view into the cockpit, particularly from the side, and that I replaced the window frame. Just hoping all the separate elements come together OK. Doesn't feel long away now (been building this for over a year!).
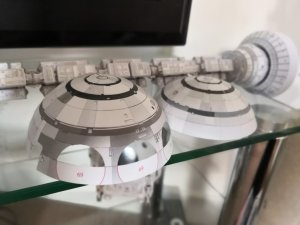
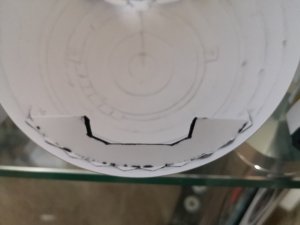
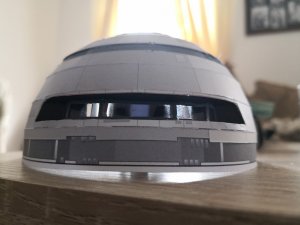
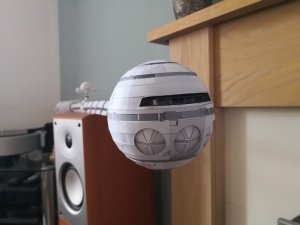
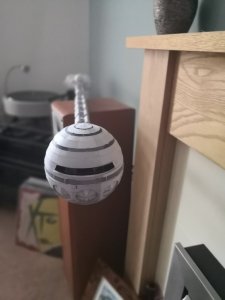
The windows are in! I used the inside of that plastic ball to press the window assembly home inside the hull. The ball being clear, I was able to check alignment and tweak. Went better than expected.
Time to start on those pesky pod bay doors. How is it you get them to open again, HAL?
(Note the 'tab' around the bottom edge of this hemisphere which did not stay the course - see later note where I 'fess up' to some issues in the final stages of assembly)
Time to start on those pesky pod bay doors. How is it you get them to open again, HAL?
(Note the 'tab' around the bottom edge of this hemisphere which did not stay the course - see later note where I 'fess up' to some issues in the final stages of assembly)
Attachments
Last edited:
Gone back to the rear section to implement @zathros suggestion of rolling up the heavy card and inserting inside the tubes for the rockets. Extended further into the propulsion section they provide stability as well as keeping the rockets well aligned. Had to keep middle one shorter to allow for the spine rod to be inserted...
Attachments
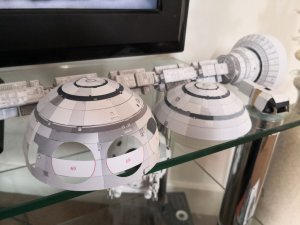
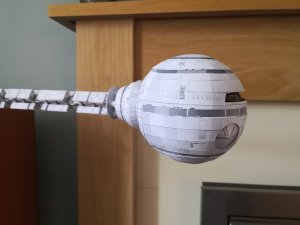
This is getting scary now. I've no more parts to cut out! This has a day of reckoning feel about it: the pod bay doors to fit, the hemispheres to join and then that crucial join to the neck.
Pod doors fitted and a sneaky dry fit...
Pod doors fitted and a sneaky dry fit...
Attachments

Last edited:
She'll do for me. Just have to find a home now!
Attachments

Last edited:

WOOOW!!! This is such a beauty - very well done so far !!! :Congrats: :Bravo:Claphands