And then it was time for the dishes. Woo hoo!
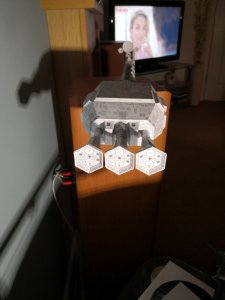
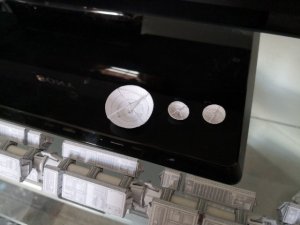
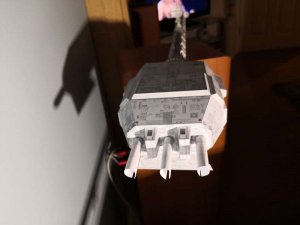
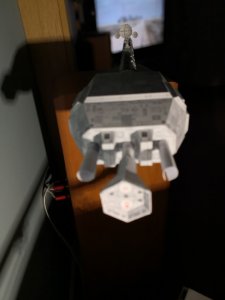
The smaller two were more straightforward, although I found that I had to wrap the larger circumference pieces tighter than you would think necessary (the lines on the reverse of the dish were no longer at right angles) in order to ensure the heavy dark guide line was no longer visible. Not so much as to make the job a bad one. I used @DanBKing's tip of using the spherical end of a metal wine stopper for some water forming - worked a treat. Hats off to UHU02 for the crosspiece assembly. After some careful (fearful!) cutting, I just spun the centre spindle in my fingers and lo and behold, you are able to peel back the crosspieces and arrange at right angles for gluing in the centre of the dish, and at the edges of the dish.
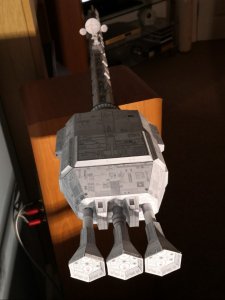
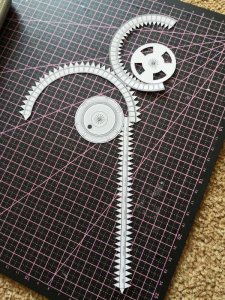
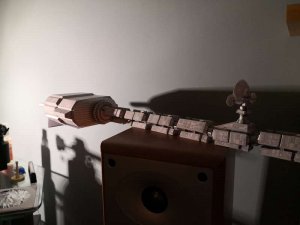
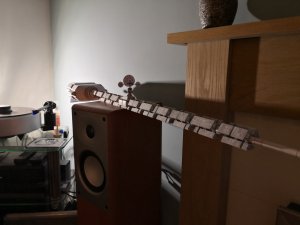
The larger dish was far more problematic. A first run was abandoned after waterforming caused ink to run. Not too much of a loss as I had used the tabs as per the parts printed on the sheet - the result was far too much of a ridged affair for my liking and a cautionary warning for the joy of the spherical command module to come. In the end I built the dish up using the rear of the dish, and attaching the 'spare' circular shapes left on the sheet in between the pieces for the front of the dish. This way I was able to align the actual pieces for the rear of the dish (effectively 'edge' gluing) but with the support of the ring made of 'spare' material glued behind. This built up nicely and also allowed for easy alignment of the pieces for the front of the dish. The cross-piece worked out OK as described above - still blown away by the genius of the design, though. See
The smaller two were more straightforward, although I found that I had to wrap the larger circumference pieces tighter than you would think necessary (the lines on the reverse of the dish were no longer at right angles) in order to ensure the heavy dark guide line was no longer visible. Not so much as to make the job a bad one. I used @DanBKing's tip of using the spherical end of a metal wine stopper for some water forming - worked a treat. Hats off to UHU02 for the crosspiece assembly. After some careful (fearful!) cutting, I just spun the centre spindle in my fingers and lo and behold, you are able to peel back the crosspieces and arrange at right angles for gluing in the centre of the dish, and at the edges of the dish.
The larger dish was far more problematic. A first run was abandoned after waterforming caused ink to run. Not too much of a loss as I had used the tabs as per the parts printed on the sheet - the result was far too much of a ridged affair for my liking and a cautionary warning for the joy of the spherical command module to come. In the end I built the dish up using the rear of the dish, and attaching the 'spare' circular shapes left on the sheet in between the pieces for the front of the dish. This way I was able to align the actual pieces for the rear of the dish (effectively 'edge' gluing) but with the support of the ring made of 'spare' material glued behind. This built up nicely and also allowed for easy alignment of the pieces for the front of the dish. The cross-piece worked out OK as described above - still blown away by the genius of the design, though. See
Attachments
Last edited:

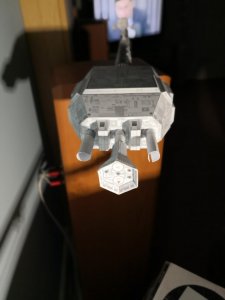
") . Engines next! See
. Engines next! See

")