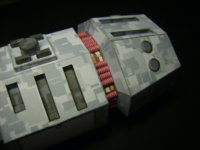
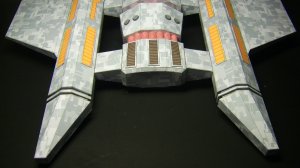
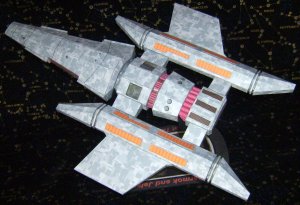
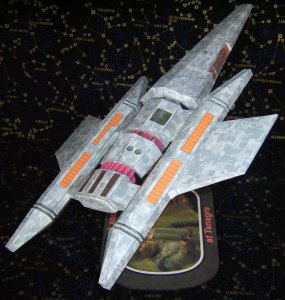
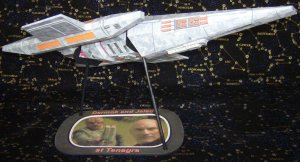
"Darmok and Jalad at Tanagra"
- Thread starter D-WHALE
- Start date
You are using an out of date browser. It may not display this or other websites correctly.
You should upgrade or use an alternative browser.
You should upgrade or use an alternative browser.
Looks fantastic! I love Star Trek and watch all of the series as often as possible but I never knew all these things about the show!
This stuff is great I love your models and I love the education along with it.
This stuff is great I love your models and I love the education along with it.
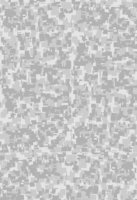
well it is a simple trick with Corel Photopaint! here a tutorial! for a better understanding i opened the "Object" layer on the right side!
first step is to create a page with 10% black! thats the "Background"
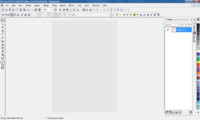
2. go to "Mask"->"Select All" and create with "copy" and "paste" a second layer ("Object 1")
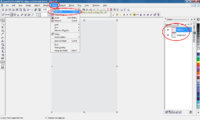
3. select this object, go again to "Mask"->"Select All"! then go to "Edit"->"Fill" and choose 20% black to fill the Object
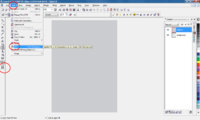
4. now you have the Background with 10% and the first layer with 20% black! duplicate "Object1" and repeat the last step and fill "Object 2" with 30% black!
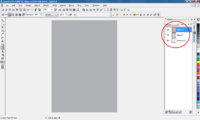
5. click now the "eye" of object 2 in the object layer to make the Object 2 unvisible! Choose now object 1, go again to "Mask"->"Select All"!
Then go to "Effects" -> "Distort" -> "Blocks"
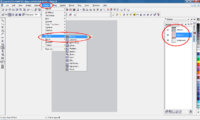
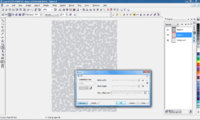
6. choose now a Block height and width with "100" and max. offset with 50%! you can see how it change!
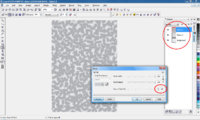
7. repeat the step with "Object 2", but change the max offset to 100%!
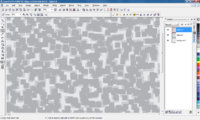
8. i do a bit zoom in to see the different! as you can see are the blocks of object 2 still to big and to regular!
9. if you repeat the last "Effects" step, then will the blocks irregular and smaller!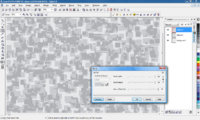
10. last step is to combine Object 1 and 2 with the background and you have a completed page!
thats it!
first step is to create a page with 10% black! thats the "Background"

2. go to "Mask"->"Select All" and create with "copy" and "paste" a second layer ("Object 1")

3. select this object, go again to "Mask"->"Select All"! then go to "Edit"->"Fill" and choose 20% black to fill the Object

4. now you have the Background with 10% and the first layer with 20% black! duplicate "Object1" and repeat the last step and fill "Object 2" with 30% black!

5. click now the "eye" of object 2 in the object layer to make the Object 2 unvisible! Choose now object 1, go again to "Mask"->"Select All"!
Then go to "Effects" -> "Distort" -> "Blocks"

6. choose now a Block height and width with "100" and max. offset with 50%! you can see how it change!

7. repeat the step with "Object 2", but change the max offset to 100%!

8. i do a bit zoom in to see the different! as you can see are the blocks of object 2 still to big and to regular!

9. if you repeat the last "Effects" step, then will the blocks irregular and smaller!

10. last step is to combine Object 1 and 2 with the background and you have a completed page!
thats it!
