Tom
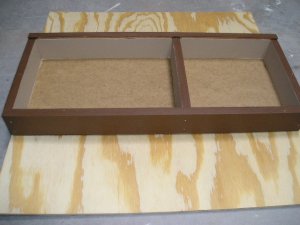
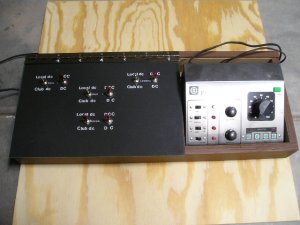
It just happens that my project this week is building a control panel for a set of modules that I’m making. Because I wanted the panel removable for transport as well as needing to somehow support a power pack I first made a box to hold everything. (Photo 1) If I were doing it on a home layout I would mount the panel on the fascia. Here is how I built it.
Bill of materials (most of it anyway).
Wood for the box, ¾” birch plywood left over from making the module frames.
2 11” x 14” x .093” sheets of clear acrylic from Home depot about $3.00 each.
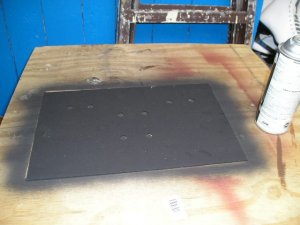
Black spray paint, on the shelf.
Round head machine screws, on the shelf.
Piano hinge, cut to fit; Home Depot.
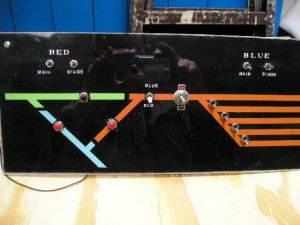
Lettering ¼” stick on letters from Hobby Lobby, about $3.00 per sheet.
These were a problem. I the past I have used white rub on letters from C thru Ruler Company but could find none this time. Both Staples and Hobby Lobby have black rub on letters so you might consider painting the panel white and use black lettering. I find the rub on letters much easier to use.
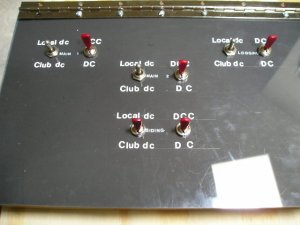
Toggle switches from Radio Shack.
14 AWG stranded wire (required by the club), Auto parts store.
Basic Technique
Decide panel design and size.
Make a full size drawing of the location of the various electrical components.
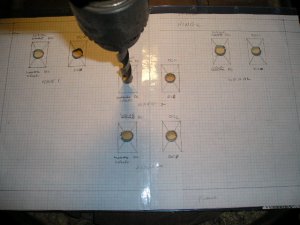
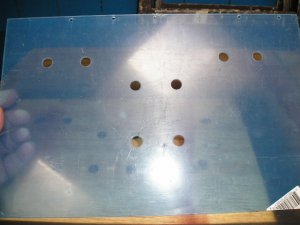
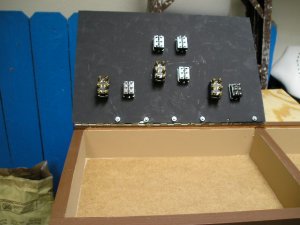
Clamp the two pieces of acrylic together, tape the schematic to the top sheet and drill the holes. (Photo 2 & 3)


 I just built a temporary panel using some old pushbuttons I had, but Ibought a bunch of momentary, center-off toggles to use on my finished control panel. I plan on using LEDs to indicate the switch's position. Obviously, one toggle takes up half the space of two pushbuttons.