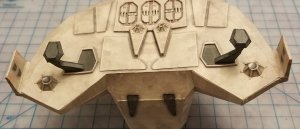
Colonial Raptor (Desert Paint Scheme)

Rhaven Blaack

!!!THE MAN BEHIND THE CURTAIN!!!
Staff member
Administrator
Moderator
Greetings to all and to all, HELLO!

It is time for another build thread! This time, it is the Colonial Raptor (Desert Paint Scheme). This model was designed by our very own @Revell-Fan.
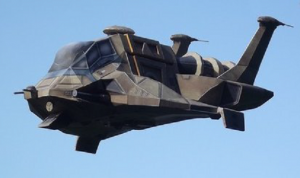
raptor-desert.png
This model can be found in both here the RESOURCE SECTION and at https://stevespaper.com/

I would say that this is a rebuild of the Raptor. However, even though, I have built the MedEvac Raptor (twice), I have not built any of the other versions (paint schemes). So, (essentially) I am building a whole new Raptor.

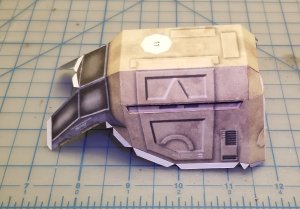
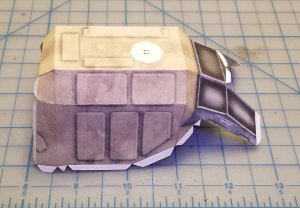
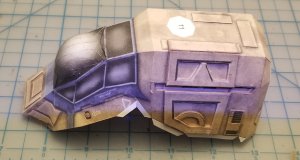
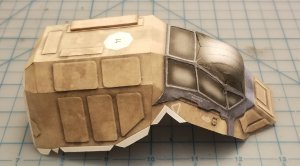
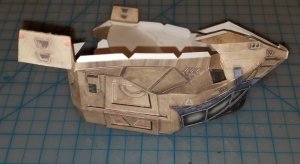
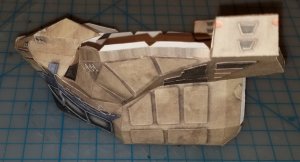
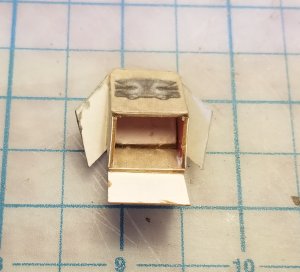
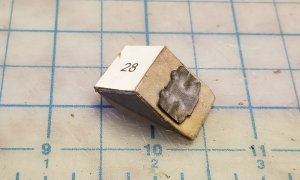
So, starting with the cabin section.
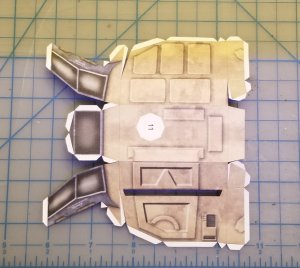
20191125_155646.jpg 20191125_162221.jpg 20191125_162229.jpg


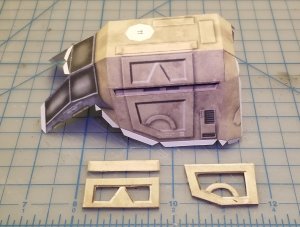
Here are the door panels.
20191125_205517.jpg

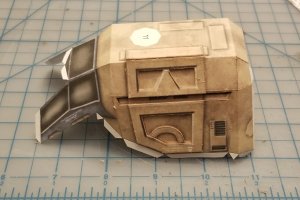
The door panels are attached.
20191125_211735.jpg

Here is the top part of the nose.
20191125_221634.jpg

The top part of the nose is attached. I have also raised all of the body panels as well.
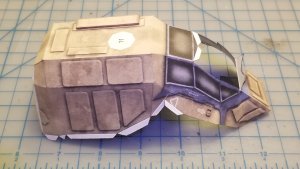
20191126_115312.jpg

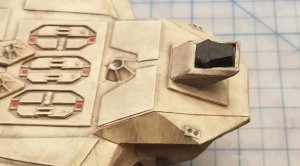
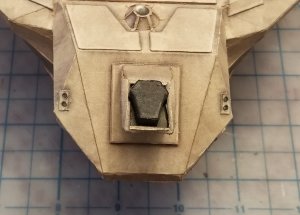
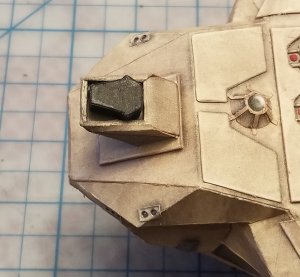
I raised the panels on the nose as well as augmented the "rescue" knob.
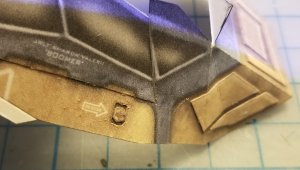
20191126_115318.jpg 20191126_115336.jpg 20191126_115355.jpg

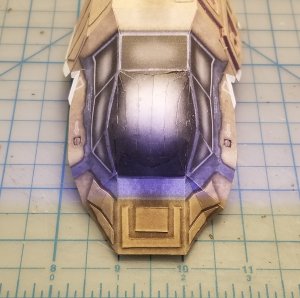
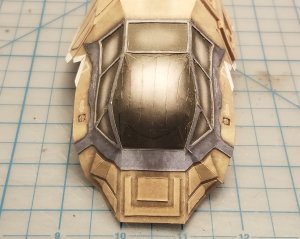
Here is front windscreen canopy.
20191126_115410.jpg

The front windscreen canopy is attached.
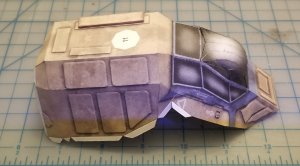
20191126_120556.jpg 20191126_120607.jpg 20191126_120618.jpg

I raised the frame work around the canopy
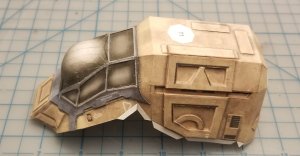
20191126_200912.jpg 20191126_200930.jpg 20191126_200938.jpg

Please stay tuned to your local Colonial Broadcast Network for further updates as they come in.
 

Revell-Fan

Co-Administrator
Staff member
Administrator
Moderator
HOLY! You are knocking them all out of the park! Great start! Please do me a favour and check the measurements of the finished model and how they compare to the Moebius. :)
 

Rhaven Blaack

!!!THE MAN BEHIND THE CURTAIN!!!
Staff member
Administrator
Moderator
Thank you both for the warm and kind words of encouragement.

HOLY! You are knocking them all out of the park! Great start! Please do me a favour and check the measurements of the finished model and how they compare to the Moebius. :)

Even though, I am have not built the Moebius model (yet), I will send you measurements and comparisons between the two.
 

Rhaven Blaack

!!!THE MAN BEHIND THE CURTAIN!!!
Staff member
Administrator
Moderator
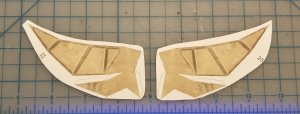
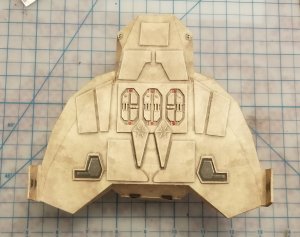
Here is a small update. I started with the upper part of the wings.

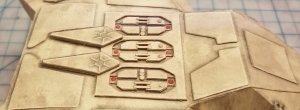
I decided to recess the steps for the wings.
20191127_135754.jpg

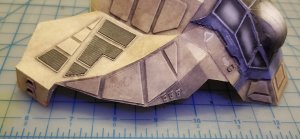
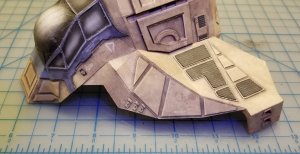
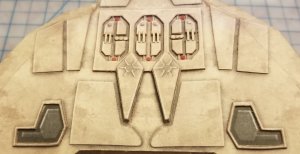
As you can see, I raised the boarder around the steps and raised the regular panels and skid pads on the wings.
20191127_155155.jpg

Here is another view to show the panels.
20191127_155223.jpg

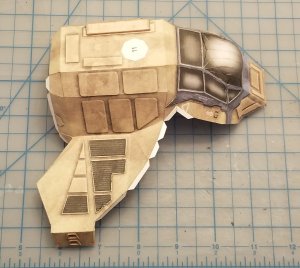
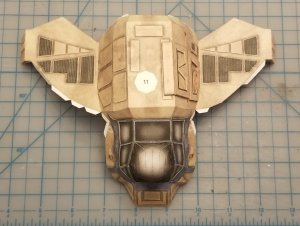
The wings are attached.
20191127_155547.jpg 20191127_211218.jpg

Please stay tuned to your local Colonial Broadcast Network for further updates as they come in.
 

Rhaven Blaack

!!!THE MAN BEHIND THE CURTAIN!!!
Staff member
Administrator
Moderator
Thank you! This is a model that screams for the need of greebles. So, for someone who really wants to have fun with greebling, this is the perfect model for that.
 

Rhaven Blaack

!!!THE MAN BEHIND THE CURTAIN!!!
Staff member
Administrator
Moderator
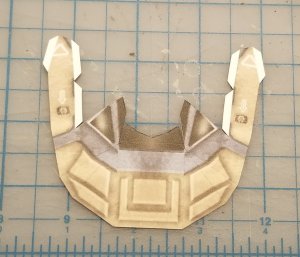
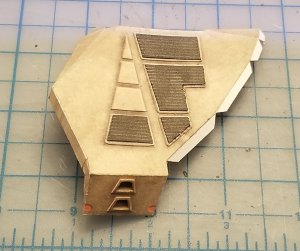
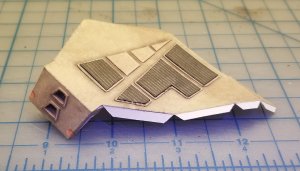
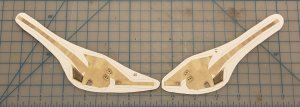
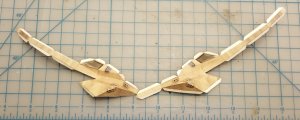
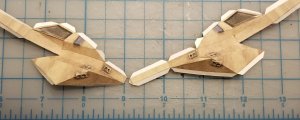
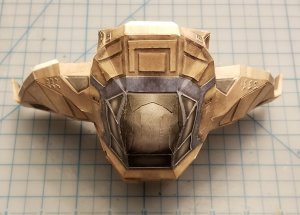
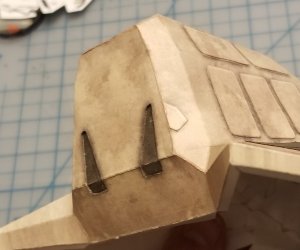
Continuing on with the underside of the hull. Here are front armoured sections of the "wings".
20191128_144559.jpg

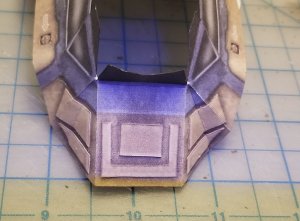
I raised the armour plates and the little rectangle parts that are under the plates.
20191128_165433.jpg 20191128_165445.jpg

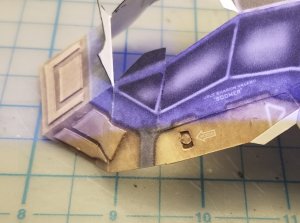
Here are the leading edge parts with the mini reaction control thrusters.
20191128_194151.jpg
The leading edge parts are framed out and the reaction control thruster panels are raised.
20191128_232030.jpg 20191128_232040.jpg

The leading edge parts are attached to the body.
20191129_000103.jpg 20191129_000117.jpg 20191129_000152.jpg


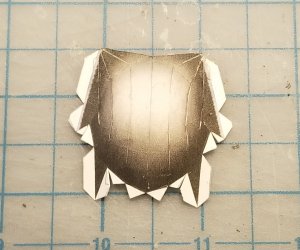
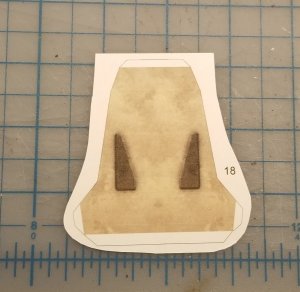
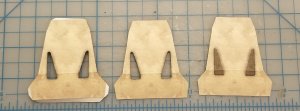
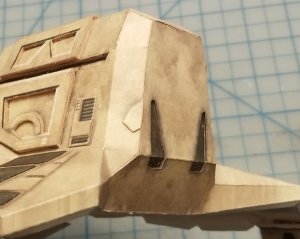
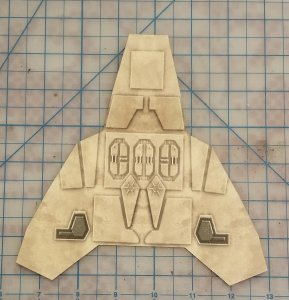
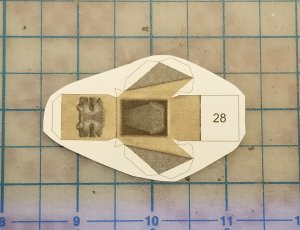
Here is the back plate
20191129_163454.jpg

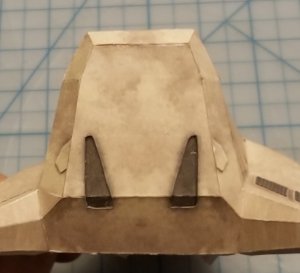
I decided to recess these dark brown triangles.
20191129_170548.jpg

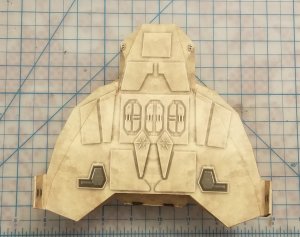
The back plate is attached.
20191129_172323.jpg 20191129_172334.jpg 20191129_172341.jpg

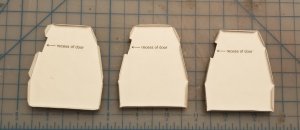
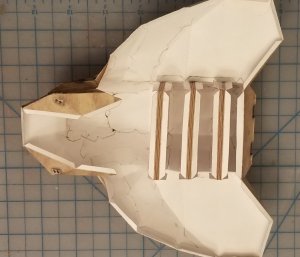
Here are the internal formers. I laminated them to about 1 cm thick.
20191129_210252.jpg

The internal formers are installed.
20191129_210926.jpg
 

Rhaven Blaack

!!!THE MAN BEHIND THE CURTAIN!!!
Staff member
Administrator
Moderator
More underside work! I am now working forward to seal up the bottom.

These are the outer edge pieces of the underside
20191206_195718.jpg

The outer edge pieces are are attached.
20191206_211839.jpg 20191206_211854.jpg

Here is the bottom plate.
20191206_212125.jpg

The bottom plate is attached.
20191206_215614.jpg

I have raised the armour plates and the underside details.
20191207_164939.jpg

Here are close-up shots of the details.
20191207_164951.jpg 20191207_165004.jpg 20191207_165023.jpg
 

Rhaven Blaack

!!!THE MAN BEHIND THE CURTAIN!!!
Staff member
Administrator
Moderator
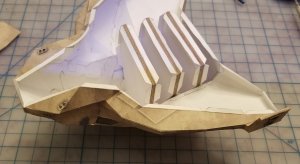
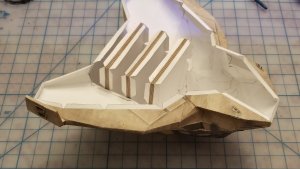
Now for the landing gear system.

Starting with the front landing pod.
20191208_110023.jpg

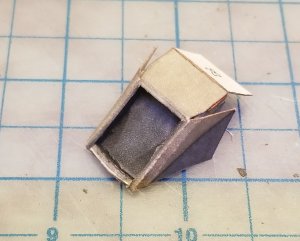
I strengthened the walls with cardboard.
20191208_132307.jpg

I recessed the area for the pad.
20191208_132323.jpg

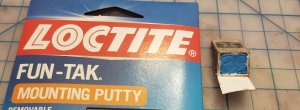
@Revell-Fan recommended that some sort of weight needs to be placed in the pod. So, I decided to stuff "fun-tak" inside. I figured since the walls were re-enforced with cardboard, I could easily fill the entire cavity with the putty and it did give it quite a bit of weight to the pod.
20191208_134412.jpg

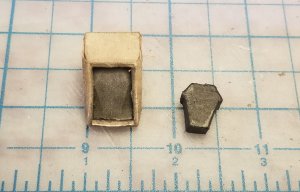
I sealed the top and raised the front piece of the pod.
20191208_135301.jpg

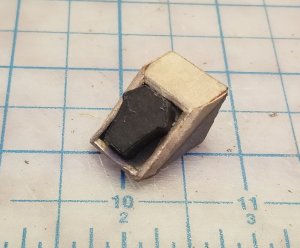
I laminated the pad to about 5 mm and lined the sides with regular paper.
20191208_141303.jpg

The pad is placed inside the recessed area of the pod.
20191208_141438.jpg

The front landing gear pod is attached.
20191208_141826.jpg 20191208_141840.jpg 20191208_141852.jpg

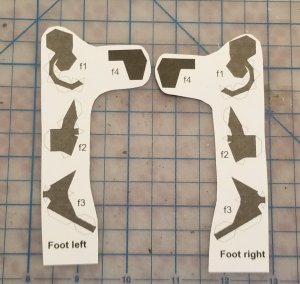
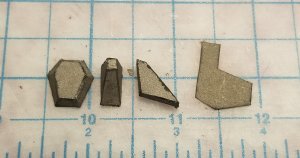
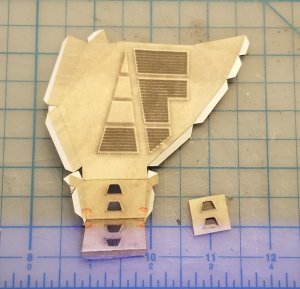
Here are the parts for the rear landing gear system.
20191208_142328.jpg

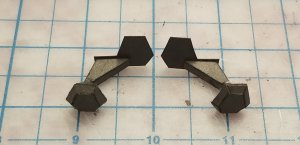
The parts are assembled.
20191208_160611.jpg 20191208_173903.jpg

The rear landing gear is attached.
20191208_174411.jpg

Please stay tuned to your local Colonial Broadcast Network for further updates as they come in.
 

zathros

*****SENIOR ADMINISTRATOR*****
Staff member
Administrator
Moderator
I really like this model but the Glass section front does it a dishonor. You may get away with a glass effect buy making a second glass piece, cutting it out, and stretching "Cling Wrap" over it, to give it a sheen. You could probably glues it over the existing cardboard glass, or cut it out of the model when it's finiished, and leave a glue tab on the model's periphery to glue the faux glass piece in. It's coming out great!!:)
 

Rhaven Blaack

!!!THE MAN BEHIND THE CURTAIN!!!
Staff member
Administrator
Moderator
I really like this model but the Glass section front does it a dishonor. You may get away with a glass effect buy making a second glass piece, cutting it out, and stretching "Cling Wrap" over it, to give it a sheen. You could probably glues it over the existing cardboard glass, or cut it out of the model when it's finiished, and leave a glue tab on the model's periphery to glue the faux glass piece in. It's coming out great!!:)
I have thought about getting some gloss black paint and going over it later.
Then again I have never really liked the "doomed" windscreen. It really makes no sense to have it that way. It should have been flat.
I have the moebius plastic kit that I will eventually build. It has a full cockpit interior that I am going to use as guide to design a cockpit interior as an add-on kit for this one.
 

zathros

*****SENIOR ADMINISTRATOR*****
Staff member
Administrator
Moderator
If you coat that Moebius glass with Vaseline, and stick in in bos of Plaster of Paris, you could easily pull it out without damaging it, after it dries, and use it to make a reverse plug, the same way, you coat the imprint with Vaseline, pour in Plaster of Paris, Put a stick with a nail across it, so you can pull it out, and you could pull a plastic softened sheet of plastic over the plug. You could do the same thing with 2 part Epoxy, making sure you have a thick smooth layer of Vaseline (as a release agent) to protect the original glass, them make a plug, again using Vaseline, this method gives you a much stronger plug. . ;)
 

Rhaven Blaack

!!!THE MAN BEHIND THE CURTAIN!!!
Staff member
Administrator
Moderator
I have seen this process done before. It does work beautifully (if done right). Once I get a few other projects out of the way, I may give it a go and see what I come up with. If it works (for me), I will see about making a pictorial tutorial or video tutorial to show exactly how it works.
 

Revell-Fan

Co-Administrator
Staff member
Administrator
Moderator
This is looking great! I'm glad you put the weight into the nose. The plane is pretty tail heavy. Please remember to check the dimensions of both models (the paper and the plastic one) before you use the Moebius as a template. Maybe the paper one must be enlarged a bit. The dimensions I found when I unfolded the model did not say if the overall length included the front antenna. I chose to scale the plane from the tip of the antenna to the back end. :)
 

Rhaven Blaack

!!!THE MAN BEHIND THE CURTAIN!!!
Staff member
Administrator
Moderator
Thank you very much! I am thinking that there should be a "weight box" in the nose of the body to help with counterbalance.
Even though, this model is going to another person (as a Christmas gift), I will check out the dimensions and compare the two to see how close they are.
 

Gandolf50

Researcher of obscure between war vehicles...
Staff member
Moderator
The bubble screen, you really need to use a combo of the reverse plug, plus a homemade vac-u-form. I made mine out of a few scraps of plywood a couple pin hinges and hooked to a small wet/dry vac.... use a toaster oven to heat up sections of vacuum packaging set in a frame, and just press down hard by hand when forming... plug can be just plaster as you only need 1 or 2 < just in case...
 

Rhaven Blaack

!!!THE MAN BEHIND THE CURTAIN!!!
Staff member
Administrator
Moderator
The bubble screen, you really need to use a combo of the reverse plug, plus a homemade vac-u-form. I made mine out of a few scraps of plywood a couple pin hinges and hooked to a small wet/dry vac.... use a toaster oven to heat up sections of vacuum packaging set in a frame, and just press down hard by hand when forming... plug can be just plaster as you only need 1 or 2 < just in case...
I have seen this technique done before. I may give it a go as well. It will be useful for other domed (or bubbled) canopies for other projects.
Thank you for sharing this!
 

zathros

*****SENIOR ADMINISTRATOR*****
Staff member
Administrator
Moderator
It would be easier to make the section out of cardboard, reenforce the back side, and heat some sheet plastic, and pull it over the plug, and trim. Very fast, and looks great. :)
 
Top