Hello, fans! 
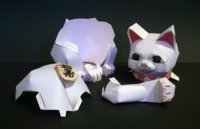
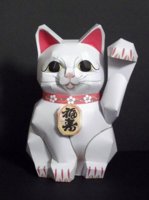
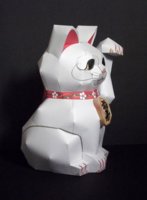
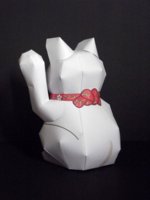
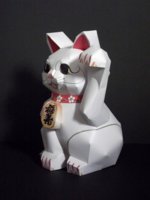
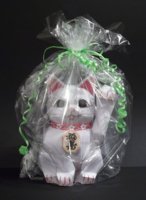
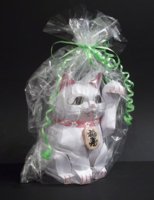
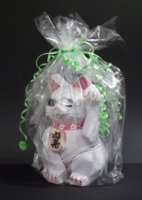
Today I'm showing you the Lucky Cat from Canon papercraft - with a special twist.
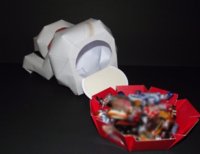
A dear colleague of mine is leaving our company and I have decided to make one of these cute lucky items as a Goodbye present. And as such it is a special "tuned up" version because it is filled with candy.
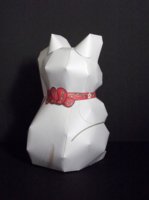
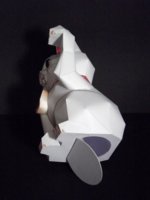
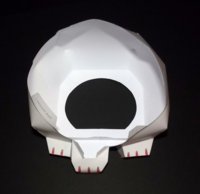
As all Canon papercrafts this model is simply awesome. The parts are big enough to be assembled even by larger hands (the only tricky step is assembling the raised paw) and the instructions are easy-to-follow. I completed step 22 of the build and then added a lid to the opening in the bottom which prevents the candy from "escaping".
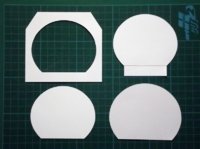
Several pieces are laminated to cardboard.
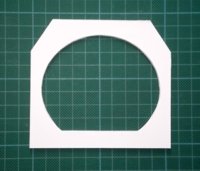
This piece is used to reinforce the bottom:
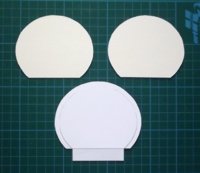
The lid consists of these parts:
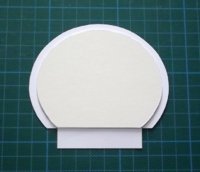
The assembled lid:
The flap is glued to the inside of the model.
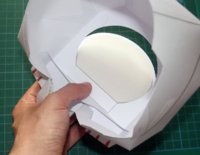
Then the reinforcement part is attached.
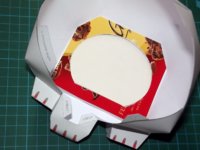
The rim is carved with an exacto knife to make it fit properly.
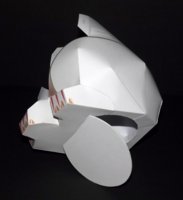
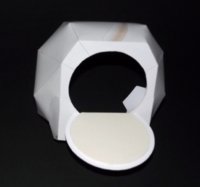
Today I'm showing you the Lucky Cat from Canon papercraft - with a special twist.
A dear colleague of mine is leaving our company and I have decided to make one of these cute lucky items as a Goodbye present. And as such it is a special "tuned up" version because it is filled with candy.
As all Canon papercrafts this model is simply awesome. The parts are big enough to be assembled even by larger hands (the only tricky step is assembling the raised paw) and the instructions are easy-to-follow. I completed step 22 of the build and then added a lid to the opening in the bottom which prevents the candy from "escaping".

Several pieces are laminated to cardboard.

This piece is used to reinforce the bottom:

The lid consists of these parts:

The assembled lid:

The flap is glued to the inside of the model.

Then the reinforcement part is attached.

The rim is carved with an exacto knife to make it fit properly.


Last edited:


