Hello fans,
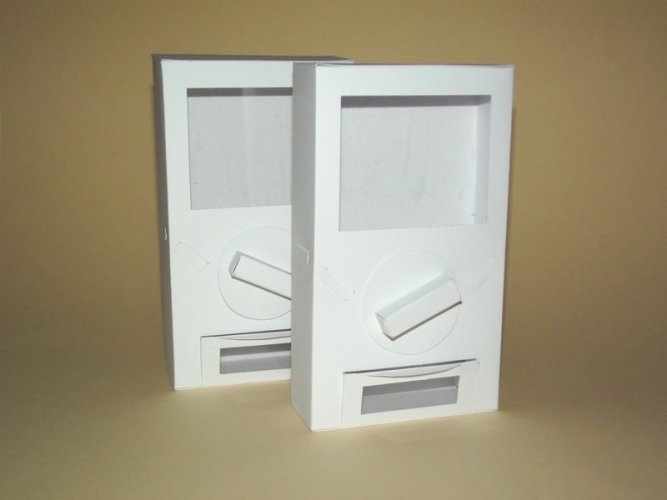
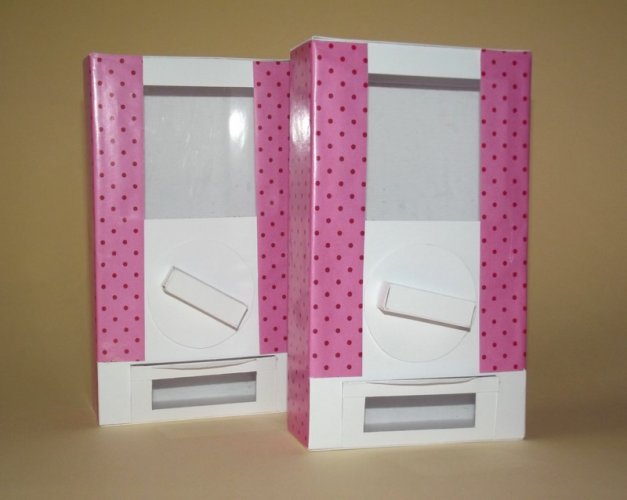
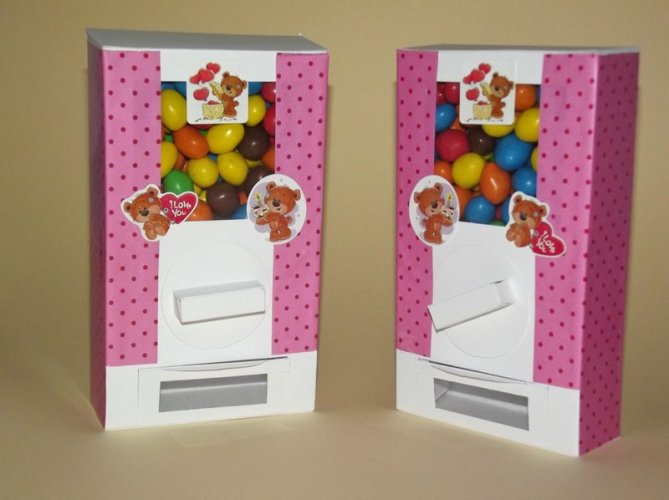
a few days ago my cousin celebrated his birthday and invited me and my mom for dinner. My mom had the idea to bring something personal with us but she was unsure what we could make for him. The premise was clear: It was supposed to be fast and simple but at the same time it should be attractive and fun. It would be nice if it had some moving parts, we thought, and I started my search. By accident we saw a candy dispenser on TV, so we thought this would be a nice idea. A quick google search later I found this:
The model is very easy to make and without further ado I downloaded the plans and enlarged them a bit. The initial idea was to use thicker card for the model in order to increase the sturdiness since it would be not just a model for the shelf but a working dispenser. So I printed the parts on regular 80gsm paper and used my trusty LED brightpad to trace the lines on to some 200+gsm card.
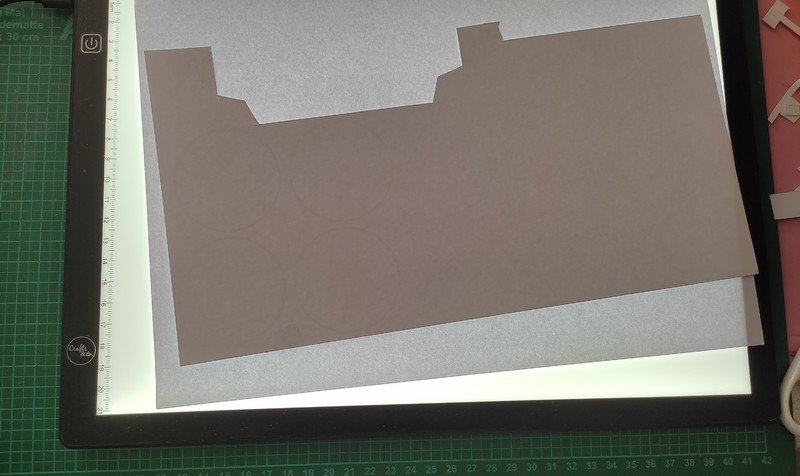
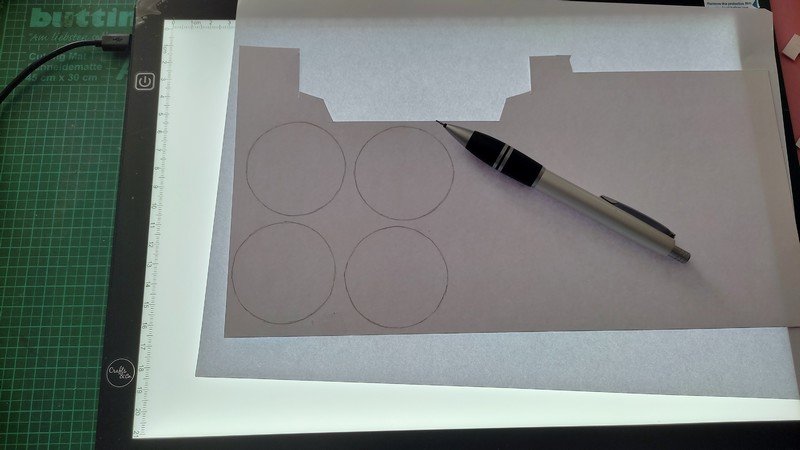
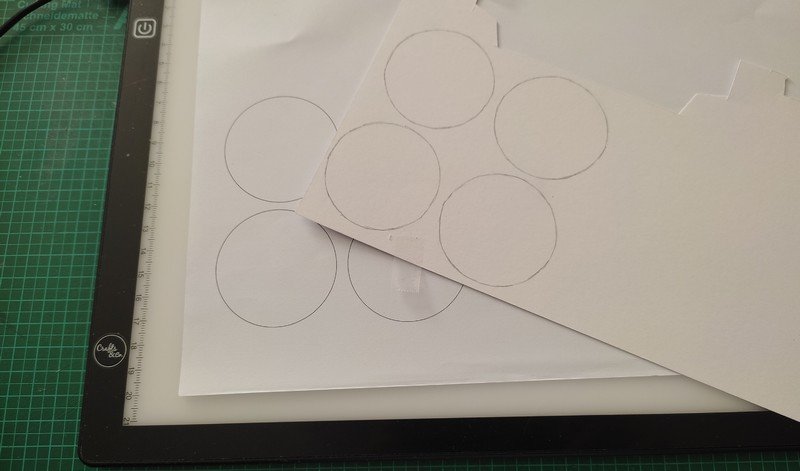
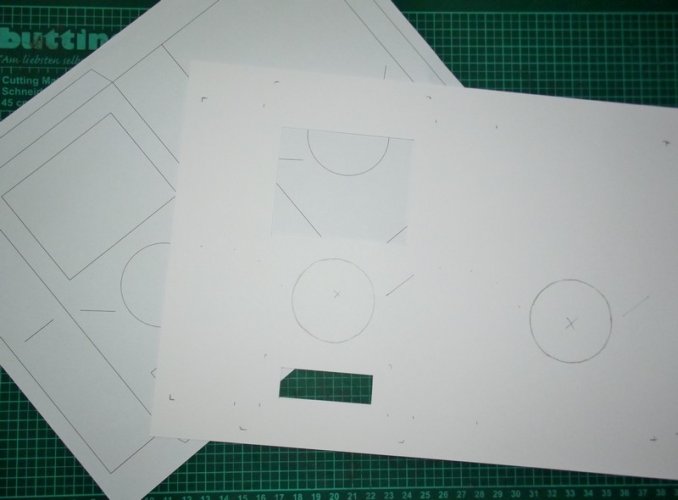
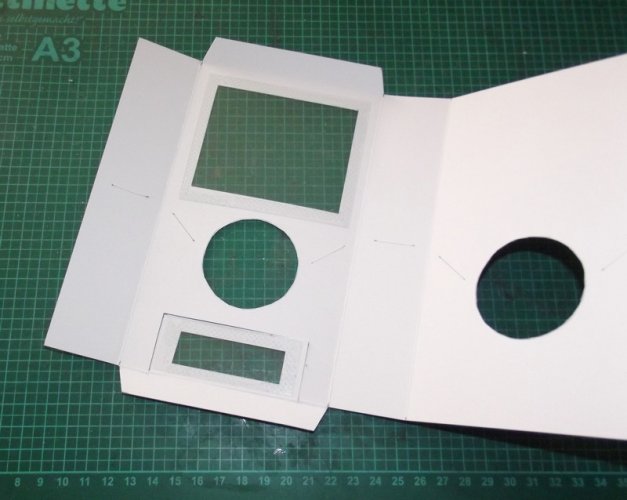
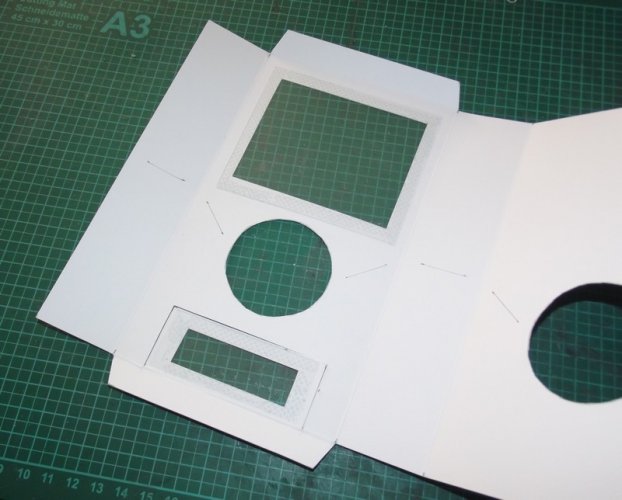
All parts were cut out.
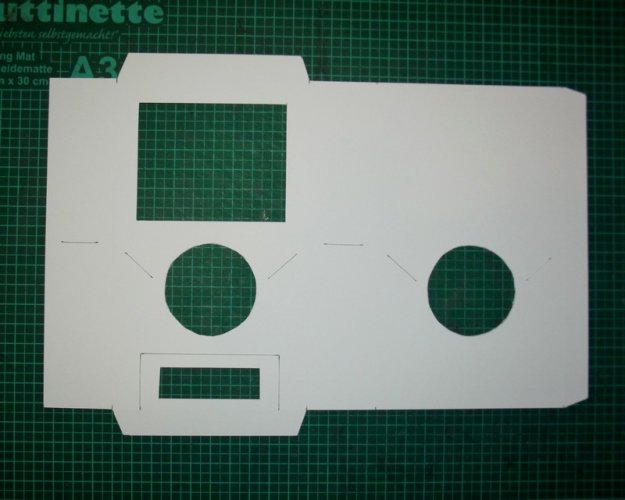
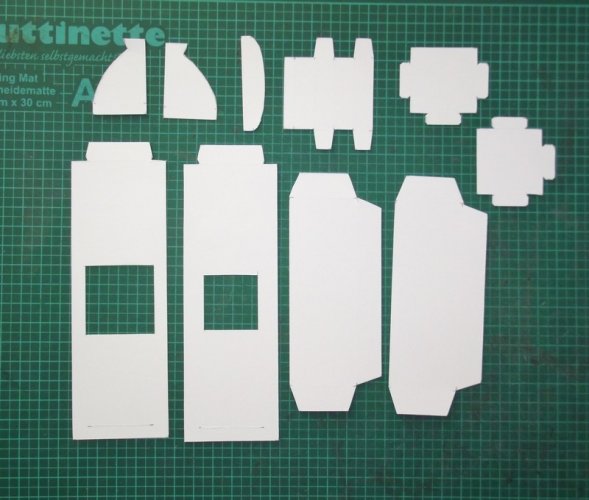
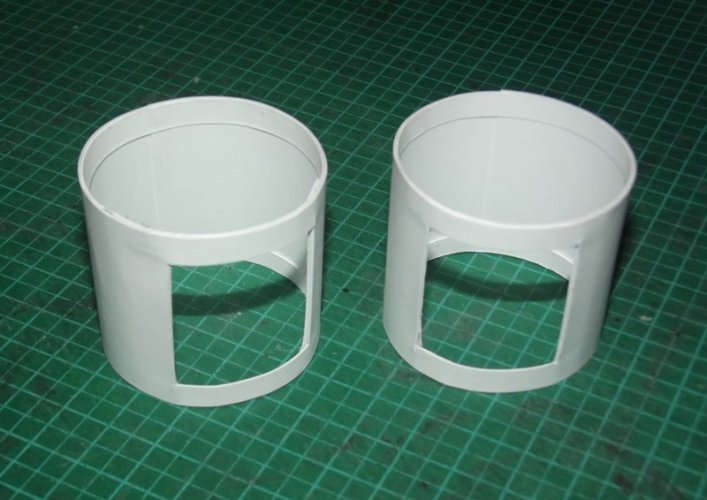
I started with thr trommel. There are two versions provided with the kit, one with a larger and one with a smaller opening. I chose the smaller opening which was a wise choice (I'llexplain later).
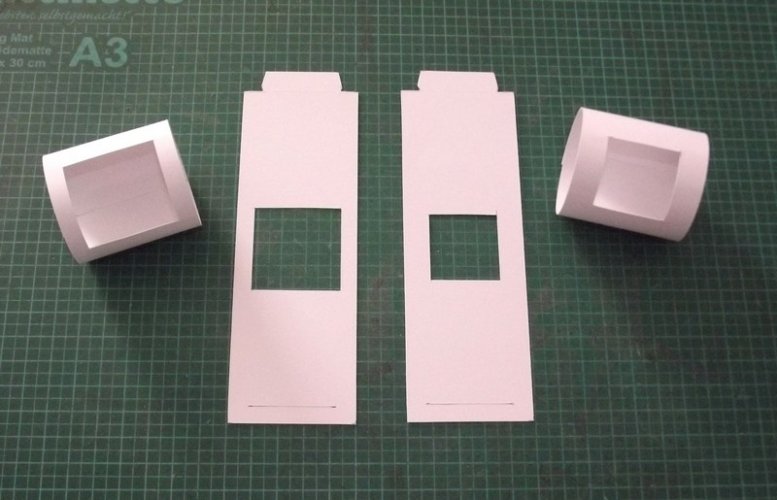
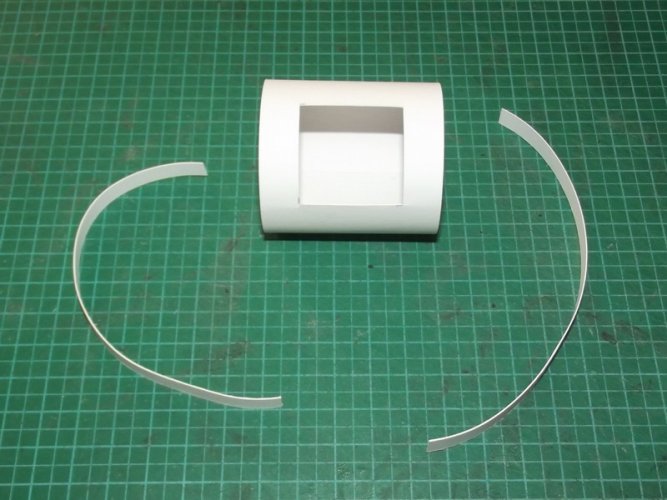
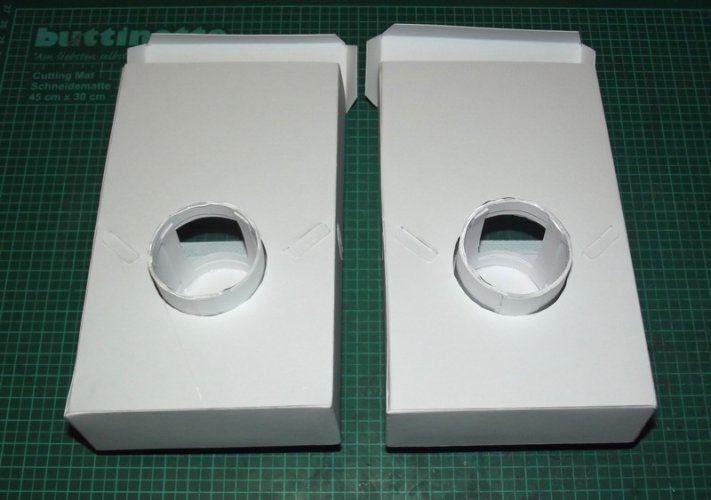
I reinforced the rim and the hole with paper strips.
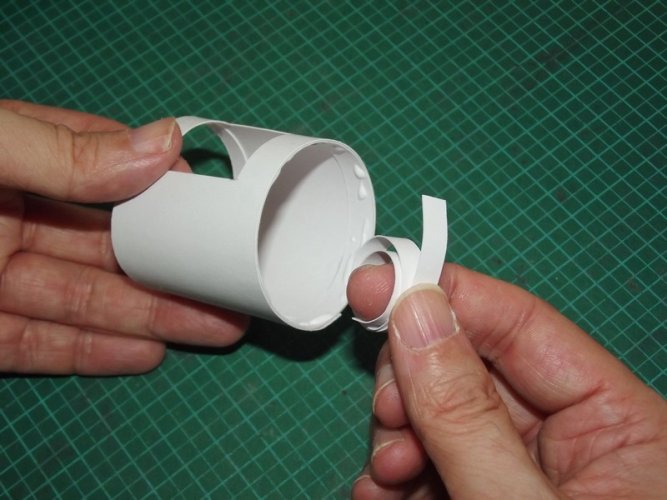
Instead of applying glue to the strips and then end up with dirty and smudgy hands and fingers I applied the glue to the inside of the trommel, rolled up the strip around my finger and pressed the ring onto the glue area.
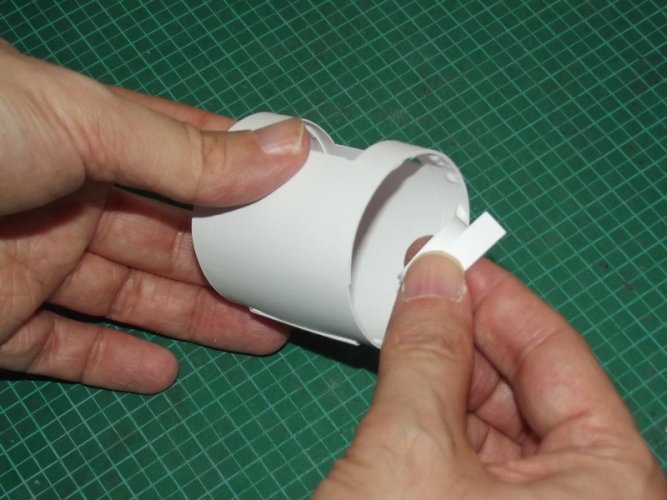
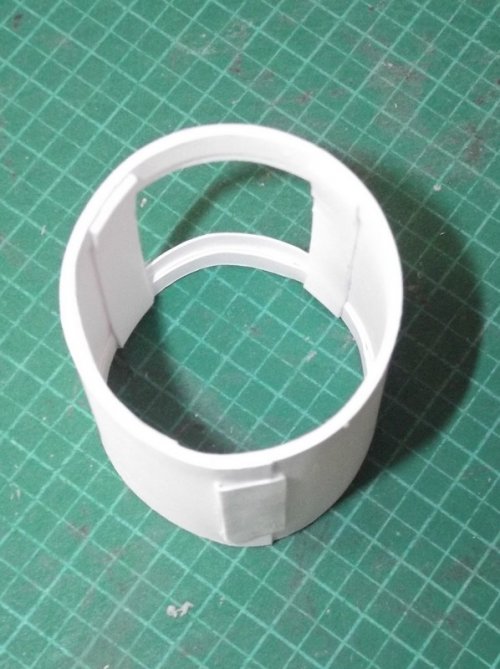
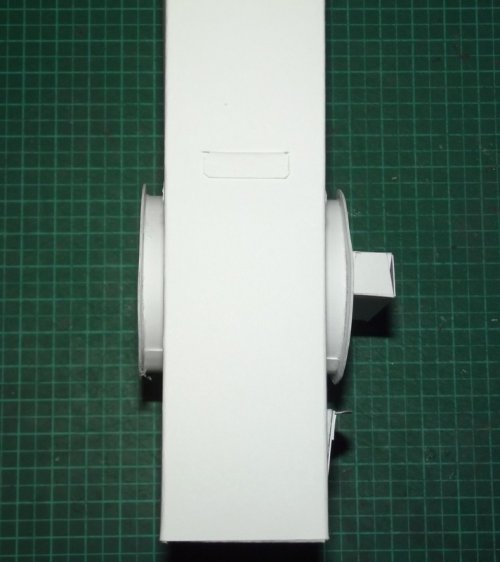
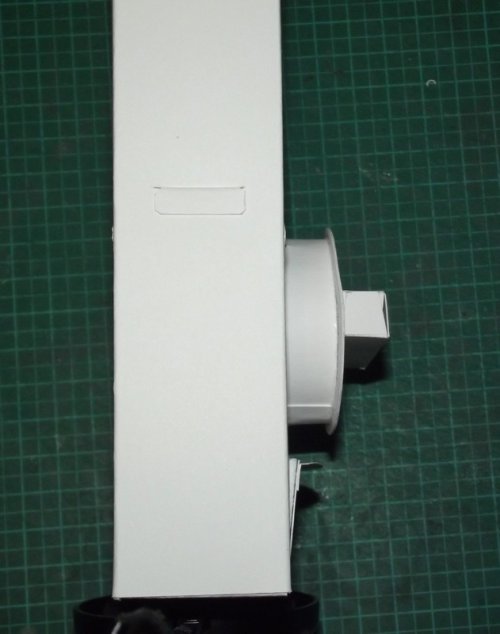
I found out that the little notch on the outside made the trommel prone to jamming, so I cut that one off.
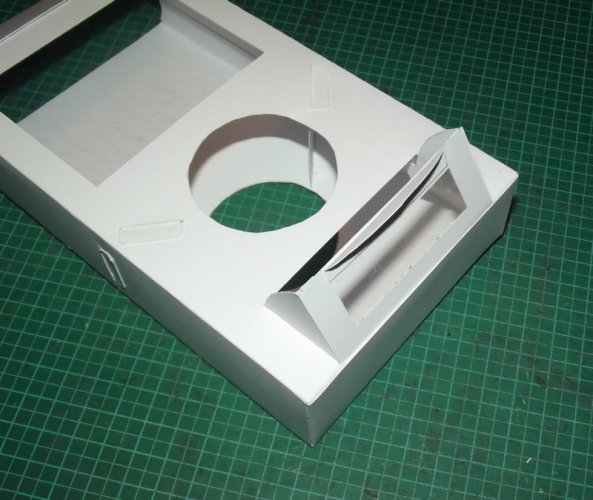
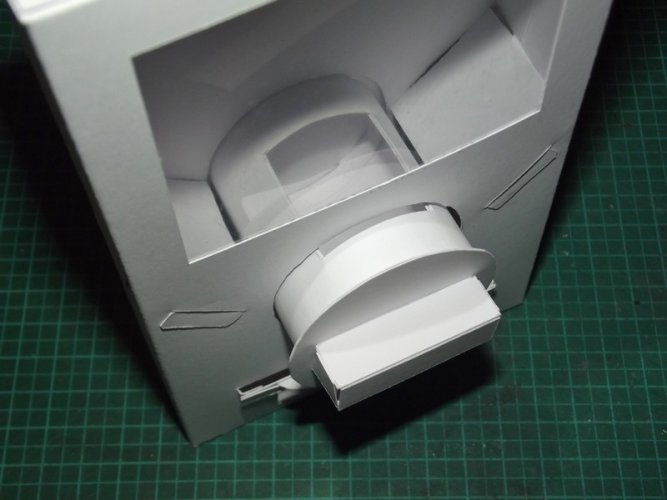
Next was the handle for rotating the trommel:

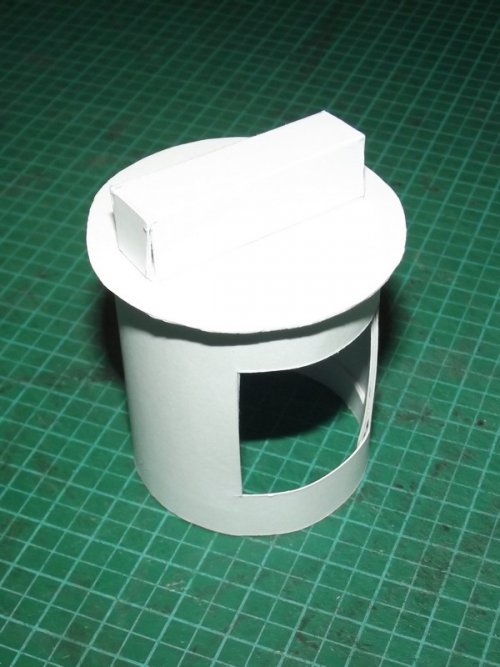
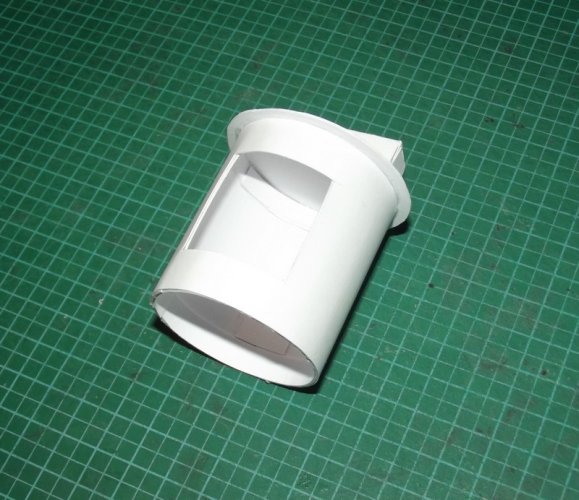
The bar template is not constructed well. The end caps should be a rectangle with 90° angles but instead they are trapezoids. They do not close up the bar well. Only the creators know why they did that. I left them the way they were because they fulfilled their task. But this was not the only issue with the template!
a few days ago my cousin celebrated his birthday and invited me and my mom for dinner. My mom had the idea to bring something personal with us but she was unsure what we could make for him. The premise was clear: It was supposed to be fast and simple but at the same time it should be attractive and fun. It would be nice if it had some moving parts, we thought, and I started my search. By accident we saw a candy dispenser on TV, so we thought this would be a nice idea. A quick google search later I found this:
The model is very easy to make and without further ado I downloaded the plans and enlarged them a bit. The initial idea was to use thicker card for the model in order to increase the sturdiness since it would be not just a model for the shelf but a working dispenser. So I printed the parts on regular 80gsm paper and used my trusty LED brightpad to trace the lines on to some 200+gsm card.


All parts were cut out.


I started with thr trommel. There are two versions provided with the kit, one with a larger and one with a smaller opening. I chose the smaller opening which was a wise choice (I'llexplain later).


I reinforced the rim and the hole with paper strips.

Instead of applying glue to the strips and then end up with dirty and smudgy hands and fingers I applied the glue to the inside of the trommel, rolled up the strip around my finger and pressed the ring onto the glue area.


I found out that the little notch on the outside made the trommel prone to jamming, so I cut that one off.
Next was the handle for rotating the trommel:


The bar template is not constructed well. The end caps should be a rectangle with 90° angles but instead they are trapezoids. They do not close up the bar well. Only the creators know why they did that. I left them the way they were because they fulfilled their task. But this was not the only issue with the template!
Last edited:


