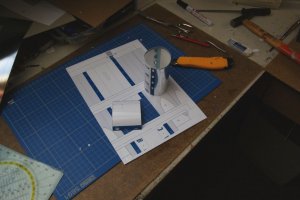
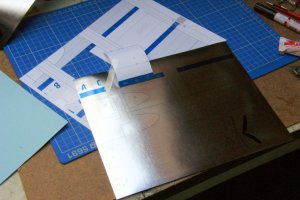
I mentioned making the fuselage of a top half and a bottom half. Here is how that works. The first pic is the part printed on normalk, white paper. I always let my local copy shop print this, their ink is light resistant (other than ink used in jet ink printers) and the colours really look nice.
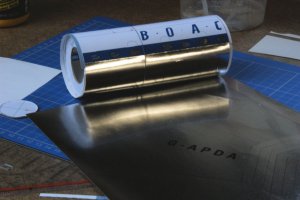
I also print the same part on silver coated paper, that I found on the internet, see pic 2. With a photo programme (PSP) I placed the the two bottom halves of the fuselage together at the seam that normally runs along the belly of the model. In that way I have one part that is the whole of the underside.
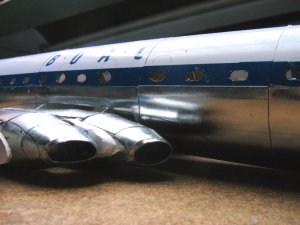
Now, I cut out the white part under the blue cheat line of pic 1. I also cut out the silver belly part of the same segment of pic 2. I then attach both parts together at the underside of the cheat line, and in that way I have a segment of the fuselage, that is correctly coloured on top and silver on the bottom, see pic 3.


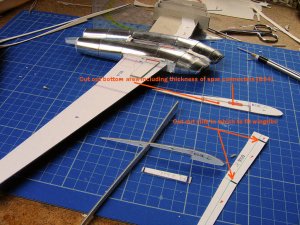
 planform, along which the outer wing spars are attached, nr 2 and 3. More to come
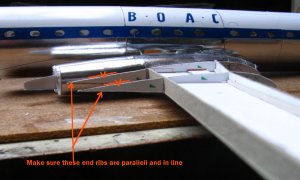


")

")