building my own millenium falcon
- Thread starter dnalor
- Start date
You are using an out of date browser. It may not display this or other websites correctly.
You should upgrade or use an alternative browser.
You should upgrade or use an alternative browser.
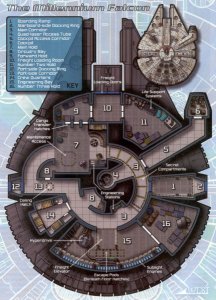
I studied too much or Robert Brown's (now defunct) site, Ship of Riddles, on the topic. Those are hatches, possibly with extending mounting sleeves. Some of the early design sketches show those hexagonal shapes actually open, like doors.
Tirick
That's been a point of contention for a long time. Robert Brown pointed out on his page that those areas are too obviously docking ports for them to be where the escape pods are, plus there are only two and in ANH the officer mentions *several* of the escape pods were jettisoned. But it looks like Brown won his battle, because now the docking rings are called docking rings.
Hey dnalor, have you ever tried using a soldering iron for blast marks? It leaves a nice burn mark without igniting the paper and you can "sculpt" the marking to look like the actual miniature.
Hey dnalor, have you ever tried using a soldering iron for blast marks? It leaves a nice burn mark without igniting the paper and you can "sculpt" the marking to look like the actual miniature.
with my luck my falcon becomes a camp-fire 
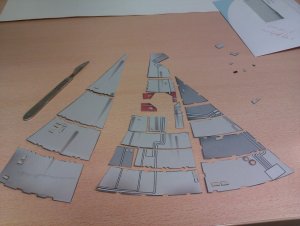
Now i'm cutting up the blast mark..
then use an edding marker and bend the middle to the inside..
looks nice.
at the moment i'm cutting the armour-plating and also the blast holes in it so that they become even more 3D (i hope)
Tomorrow in my paper-time at work í have to upgrade 1 of my computers and i don't know how long that will take so i don't know if i have time to glue the plates in place
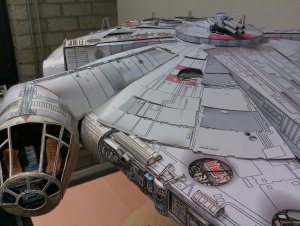
I tried the armour plating but it looks not good..
Because of the prints allready on the hull are the same as the cut out armour so at this moment no extra details..
or i should find something better or a solution without removing the excisting prints.
Because of the prints allready on the hull are the same as the cut out armour so at this moment no extra details..
or i should find something better or a solution without removing the excisting prints.
Z
Zathros
It really does look good.:yep: It's not he average thing you see when you enter someone's house either. The LED's are going to make for some awesome night pictures.:thumb:
And again.
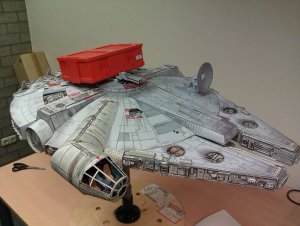
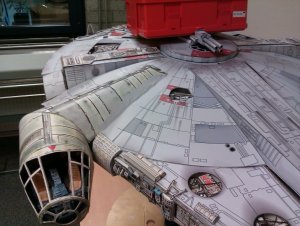
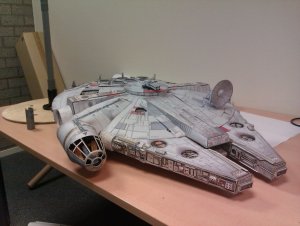
a little update..
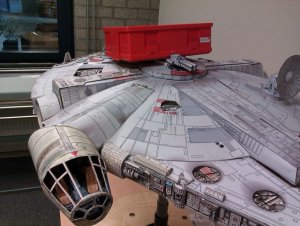
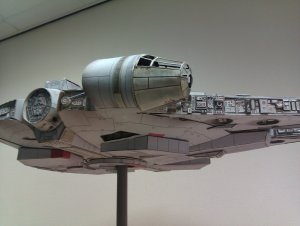
i have installed the bottum turret circle (without the turret)
turret had to be cut off , it didn't fit anymore..
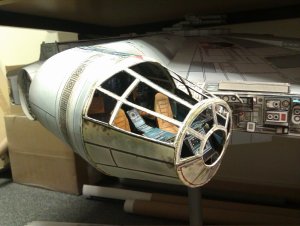
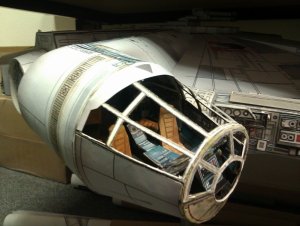
and the plating on the cockpit works..
I have to scratch uh...glue parts on it because my cockpit is bigger than the orginal
a little update..
i have installed the bottum turret circle (without the turret)
turret had to be cut off , it didn't fit anymore..
and the plating on the cockpit works..
I have to scratch uh...glue parts on it because my cockpit is bigger than the orginal
Attachments
This is truly an epic build! I can't recall from earlier posts; are you intending on laminating all of the armour panels?
laminating?..
How is that done?.
I have looked for a speacial spray but that was not good the inkt on the panels became damaged.
so at this moment what you see is what you get
How is that done?.
I have looked for a speacial spray but that was not good the inkt on the panels became damaged.
so at this moment what you see is what you get
Sorry, I mean laminating layers of paper/card on top of the model for extra depth on raised areas.
ah..
that i tried.
But the panels didn't look great.
because that the hull as you see at the pictures is the same as the cutout panels..
Then when i slide the cut out panels over the hull it looked not as great as i hoped..
I try tomorrow to make a picture of it...so you can see what i mean.
that i tried.
But the panels didn't look great.
because that the hull as you see at the pictures is the same as the cutout panels..
Then when i slide the cut out panels over the hull it looked not as great as i hoped..
I try tomorrow to make a picture of it...so you can see what i mean.
Attachments
Z
Zathros
Those pieces would look good on top if you cut out long pieces to go where the parallel lines, and built them up. The mismatched lies are probably what you are referring to, that show the misalignment, but "greebling" would take care of that. Of you could just leave it alone and finish it. 
One way to address that is to use several layers and ensure there is a gap between plates, which will give a better looking depth than just one sheet of card. But either way should look good, it already looks incredible.
My new master plan is to glue just some of the hull panels on the body..
And i'm trying to cut the cable/pipes also so that those also give some depth to the hull,
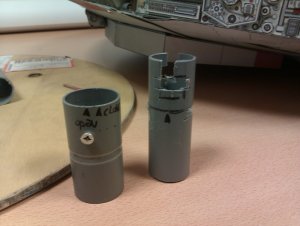
Today, i collected all the pipes and joints for building the wallmount.
Also did i find a connector for the electricity...then i can unplug the falcon when i want without having to cut the cable.
I hope that the falcon is ready next week ........or maybe i find again something i want to change
Z


