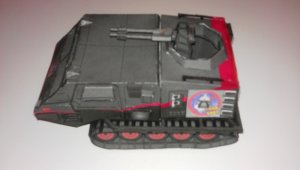
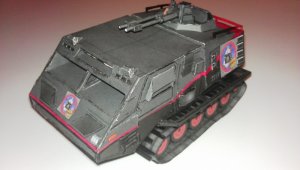
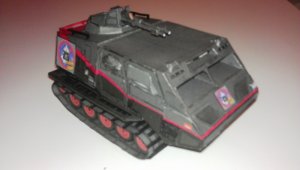
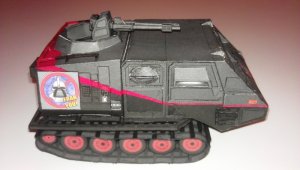
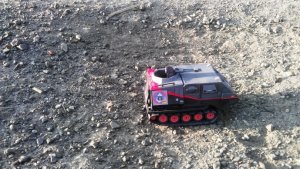
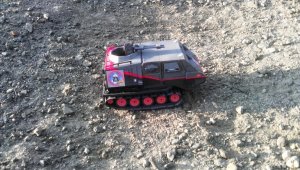
Bsg landram rebuild
- Thread starter Rhaven Blaack
- Start date
You are using an out of date browser. It may not display this or other websites correctly.
You should upgrade or use an alternative browser.
You should upgrade or use an alternative browser.
Detailed photos
Here are some close up photos of the detail of the gunner's section.
This is the weapon fire control. I layered the panels and the handles.
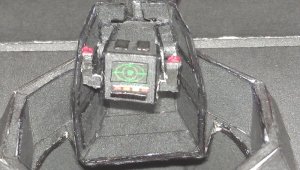
This is the left side. I recessed and raised some of the surfaces and panels to give it a more realistic look and feel.
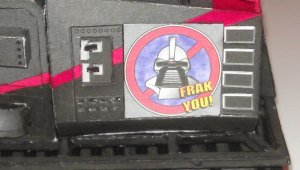
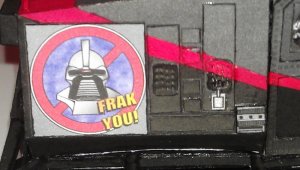
This is the right side. I raised all of the panels and used my scoring tool to dent the vents on the two panels.
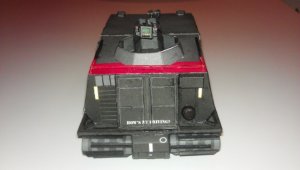
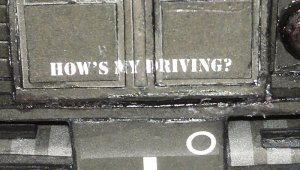
This is the tail hatch. I was able to keep the "HOW IS MY DRIVING" sign when I did the raised and recessed panels.
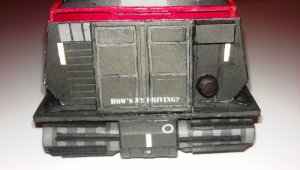
This is the aft end. I scored the panel one the left side of the hatch, added three gray panels above the scored panel, added a strip along either side of the round part on the right side, and recessed the yellow lights,
ENJOY!!!
Here are some close up photos of the detail of the gunner's section.
This is the weapon fire control. I layered the panels and the handles.

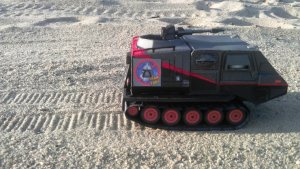
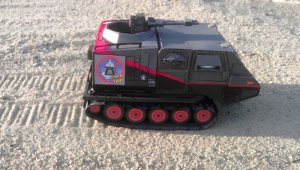
This is the left side. I recessed and raised some of the surfaces and panels to give it a more realistic look and feel.

This is the right side. I raised all of the panels and used my scoring tool to dent the vents on the two panels.

This is the tail hatch. I was able to keep the "HOW IS MY DRIVING" sign when I did the raised and recessed panels.

This is the aft end. I scored the panel one the left side of the hatch, added three gray panels above the scored panel, added a strip along either side of the round part on the right side, and recessed the yellow lights,

ENJOY!!!
Just came across this thread, gonna bookmark it so I can use yours as a reference when I go to do mine cause these builds are AWESOME. Thanks for sharing and inspiring others.
Rick
Rick
Just came across this thread, gonna bookmark it so I can use yours as a reference when I go to do mine cause these builds are AWESOME. Thanks for sharing and inspiring others.
Rick
Thank you for the compliment.
I look forward to seeing your work.
Z
Zathros
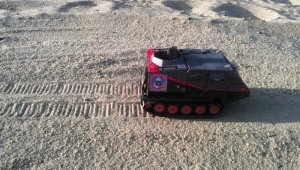
I was thinking that suspension components added into the chassis of this would be interesting but the models looks so good, it looks like it really was traveling across the sand! 
I was thinking that suspension components added into the chassis of this would be interesting but the models looks so good, it looks like it really was traveling across the sand!
Then I accomplished what I set out to do with the photos.
That was the effect that I was shooting for.
I am glad that you like it.


