Albus Dumbledore's Pensieve

Rhaven Blaack

!!!THE MAN BEHIND THE CURTAIN!!!
Staff member
Administrator
Moderator
I decided to build the Albus Dumbledore's Pensieve, as a gift for a friend. The Pensieve was featured in both "Harry Potter and the Goblet of Fire" and also visible in the last movie "Harry Potter and the deathly hallows" part 2.

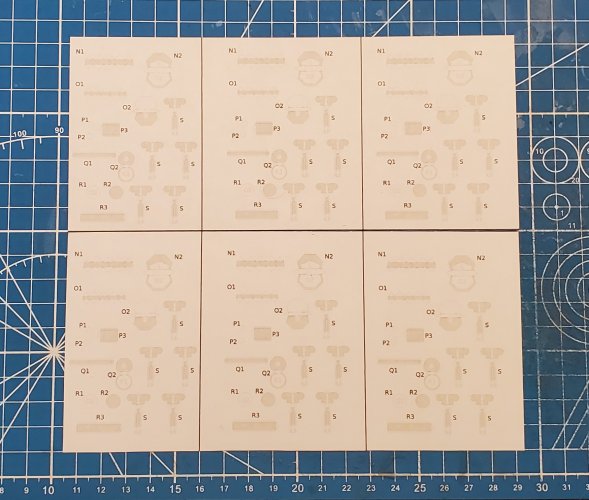
The template consists of four pages of parts. The template and instructions are available here: https://www.mascal.it/old/paper4_e.html
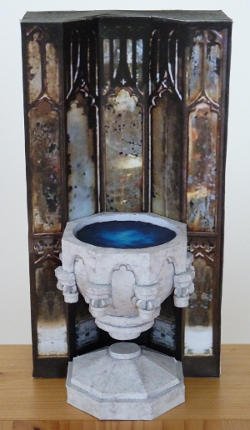
pensieve.jpg

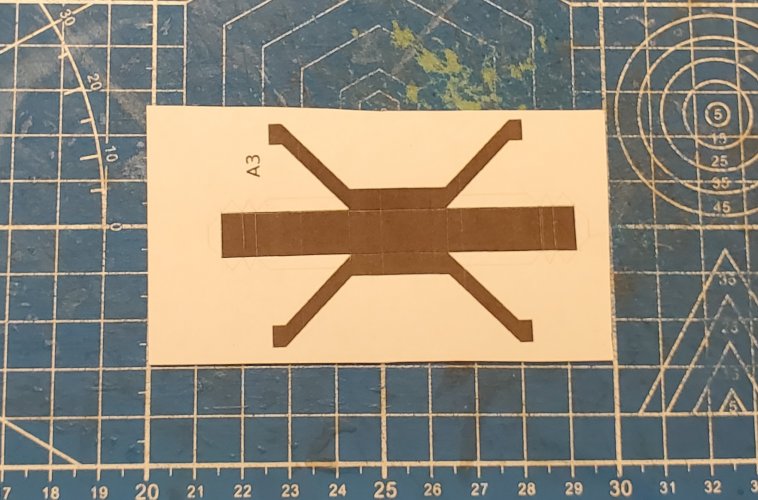
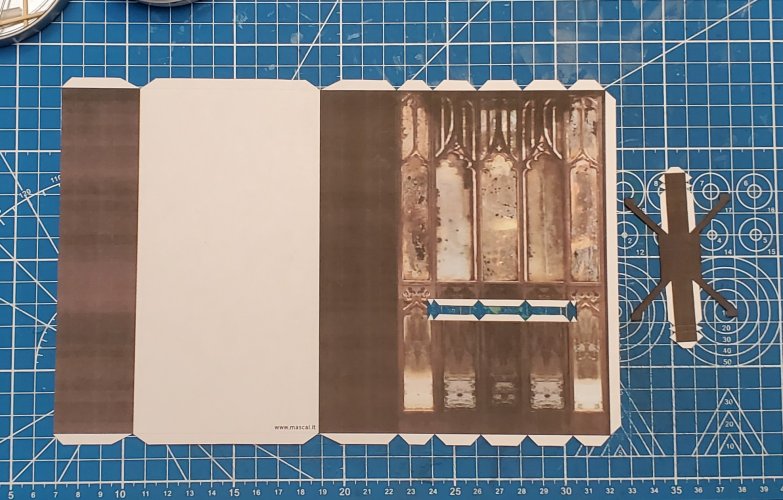
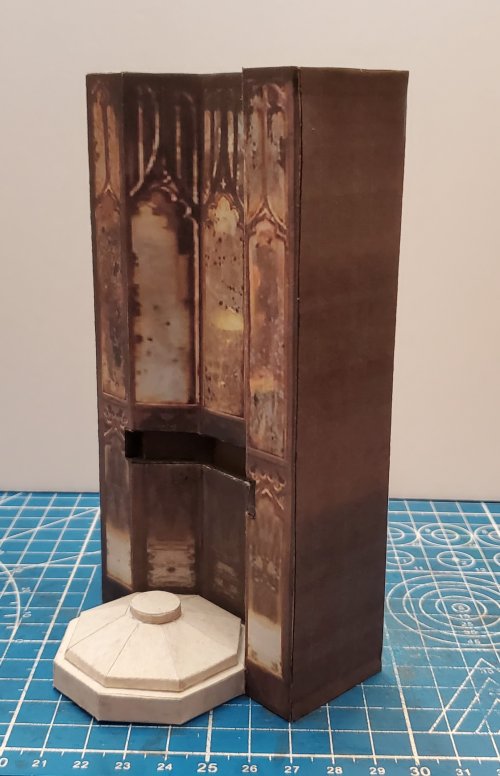
Starting with "stand". Here part for the stand and the mount for the Pensieve.
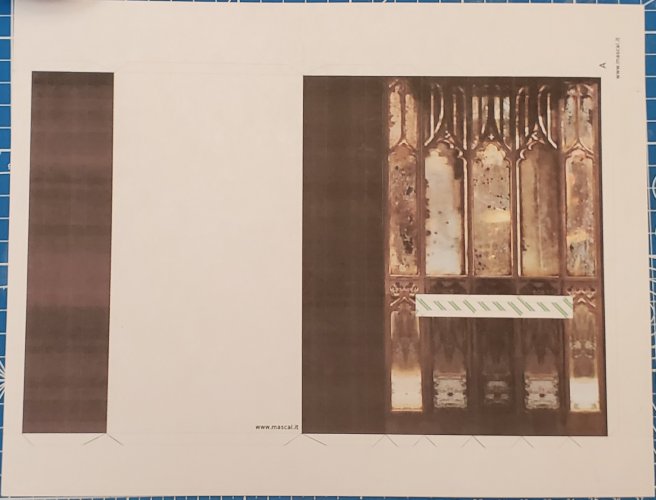
20220622_204546.jpg

20220622_214235.jpg

20220622_215826.jpg

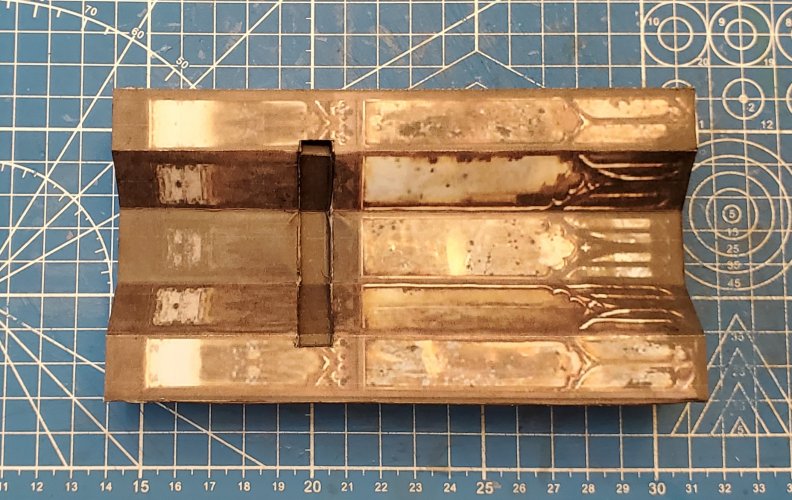
The mount for the Pensieve is assembled.
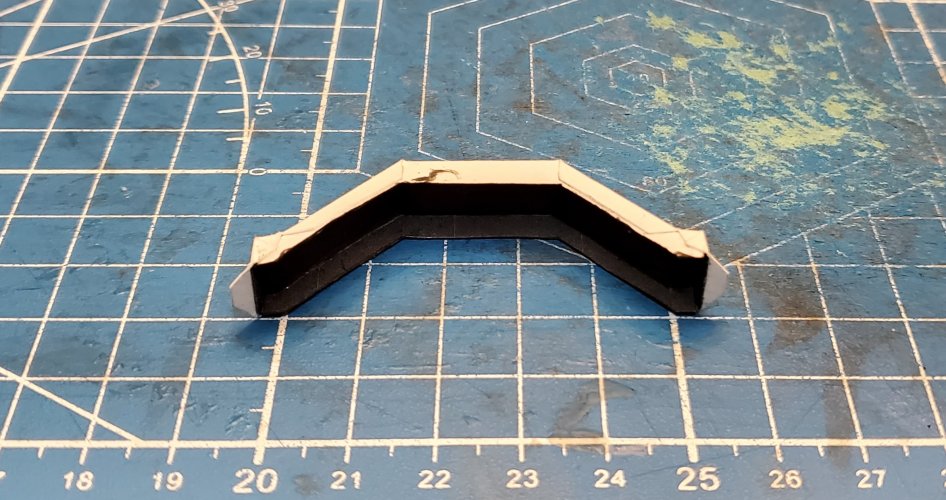
20220623_070913.jpg

The mount for the Pensieve is attached "stand".
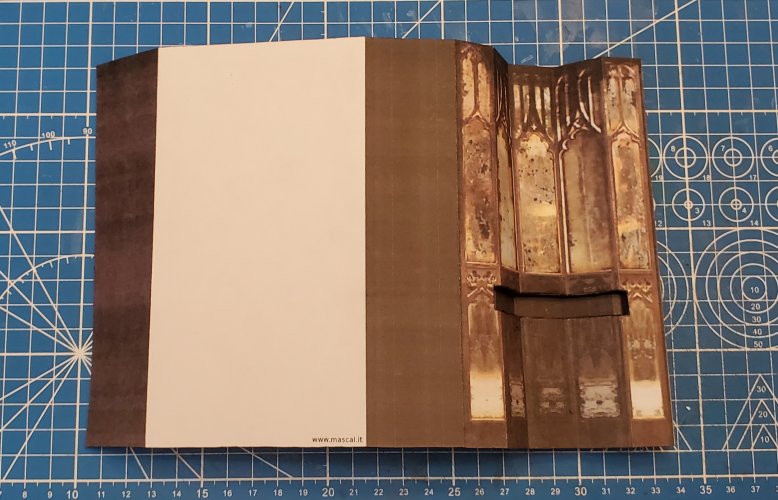
20220623_075358.jpg

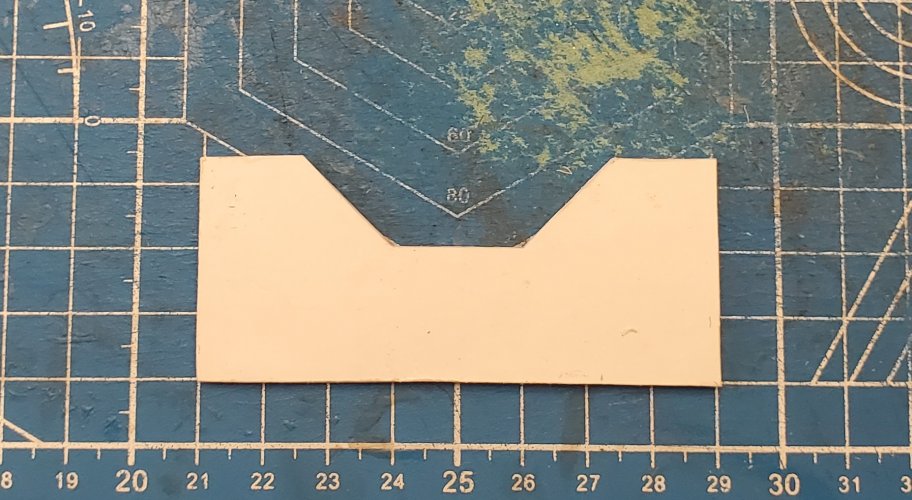
Here are the top and bottom pieces to the stand. I laminated each on to 2mm.
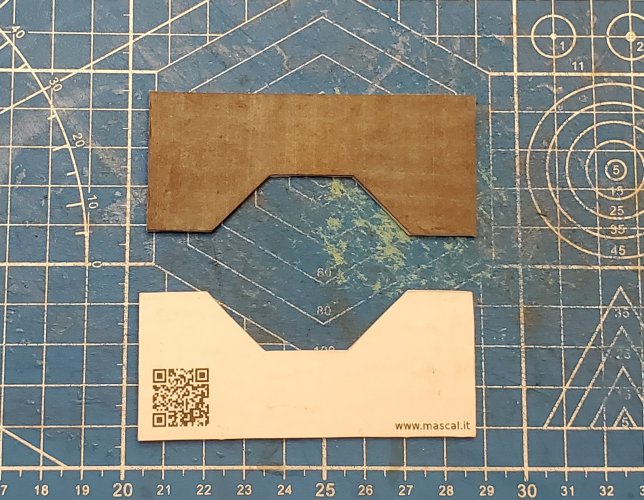
20220623_075424.jpg

The top and bottom pieces are attached in place (I also attached extra pieced of cardstock to reinforce the connection).
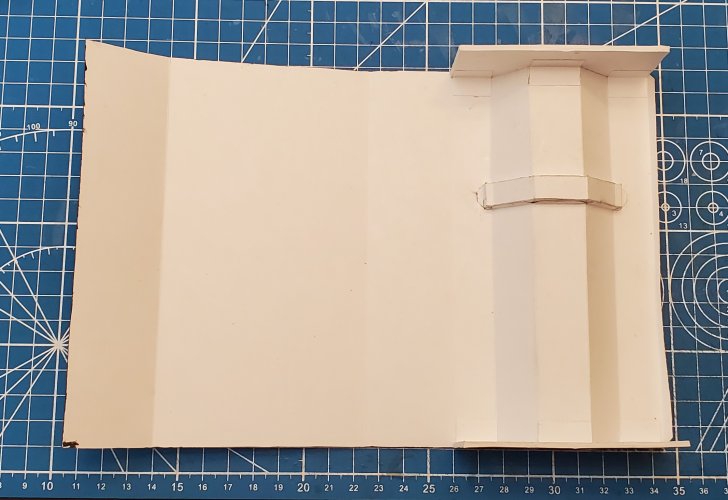
20220623_130115.jpg

I decided to make additional internal formers to add additional strength to the "stand".
20220623_131912.jpg

I added a total of six (6) internal formers (two of which help with supporting the Pensieve mount).
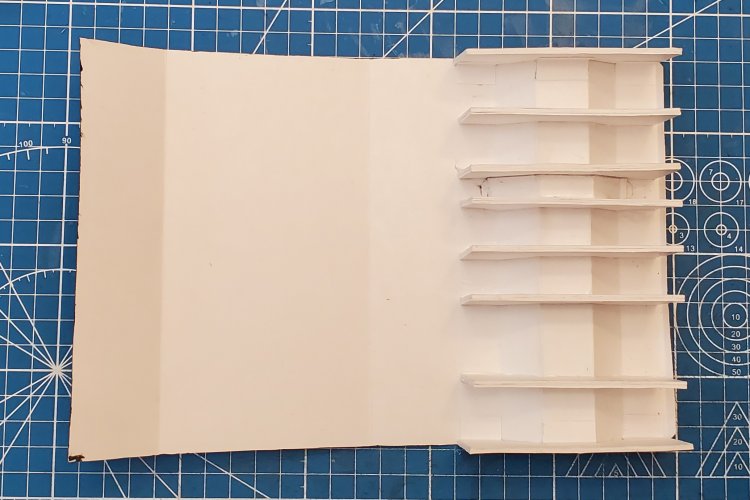
20220623_135920.jpg

The stand is fully assembled.
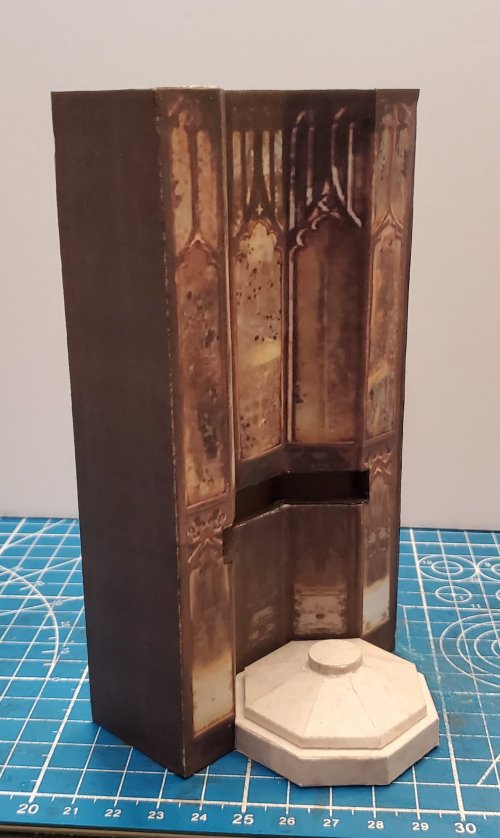
20220623_142817.jpg
 

Rhaven Blaack

!!!THE MAN BEHIND THE CURTAIN!!!
Staff member
Administrator
Moderator
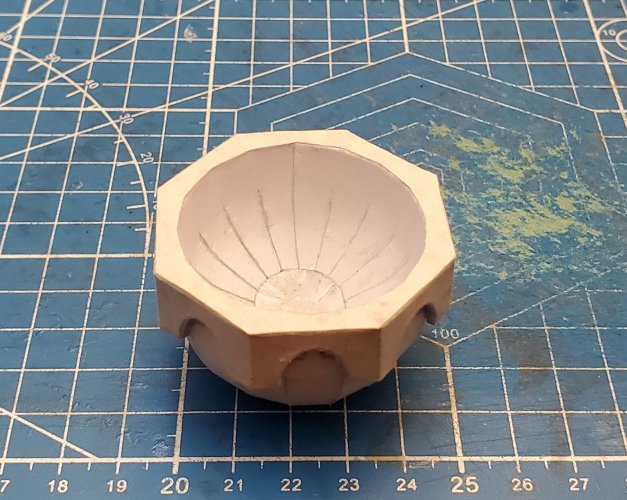
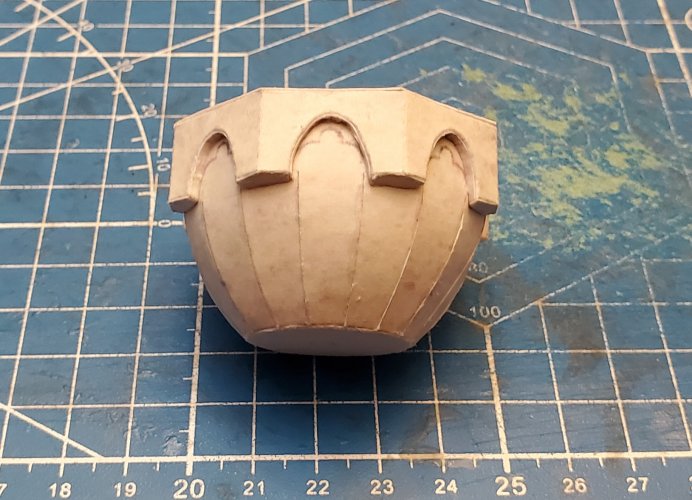
Moving on to the basin/cauldron.

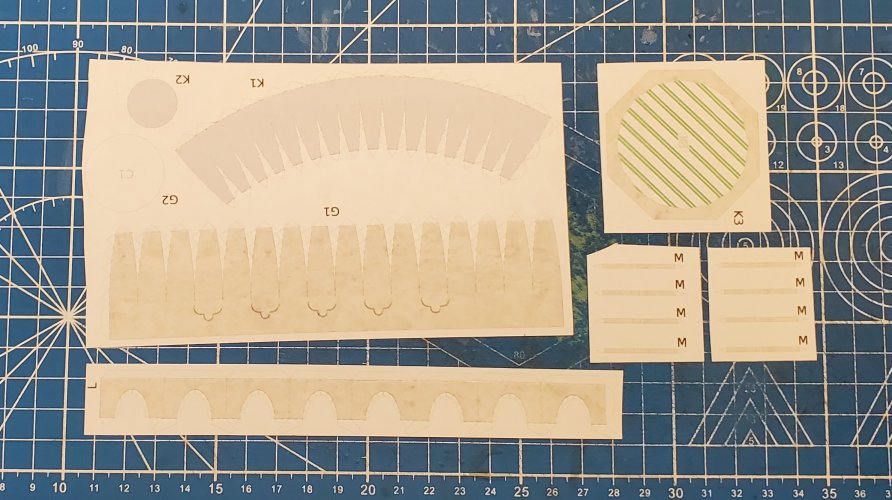
Here are the main parts for the basin/cauldron.
20220624_100929.jpg

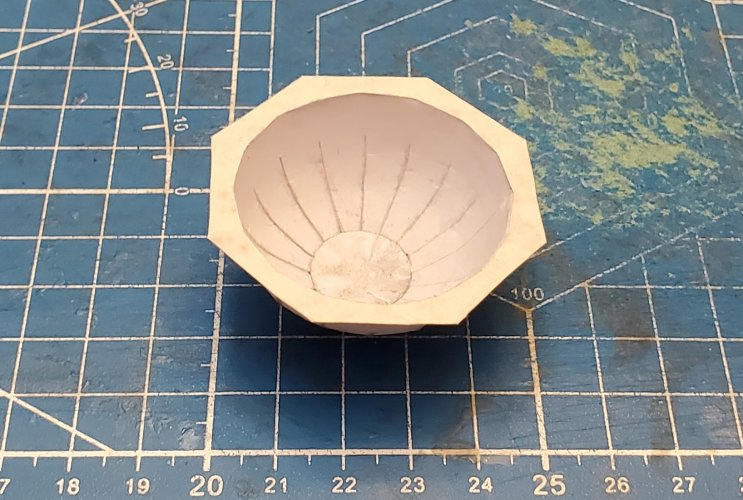
The main parts are formed and assembled.
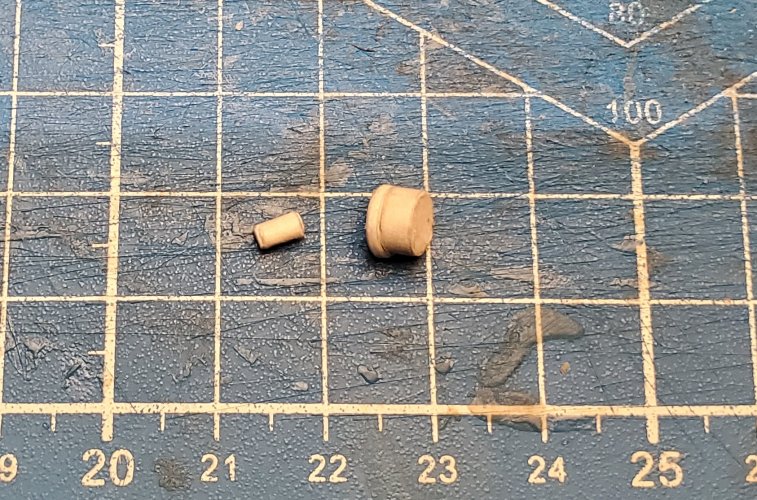
20220625_182600.jpg

Now assembling the basin/cauldron.
20220625_184023.jpg

20220625_184821.jpg

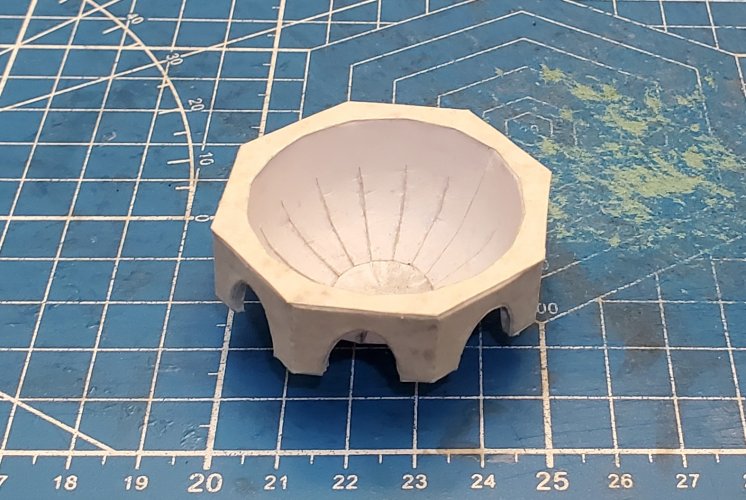
The basin/cauldron is now assembled.
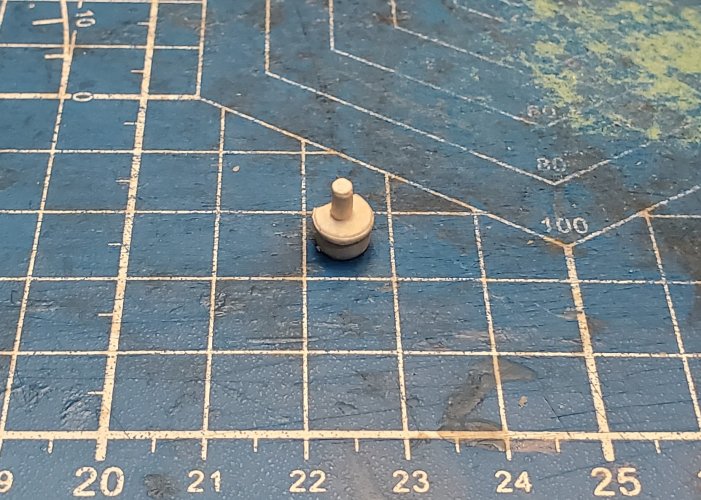
20220625_185048.jpg

20220625_185056.jpg
 

Rhaven Blaack

!!!THE MAN BEHIND THE CURTAIN!!!
Staff member
Administrator
Moderator
Moving on to the base of the basin/cauldron.

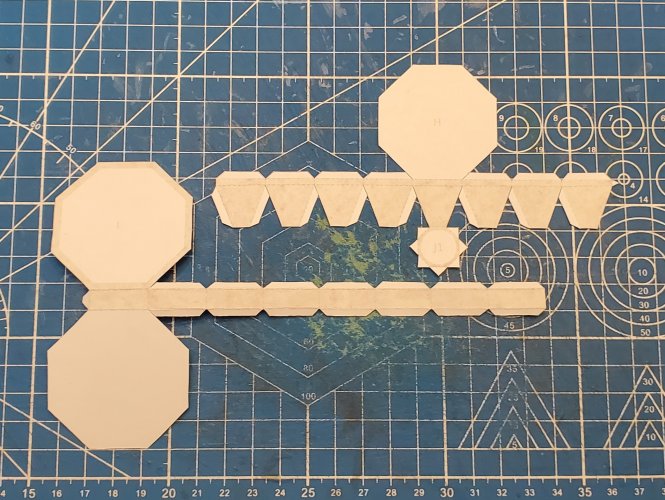
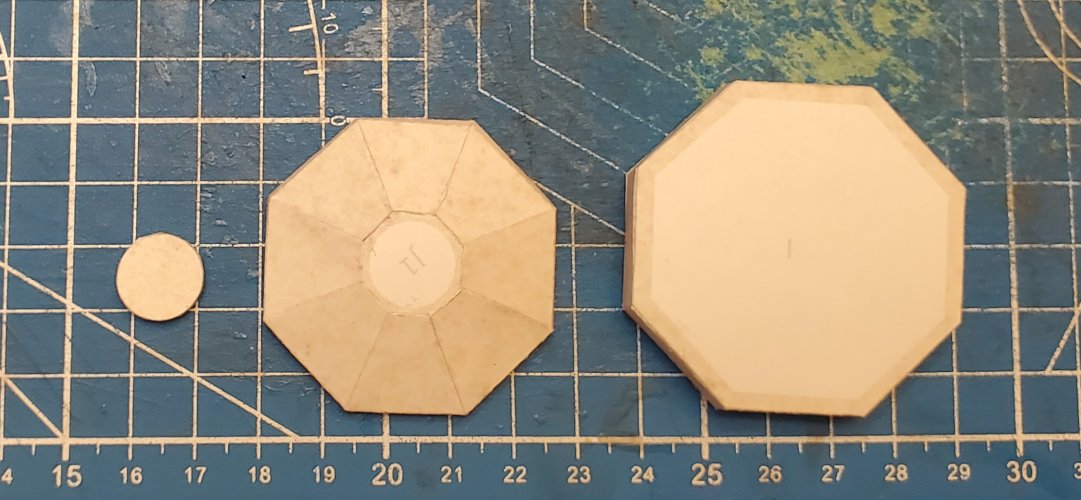
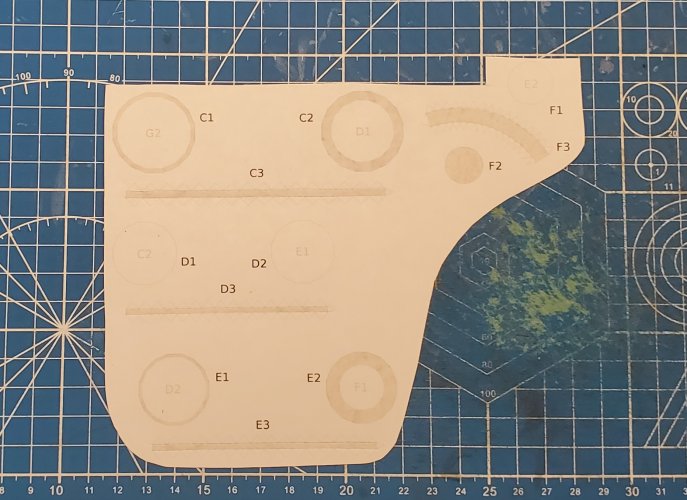
Here are the parts for the base of the basin/cauldron.
When working with these components, start with the first one, and slowly work your way through.
20220626_080921.jpg

Component "C" assembled.
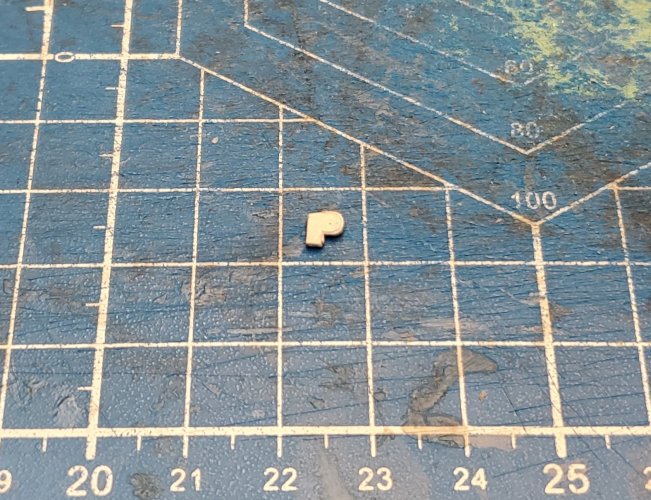
20220626_093000.jpg

Component "C" attached.
20220626_093145.jpg

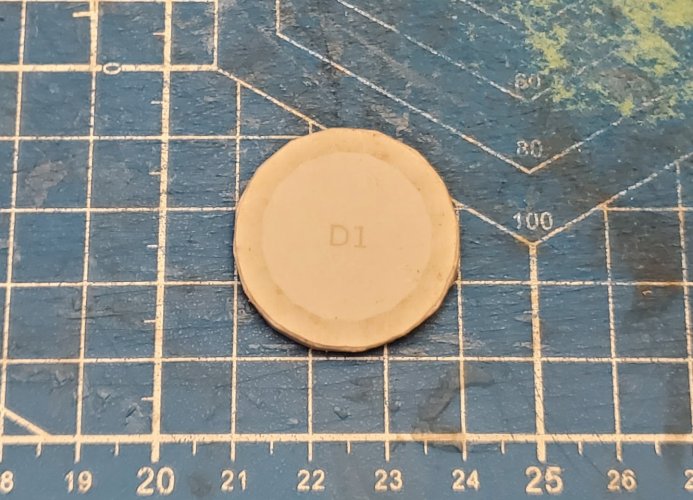
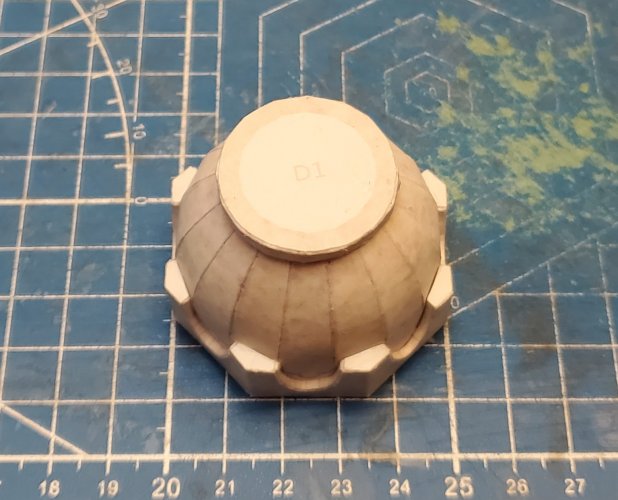
Component "D" assembled.
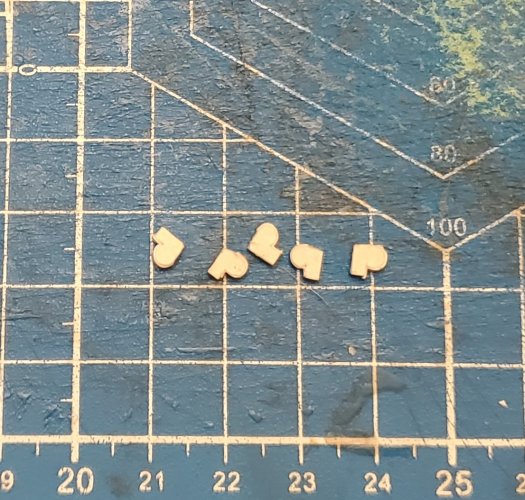
20220626_094920.jpg

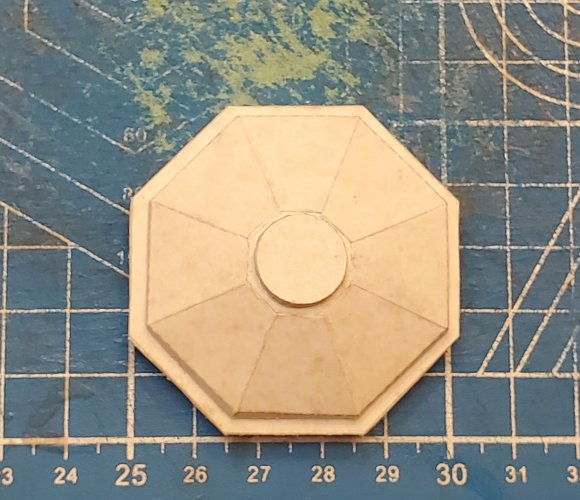
Component "D" attached.
20220626_095602.jpg

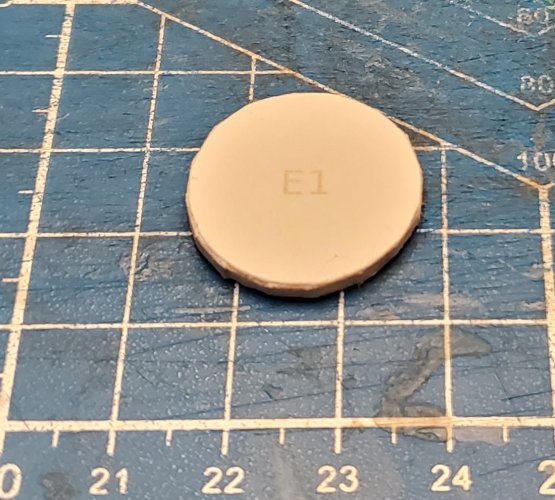
Component "E" assembled.
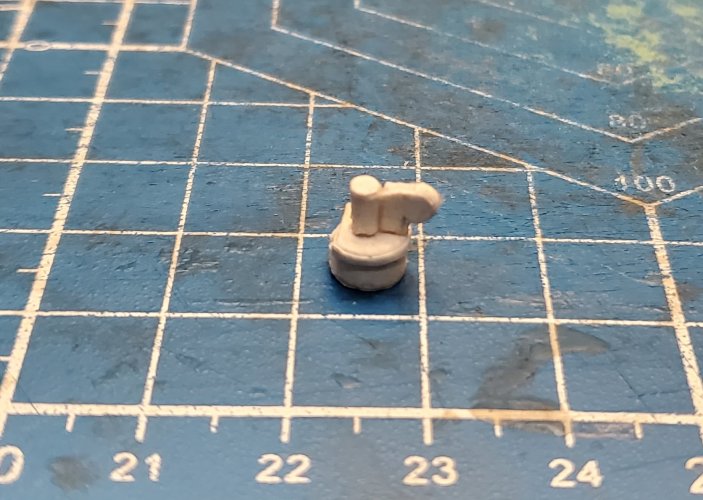
20220626_110154.jpg

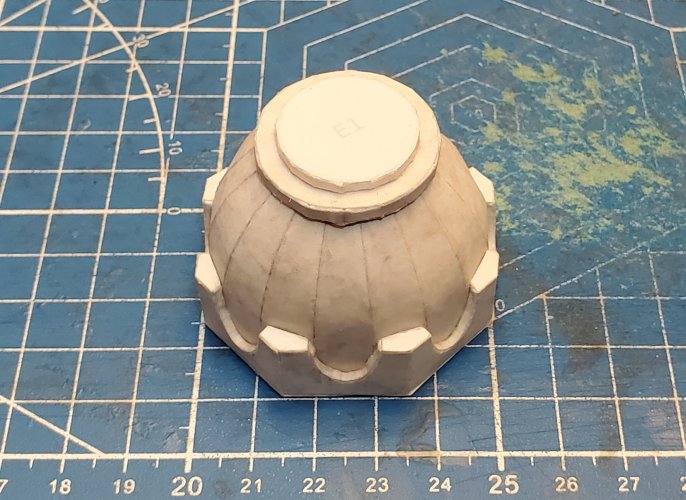
Component "E" attached.
20220626_110324.jpg

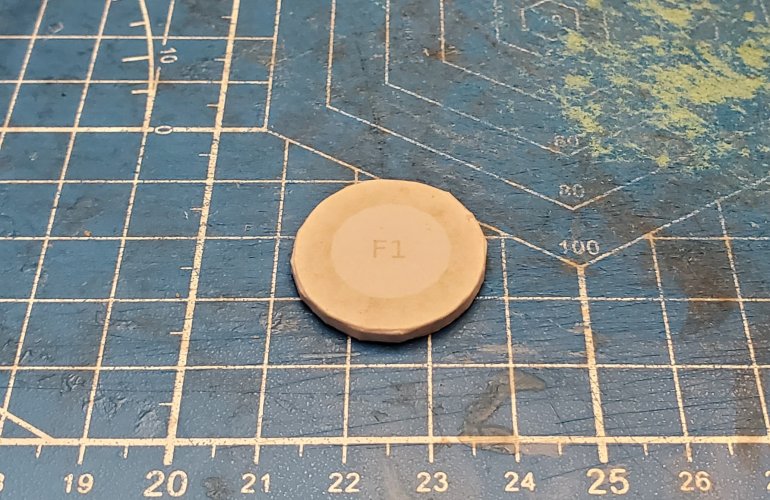
Component "F" assembled.
20220626_113259.jpg

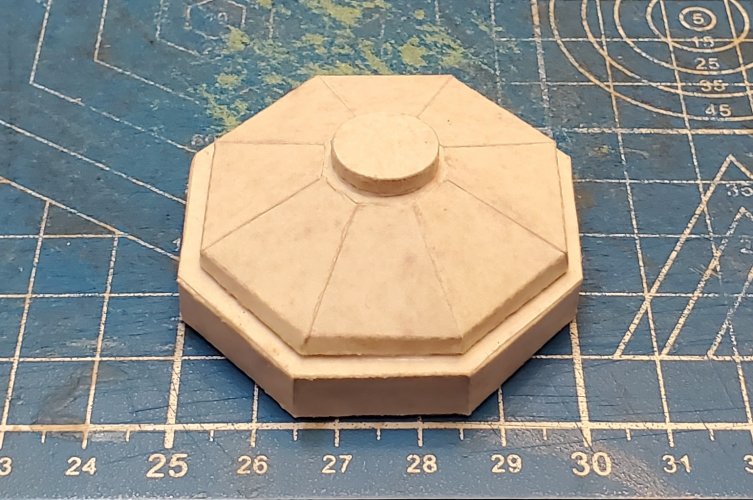
Component "F" attached.
20220626_113600.jpg
 

Rhaven Blaack

!!!THE MAN BEHIND THE CURTAIN!!!
Staff member
Administrator
Moderator
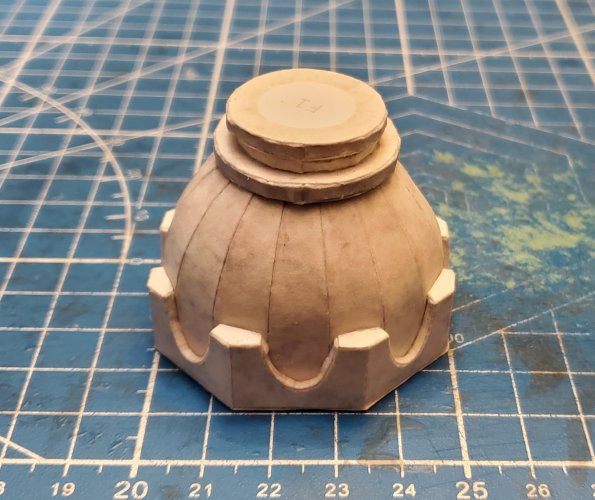
It is time to make the ornaments. There are six in total. This can be very tedious (and somewhat frustrating).

Here are the parts for the six ornaments.
20220626_114522.jpg

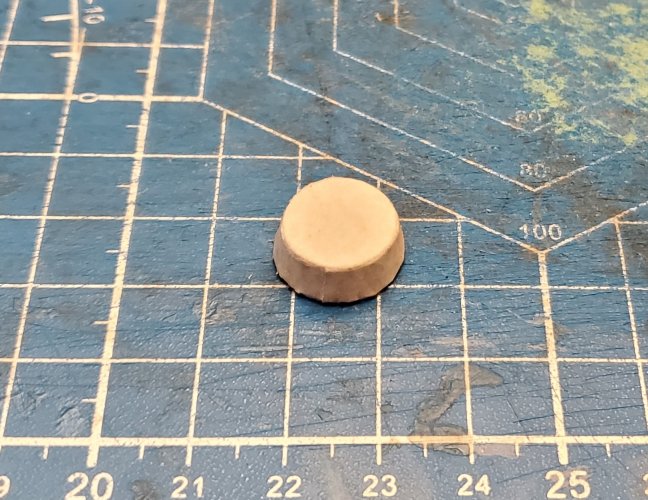
Starting with the cap-pieces. Here is the top cap.
20220627_091704.jpg

This is the second cap-piece.
20220627_100420.jpg

This is the bottom piece and pedal spindle.
20220627_204423.jpg

The bottom piece and pedal spindle are attached.
20220627_204545.jpg

This is a pedal piece (I cheated and laminated the pedal sides together and put the edge line piece on the pedal).
20220627_204608.jpg

All five pedal pieces are assembled.
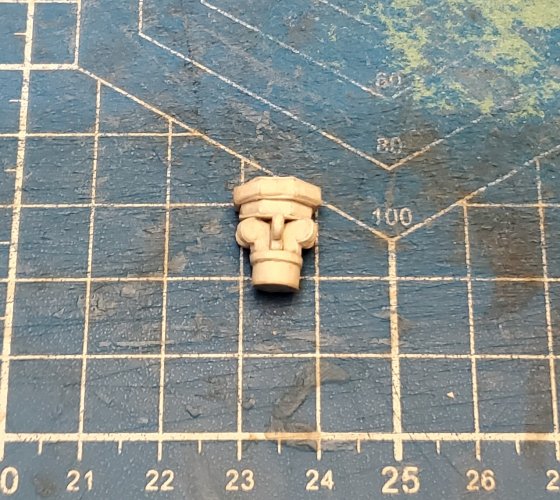
20220628_084930.jpg

When attaching the pedal pieces, I attached one in the center of the spindle.
20220628_085046.jpg

All five pedals are attached.
20220628_085324.jpg

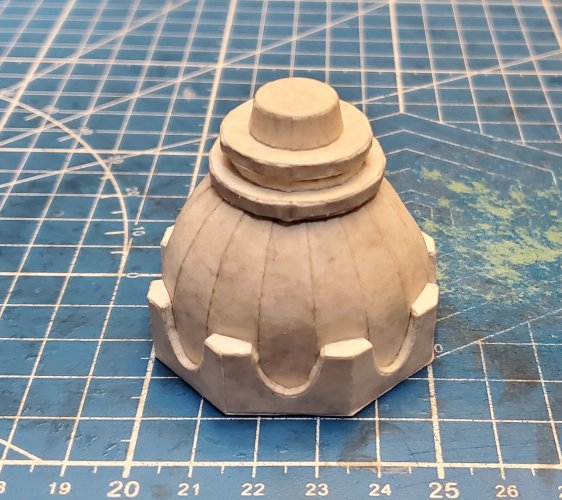
The cap-pieces are attached.
20220628_085455.jpg

All six ornaments are assembled.
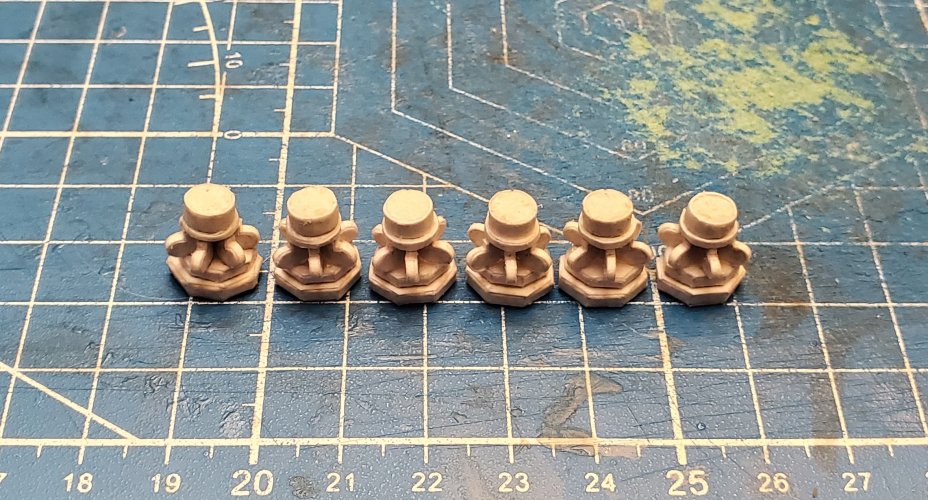
20220703_172746.jpg

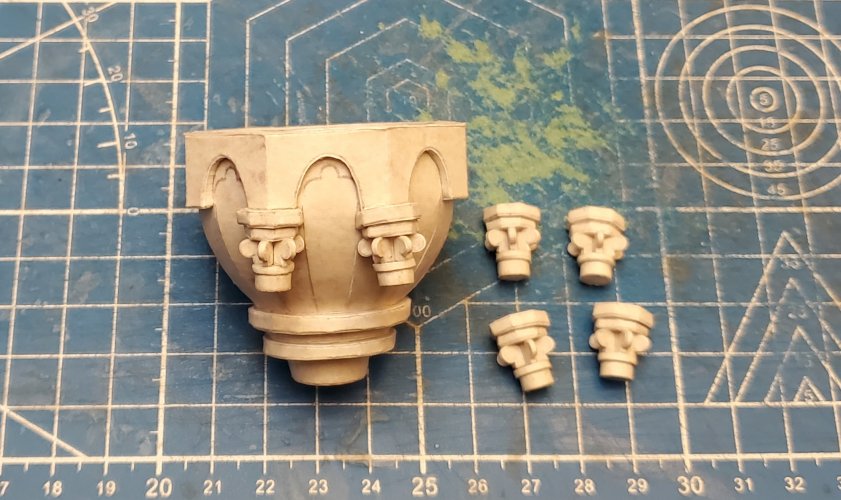
I start attaching the ornaments tot he pensieve outer rim.
20220703_181605.jpg

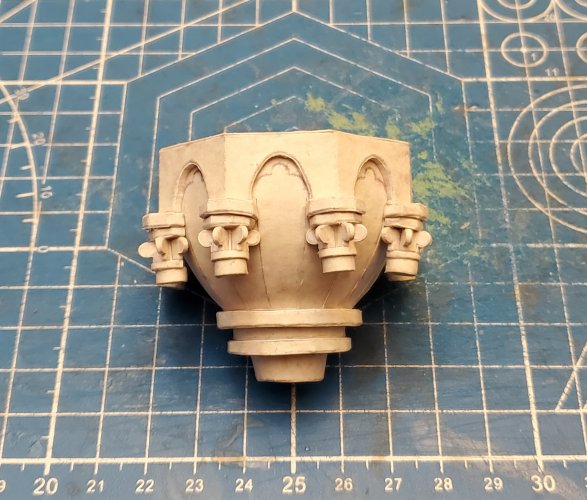
All of the ornaments are attached.
20220703_181827.jpg

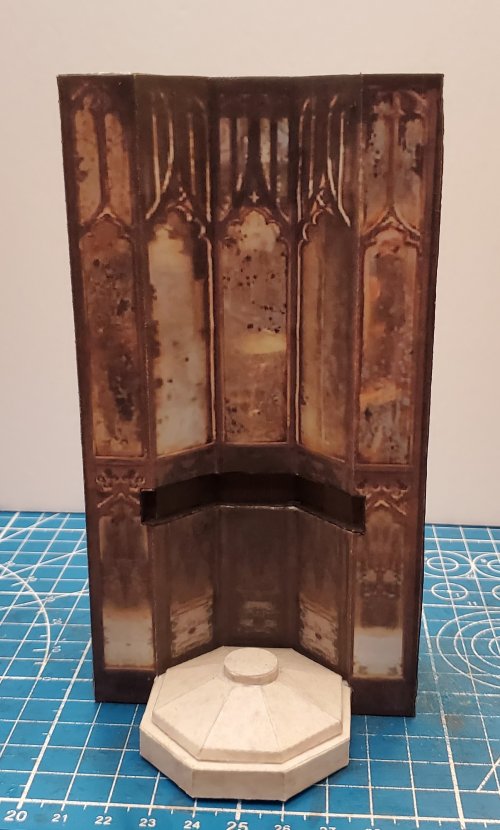
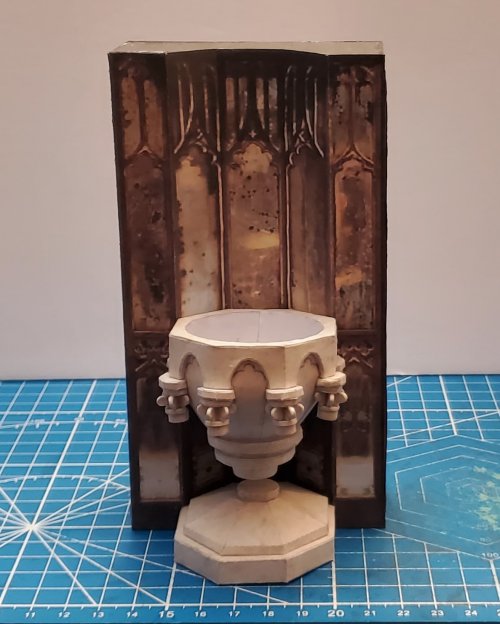
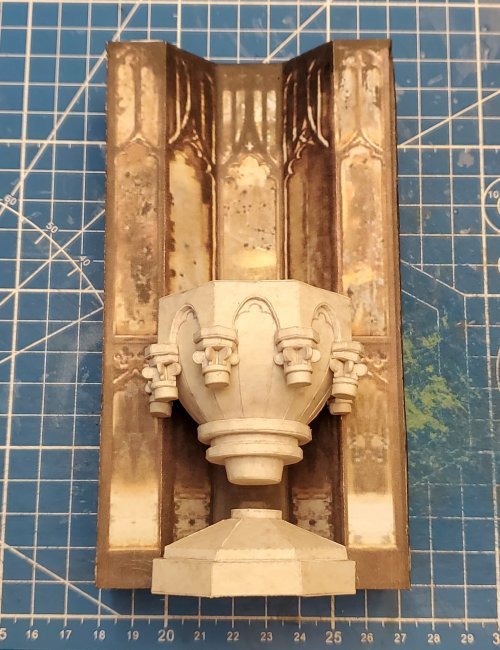
The pensieve is attached in place to the stand.
20220703_182021.jpg

The pensieve is now complete!
20220703_182137.jpg
 

Rhaven Blaack

!!!THE MAN BEHIND THE CURTAIN!!!
Staff member
Administrator
Moderator
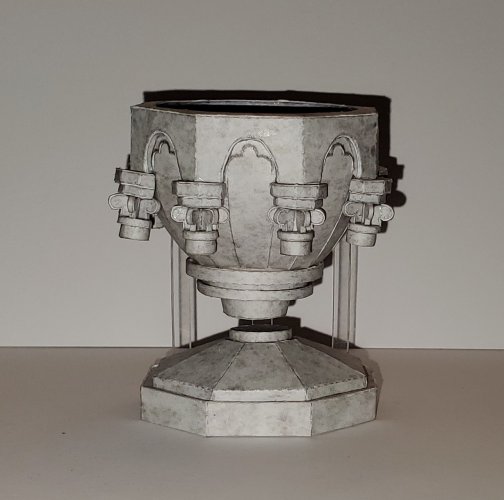
I was requested to build another one. However, I made it without the back-stand. I used three clear plastic strips to make the "bowl" appear to be "floating".
This photo was taken with the flash (to show the plastic strips).
20220712_131511.jpg

This photo was taken without the flash (to show the "bowl" that it is "floating").
20220712_131530.jpg
 
Top