This post is a continuation of my adventure building Steve Paper's 3ft Battlestar Galactica. I'll be talking about my experience building the model's mid-ship section. If you want to see how this party started click on over to my first post, "Sometimes, you have to roll a hard six."
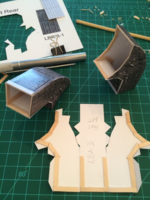
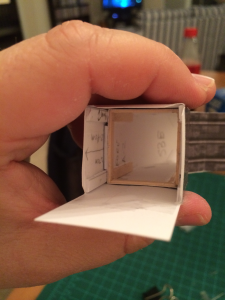
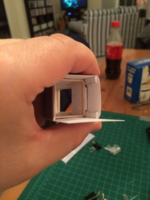
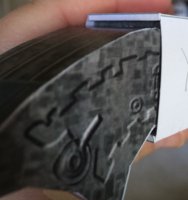
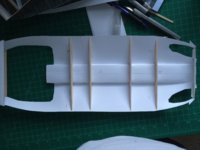
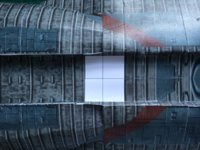
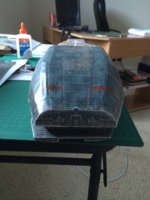
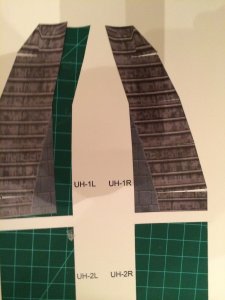
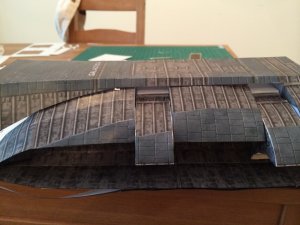
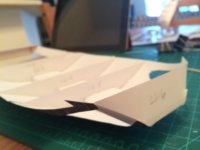
Having finished the lower bow I was stoked to start the mid-ship. The assembly guide shows that the construction starts with the keel so I started cutting the hull pieces, 1a - 1f. Since the port and starboard pieces are mirror images of each other I compared 1a to 1b and 1d to 1f. 1a and 1b matched perfectly, but 1d and 1f didn't.
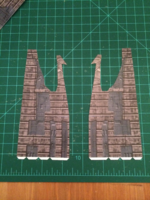
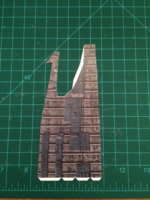
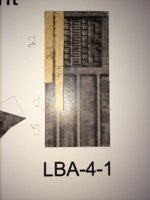
That second picture shows 1d behind 1f. I asked Steve about this. He said that the gap is pretty small and I should damn the torpedoes! Full steam ahead! (ok, that was my interpretation ). If the gap bugs me he would rework the part and sent it to me. Hopefully I won't have to take him up on that offer.
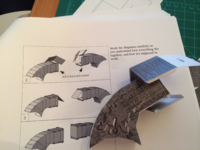
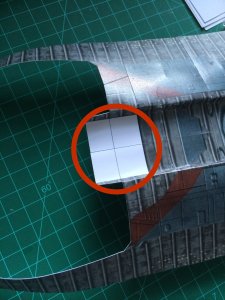
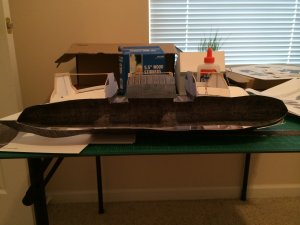
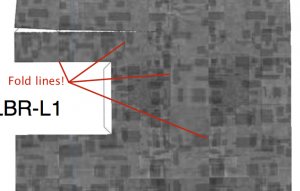
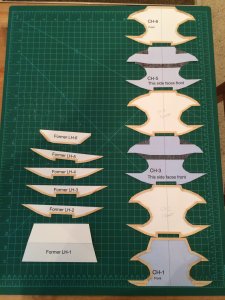
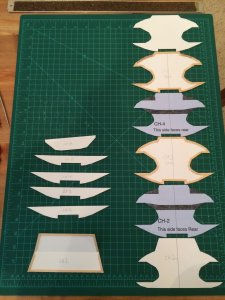
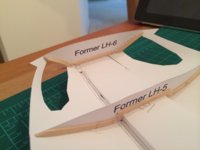
So I glued 1a - 1e together using my embossing method to get a smooth hull. Yes, I know Zathros, cut the damn tabs off. *sigh* Next time. Then I noticed that the lined file (I'm building the line-free model, but using the lined-file as a guide) only has fold lines on the "valley" and there's no indication where to put the formers LH2 - LH5. While I mulled over what to do I about that I started cutting out and reinforcing the formers LH1 - LH6 and CH1 - CH6.
What this model needs is MORE STICKS!!
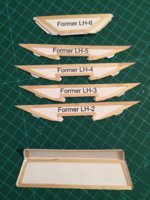
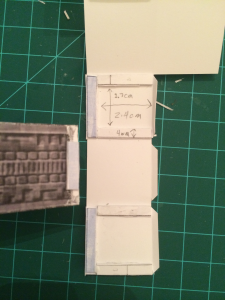
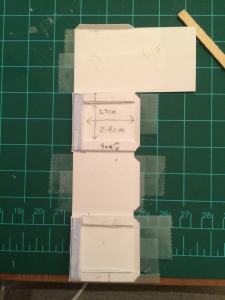
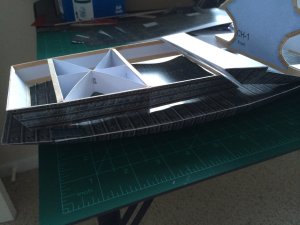
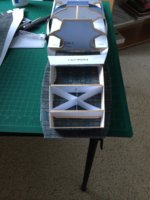
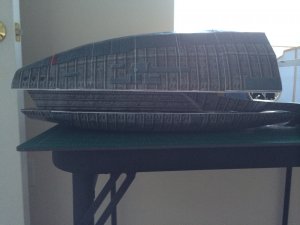
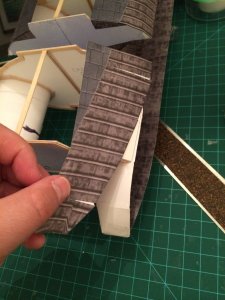
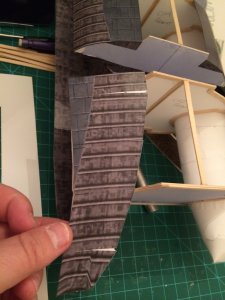
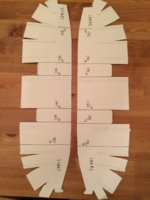
It didn't take long to reinforce LH1 - LH6. CH1 - CH6, however, took 3 - 4 hours...for each part. Pictures of those pieces in the internal sub-assembly are below. But first, I'd like to delve into the world of relativity.
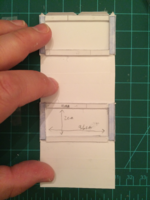
The assembly guide shows where the formers are in the keel, but doesn't give an measurement so I decide to calculate the formers' positions relative (see what I did there! lol) to a spot on the keel.
I knew that the pod bay arm sub-assembly is 3cm across (arm assembly is in the next post) so grabbing my trusty metric ruler and the assembly guide I did some calculations.
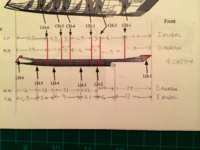
I contacted Steve to verify my findings. He says that everything was correct except for CH6. I calculated 10.3cm but it should be 10.5cm. YES!! OBSESSIVENESS FOR THE WIN!!
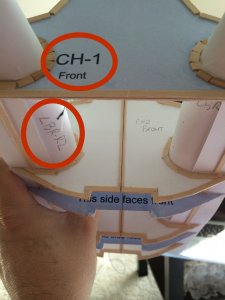
He also reminded me that CH7 - CH10 have guide marks for each CH former. <headdesk>
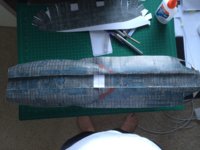
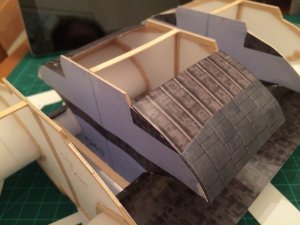
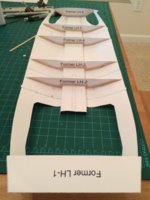
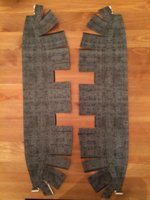
Two days (6 hours project time) I have the CH sub-assembly is complete.
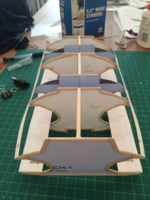
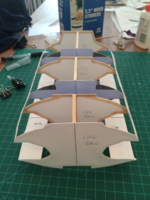
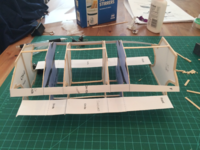
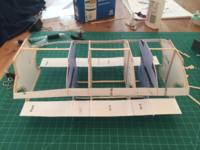
The blue/gray areas are where the pod bay arms will be installed.
That's it for tonight. The landing pod arms are next.
djp
aka DataZombies
Having finished the lower bow I was stoked to start the mid-ship. The assembly guide shows that the construction starts with the keel so I started cutting the hull pieces, 1a - 1f. Since the port and starboard pieces are mirror images of each other I compared 1a to 1b and 1d to 1f. 1a and 1b matched perfectly, but 1d and 1f didn't.


That second picture shows 1d behind 1f. I asked Steve about this. He said that the gap is pretty small and I should damn the torpedoes! Full steam ahead! (ok, that was my interpretation
So I glued 1a - 1e together using my embossing method to get a smooth hull. Yes, I know Zathros, cut the damn tabs off. *sigh* Next time. Then I noticed that the lined file (I'm building the line-free model, but using the lined-file as a guide) only has fold lines on the "valley" and there's no indication where to put the formers LH2 - LH5. While I mulled over what to do I about that I started cutting out and reinforcing the formers LH1 - LH6 and CH1 - CH6.
What this model needs is MORE STICKS!!

It didn't take long to reinforce LH1 - LH6. CH1 - CH6, however, took 3 - 4 hours...for each part. Pictures of those pieces in the internal sub-assembly are below. But first, I'd like to delve into the world of relativity.
The assembly guide shows where the formers are in the keel, but doesn't give an measurement so I decide to calculate the formers' positions relative (see what I did there! lol) to a spot on the keel.
I knew that the pod bay arm sub-assembly is 3cm across (arm assembly is in the next post) so grabbing my trusty metric ruler and the assembly guide I did some calculations.

I contacted Steve to verify my findings. He says that everything was correct except for CH6. I calculated 10.3cm but it should be 10.5cm. YES!! OBSESSIVENESS FOR THE WIN!!
He also reminded me that CH7 - CH10 have guide marks for each CH former. <headdesk>
Two days (6 hours project time) I have the CH sub-assembly is complete.


The blue/gray areas are where the pod bay arms will be installed.
That's it for tonight. The landing pod arms are next.
djp
aka DataZombies
Last edited:


