A Display Diorama...

Hi Steve, the display looks great, what colour sceme is it going to be?
Shamus
wink.gif


Looks somewhat like the one I've been working on for my neighbor, Bob I plan to sneak in and plant it on his TV in place of the plain section of track he's using to display a Monon loco. I walk his dog while he's out, so it should be easy to do. I'll get a picture up later this week.

What did you use for the sand or sandy colored ground in the foreground? Looks nice! Small projects sure are fun.
 
Continuing...

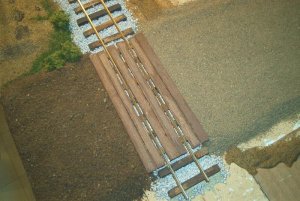
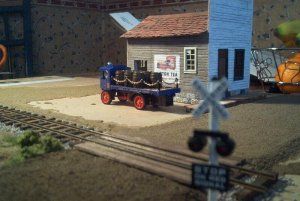
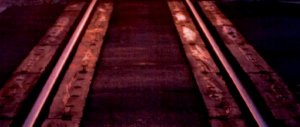
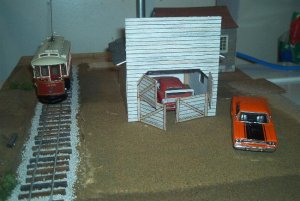
As I continue along at my usual snail's pace, I have put down the level crossing and the rest of the road. Interesting to see how the sifted dirt that I use does not faed back to the original (right side of crossing) light colour, but stays as dark as when soaked. (left side)

The "sand" is exactly that...fine sifted sand that I picked up, dried, sifted, and ran a magnet through. I think that it is possible to stain the sand in areas too, in order to avoid a monotonous one-colour look.

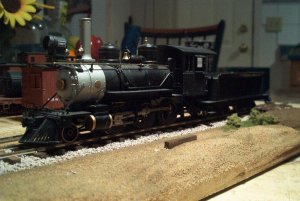
Thanks for the compliments on the locomotive, but I can't claim anything. It's bone stock. AllI did was strip the original Pennsylvania paint scheme from it, and even that is not finished yet.

It might be small, and really rudimentary, but I am LEARNING stuff. Any mistakes made here hopefully means less mistakes made on a "real" layout.
 

Attachments

  • roadgluedandunglued.jpg
    roadgluedandunglued.jpg
    75.1 KB · Views: 261
Another Shot...

As you can see, I still have a way to go. This diorama will be used to display the following...
--Rolling stock
--Scratchbuilt buildings ( max 1 or 2 at a time)
--Small trackside features, such as a water tank, sanding facility, etc.
--Vehicles, people...etc.
 

Attachments

  • truckandbldg.jpg
    truckandbldg.jpg
    60.9 KB · Views: 257
From AlexMRRKB's post about "Ground Goop" came this response from cidchase...

"For dirt cheap you can get from Home Depot a huge bag of
blown cellulose insulation material. ( I think it's really just
chopped up newspaper.)
Mix in carpenter's glue diluted with water about 1/3 glue.
Mix it not too slushy but where you can still mold it.
I also threw in some flour for a smoother texture.
You can form any kind of ground contour you want with
this stuff. It takes a while to dry, a couple of days.
Like shamus said, build up thicker places with underlayment
and use less mud, it will dry faster.
It comes out looking like dirt almost with no further treatment!!
I paint it anyway.
This is still kind of experimental, but it works!! To me, the advantage over rock-hard setting materials is you can still
cut it with a knife (not easily) and it's less likely to crack and
chip. The glue is the most expensive part, my suggestion is
Tite-Bond in the gallon jug."

This looks like a great idea!! Just look at my diorama...There's NO WAY that nature is ever that flat!
 
Niiiice!

Looking good Steve! I agree that a small diorama is a great way to practice modeling skills - it's fun - and it's a lot easier to get done than a big layout!

Just one thing though on your level crossing. Shouldn't you have an inside guard rail (like on a turnout) to keep your flangeways clear? This was suggested to me by someone who handlays in-street track: just take a second piece of rail and lay it inside the main rails on its side, leaving a gap for the flanges.

cheers
:D Val
 
Guardrails...

Val, that's a good point. I'll have to check, as I am pretty sure that it was done for poured concrete crossings, as well as track in the street. I'm not sure if back-woodsy plank crossings were treated as well as their citified brethren.:)
 
Here's a shot of the mockup of a blacksmith shop that's become a garage and gas station, as horse traffic dwindles. I really should get ahold of something more time appropriate that these Mopars...:D
 

Attachments

  • blacksmith shop.jpg
    blacksmith shop.jpg
    53.6 KB · Views: 136