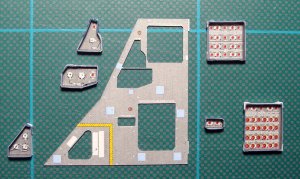
Now let's go with the fun stuff!
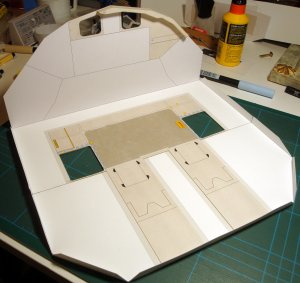
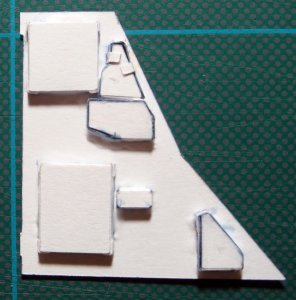
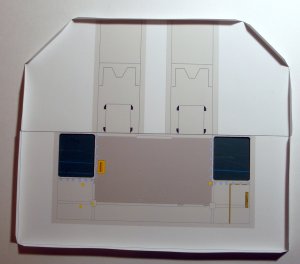
First of all I glued the floor to a thick cardboard (1 mm) because my first prototype showed some problem when the load of added parts tended to distort the model.
Then I added some details cut from a second copy of the base to add a better 3D feeling.
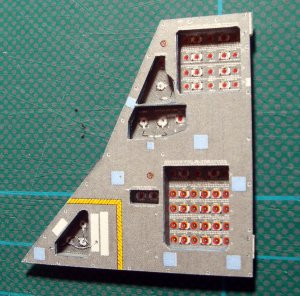
First the yellow handle near one of the passages to mid-deck
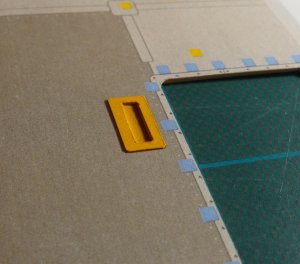
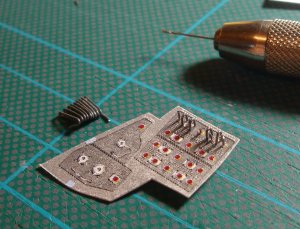
and then I took a a decision that will have an heavy influence on all my following work: I started to cut out and glue all the velcro patches
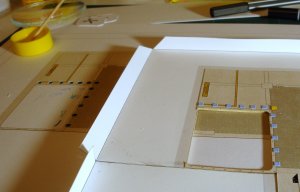
You see on the left the "donor" and, on the right, the actual floor with the patches already in place.
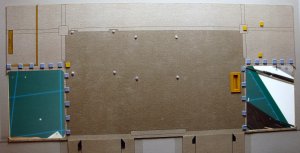
undoubtedly this way the looking is much better but this thing I started here will force me to cut and paste ALL the hundreds of velcro patches I'll meet from now on...
Note that I placed also seat coupling points (if they are so).
Now I want to spend some words about a technique I already used widely on LEM build: the "microtabs"
When you need to glue a "difficult" piece and you don't want to use tabs to have seamless joins you can prepare some little tabs (about 1 x 2 mm) with a light scored line in the middle (to easily fold them).
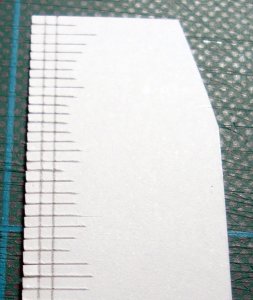
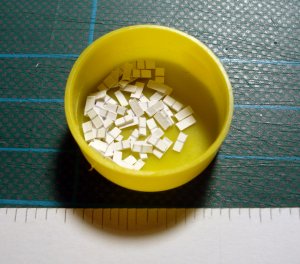
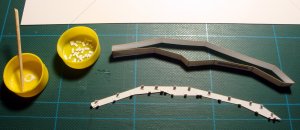
They will be applied all around one of the pieces, especially near angles or edges, and will help greatly to keep in place the other piece when you glue it, applying small amounts of glue to some tabs at a time with a little piece of spare cardboard, until you have covered all the perimeter. Eventually you'll finish with a really flush and clean junction.

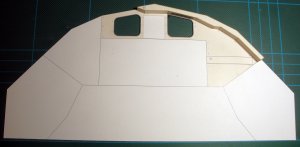
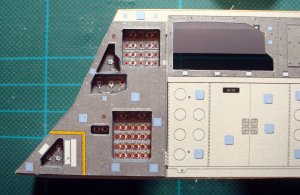
And here is the base ready for all the stuff to be added on...
