Hi all.
I want to share with you my new idea. It's a very complex and ambitious project and, most likely, will keep my attention for a long time, but now that I have started thinkin on it I cannot place my hands on any other model...
So, where it all started?
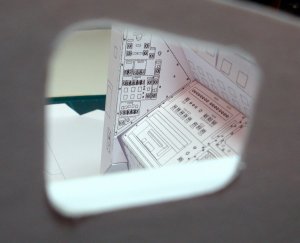
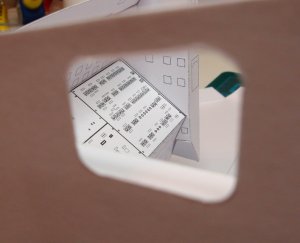
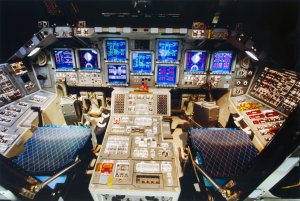
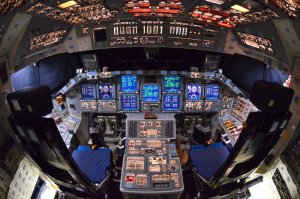
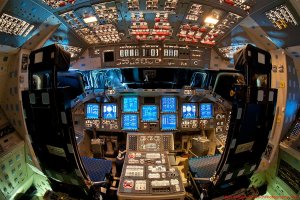
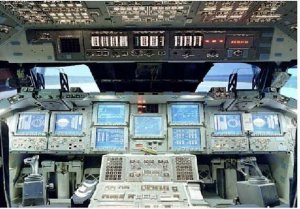
As I told you in a previous post I saw in a blog a photo depicting a shuttle cockpit paper model very detailed. Asked here and, thanks to @Nando, I found the original model files posted in Yahoo group Paper Space Models.
The cockpit, very nice and fully detailed, was designed by Thorsten Brand, a german cardmodeller, it's 1:48 scale and is part of a full Space Shuttle model that is going to be, I think, the best paper shuttle all around when completed. Unfortunately the project is in a Stand-By state at the moment.
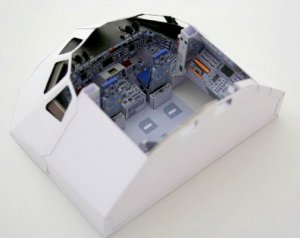
My idea is to start from this model section upscaling it as much as possible (considering I can print only on A4 paper) and realize a stand-alone display model of the whole Space Shuttle front-upper section with all the detail I can put in it.
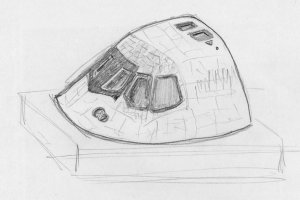
This is a sketch, just to give you an idea.
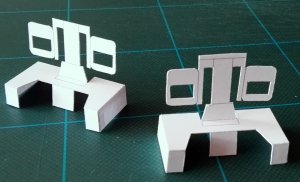
Obviously this will require a full redrawing of all the internal panels and cockpit details (chairs, joysticks, pedals... ). I'm thinking about something similar to Ken West's creations (you recalled him to me @Revell-Fan but @Nando did it before!) with all the levers and switches realized one by one... but perhaps I'm going too far away with my fantasy.... let's see what happens during the work... before dreaming!
I asked Thorst if I can use his templates as a starting base, something like a blank canvas I can paint to. He was very, very kind and wished me all the best with my project. So now I have my starting point to work on.
The first thing was to extract from pdf's all the vectorial information to paste them in Corel Draw and start rescaling and repositioning work. After some tries I concluded I was able, dividing the biggest pieces in 2 or 3 sub-components, to reach the huge 300% upscaling factor so my cockpit will be eventually 1:16 scale!!!!
The 2 pages from Thorst's original project now have reached the number of 20 (and I'm only at the beginning!!!).
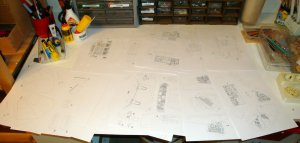
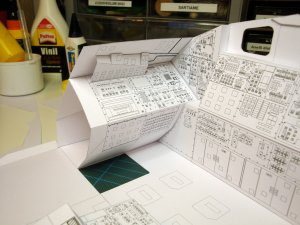
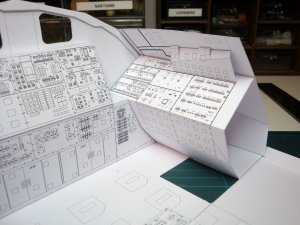
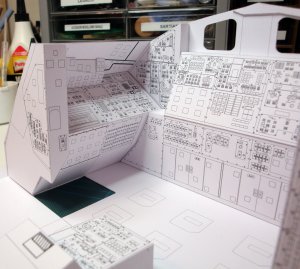
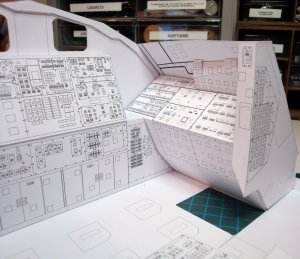
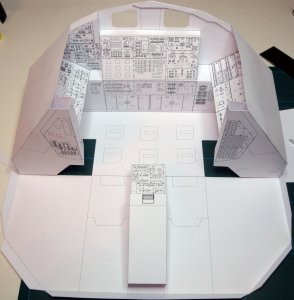
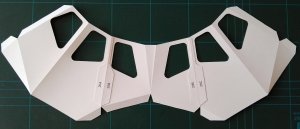
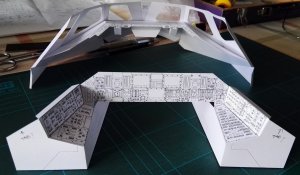
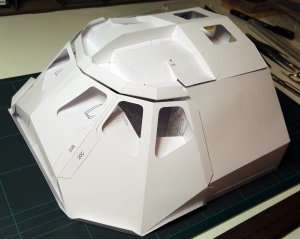
Now I'm going to realize a test build with only the basic shapes (no textures) to verify the fitting after my rescaling work, and to figure out what is the best paper thickness to use to reach the right compromise between fine detailing and strenght (this is going to be a BIG model).
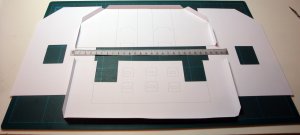
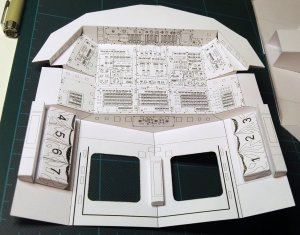
As you can see my flight deck will be about 26 cm. wide!
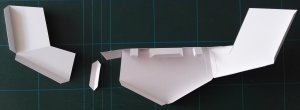
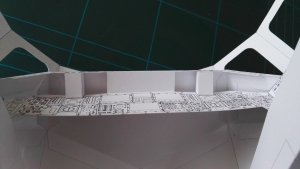
The floor is one of the BIG pieces I was forced to divide in sub-components. I added a second layer divided in longitudinal direction so I won't need tabs to join the halves and, in the same time, I'll strenghten the base of the cabin.
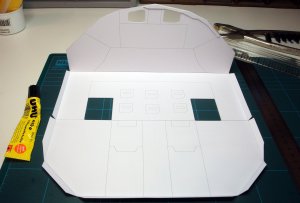
This is the full base, dimensions are pretty impressive...
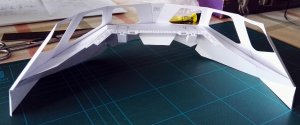
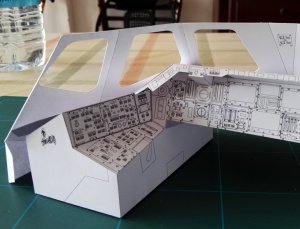
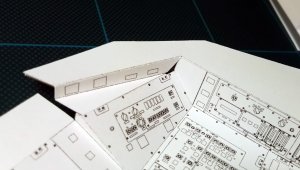
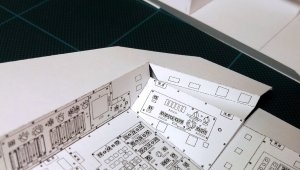
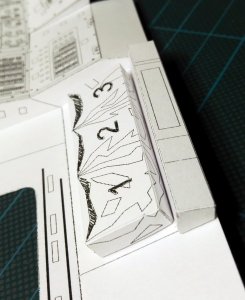
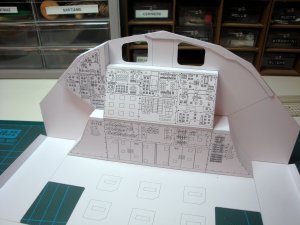 And here are the first aft panels. Thorst made really a good work as the fitting is perfect.
I'm starting to enjoy a lot this project!
I want to share with you my new idea. It's a very complex and ambitious project and, most likely, will keep my attention for a long time, but now that I have started thinkin on it I cannot place my hands on any other model...
So, where it all started?
As I told you in a previous post I saw in a blog a photo depicting a shuttle cockpit paper model very detailed. Asked here and, thanks to @Nando, I found the original model files posted in Yahoo group Paper Space Models.
The cockpit, very nice and fully detailed, was designed by Thorsten Brand, a german cardmodeller, it's 1:48 scale and is part of a full Space Shuttle model that is going to be, I think, the best paper shuttle all around when completed. Unfortunately the project is in a Stand-By state at the moment.

My idea is to start from this model section upscaling it as much as possible (considering I can print only on A4 paper) and realize a stand-alone display model of the whole Space Shuttle front-upper section with all the detail I can put in it.

This is a sketch, just to give you an idea.
Obviously this will require a full redrawing of all the internal panels and cockpit details (chairs, joysticks, pedals... ). I'm thinking about something similar to Ken West's creations (you recalled him to me @Revell-Fan but @Nando did it before!) with all the levers and switches realized one by one... but perhaps I'm going too far away with my fantasy.... let's see what happens during the work... before dreaming!
I asked Thorst if I can use his templates as a starting base, something like a blank canvas I can paint to. He was very, very kind and wished me all the best with my project. So now I have my starting point to work on.
The first thing was to extract from pdf's all the vectorial information to paste them in Corel Draw and start rescaling and repositioning work. After some tries I concluded I was able, dividing the biggest pieces in 2 or 3 sub-components, to reach the huge 300% upscaling factor so my cockpit will be eventually 1:16 scale!!!!
The 2 pages from Thorst's original project now have reached the number of 20 (and I'm only at the beginning!!!).

Now I'm going to realize a test build with only the basic shapes (no textures) to verify the fitting after my rescaling work, and to figure out what is the best paper thickness to use to reach the right compromise between fine detailing and strenght (this is going to be a BIG model).

As you can see my flight deck will be about 26 cm. wide!
The floor is one of the BIG pieces I was forced to divide in sub-components. I added a second layer divided in longitudinal direction so I won't need tabs to join the halves and, in the same time, I'll strenghten the base of the cabin.

This is the full base, dimensions are pretty impressive...
 And here are the first aft panels. Thorst made really a good work as the fitting is perfect.
I'm starting to enjoy a lot this project!
Last edited by a moderator:


