Build Firefox (MiG-31)

zathros

*****SENIOR ADMINISTRATOR*****
Staff member
Administrator
Moderator
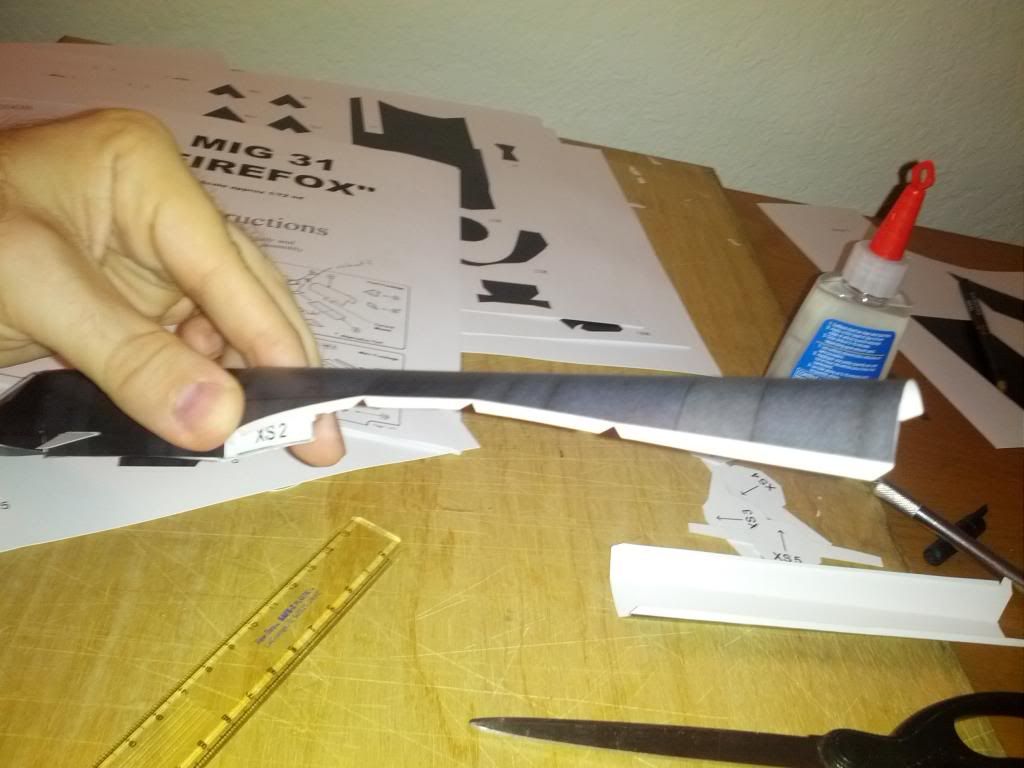
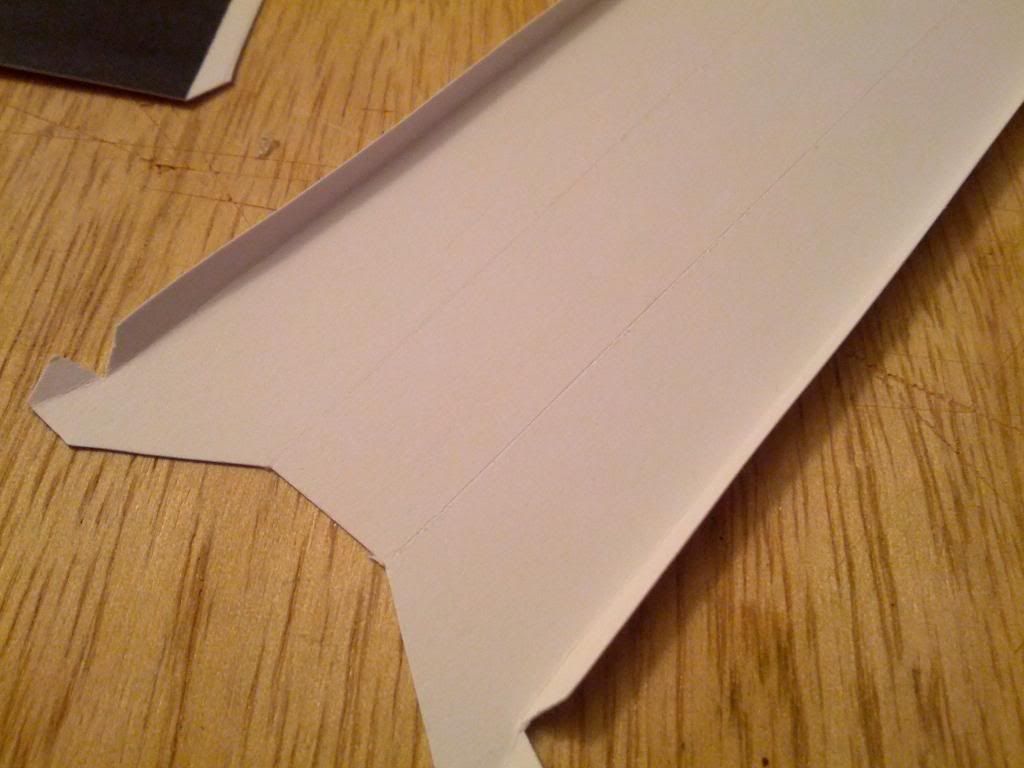
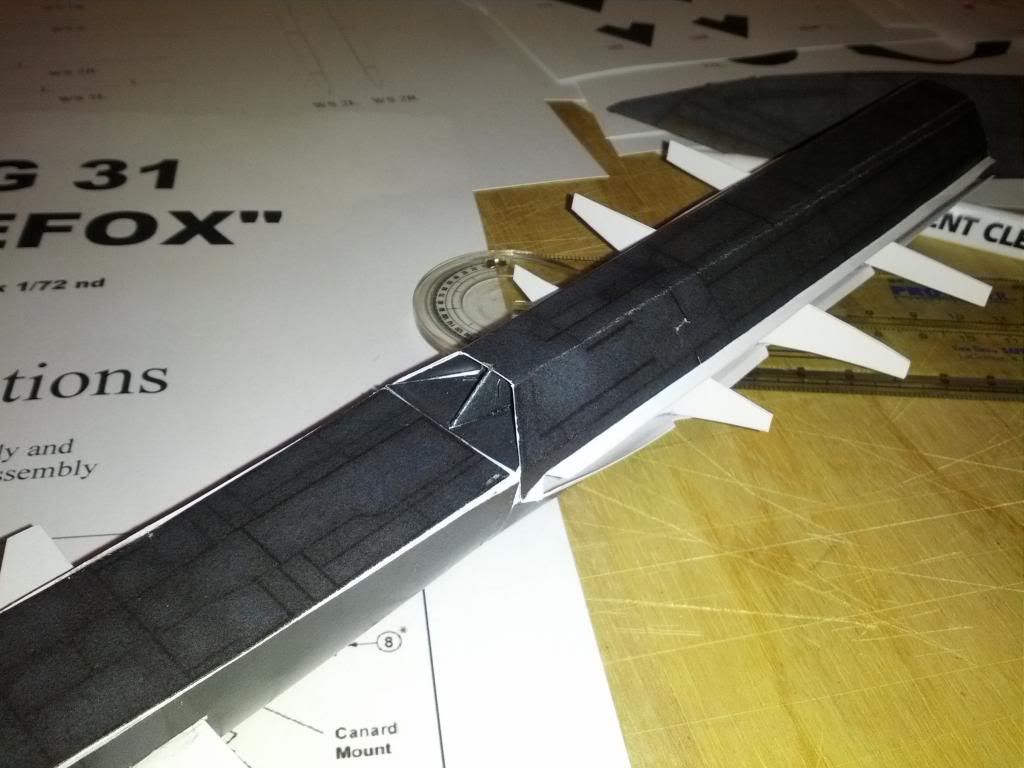
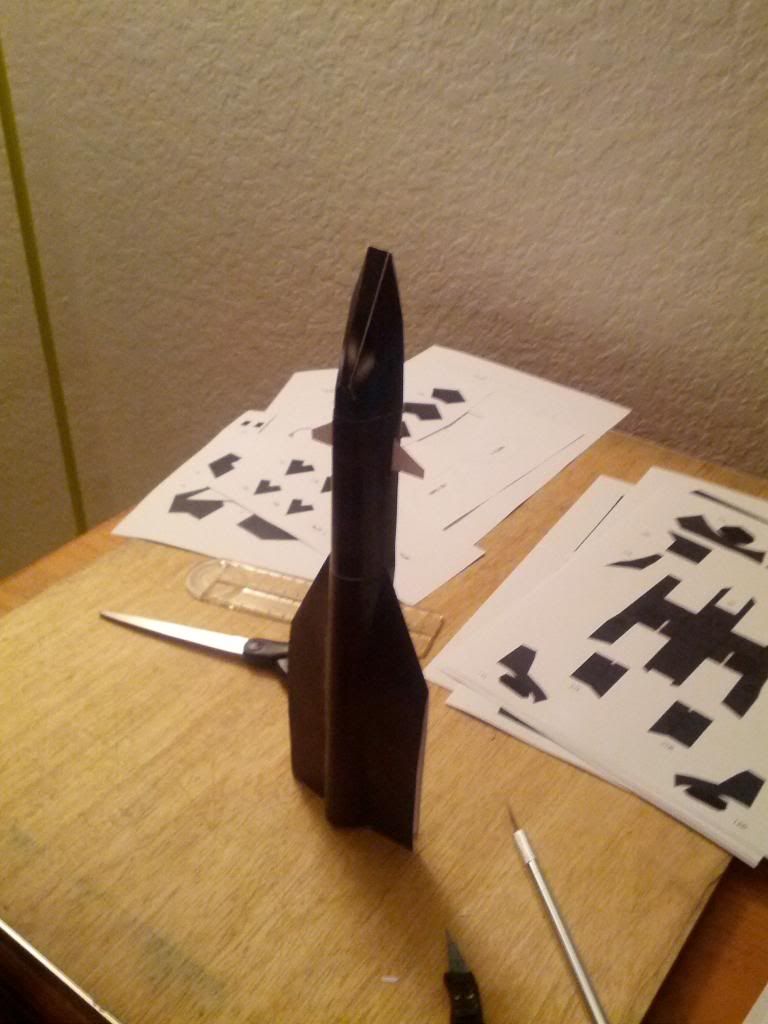
You are doing a great job, just find something to take of the white seams, or paint the whole thing when your down. I would use a flat, or semigloss black to keep the stealth look consistent. Very nice work you are showing here.

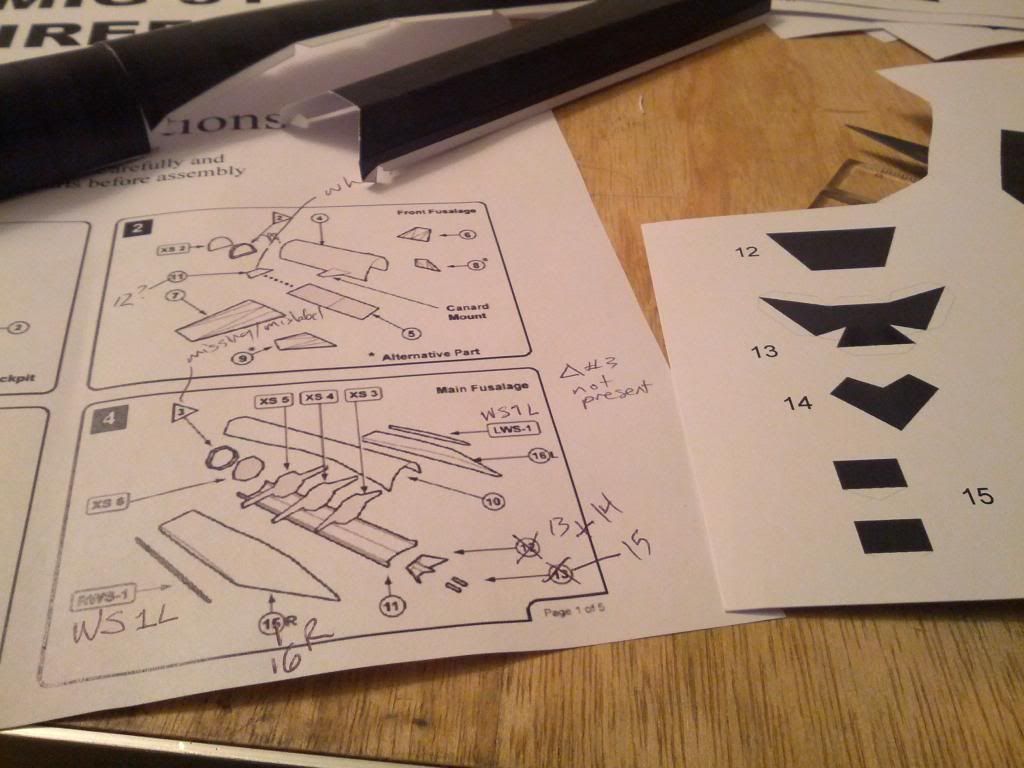
The model is in the "Downloads" section, this model also is the uploaded version by "Janx":


http://www.zealot.com/forum/downloads.php?do=file&id=1221


:wave:
 

Rhaven Blaack

!!!THE MAN BEHIND THE CURTAIN!!!
Staff member
Administrator
Moderator
You are off to a GREAT start.

If you colour the edges before you glue the parts together you stand a GREAT deal less of a chance of getting paint on the printed areas.
I normally use water colour paints to colour the edges.
I see that you have "SHARPIE" markers. those are good at colouring edges, but be careful as the ink can "bleed" into the paper and ruin your project.

Keep it going!!!

Thanks I was wondering how that would work out. I will be very sparing with the sharpie. I have/had one with a fine point and a broad point, I might use the fine instead.

This being my first build, I'm just familiarizing myself. My plan is to:

-Finish the Firefox as per the instructions.
-Build a Ferrari F50 GT (very special version of the normal car!)
-Build an RCPowers Firefox (after I build a trainer foamie first)
-Re-paint a BMW M1 paper model as the BASF version
-Build a YF-23 or X-29 or Su-47
-After that I would like to do an original design (probably G1 Wheeljack or Sky/Jetfire)
-Do a scale up & re-texture of the Firefox (balsa/carbon supports, got an idea about the getting the skin to look right too- very inspired by the X-Wing build up thread).

Speaking of which, I don't have much of a 3D background, any good tutorials to get me into doing Pepakura models?
 

Janx

Member
Excellent job so far :).

There maybe a few errors in the instructions. I inrended to fix em but lost the original files along with cockpit and missile bays in a hdd crash a few years ago.

let me know if you need any help.

ps Ive started work on revised model approx 1/33rd scale.
 

micahrogers

Moderator "Where am I, and how did I get here?"
Staff member
Moderator
This is looking great so far, keep at it, and take your time, I tend to rush things, then get "Burned Out" and have to get back in the grove.
 

zathros

*****SENIOR ADMINISTRATOR*****
Staff member
Administrator
Moderator
Excellent job so far :).

There maybe a few errors in the instructions. I inrended to fix em but lost the original files along with cockpit and missile bays in a hdd crash a few years ago.

let me know if you need any help.

ps Ive started work on revised model approx 1/33rd scale.

Janx, if you only knew how many people come to this forum looking for this model. They get so angry they have to wait to get it but all do. A few disappear afterwards, but most hang around. You really have a winner here.:thumb:
 
Excellent job so far :).

There maybe a few errors in the instructions. I inrended to fix em but lost the original files along with cockpit and missile bays in a hdd crash a few years ago.

let me know if you need any help.

ps Ive started work on revised model approx 1/33rd scale.

Thanks, I think I've got it. So happy I don't have to scratchbuild one... thought I was alone for years on this project.

I'm excited to hear there may be an upcoming 1/33, if you want someone who is a photoshop/illustrator expert (and real pro graphic artist) hit me up.

I should be able to continue my build today after a long and fun weekend (I like to race cars... 1/1 as well as RC).
 
IMG_20130827_215936_zps948493a0.jpg

Shape that fuselage and glue it to the first fuselage section.

IMG_20130827_215246_zps0fb31fa7.jpg

So I scored part of the fuselage underside, but as it turns out there is another crease by the midwing.

IMG_20130827_222815_zps0c4c277b.jpg

That crease.

IMG_20130827_223633_zps4febba87.jpg

Building the ventral intake vent required a bit more interpretation that I was ready for. But I got the gist.

IMG_20130827_230047_zps62d11f16.jpg

Or did I? Turns out you shouldn't glue it to the dorsal fuselage first.

IMG_20130827_233504_zps6161521b.jpg

Once I figured out that it actually affixes to the fuselage section one extender (piece 11 or 12), then it made sense to attach the vent there, then put in place the wing roots and the lower fuselage skin.

IMG_20130827_233443_zps111d9b96.jpg

So far so good. Next session i'll create the missing link needed at the tail end of the fuselage.

This session was somewhere between 2 or 3 Mythbusters episodes (had it on Amazon vid while building). Learned a lot about folding and scoring and shaping. Perhaps an updated version of this should break up step 4 to explain the vent. Another suggestion would be more explicit instruction on where to put bends in the paper.
 

Rhaven Blaack

!!!THE MAN BEHIND THE CURTAIN!!!
Staff member
Administrator
Moderator
You are really going to town on this build.
KEEP UP THR GREAT WORK!!!
 
IMG_20130828_231044_zps535248c8.jpg

Lots of glue on those wing roots/supports. I find that the paper folding ability i have things don't quite match up, so use glue like resin and make sure the structural things are there.

IMG_20130828_234824_zps927dcebd.jpg

This seems like where the wingspars are supposed to go. It's about a 1/8" recessed, right up against the inner wing frame. To be honest the difficult part is getting the wing to do the curve on top and getting the aft section to stick to the tab. I ended up using the scissor blades inside and my thumb outside to press them together (this applies when both the top and bottom wing skin are in place).

IMG_20130828_235522_zpsb10e7aff.jpg

And the model is complete. The worlds first papercraft Firefox rocket.

But for real... I saw this years ago and said... don't tease me bro
64_pd1288137_1.jpg
 

Cforrest900

Well-Known Member
. You deserve much applause. VERY CLEAN build and it's the FIRST OF ITS KIND! You have set the bat high, my friend.
 

arkon

Member
if it was not for the amount of black ink I would have printed this awhile back... glad you did.. enjoying all of your build pics.
 

Revell-Fan

Co-Administrator
Staff member
Administrator
Moderator
I guess Zathros means to provide a white model with lines only. I did it with my Colonial Warrior Blaster and the poseable Crichton figure. Such a version can be printed on regular card and then painted using an airbrush or spray can when finished or to be printed on coloured paper. So the builder is able to save ink. Pepakura viewer has an option to "switch off" the texture of the model so that you can print an untextured / white kit directly from the *.pdo.
 

zathros

*****SENIOR ADMINISTRATOR*****
Staff member
Administrator
Moderator
I guess Zathros means to provide a white model with lines only. I did it with my Colonial Warrior Blaster and the poseable Crichton figure. Such a version can be printed on regular card and then painted using an airbrush or spray can when finished or to be printed on coloured paper. So the builder is able to save ink. Pepakura viewer has an option to "switch off" the texture of the model so that you can print an untextured / white kit directly from the *.pdo.


What he said. :)
 
Top