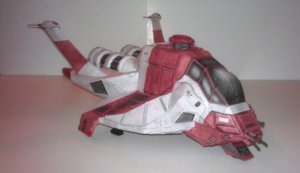
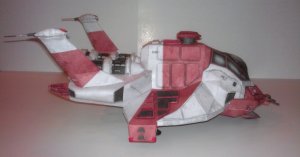
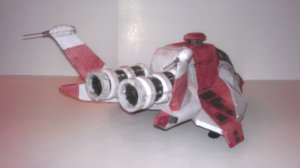
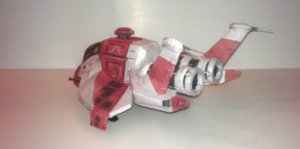
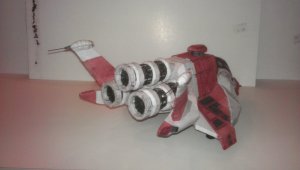
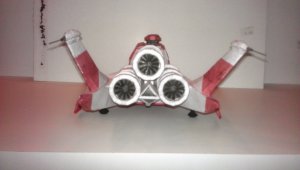
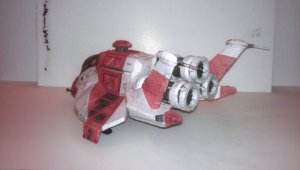
BSG Medevac Raptor (Rebuild)
- Thread starter Rhaven Blaack
- Start date
You are using an out of date browser. It may not display this or other websites correctly.
You should upgrade or use an alternative browser.
You should upgrade or use an alternative browser.
Tail booms and fins
Here is the Tail booms and fins. I have added extra detail to what I could.
Starting off with the fins. As you can see I raised and scored the flaps on the fins.
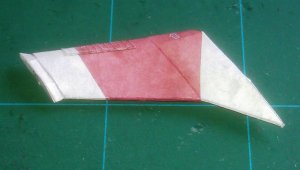
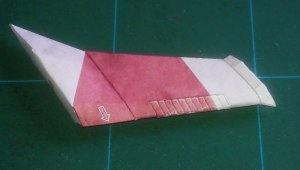
Fin finished.
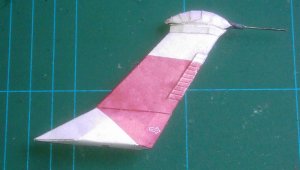
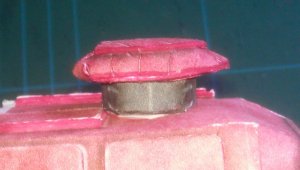
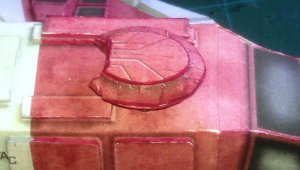
I raised the light.
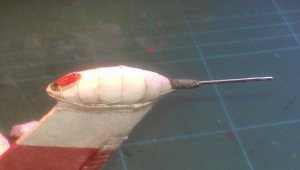
Here is a close-up shot of the light.
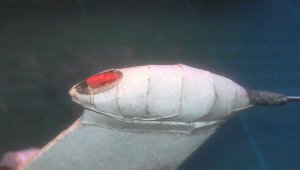
Here is the tail boom.
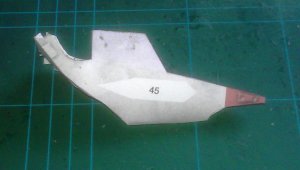
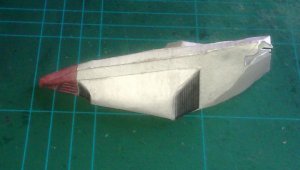
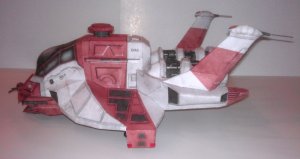
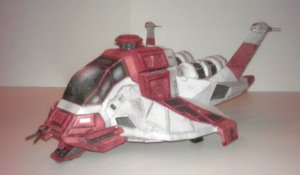
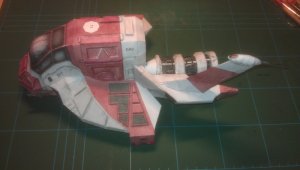
Tail boom assembly (with fin and engine) attached.
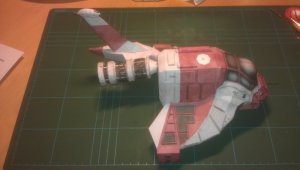
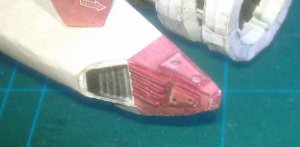
Close-up of the detail on the end of the tail boom.
On to the rest of the details and greebles.
Here is the Tail booms and fins. I have added extra detail to what I could.
Starting off with the fins. As you can see I raised and scored the flaps on the fins.


Fin finished.

I raised the light.

Here is a close-up shot of the light.

Here is the tail boom.


Tail boom assembly (with fin and engine) attached.


Close-up of the detail on the end of the tail boom.

On to the rest of the details and greebles.
bounce7bounce7bounce7
WOOOOOOOOOOOOOOOOOOOOOOOWWWW!!!!!
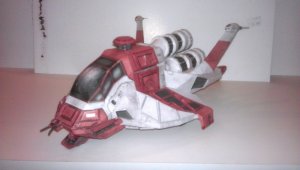
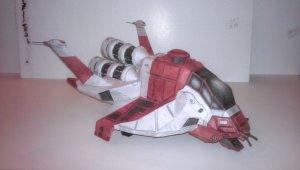
Now that is a superb Med/EVAC Raptor! Great build, pal! :thumb::thumb::thumb:
:wave7::wave7:
WOOOOOOOOOOOOOOOOOOOOOOOWWWW!!!!!
Now that is a superb Med/EVAC Raptor! Great build, pal! :thumb::thumb::thumb:
:wave7::wave7:
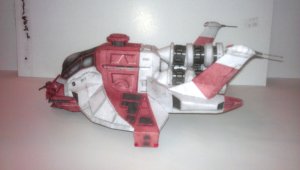
Ahem, I fear that you have attached the engines too low and the fins do the splits. Was that intented?
Thank you both for the kind words. I GREATLY APPRECIATE IT!!!
I will be glad once there is an interior to put into it (but I know that it will be quite awhile before that will come around).
I will be glad once there is an interior to put into it (but I know that it will be quite awhile before that will come around).
Ahem, I fear that you have attached the engines too low and the fins do the splits. Was that intented?
Actually, no, it just kind of happened that way.wall1
To be honest, there are a few other mistakes as well.wall1 I was going to redo it all, but I did not have the time for such.wall1
Don't worry, just call it "Med/EVAC Raptor Mk. Ib" ! :thumb:Actually, no, it just kind of happened that way.wall1
To be honest, there are a few other mistakes as well.wall1 I was going to redo it all, but I did not have the time for such.wall1
Low? Where?
RB
I must say, from where my ignorance allows me to see, nothing wrong. Anyway, I do not have the skills to see it yet...
I wish I could build models like that, but I'm working had for it. I'll get there.
Congrats on the build!:thumb::thumb:

Rogério
RB
I must say, from where my ignorance allows me to see, nothing wrong. Anyway, I do not have the skills to see it yet...
I wish I could build models like that, but I'm working had for it. I'll get there.
Congrats on the build!:thumb::thumb:
Rogério
I have another idea. You still have some space left on the back of the model. What about adding a third engine above the other two, mimicking a Viper engine configuration?
I have another idea. You still have some space left on the back of the model. What about adding a third engine above the other two, mimicking a Viper engine configuration?
To tell you the honest truth, that would not be a bad idea.
I will work on it and I could easily rig up mounts for it.
Fast Rescue Raptor MK-II will be the designation.
Hey RB, that looks really great. I like the idea of the third engine too. Who knows maybe that would extend the jump distances too. I really like all the little details you added, makes everything just pop.
Hey RB, that looks really great. I like the idea of the third engine too. Who knows maybe that would extend the jump distances too. I really like all the little details you added, makes everything just pop.
Thank you for the compliment.
I will be adding the third engine in a day or so.
Please stay tuned to your local CBC (Colonial Broadcast Channel) for further updates and they come.
*gggggg*!!! I'm abslutely thrilled by that idea. Okay, if it doesn't work, you can say it was my fault. If it DOES work, well, you can say the same! ;-)
*gggggg*!!! I'm abslutely thrilled by that idea. Okay, if it doesn't work, you can say it was my fault. If it DOES work, well, you can say the same! ;-)
Not to worry, I will make it work, one way or another.
Adding the third engine
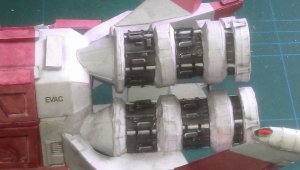
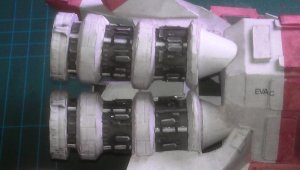
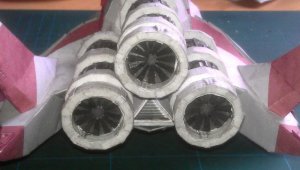
Well after quite a bit of rattling my brain (or at least what is left of it), I have finally come up with a way of making project of adding a third engine and having it look like it was meant to be that way.
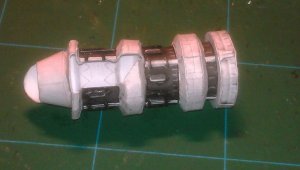
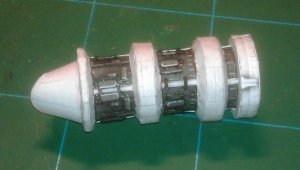
I started off with making the third engine. Now, as you can see, I have aligned the engine mount with the hole in the engine. That way everything will line up properly.
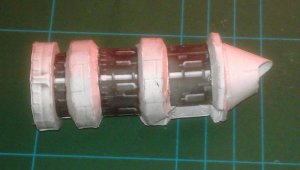
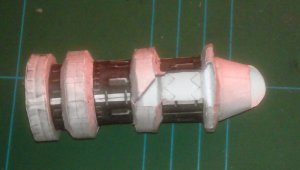
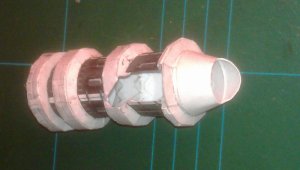
Engines underwent some detailing work.
I printed out another part #43. This will be inverted on top of the same piece, with the actual engine mount attached to it.
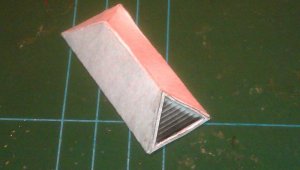
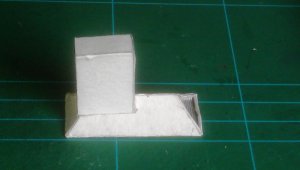
Here is the engine mount.
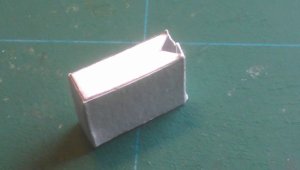
Engine mount attach to part 43.
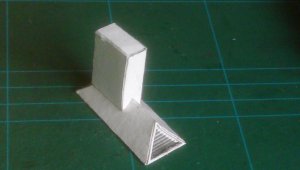
Engine mount attached in place.
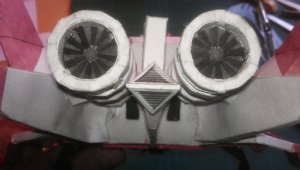
Well after quite a bit of rattling my brain (or at least what is left of it), I have finally come up with a way of making project of adding a third engine and having it look like it was meant to be that way.
I started off with making the third engine. Now, as you can see, I have aligned the engine mount with the hole in the engine. That way everything will line up properly.


Engines underwent some detailing work.


I printed out another part #43. This will be inverted on top of the same piece, with the actual engine mount attached to it.

Here is the engine mount.

Engine mount attach to part 43.


Engine mount attached in place.


