---you can be sure i'll be posting the weathered versions soon
Well, I don't wanna spoil the fun but...
Some ready-to-run!

:twisted:

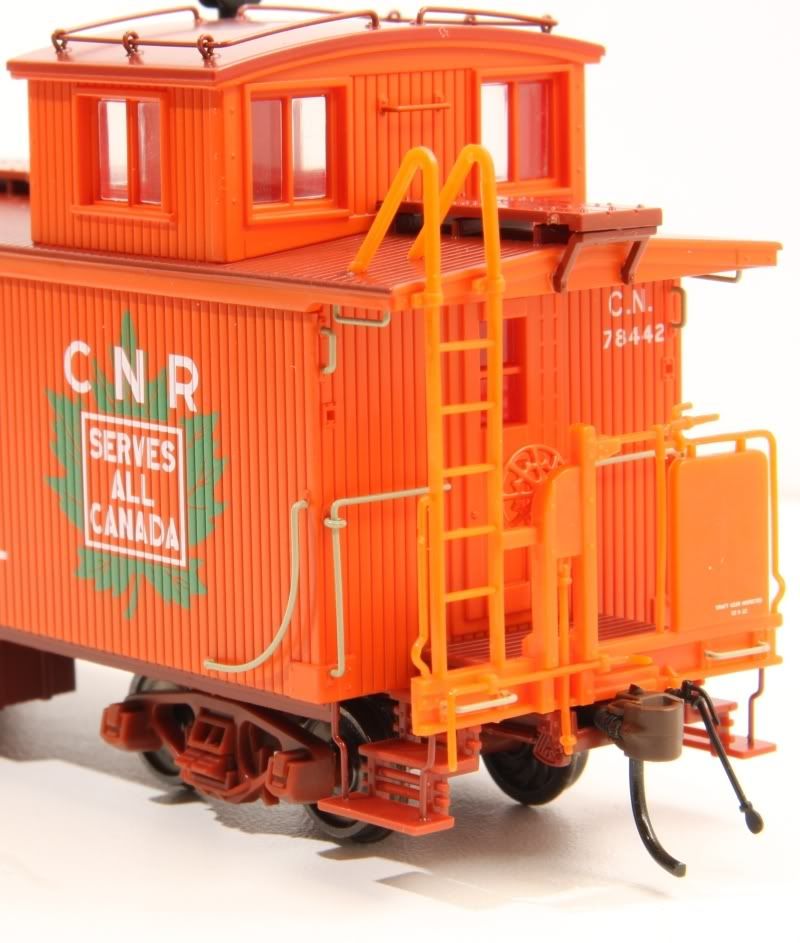
I removed the end railings and the steps for painting, and also removed the trucks so that I could brush paint the wheels and axles. That also left the underbody exposed for some airbrushed weathering. Since the paint was a bit too shiny for my tastes, I removed the floor from the body, then removed all of the "glass" from the body shell. I mixed up some paint for the steps and handrails, using Tamiya acrylic paints. I'm usually pretty good at getting a colour match, and a little of the mix applied to the caboose body seemed to be almost dead-on. I had to alter my brown mixture a bit to match the underbody colour, though. I used an X-Acto chisel blade to remove the small lettering from the end railing splashboards, then threw the railing assemblies and platforms in a container of methyl hydrate to clean them. Once dry, I airbrushed the orange onto the end railings and they looked good until I placed one on the caboose. Oops! Wrong shade of orange - too red and too orange, too!!
ops:
ops: I added some white and a little brown, and finally got the colour to a point where it was acceptable to me. (Luckily, Mister Nutbar is unlikely to notice any discrepancy in the colours - he missed it on the original, didn't he?)
")
Unfortunately, I ran into the same problem with the "Mineral Red" colour for the platforms, and while I did adjust it, it's still not red enough to match the roof. (Quel domage!)

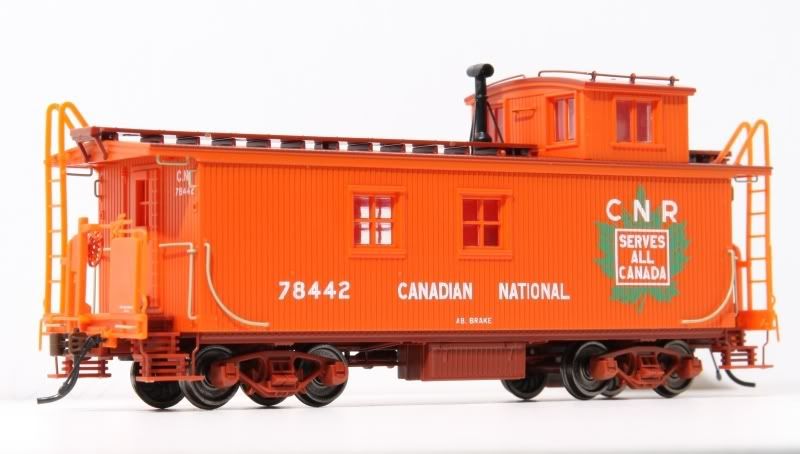
While the paint on the platforms and railings dried, I airbrushed the caboose bodies and cupolas with Dulcoat, the lightly weathered the outboard edges of the lower ends of the bodyshell, and heavily weathered the underbodies. I then replaced all of the window "glass" and added some styrene shades to give the impression of a more detailed interior. After the steps and railings were re-installed, along with the trucks, I touched-up the outer ends of the newly-painted handrails with some white Tamiya paint, using a brush. This made all of the other handrails look too dingy, so I gave them a swipe with the brush, too. Then, it was back to the spray booth for some more weathering. Here's the other half of the duo:
And an end:
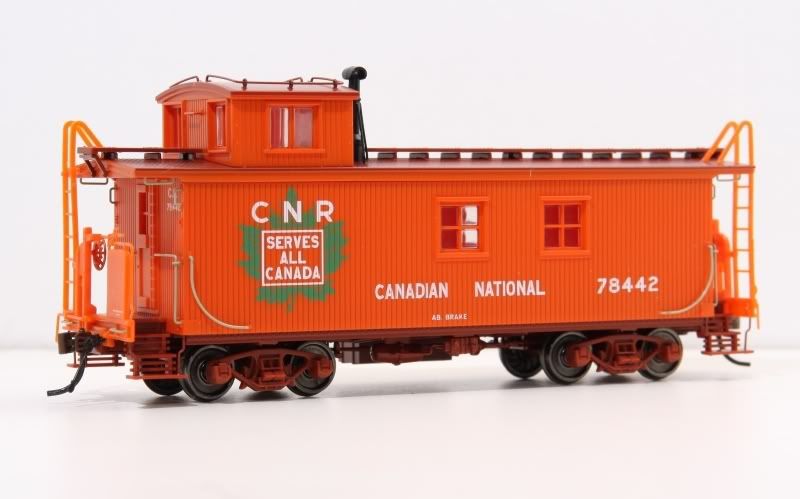
And, after complaining about these cabooses earlier, here's a little something that
I got for Christmas
:
Mine got pretty much the same treatment as Mister Nutbar's, although I scraped the car number off completely, and renumbered it using dry transfers. I also applied a "canvas" roof over the simulated tongue and groove of the model. To do this, I first removed the roofwalk and stovepipe, then lightly sanded the roof to rough-up the paint. After removing the sanding residue, I laid a single ply of a sheet of facial tissue over each side of the roof, then brushed it with lacquer thinner to make it adhere to the plastic roof. It took several applications of thinner to do the job. The next day, I used a sharp blade to trim away the excess tissue, then brush-painted the entire roof with Floquil Roof Brown paint. After the roofwalk was reinstalled, the roof was airbrushed with the Tamiya "sorta mineral red".
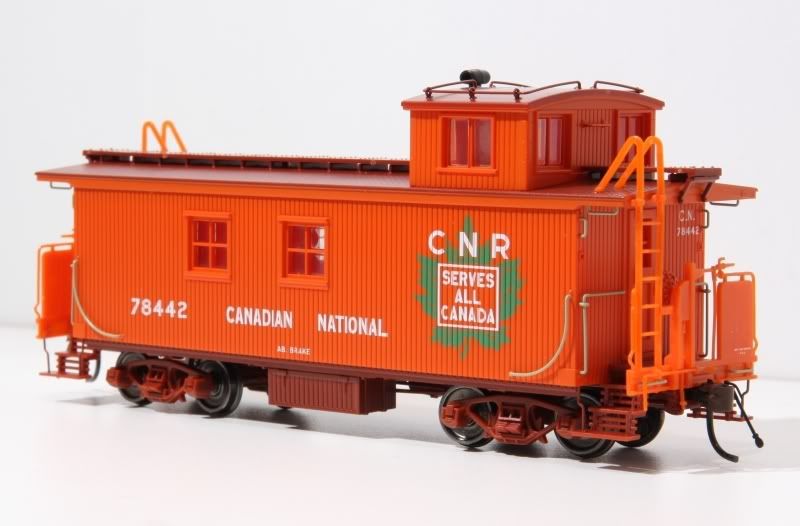
I must admit that these cars are well-engineered - the fit is excellent, as is the positive way that the various pieces go together, and the paint and lettering is very well done. Still, too bad about those POM handrails and platforms.
:-D:-D
Wayne