

ATR-72 in Arkia (Israel) livery 1:72
- Thread starter Boris
- Start date
You are using an out of date browser. It may not display this or other websites correctly.
You should upgrade or use an alternative browser.
You should upgrade or use an alternative browser.
")

Hello all
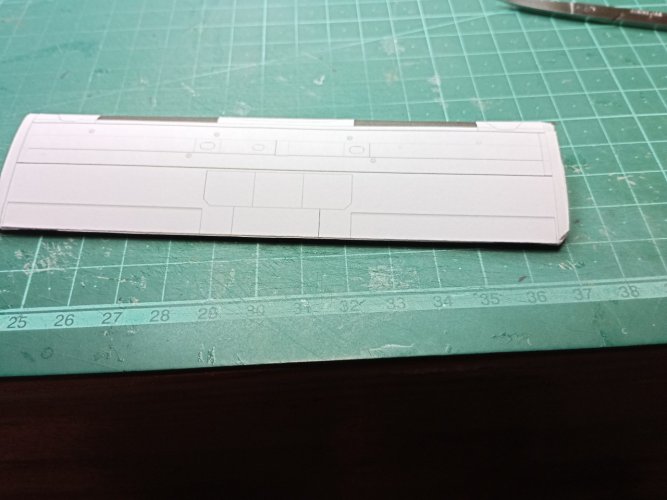
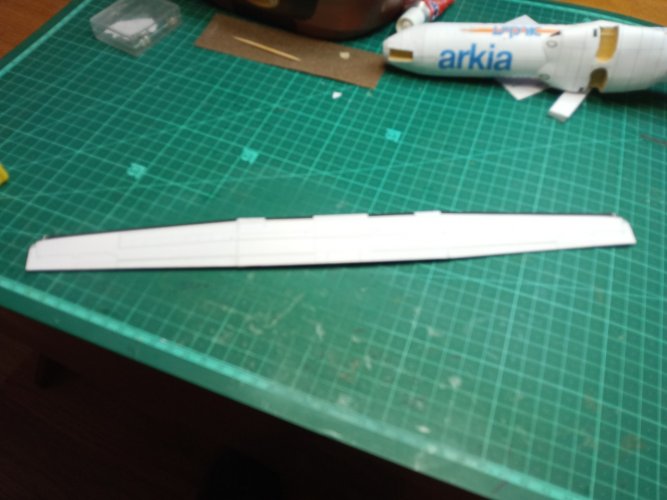
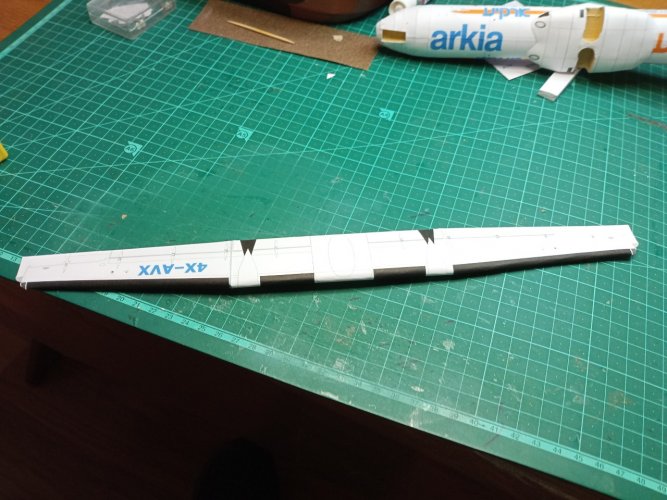
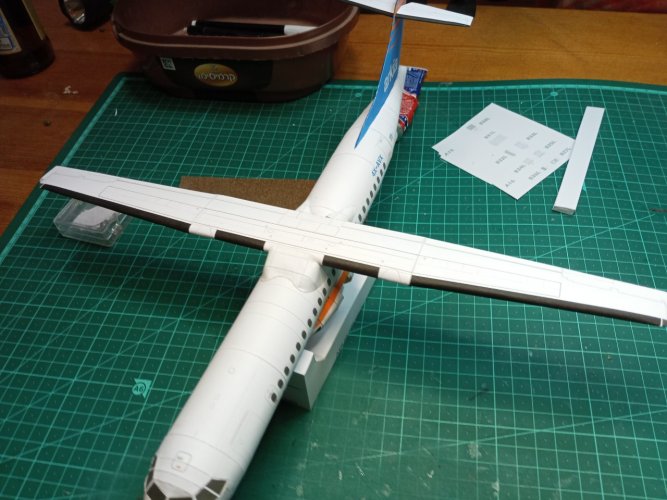
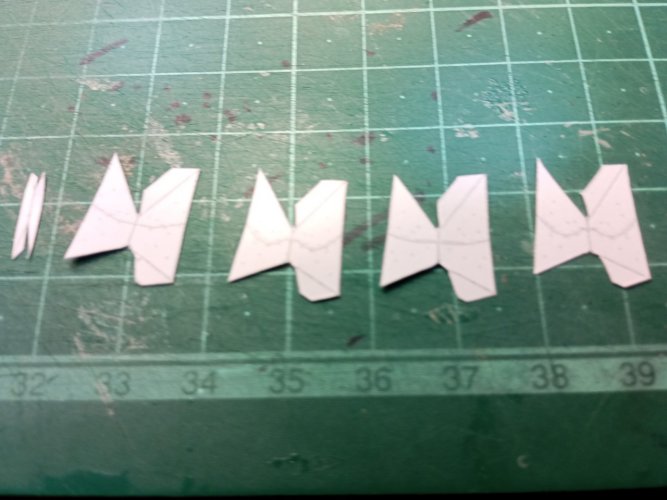
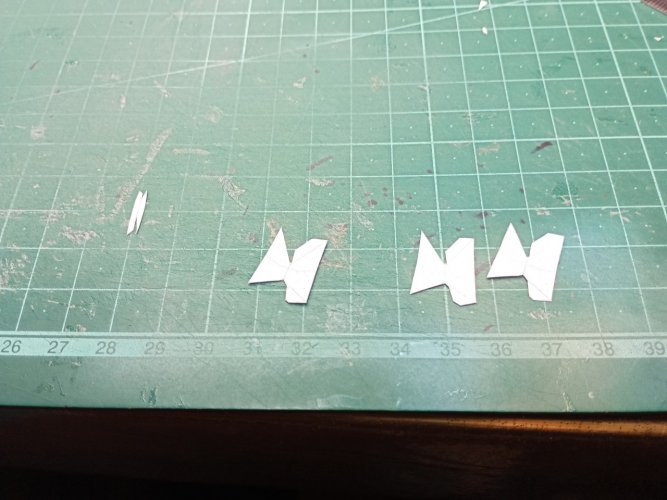
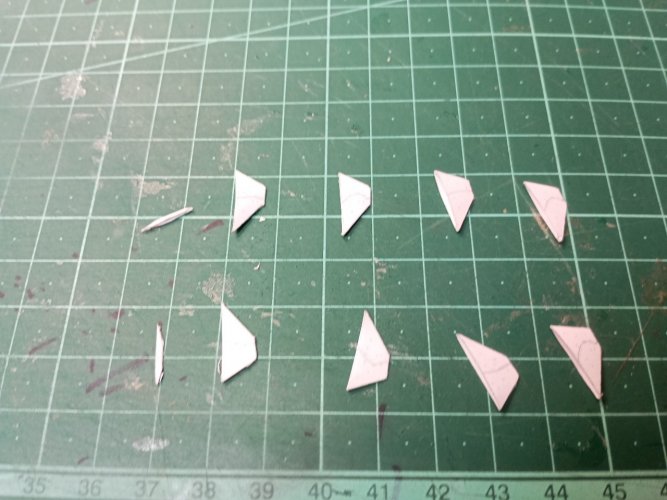
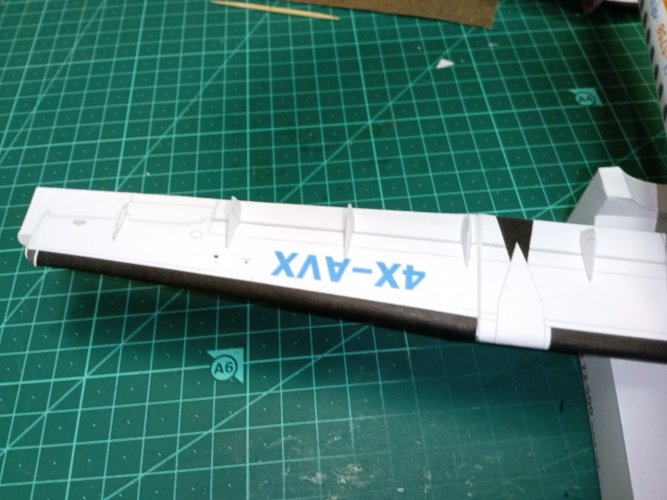
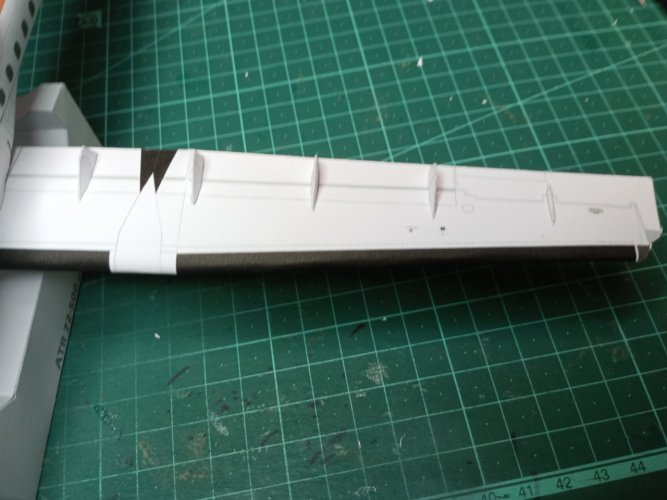
Next step - the wing.
Nothing too difficult here.
Need to be careful forming the wing's leading edge, it has a pretty small radius. Used a small brush to wet the inner side of the leading edge.
The underwing actuator covers should be mounted with sharper edge forward.
Again, if working carefully, no issue.
Attachments
-
 IMG_20240224_215311_839_copy_1280x960.jpg190 KB · Views: 3
 -
 IMG_20240227_190550_414_copy_1280x960.jpg162.4 KB · Views: 2
 -
 IMG_20240227_190555_512_copy_1280x960.jpg286.8 KB · Views: 2
 -
 IMG_20240227_191605_244_copy_1280x960.jpg259.7 KB · Views: 2
 -
 IMG_20240227_203246_936_copy_1280x960.jpg177.3 KB · Views: 2
 -
 IMG_20240227_203226_621_copy_1280x960.jpg235.2 KB · Views: 2
 -
 IMG_20240227_214238_477_copy_1280x960.jpg208.3 KB · Views: 4
 -
 IMG_20240227_220313_732_copy_1280x960.jpg193.1 KB · Views: 5
 -
 IMG_20240227_220329_732_copy_1280x960.jpg180.8 KB · Views: 6
 -
 IMG_20240217_041312_688_copy_1280x960.jpg208.1 KB · Views: 4

")
Hi all
Just got back from a two weeks family trip.
Apparently, there are broken roof tiles on my house roof just above the table I had this model stored. Some rain water got into the room, messing the model... Messing badly. Fuselage is warped, wing is damaged. This model is beyond repair...
I will reprint and rebuild.
Please stand by....


That foesnt sound very good. I hppe your roof will be ficed very soon.
The roof is already fixed. Just a broken tile. It took me less than 30 minutes to fix.That foesnt sound very good. I hppe your roof will be ficed very soon.
My ink cartridges are empty so I had to order new cartridges and now I'm waiting.
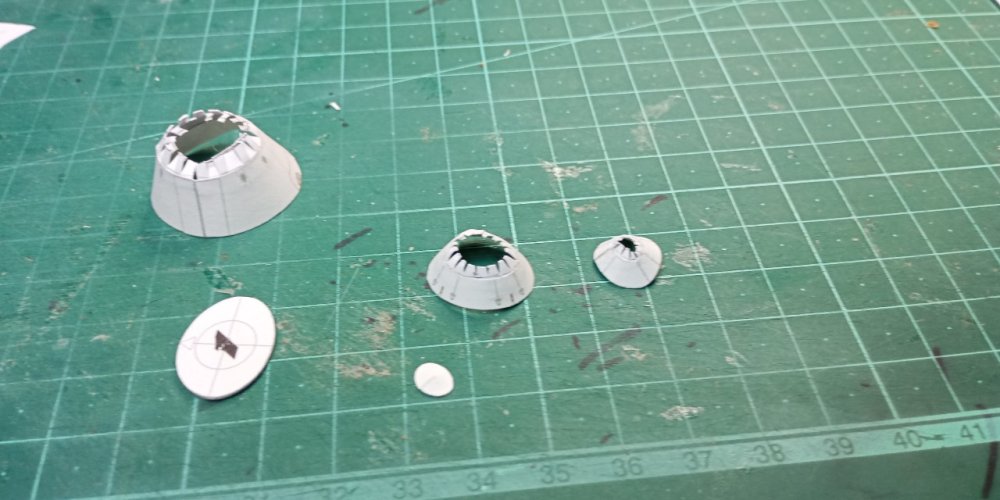
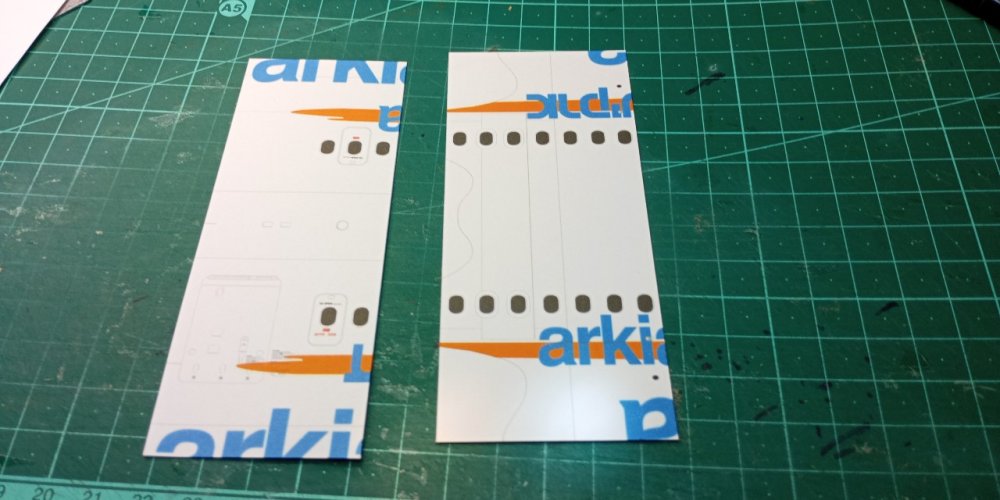
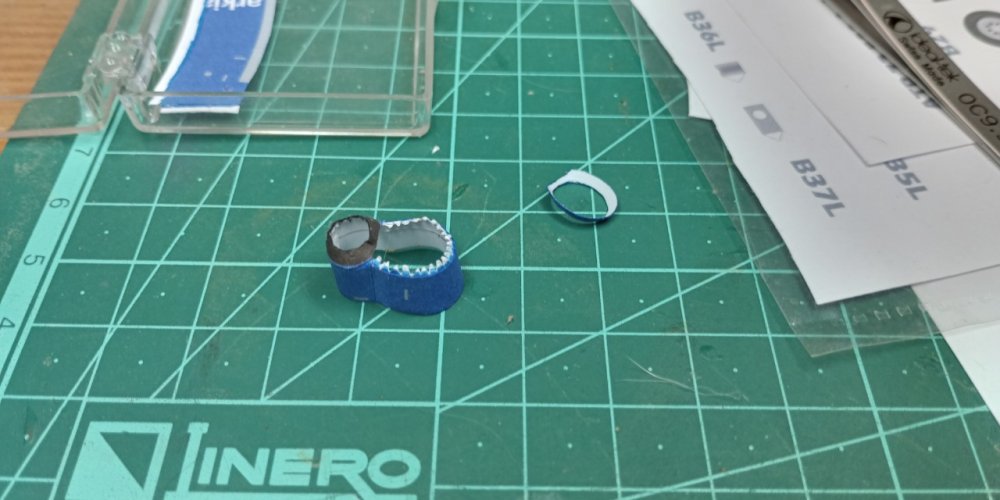
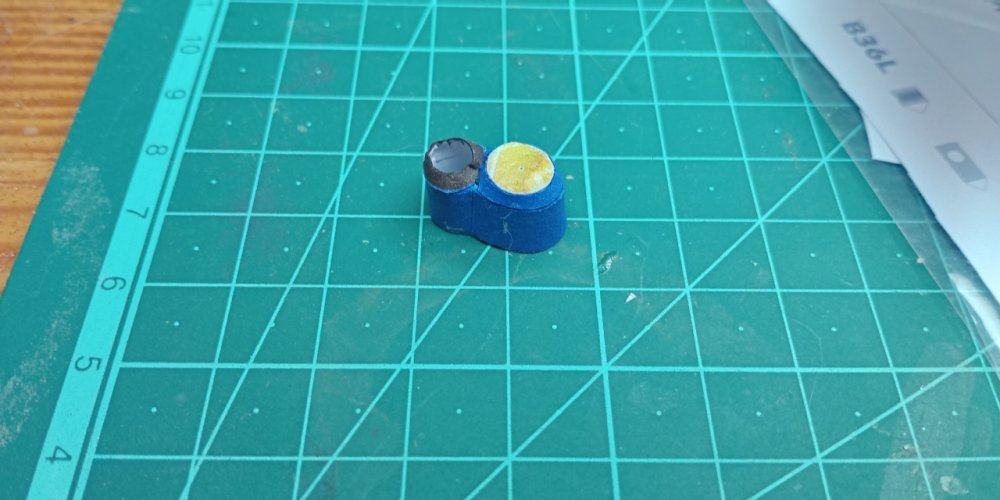
By the way, I noticed that there is a problem in propellers. They should be counter rotating but the designers made them as if they rotating in the same direction. So I fixed this thing by flipping vertically the right propeller spinner and flipped horizontally the blades.
Also found some repainting issues especially in main gear bay doors so I fixed them also
Hello all.
Rebuild is on its way.
I am rebuilding from scratch because there is a visible difference between freshly printed parts and the older parts.
This time I make my own gluing tabs in a way that the tabs from larger part enter the smaller part, as I prefer
Rebuild is on its way.
I am rebuilding from scratch because there is a visible difference between freshly printed parts and the older parts.
This time I make my own gluing tabs in a way that the tabs from larger part enter the smaller part, as I prefer
Attachments
-
 IMG_20240608_011709_515_copy_1280x640.jpg166.6 KB · Views: 4
 -
 IMG_20240608_011718_103_copy_1280x640.jpg154.3 KB · Views: 4
 -
 IMG_20240608_004315_744_copy_1280x640.jpg165.4 KB · Views: 5
 -
 IMG_20240518_004203_239_copy_1280x640.jpg159.5 KB · Views: 3
 -
 IMG_20240518_004157_560_copy_1280x640.jpg196.4 KB · Views: 3
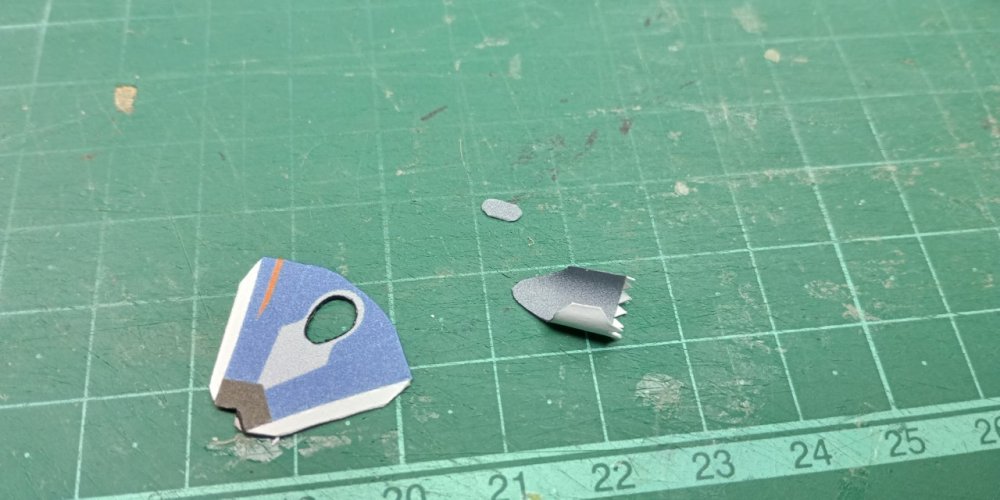
Hello all.
Only half of the year passed, and I am back.
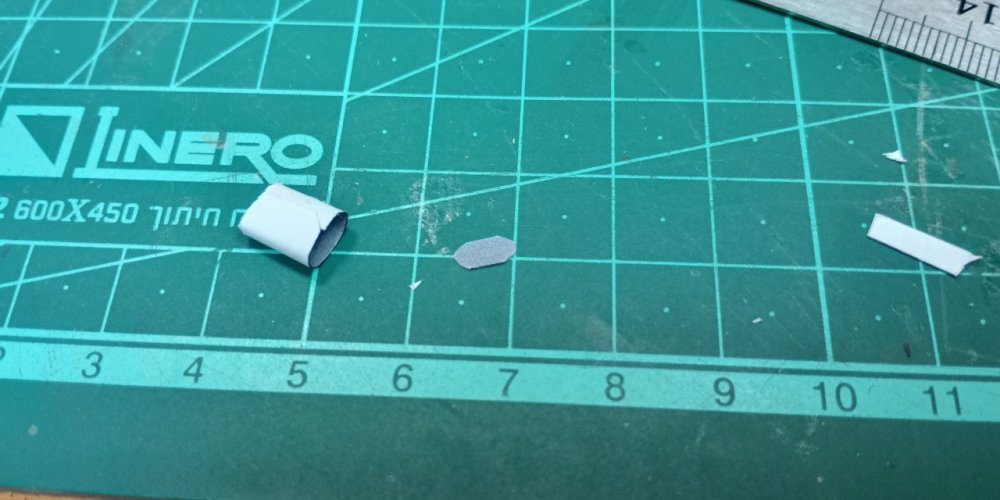
This time I dealt with the part that scared me the most : the engine.
The issue is that, like everything French or Italian, the engine body has very beautiful shape. But the designer provided no internal formers for this intricate shape. It took me 4 retries to get it right. The main trouble was for me to find the inward folding line for the front part and the shaping of this part.
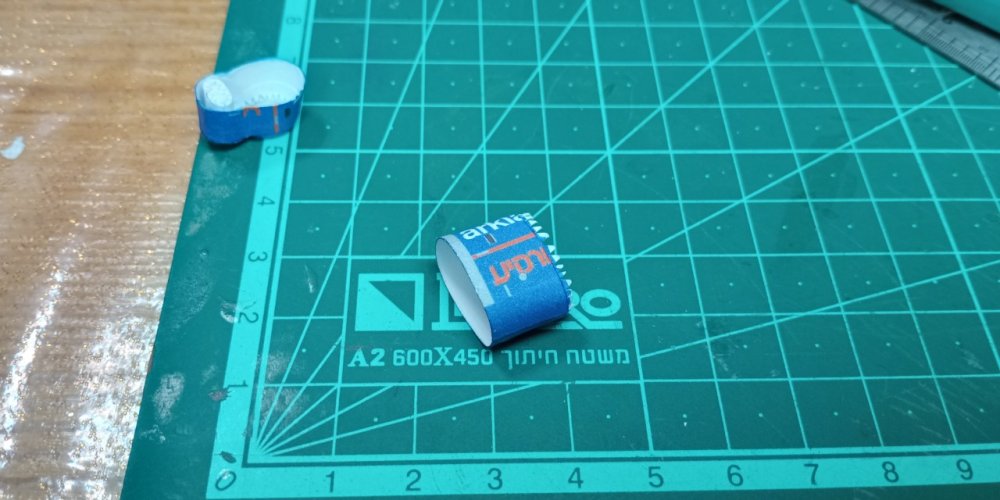
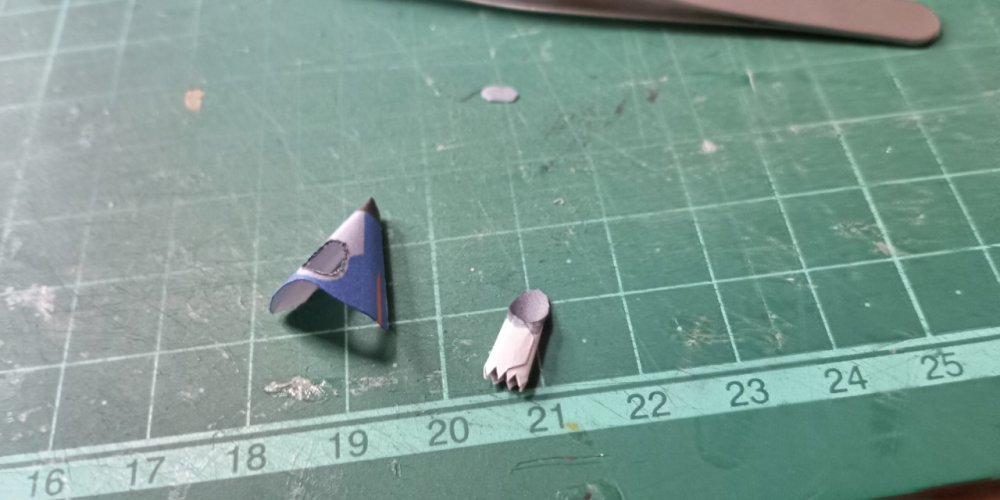
So, there is a curved cut out on the air intake cowling, it is supposed to go up.
After closing the front part, marked B13 and shaping it roughly to the shape of figure 8, mount the air inlet, shaping the lower part correctly with the crescent cutout of the inlet ends touching the protrusions on the part B13. After that mount the propeller base. I created a round 8mm cardboard former and glued it on the front of the propeller base. Make air inlet tube, mount it from the inside of the inlet part.
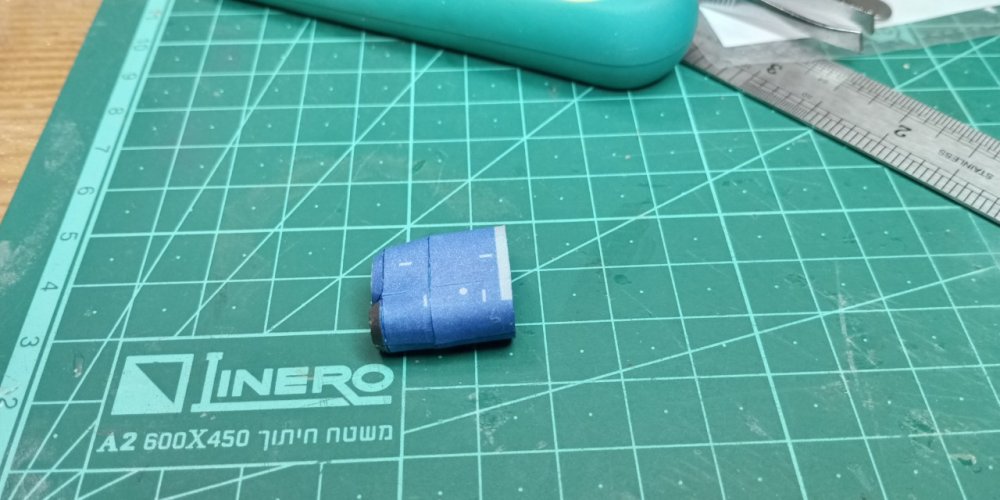
Next, the B14 part. Need to find the crease endpoint that touches the waste line of the part B13, and crease and fold the B14 part so that its rear part is straight, but its front part fits the "figure 8" of the B13.
From here, it's all simple.
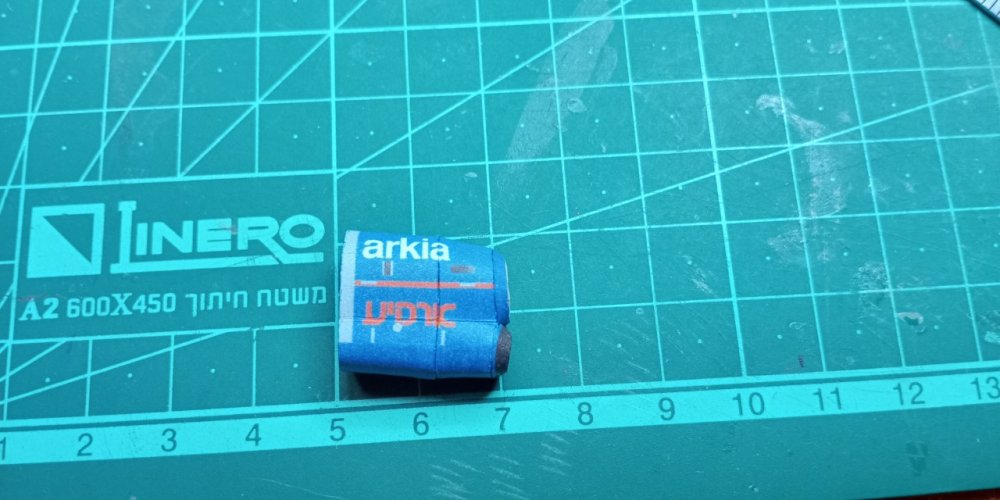
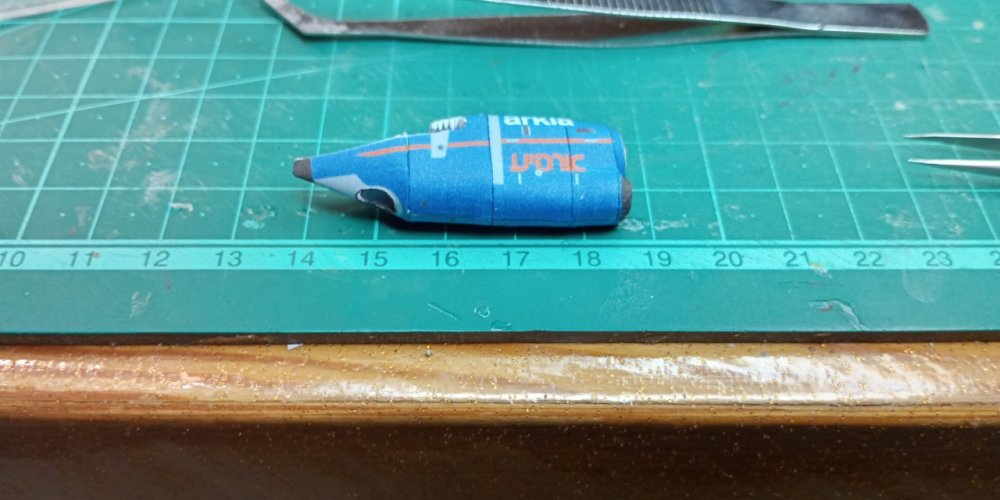
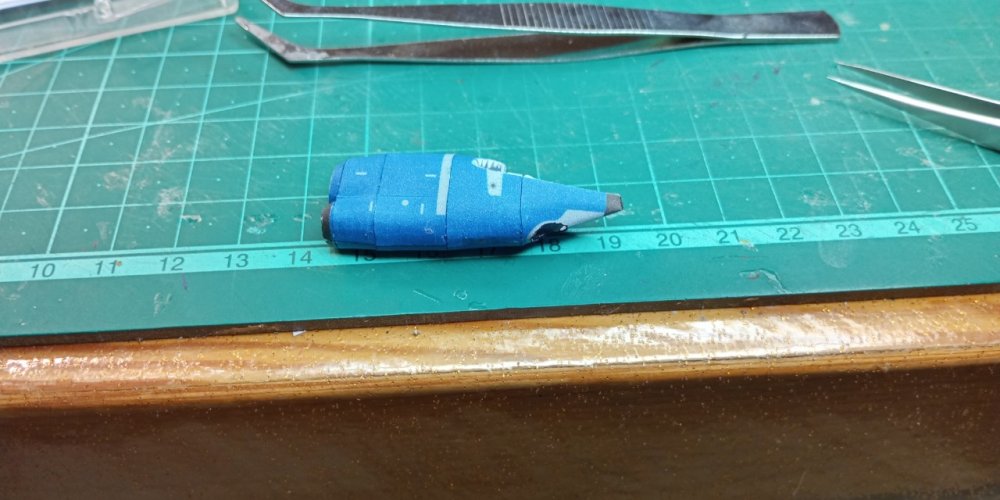
The prop is supposed to be glued to engine, I don't like it and the prop will be rotating.
Hopefully, second engine will flow much faster...
Only half of the year passed, and I am back.
This time I dealt with the part that scared me the most : the engine.
The issue is that, like everything French or Italian, the engine body has very beautiful shape. But the designer provided no internal formers for this intricate shape. It took me 4 retries to get it right. The main trouble was for me to find the inward folding line for the front part and the shaping of this part.
So, there is a curved cut out on the air intake cowling, it is supposed to go up.
After closing the front part, marked B13 and shaping it roughly to the shape of figure 8, mount the air inlet, shaping the lower part correctly with the crescent cutout of the inlet ends touching the protrusions on the part B13. After that mount the propeller base. I created a round 8mm cardboard former and glued it on the front of the propeller base. Make air inlet tube, mount it from the inside of the inlet part.
Next, the B14 part. Need to find the crease endpoint that touches the waste line of the part B13, and crease and fold the B14 part so that its rear part is straight, but its front part fits the "figure 8" of the B13.
From here, it's all simple.
The prop is supposed to be glued to engine, I don't like it and the prop will be rotating.
Hopefully, second engine will flow much faster...
Attachments
-
 IMG_20250131_232746_990_copy_1280x640.jpg144.9 KB · Views: 6
 -
 IMG_20250201_000858_995_copy_1280x640.jpg146.1 KB · Views: 5
 -
 IMG_20250201_003954_236_copy_1280x640.jpg157.4 KB · Views: 5
 -
 IMG_20250201_020237_155_copy_1280x640.jpg166.9 KB · Views: 5
 -
 IMG_20250201_021125_732_copy_1280x640.jpg163.1 KB · Views: 5
 -
 IMG_20250201_021136_893_copy_1280x640.jpg170.5 KB · Views: 7
 -
 IMG_20250201_180909_558_copy_1280x640.jpg171.1 KB · Views: 5
 -
 IMG_20250201_181919_203_copy_1280x640.jpg128.9 KB · Views: 5
 -
 IMG_20250201_181931_116_copy_1280x640.jpg119.4 KB · Views: 5
 -
 IMG_20250201_182749_412_copy_1280x640.jpg156.9 KB · Views: 6
 -
 IMG_20250201_182755_750_copy_1280x640.jpg172.8 KB · Views: 6