Sloop "Via Così" (Fabrizio Prudenziati)

ElMäx

Active Member
Nov 10, 2024
92
238
40
Couple of weeks ago I build the mini sloop "via cosi" for the Fabrizio thread (https://www.zealot.com/threads/in-memory-of-fabrizio-prudenziati-zio-prudenzio.177045/post-1066773) and to try out some thing other then a spaceship ^^

Now I wanna do the bigger version of the sloop, also one of Fabrizio's works. On the original webpage, accessible via the wayback machine, a link in the fabrizio thread, it is not possible anymore to enlarge the pictures of the model and I also couldnt find instructions there. Also did not find a build thread of it here in this forum. Does anyone here build that thing?

However I found a russian (I believe) modeler forum where someone is doing this model and shared some pictures from the constructing process. Looks like a more elaborated build with lights and stuff. I'll stick to the simple assembly without extras.

First I got me something to do, cut out the major parts while thinking about a way to go on.
I cut out the shape of the deck on corrugated card (ran out of grey board), like on the build thread I use as reference (which I can not understand but am too lazy to use a translator forXD).
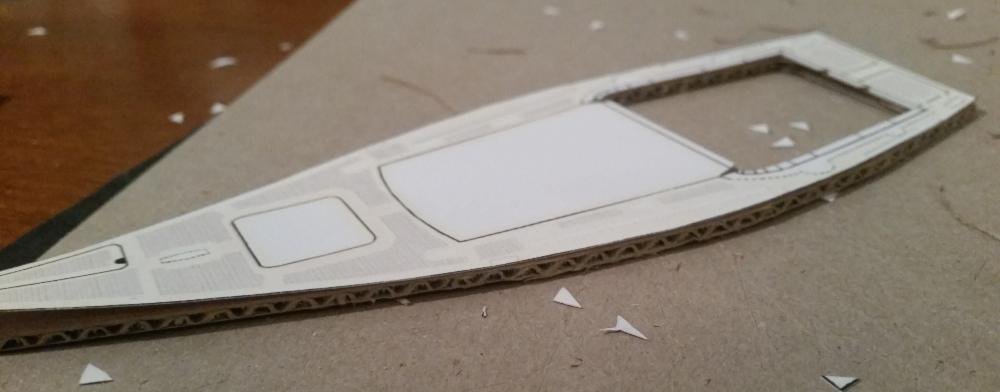
IMG_20241222_141319.jpg


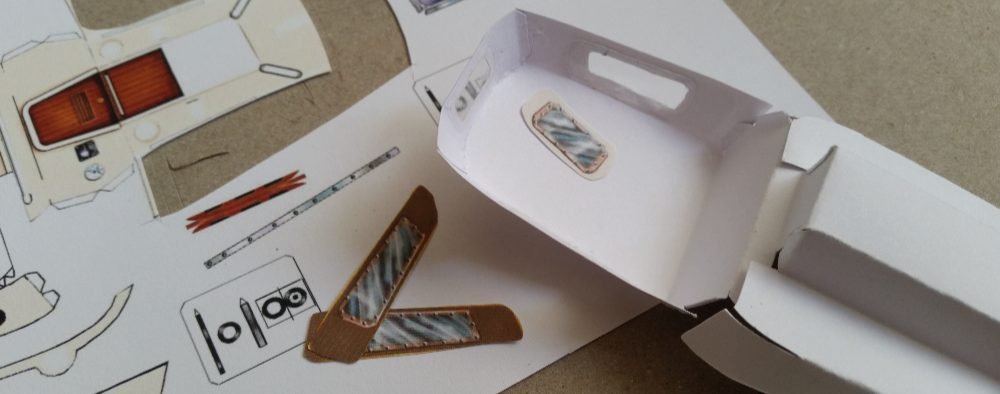
Then I took the cabin and reardeck part and cut out the windows, to build some windows with plastic sheets later.
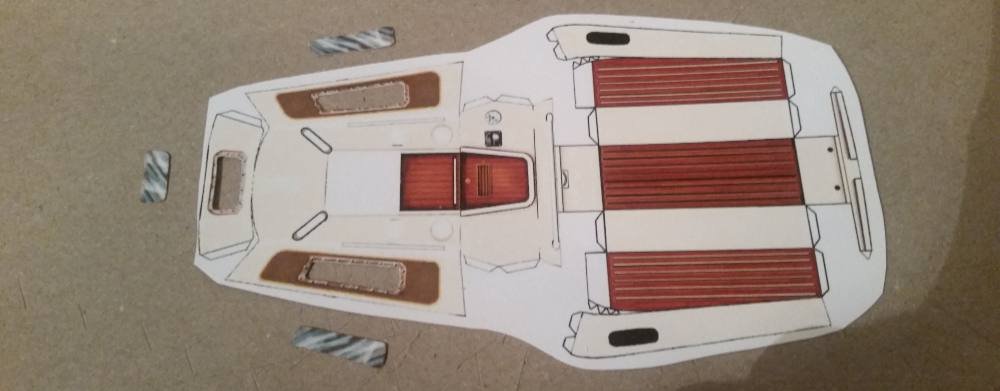
IMG_20241222_141354.jpg


Next I started to glue the cabin and deck part in shape, one glue flap after the other, cautiously not to glue to early some of them, always checking with the cut out deck part.
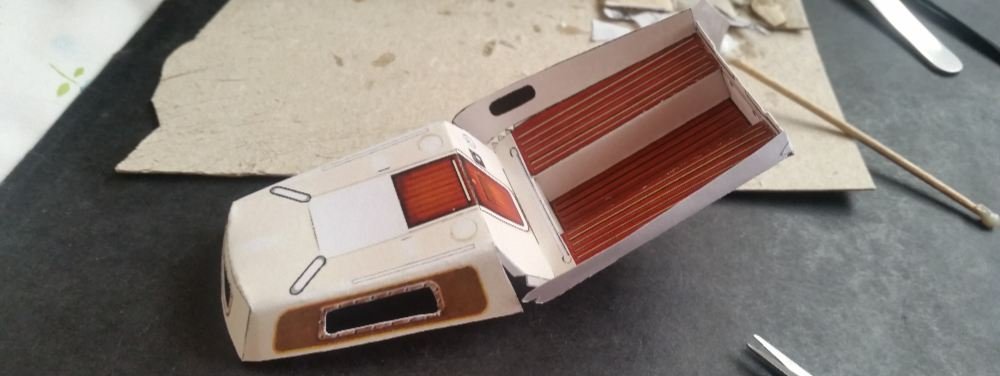
IMG_20241222_141432.jpg


And now I'm confronted with the first problem. It seems like the bench part/rear part of the deck is too narrow for the cut out hole in the deck piece. Maybe you can see what I mean in the picture below. I'm not sure but I think the outer egde of the brown bench part should sit on the thick black line on the deck piece:
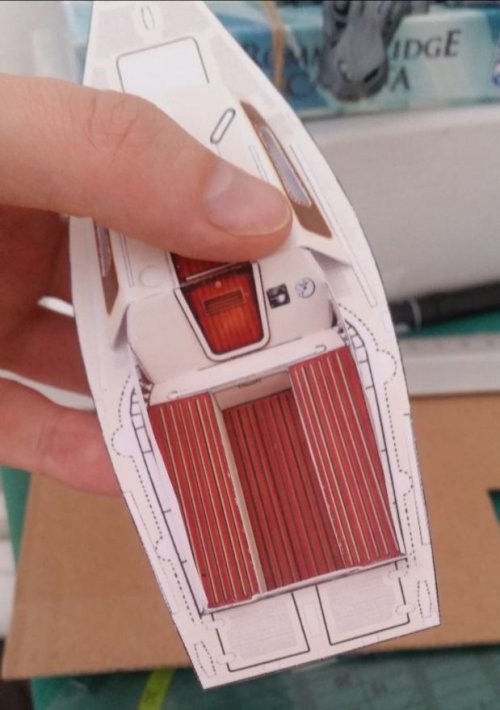
IMG_20241222_141520.jpg
I am sure I printed every page with the same scaling in the printer option. And also the spare prints I made are the same scale, so that problem could not occur because of mixed up prints.

Does anyone here already built that boat? Perhabs I glued the bench parts too tight and narrow but I aligned the glueing flapa properly
 
It looks like you are off to a great start with this project! I am looking forward to seeing how it turns out.
Yes, if I can get past that misalignment. I have a spare print of the cabin part with the rear deck. Or cut out the hole differently on a spare print from the whole deck piece

I am not at home and brought three prints of the whole template
 
I managed to get past that misalignment. I cut out another spare cabin and did not glue every glue flap together in the first place.
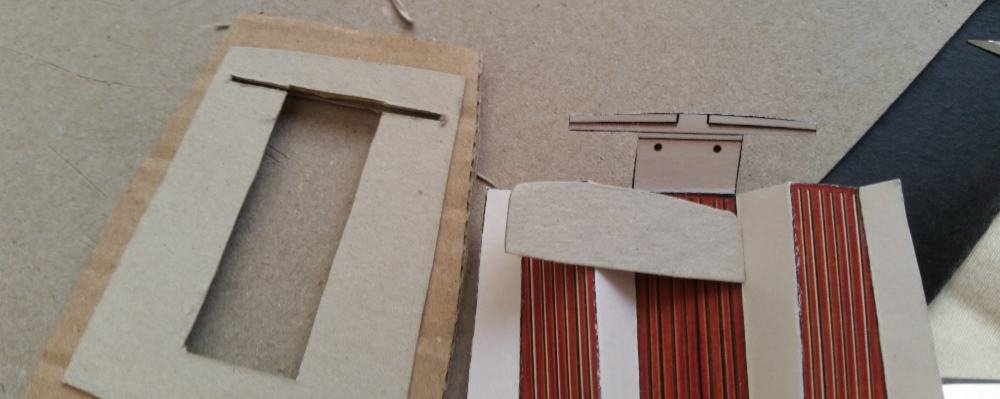
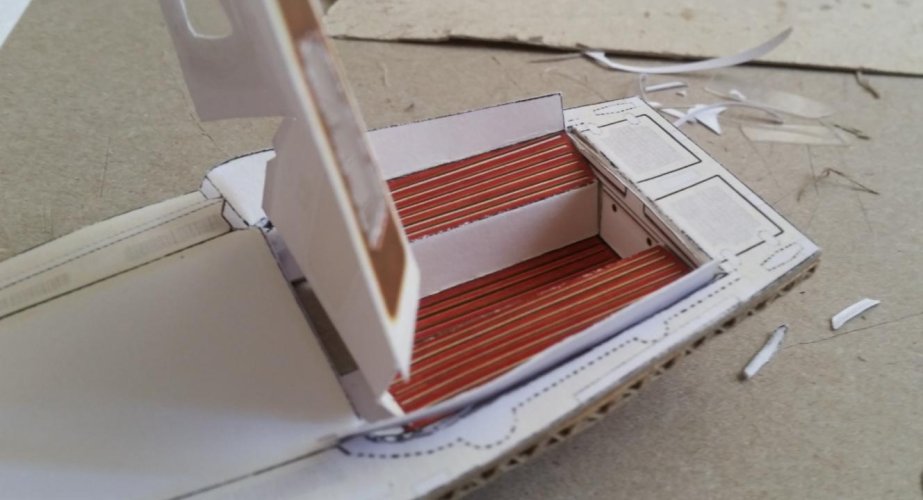
Instead I took some grey board piece, cut out the space for the part in the middle that will go down below the deck level. This way I also have a surface to put and glue on the seats of the "bench" (I don't have a proper name for that space on the rear deck, which is for the people on the boat to sit down there; hope you get what I mean).
IMG_20241224_095851.jpg
IMG_20241224_095819.jpg

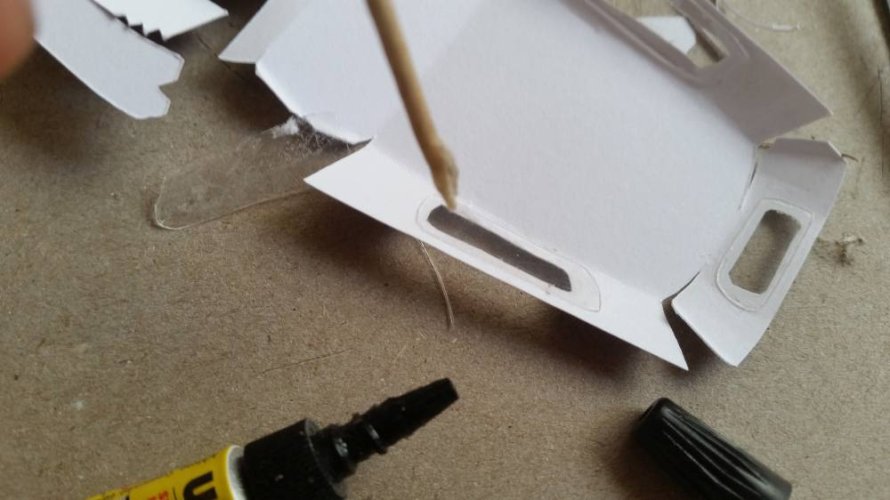
In that instance I also glued some plastics for the windows of the cabin. The plastics I you use doesn't hold with the regular glue, so I had to use fast glue.
IMG_20241224_095926.jpg

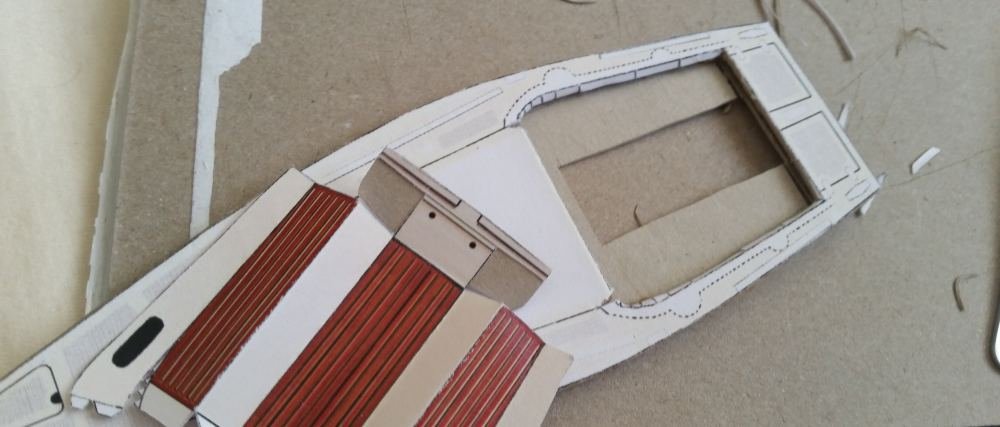
The rear end of the cabin/deck piece is really thin and delicate. In the first try I wasted it completely while trying to put the whole piece together. So I decided to strengthen it with grey board. The board with the rectangular cut out on the bigger deck piece needs a slot for this to work (see picture below).
IMG_20241224_100114.jpg
IMG_20241224_100251.jpg
I also got rid of the glueing flaps on that rear part and on other sides too. Building Fabrizios locomotive gr. 691 almost completely without flaps to glue assured me that they are not necessary everywhere.

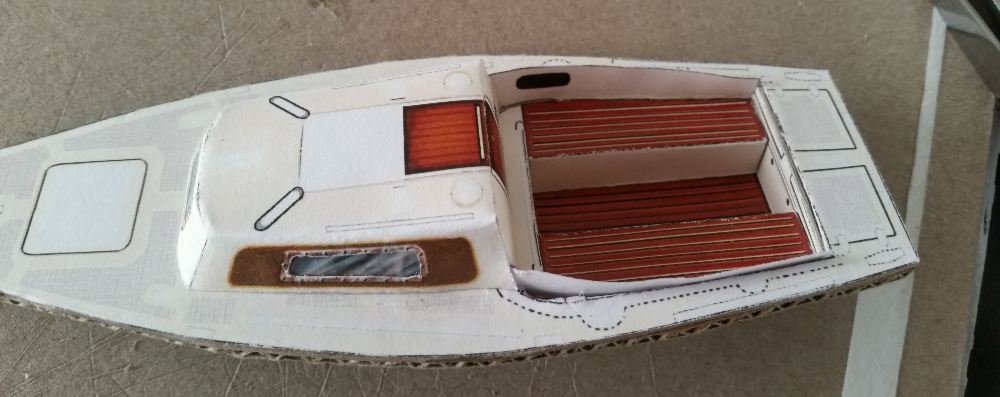
The two deck parts glued together look like this. Fitting almost perfectly
IMG_20241224_100351.jpg
IMG_20241224_100452.jpg
 
I took the third and last spare print, that I brought with me, to cut out window parts of the cabin, glued them on the inside on the plasticpieces to achieve a recessed window look, retaining the original window glass drawing
IMG_20241224_152919.jpg
IMG_20241224_152954.jpg

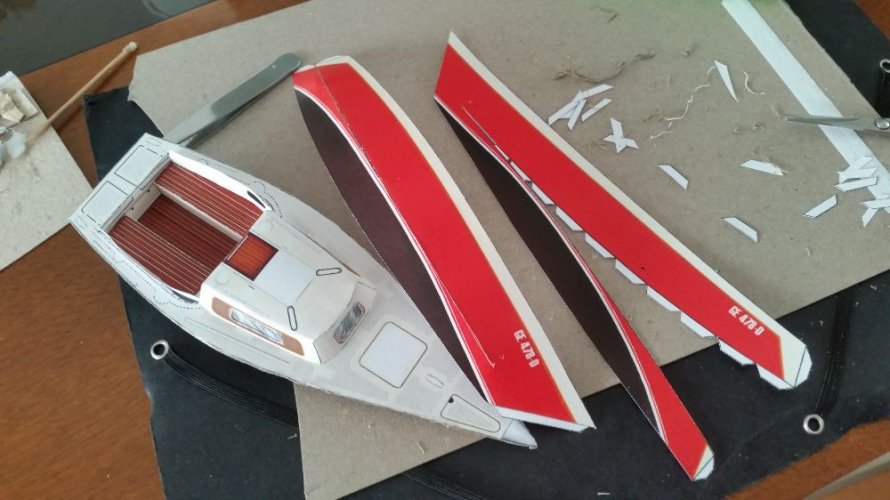
After that I went on with the sides of the hull. I got rid of the glue flaps on the upper edge because I don't need them anymore. The deck is now thick enough with one layer greyboard and one layer corrugated board. That will be sufficient to glue the side parts of the hull to it. Now it really starts to look like a boatXD
IMG_20241224_153037.jpg
 
This looks great. You did a nice fix.
Thank you. Came up with the idea while been driven around from on visit to the next visit during our holidays. It really helps to not be physically near some problems to really think about them and don't fiddle with the parts permanently, if you know what I mean.
If I don't have the model pieces with me and can not work on them, I can think about them in a different way and don't let myself be distracted by them. If that makes sense
 
  • Like
Reactions: mijob
I built this model once. It came out good, but when I was finished, I realized if I had cut out the cabin windows, put plastic instead, printed another sheet, and cut out other pieces to layer up, like the stainless steel around the windows, and the gauges, do the the fo'c'sle, and so many other parts, it could have come out even better.
Using wood strips for the cockpit area would be a nice touch too. It's coming out really nice. :)
 
  • Like
Reactions: ElMäx
I built this model once. It came out good, but when I was finished, I realized if I had cut out the cabin windows, put plastic instead, printed another sheet, and cut out other pieces to layer up, like the stainless steel around the windows, and the gauges, do the the fo'c'sle, and so many other parts, it could have come out even better.
Using wood strips for the cockpit area would be a nice touch too. It's coming out really nice. :)
Nice. I have a bit a hard time to make out the details of the pictures. I have a few of another building thread, the low res ones from fabrizios page and a high res of fabrizios from somewhere else (found with google). But I have to think about where all the parts fo tht I cannot see. And how to build the takelag properly. I don't know nothing about sailing

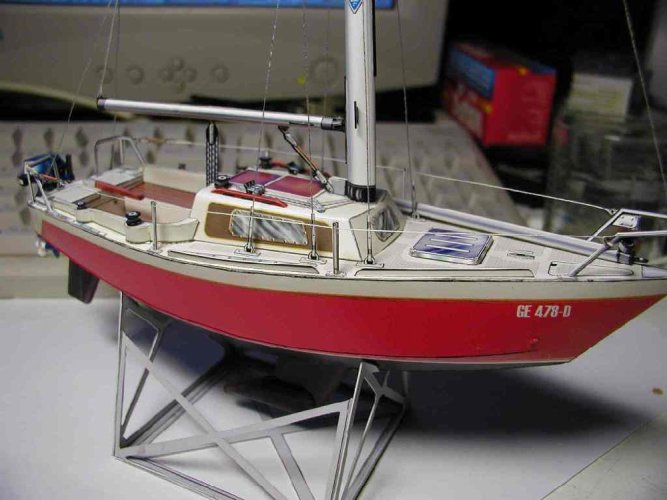
Here is one high res of fabrizios:
Viacosi01.jpg
With that I can make out many details but not all.
 
Great build thread and nice enlargement project!

Where'd you get the kit?
From Fabrizios website through the link in that thread here:
 
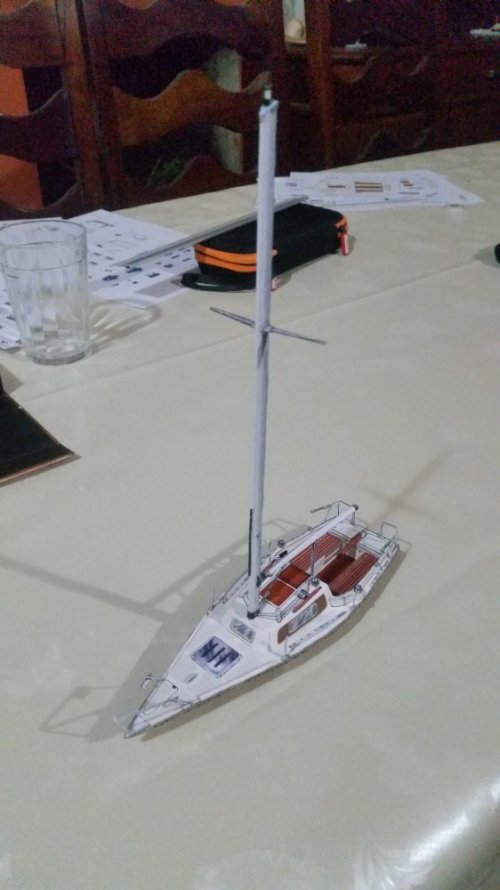
The last days I started the small details on the deck and I want to finish that boat in the next days to give it away as a present.
But I still have to come up with how to built the mast and takelag. It is no easy to make out on the reference pictures
 
This model came out fantastic. I used to sail a 10 meter Pearson Sloop with a Marconi rig. Having been an avid sailor, I can tell you that your model is excellent and I would proudly display it. You might want to get a plastic box to cover it, as they are dust magnets. Also consider spraying it with a coat of Satin Clear coat, the whole boat, to keep moisture out and prevent it from warping. You did an excellent job on making a strong deck. The Spray would be for the thin parts.

Great job! :)
Oh no, you might misunderstood. The last picture is from fabrizios page, found on another website. I just posted to show as reference. That's why I wrote "here is one high res of fabrizios" , should read " ... of fabrizios pics. Sorry for not to be that clear. Just wanted to show that reference, the details that I can make out and what I cannot make out because it is obscured in the foto.

I'll post pics from my build a bit later. Today I did much and it is nearly finished
 
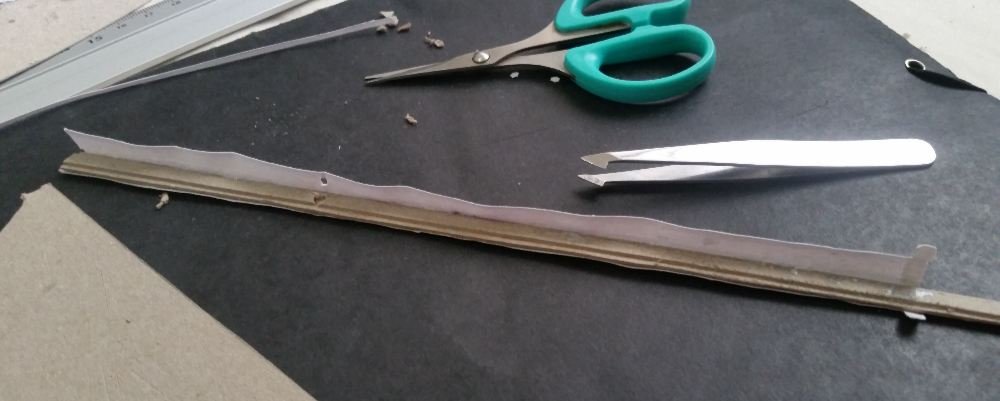
For the mast I laminated three stripes of grey board as a core to stabilize.
IMG_20241229_080530.jpg


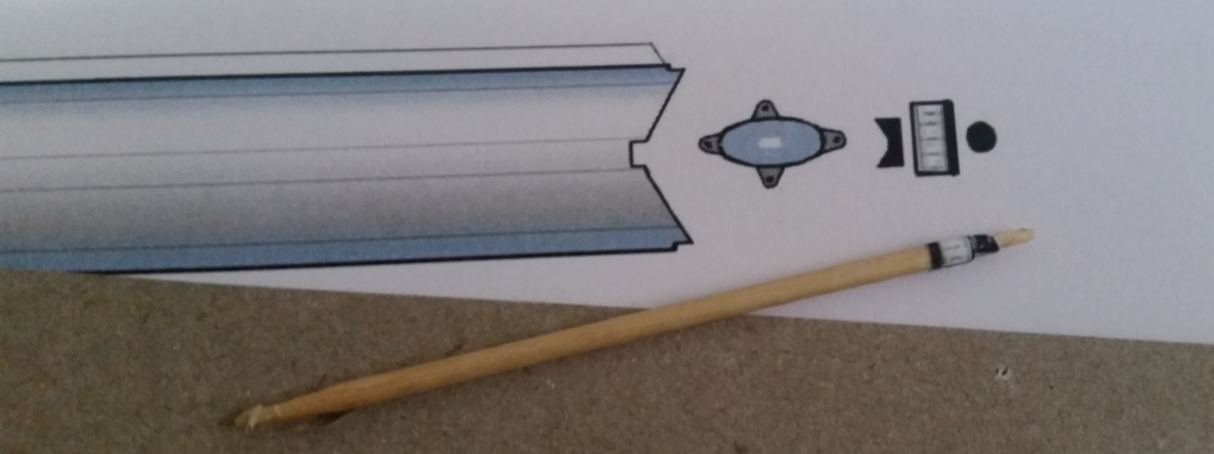
The tip of the mast I glued to a thinned out toothpick tip.
IMG_20241229_080601.jpg

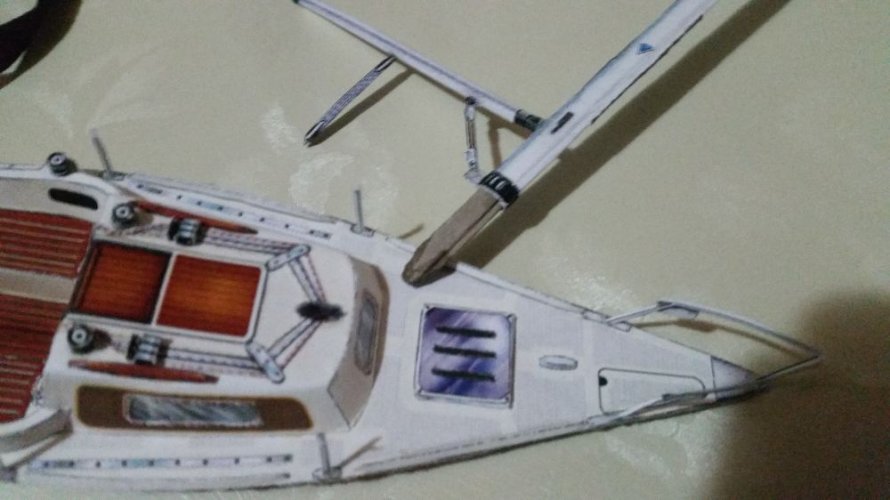
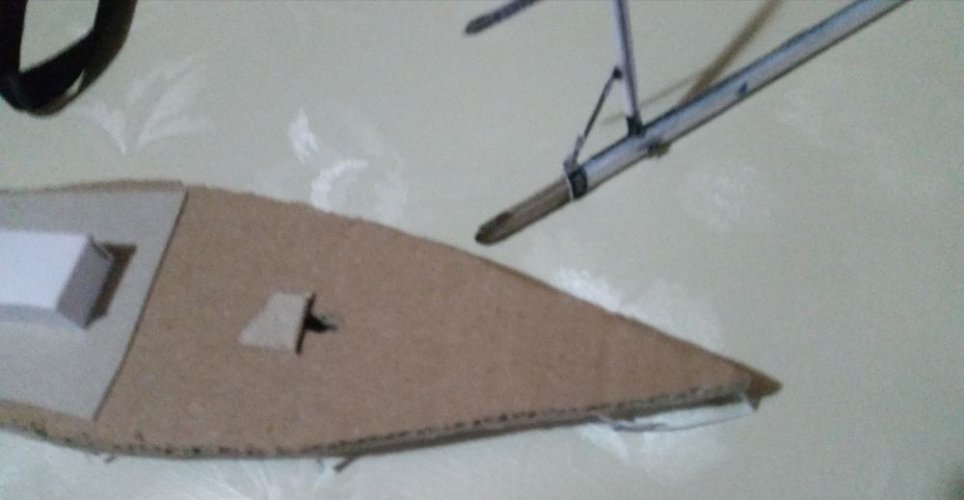
I cut a hole through the cabin and the base of the deck to put the mast through it. For that I made the core of the mast a little bit longer. The idea is to have that mast detachable for transport. To endure multiple attachments and detachments I hardened the base of the mast and the hole in the cabin with fast glue.
IMG_20241229_204035.jpg
IMG_20241229_204103.jpg

These works I did the last days.

Yesterday I did much of the details on deck:
IMG_20241229_080633.jpg
IMG_20241229_080700.jpg
 
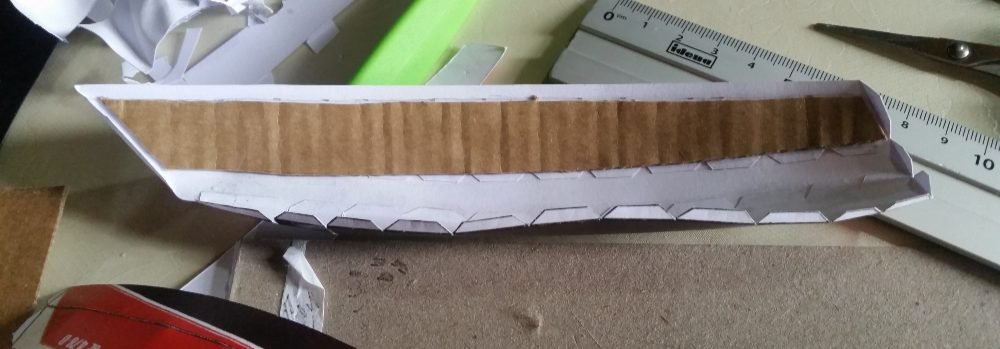
Today I did the hull. I stabilized the sides with corrugated board.
IMG_20241229_205149.jpg

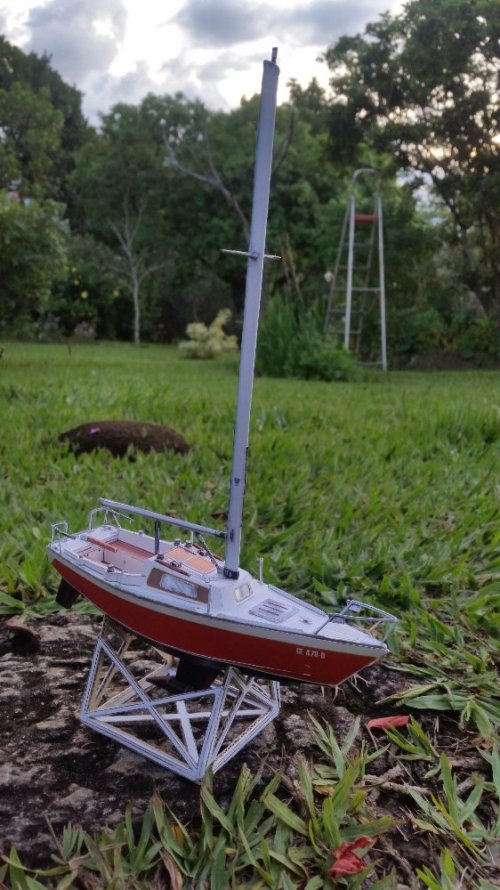
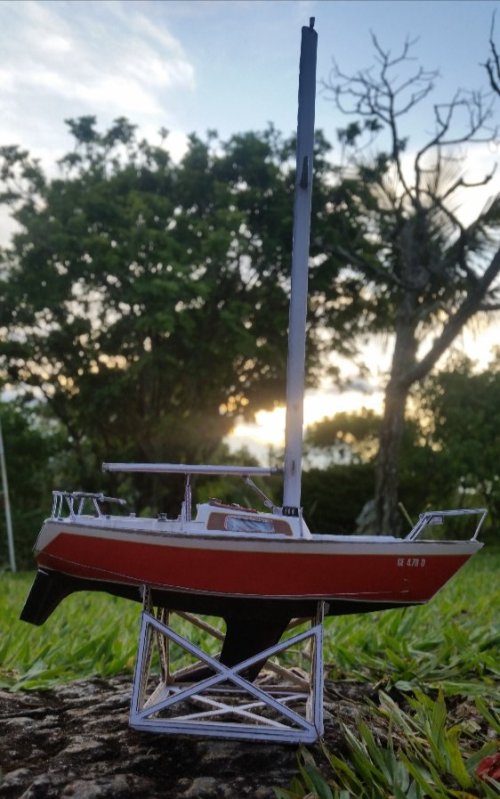
The underside with three layers grey board (now I definitely ran out of it^^) and one corrugated on top of them. That way I hope the center of mass is located low enough to not let the boat flip so easily. Because with all that board in the deck and the mast it was quite unstable on the stand.
IMG_20241229_205238.jpg

Now the only things that are missing are the engine at the rear and some takelag.
IMG_20241229_205405.jpg
IMG_20241229_205448.jpg