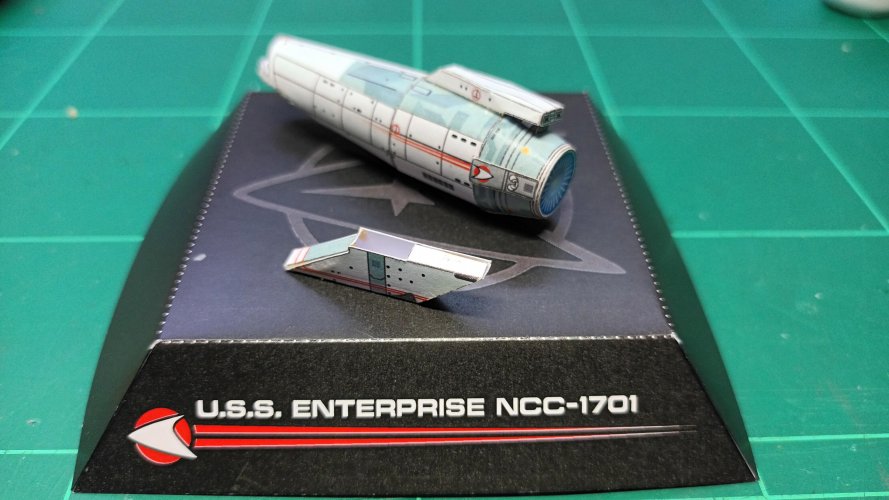
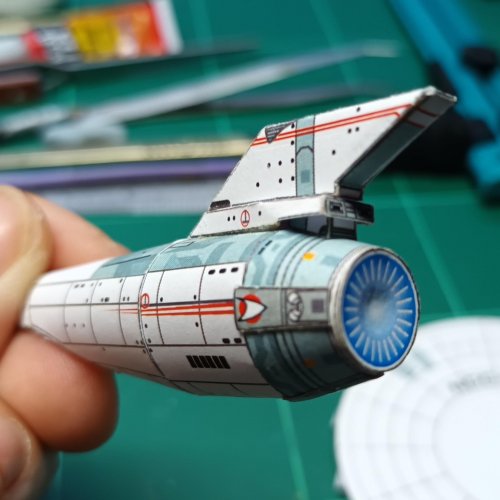
"khaaaaan!" The Wrath of Khan - A mini face-off!

Chuffy70

Well-Known Member
As a fair-weather supporter of Star Trek over the years my interest in all things nacelles started and pretty much ended with the Wrath of Khan.

The Enterprise, whilst beloved by many is not really in my top-ten star ships, but the Reliant would certainly fill one of those spots.

Looking probably more aggressive than Kirk's quirky design - there's just something that drew me to the Miranda-Class vessel which floated my boat.

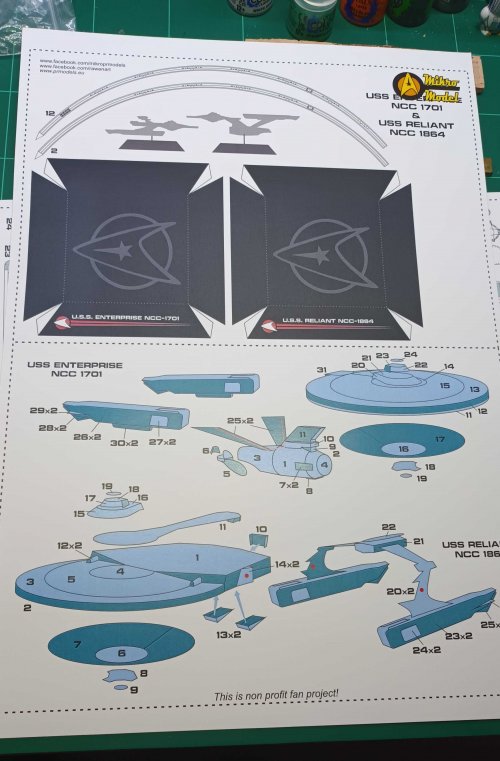
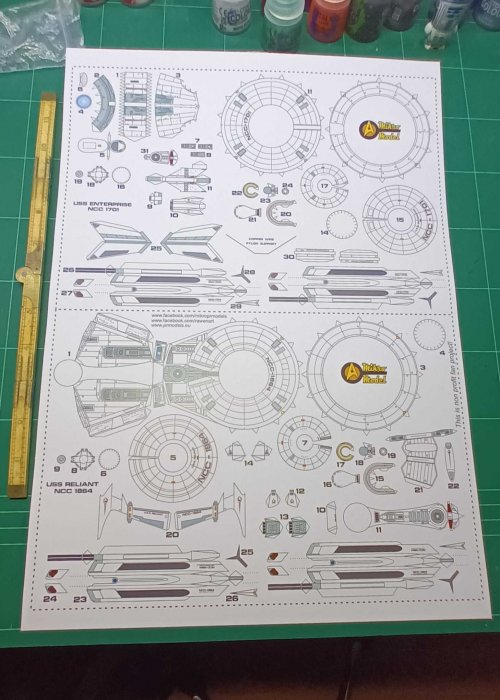
Anyway, petty differences aside I found this little set awhile back, and was far too small for me to tackle until recently upsized to A3 - still looks tricky, but time to give them a try. Still they do look tricky though!

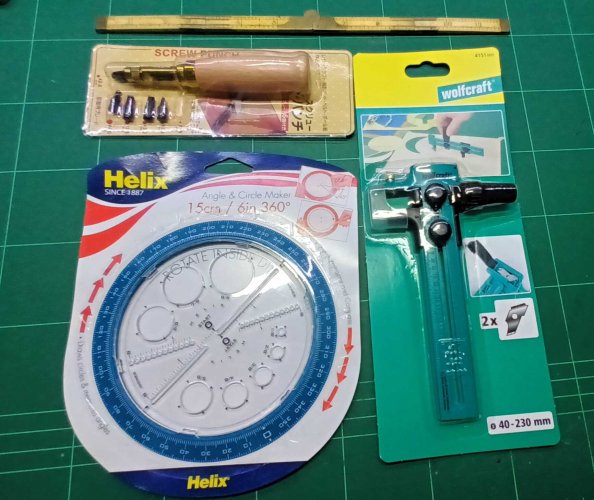
A few new tools fell my way over the last week, so with these in hand and given the circular nature of the these two ships - I'd thought its time for battle to commence!

*the following pictures are from my phone, so apologies for any lack of detail :bulgeeye:


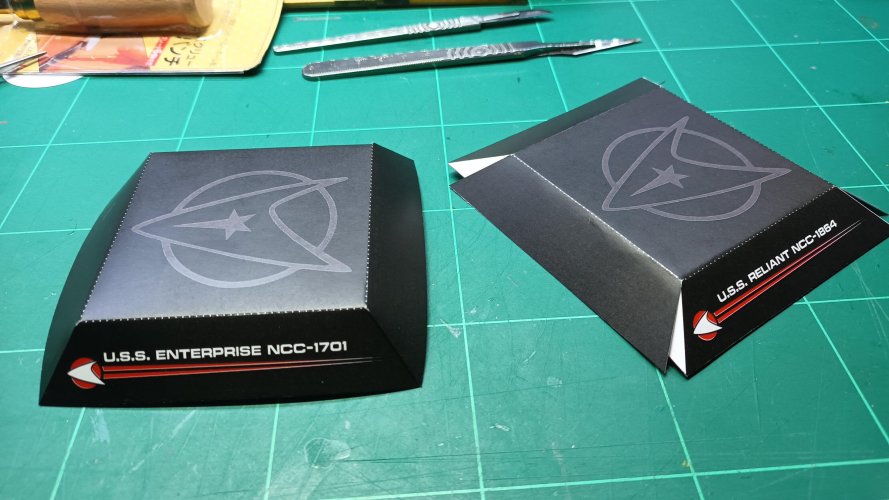
SHEET ONE - Stands and Instructions
st1.jpg


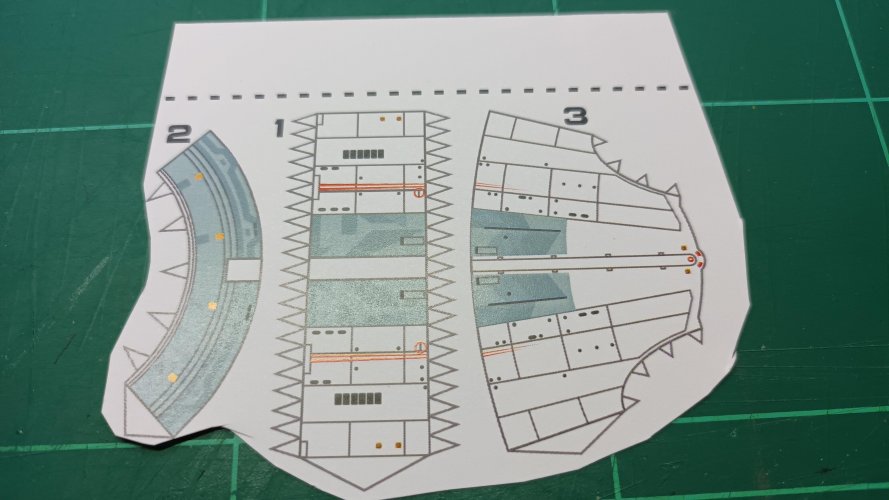
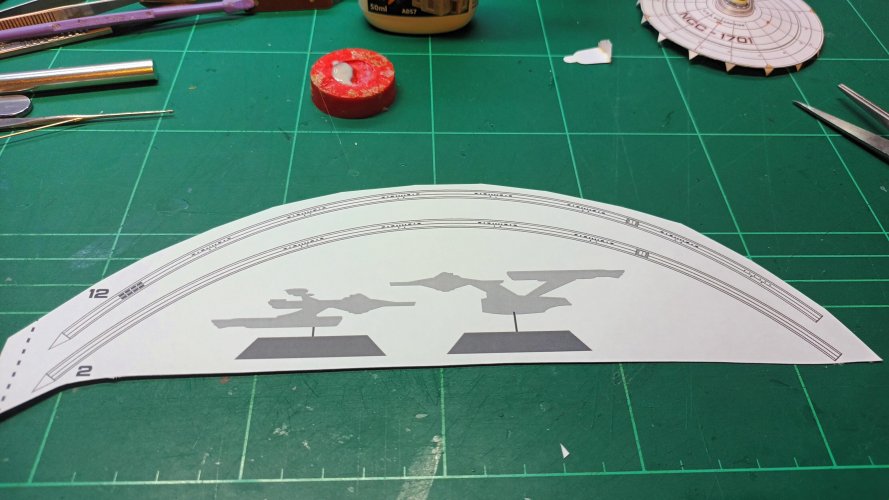
SHEET 2 - Some Spaceships!
st2.jpg

New toys!
st3.jpg

Right, best I start cutting and gluing!
 

mijob

Tie designer
Staff member
Moderator
I like this one.

Does anyone know where one can find a kit or plans or drawings of the only REAL live starship, Moya?

View attachment 209140
I made a new thread for your question.


Chuffy70

Well-Known Member
Construction begins on the bases, bog standard affairs with no internal supports - will sort that out later

st1.jpg

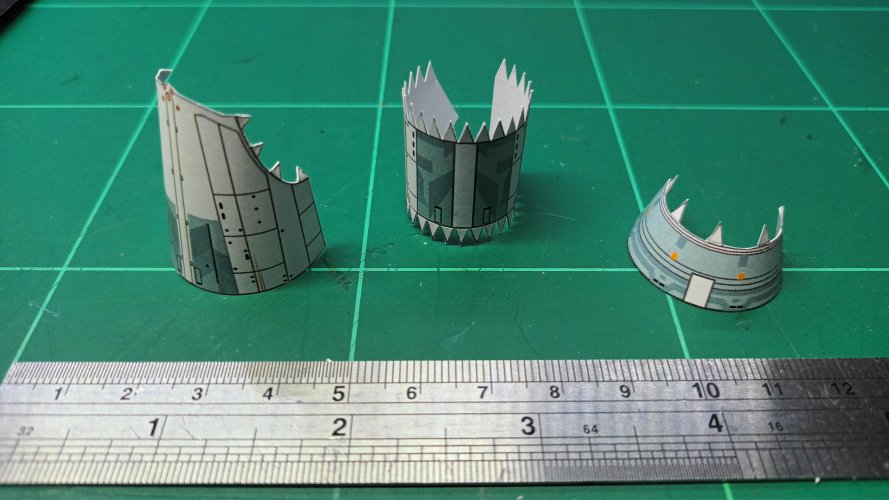
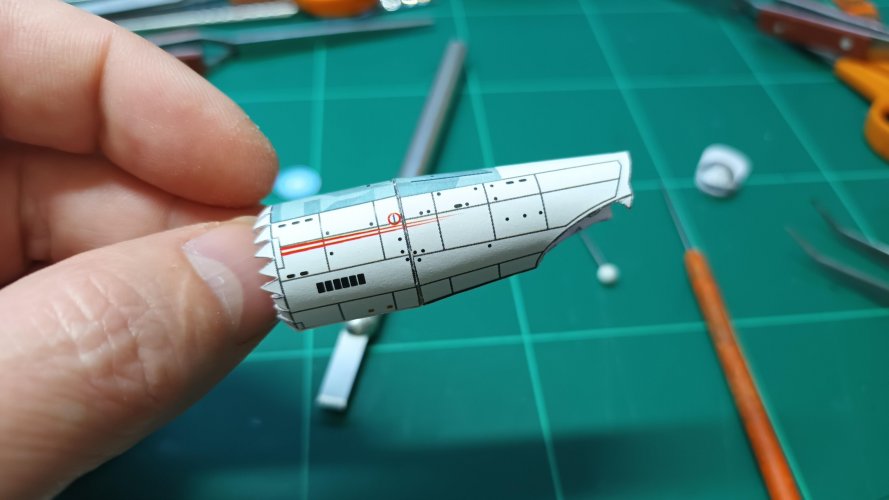
First three parts form the Secondary Hull.
st2.jpg

Cut and scored.
st3.jpg

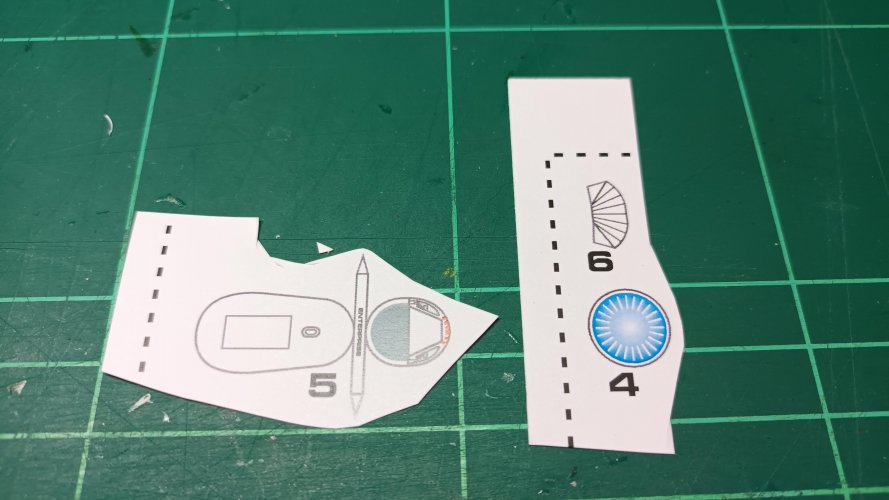
Next three parts readied.
st4.jpg

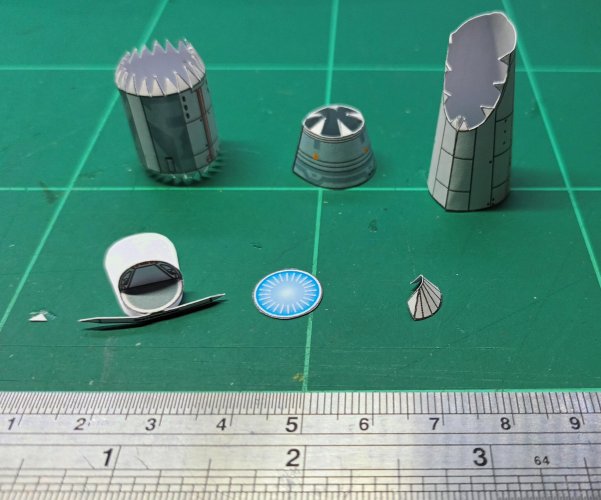
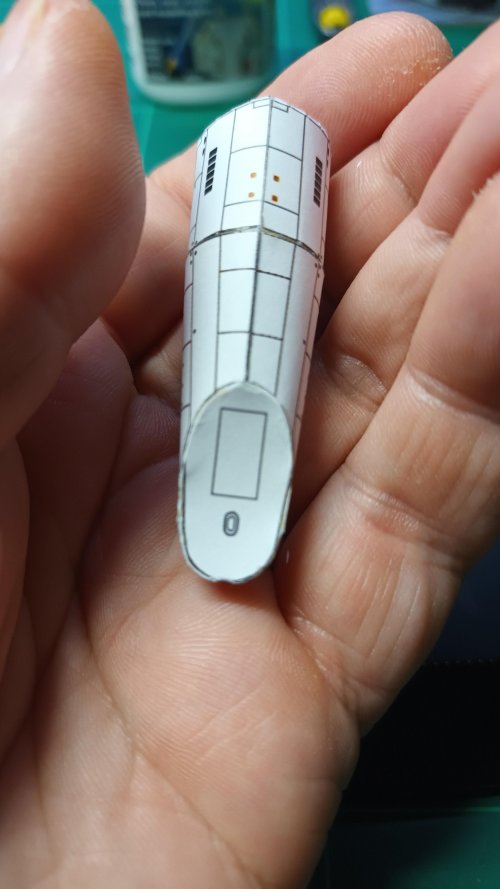
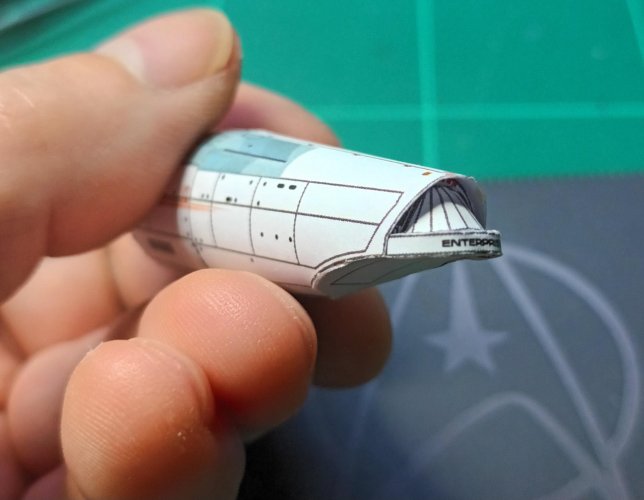
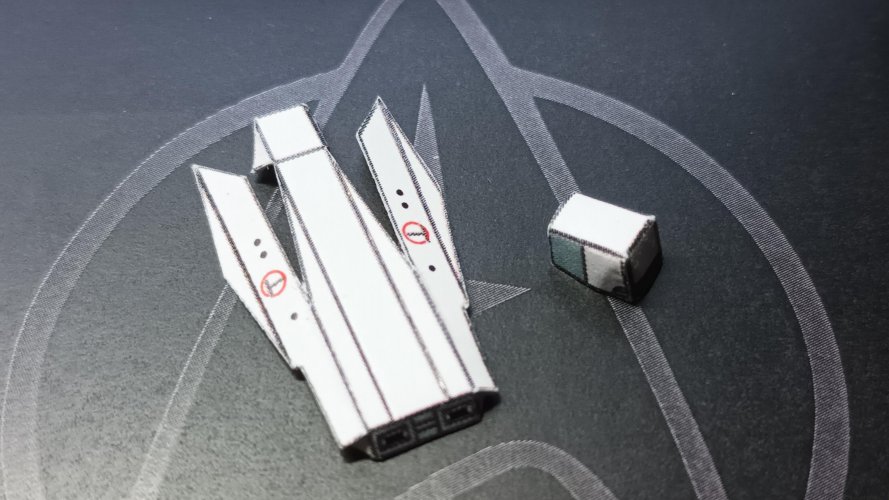
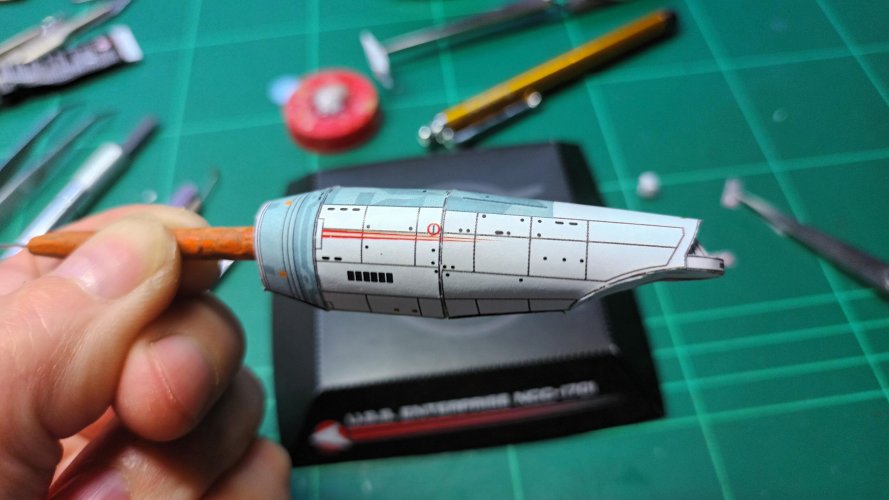
Secondary Hulls formed, along with the Shuttle Bay, front dish thing and the Bay doors.
st5.jpg

Hull print is a bit hit and miss, but not too fussed.
st6.jpg

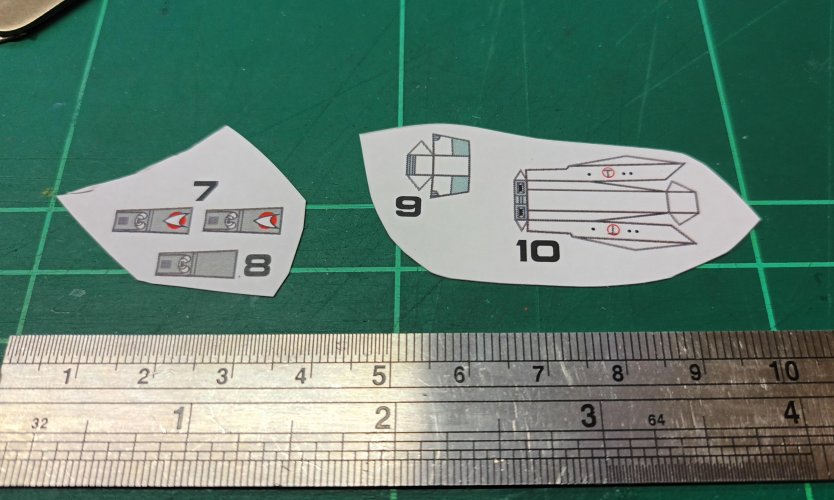
Doo-dads and Torpedo section.
st7.jpg

Shuttle bay doors attached by the tabs at the back first, then top, followed by the bottom.
st8.jpg

Doors on.
st9.jpg

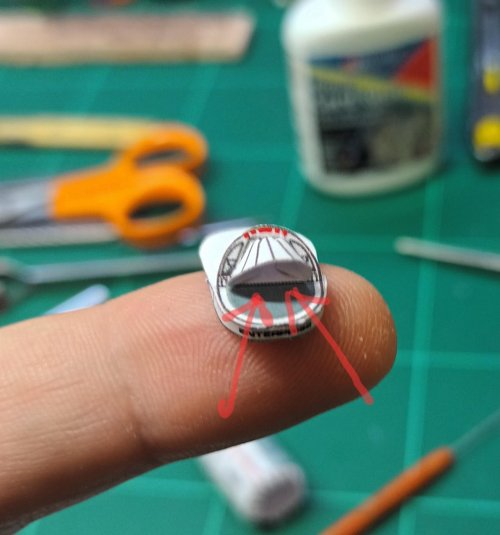
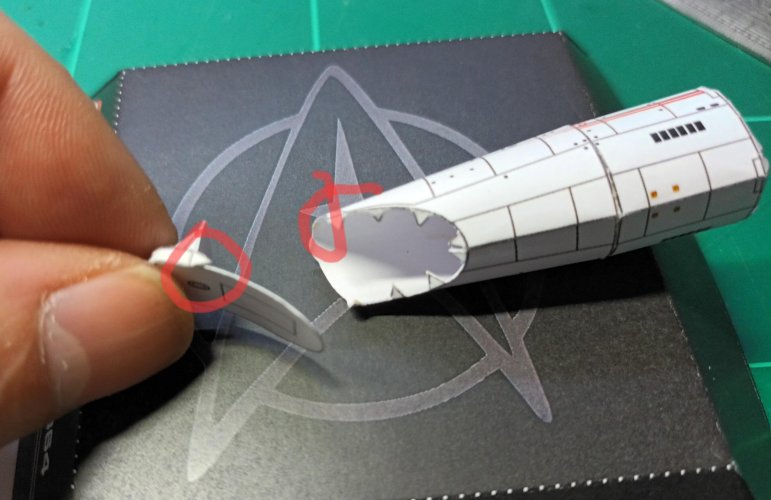
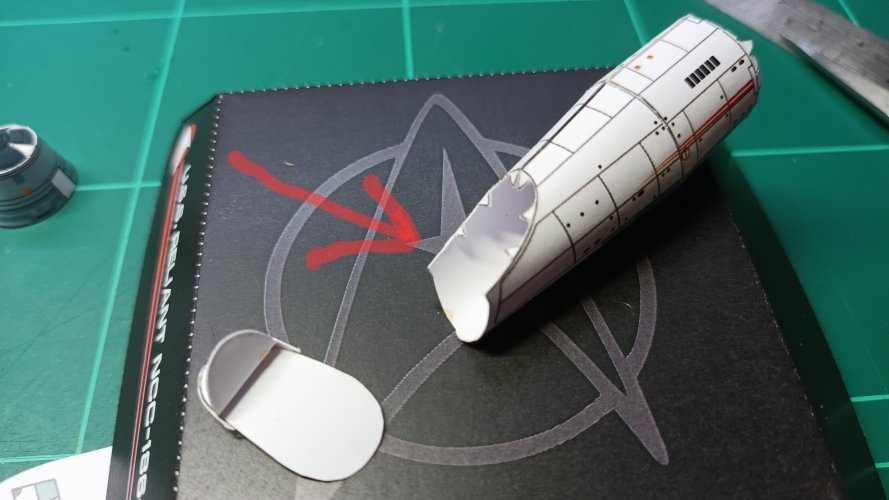
The Shuttle bay attaches to the bottom, but two tabs intersect here!
st10.jpg

Cut the hull tabs at the end which helped mount the Bay in first, then lay the other half over.
st11.jpg

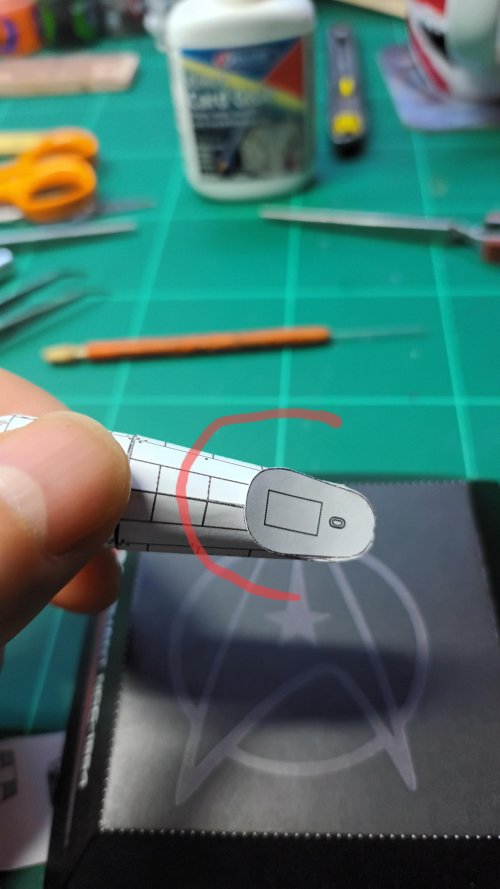
However much I pushed, pulled and squeezed this bottom plate it was not going to fit...
st12.jpg

Judicious scissor action, and a hack or two with the Knife soon sorted that out, ugly but passable. :eek:
st13.jpg

She wouldn't pass an inspection!
st14.jpg

Torpedo and a bit that sits underneath.
st15.jpg

Front sensor ring-thingy added.
st16.jpg

All kinds of ugly going on here...
st17.jpg

All sorted by adding the array - little by little going round the edge made the whole thing pull into shape.
st19.jpg

Neck section next up.
st18.jpg

Doo-dad, which the Torpedo section sits onto fitted, and some smaller parts to fit around the sensor.
st20.jpg

Well kiddies, that's where we'll leave for this week, tune in again when Kirk's log gets flushed!
 

Chuffy70

Well-Known Member
Well earlier than I thought on a return back to the Enterprise build, as I had forgotten I'm not at work!

Lower neck portion added and larger neck section attached, also Deltas of the side pennants/stripes stuck onto both port and starboard and one small piece on the underneath centreline - The under of the torpedo section is open, but that doesn't bother me.
st24.jpg
st1a.jpg

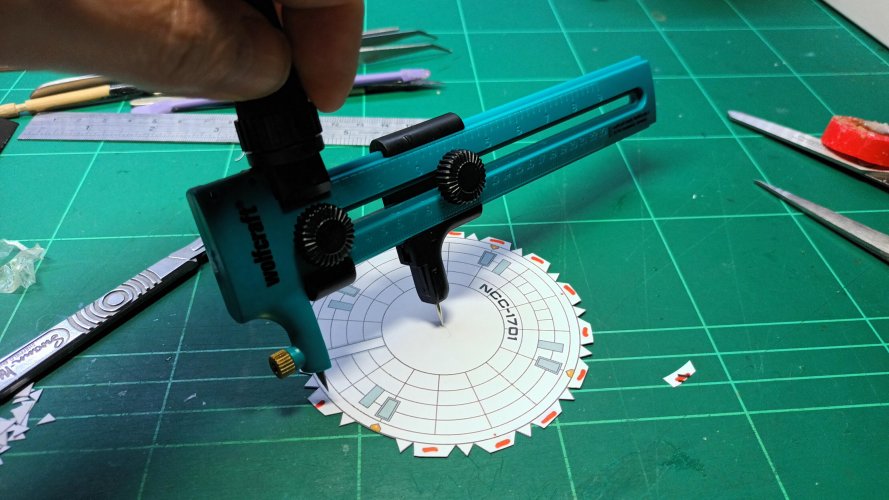
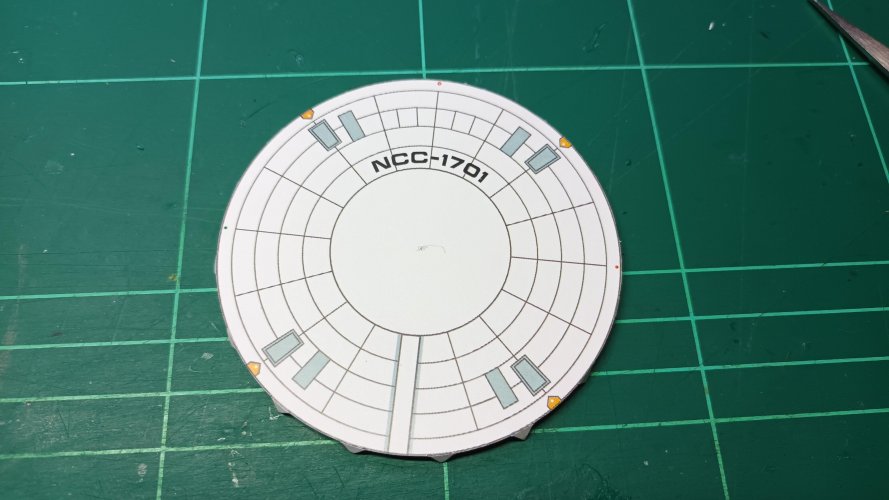
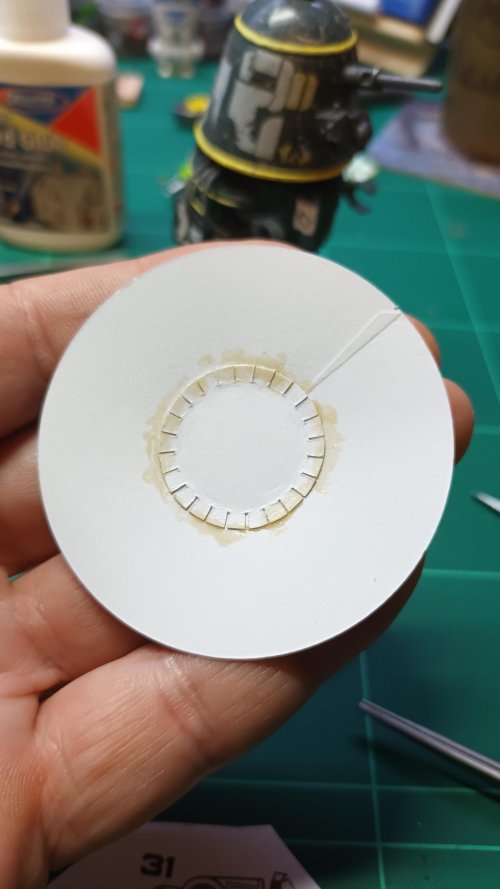
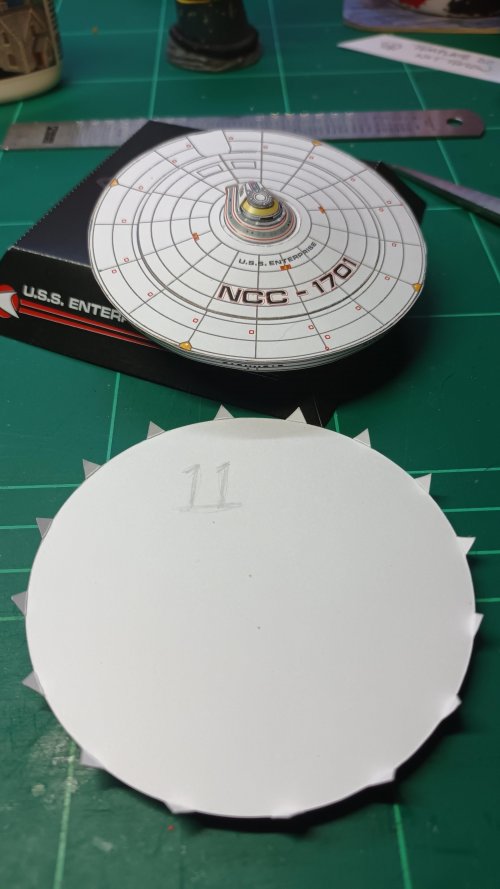
Trying out my new compass cutter made easy work of the saucer sections, a worthy addition to my tool arsenal.
As I was keeping the tabs, I cut those free first, then added red to the parts which needed to be cut away - A couple of swirls with the cutter and it was done, so glad to have this bit of kit!
st22.jpg

Nice and round!

st23.jpg

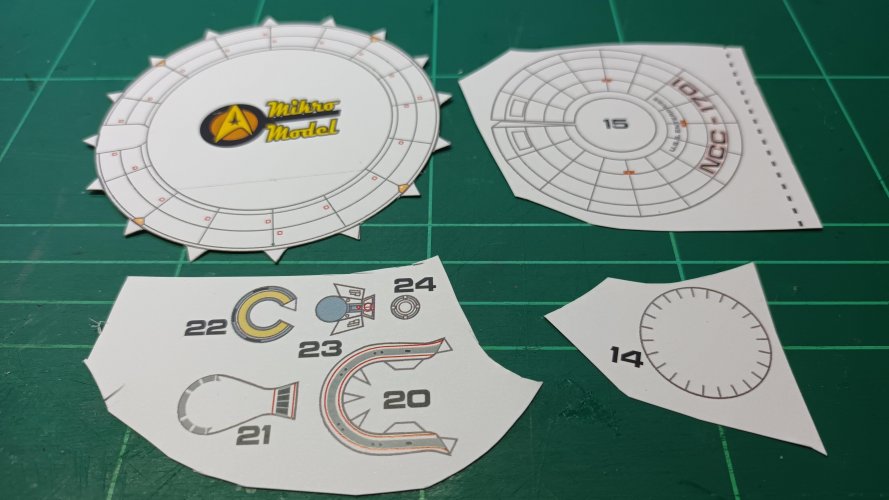
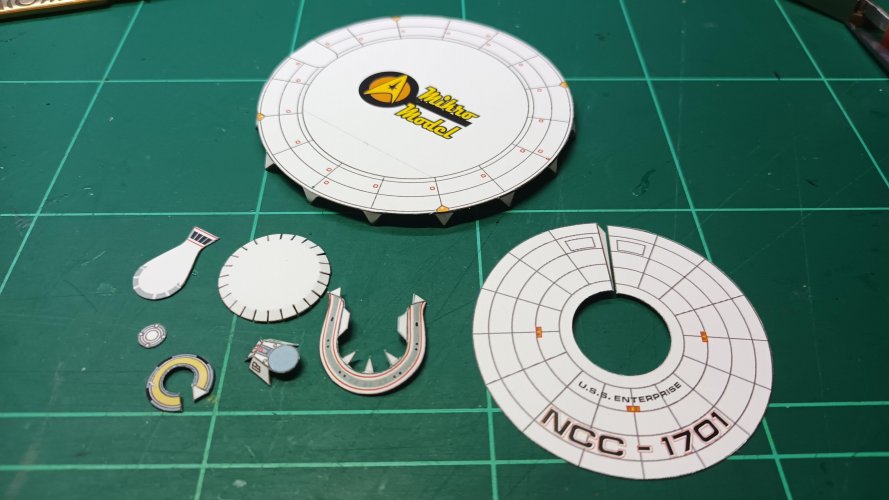
Parts required for lower section - careful studies of the filming miniature was invaluable in locating parts on this kit, as there are only shadows of the parts locations on the instructions.
st25.jpg

Cut and formed.
st26.jpg

Lower saucer completed.

st27.jpg

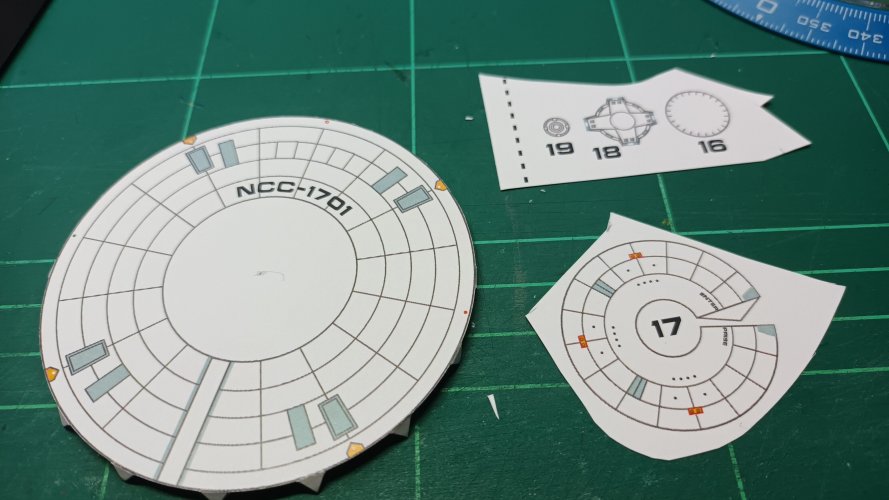
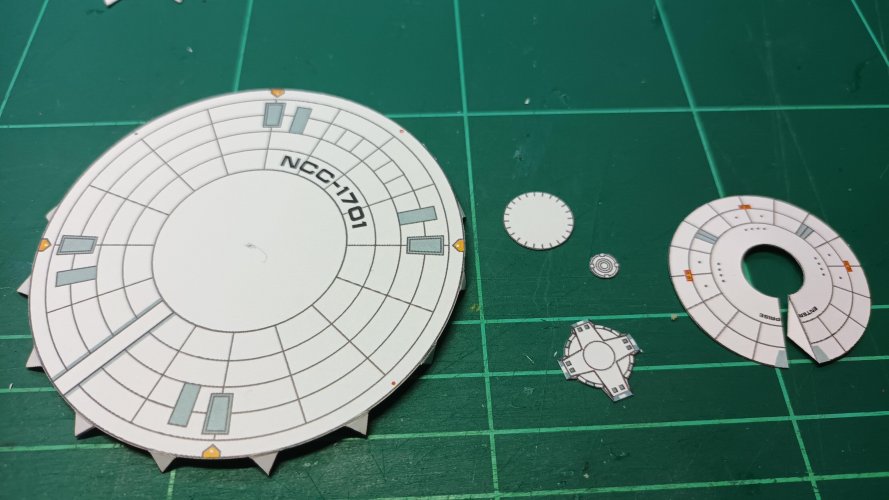
Top saucer section next...
st28.jpg

Cut the saucer as per the bottom section and formed the rest of the parts, once again reference photos were a great help here.

st29.jpg

Part 18, inserted - I missed taking a picture of Part 16 for the bottom saucer which inserts into the middle, the little tabs raising it slightly through the hole.

st30.jpg

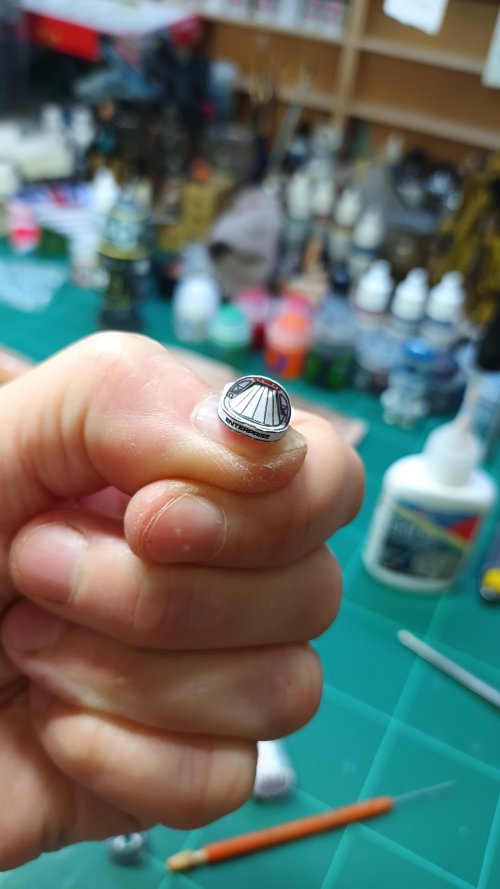
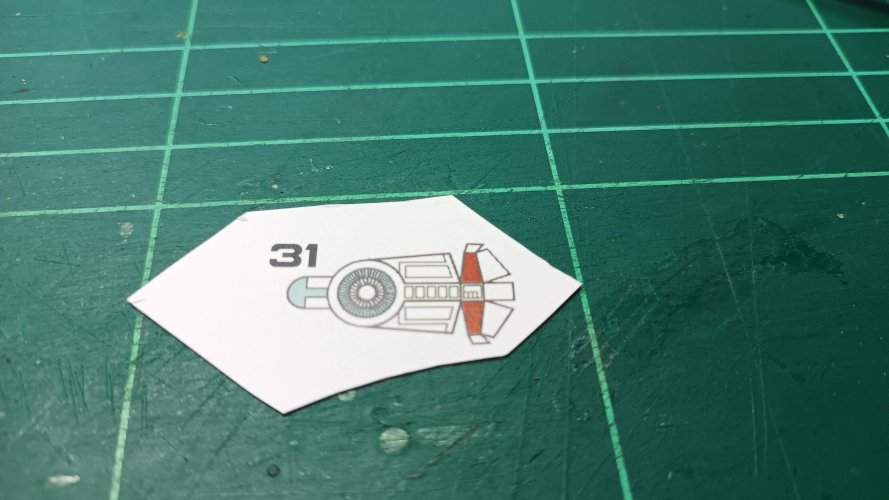
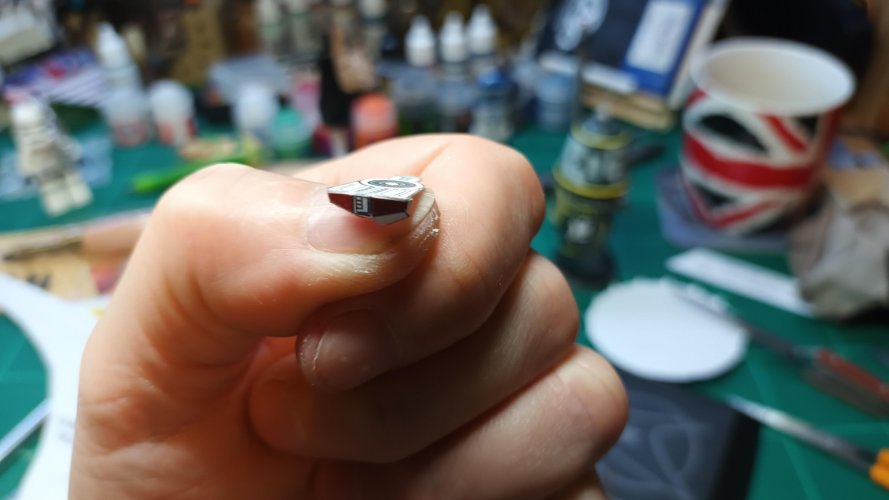
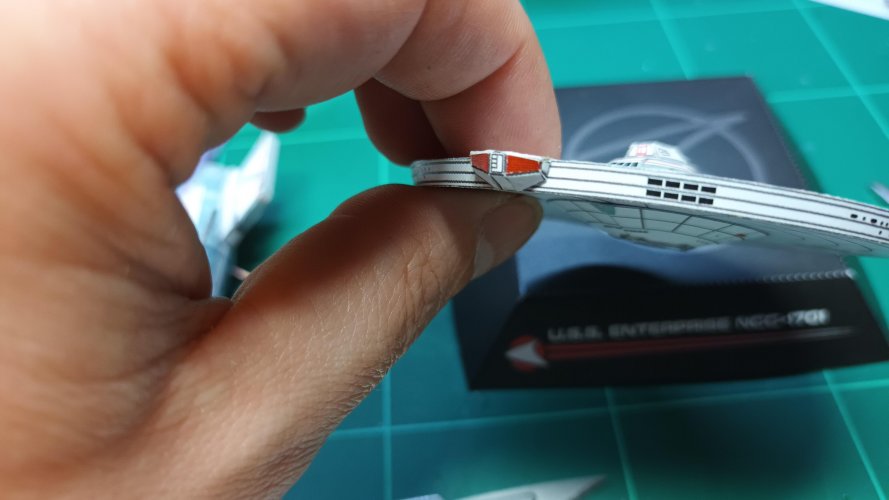
Slight distraction to the rear of the upper saucer greeblie - I not 100%, but I think this is the rear impulse engines, could be wrong, but I'm sure someone will know what they are.
st31.jpg

Tiny and fiddly little construction, but it was not as hard as first thought.

st34.jpg

A quick travel to the outer rim next - Part 12 is required here, as Part 2 is for the Reliant.

st32.jpg

With the upper saucer complete (sorry separate pic missing!) it was time to add the outer rim. Once again careful study was required here to make sure all was correct - there's an UP & a LEFT & RIGHT - so note the upper row of windows are in the top band, and the little double dots are in the bottom band.

st33.jpg

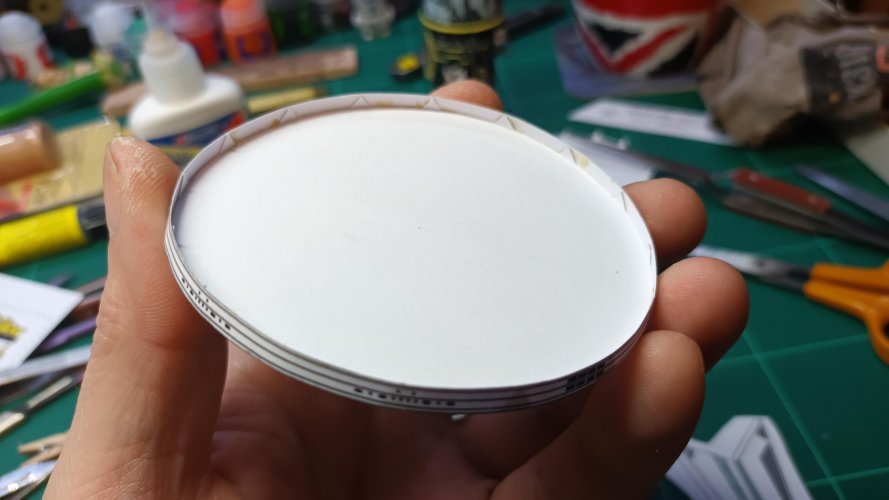
Window band added - was a tad fiddly, as the band lends itself cleverly to slope inwards from the top rim, which is correct.
I added tiny sections at a time with a peg holding the ends together at the rear of the saucer - I went left a bit, then right a bit and so forth, until they reached the back of the saucer with almost pin-point precision - a lovely feeling.
One would suggest dry fitting this and work out the best plan of attack for yourself. This picture reminds me of a Dairylea cheese triangle container, sorry to those of you who don't have the packing in your country.

st36.jpg

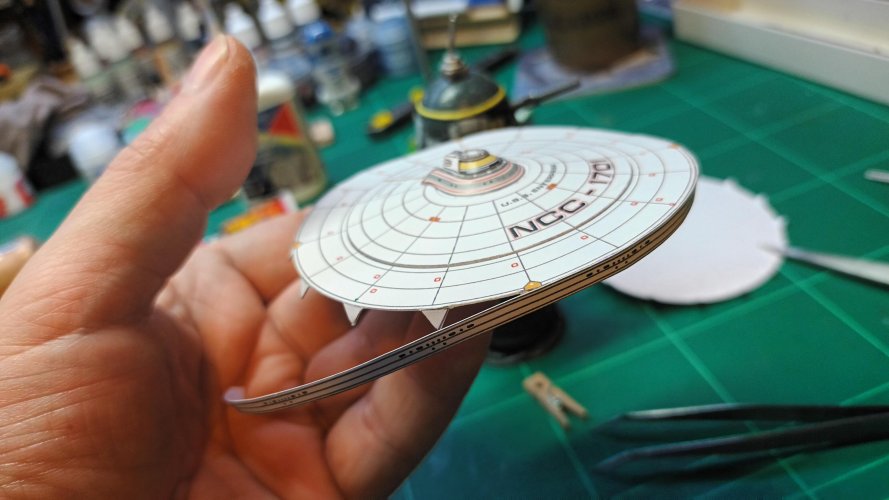
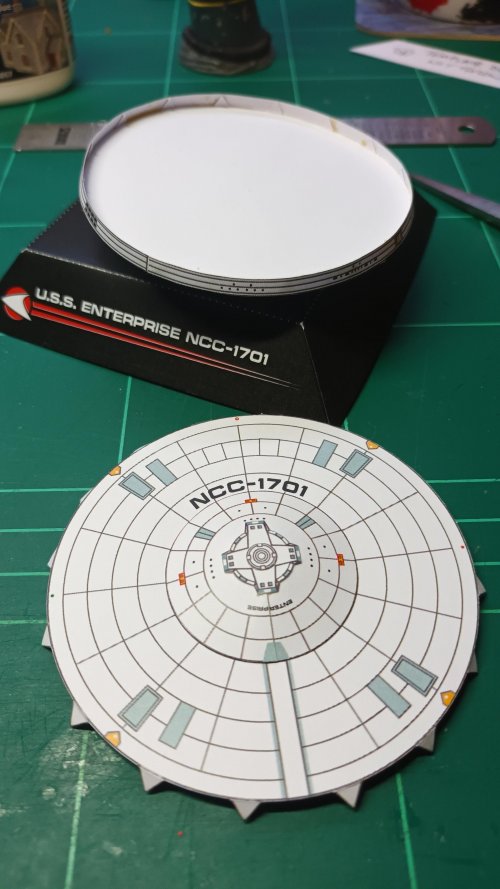
Top and Bottom saucer sections complete, now to stick them together!
st37.jpg
st38.jpg

The bottom saucer went into the top half like the preverbally glove! I was utterly gobsmacked! All credit to the designer of this kit.
No fit issue at all, and the triangle tabs were off-set from each other, also giving the correct depth too.
Rear thingy added too
,
st40.jpg

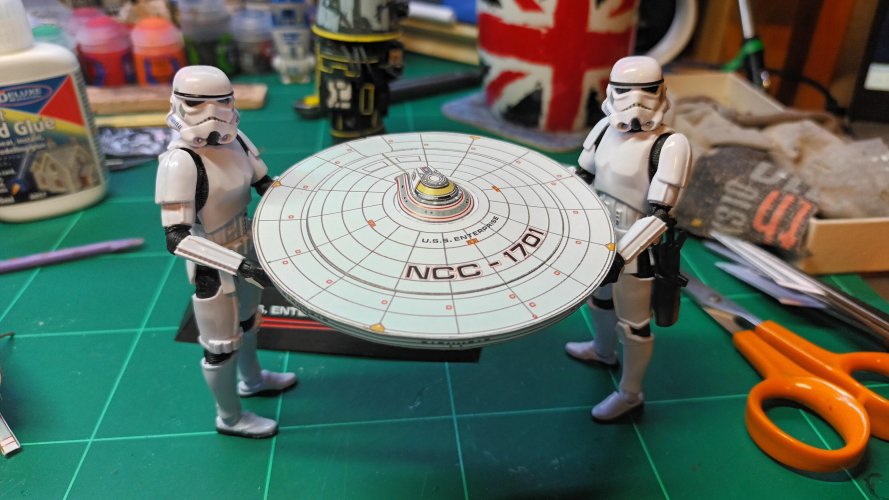
Happy Imperials! if you look closely, they are smiling!
st39.jpg

Coming sooner, rather than later... the pylons and nacelles
 
Last edited:

micahrogers

Moderator "Where am I, and how did I get here?"
Staff member
Moderator
Judging from the pic of the saucer section, it looks to be a little larger than 1/2500th scale.
Nice work, and glad to see you having success with the compass cutter.
 
Top