Hello fans,
probably you were wondering about the lack of updates of the Aston Martin thread lately. Now I'm gonna tell and show you the reason for that.
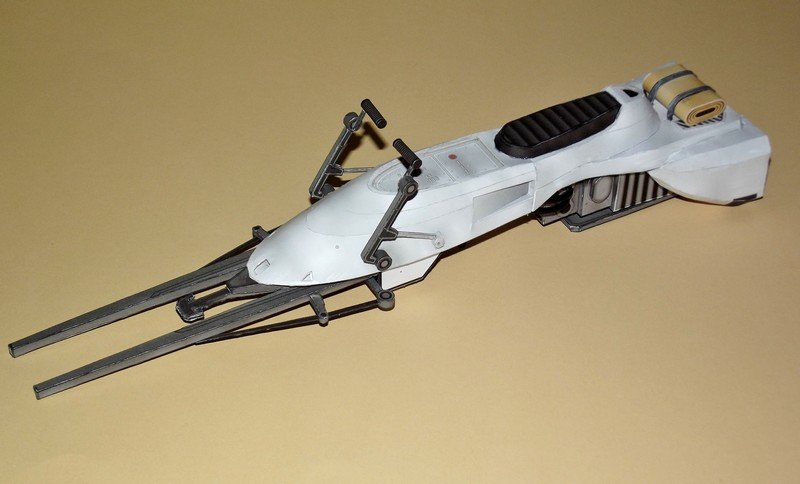
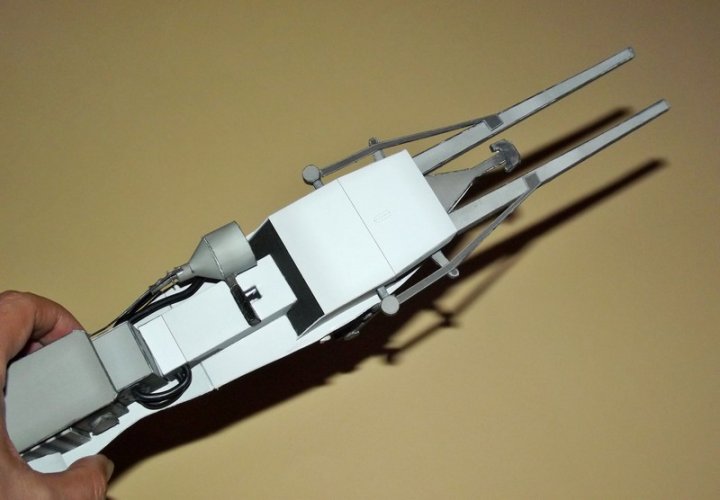
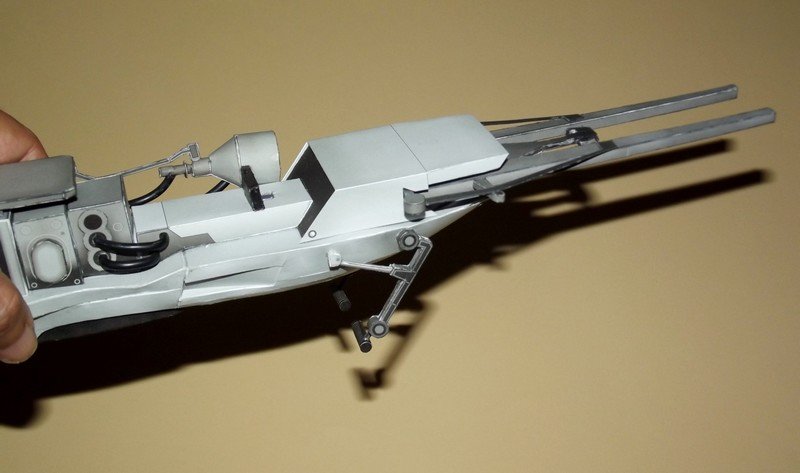
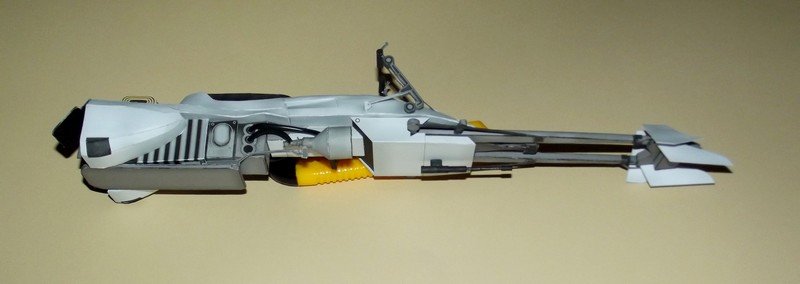
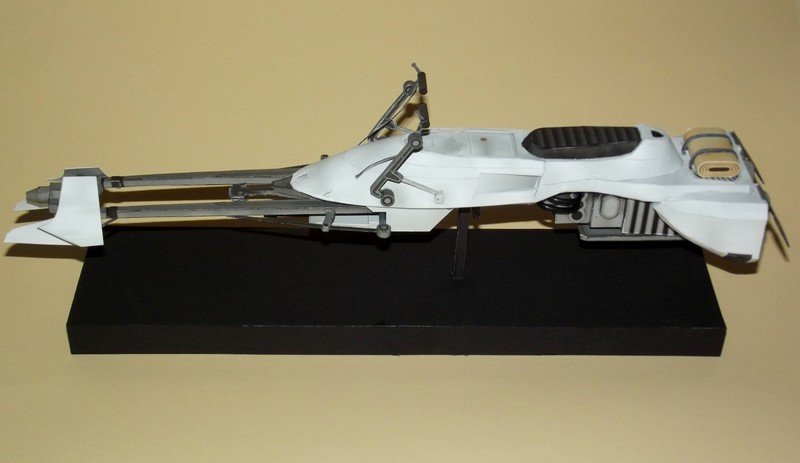
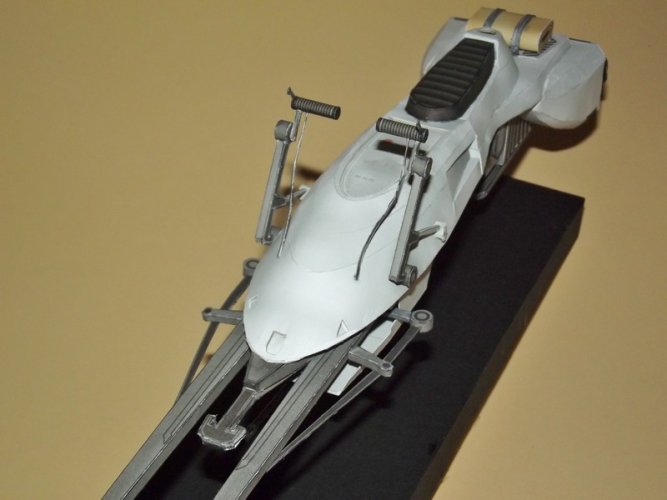
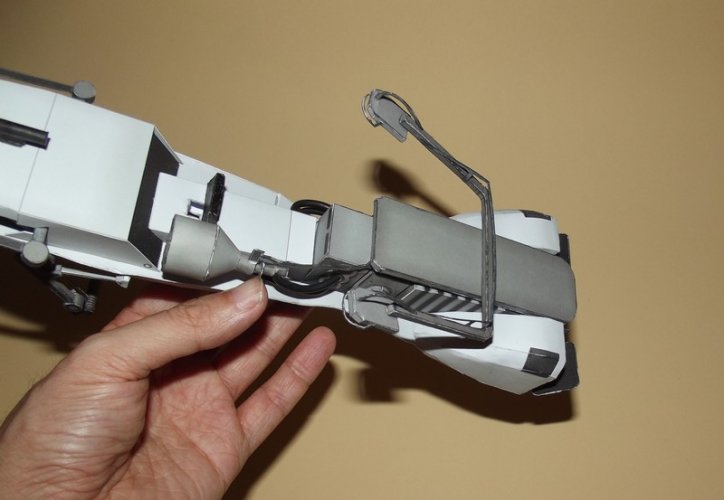
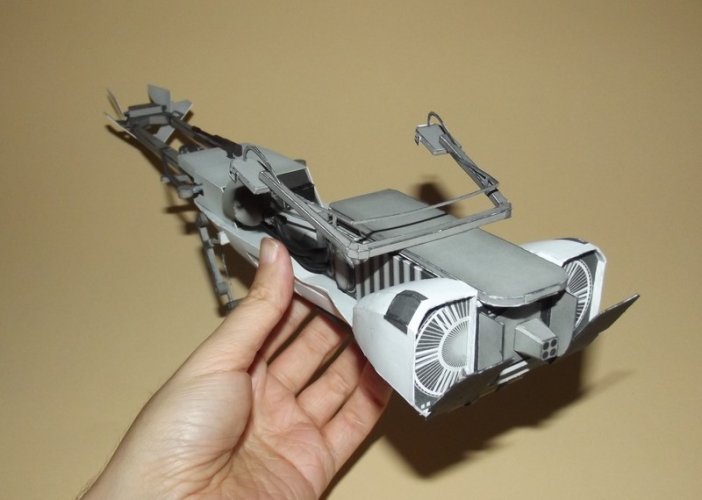
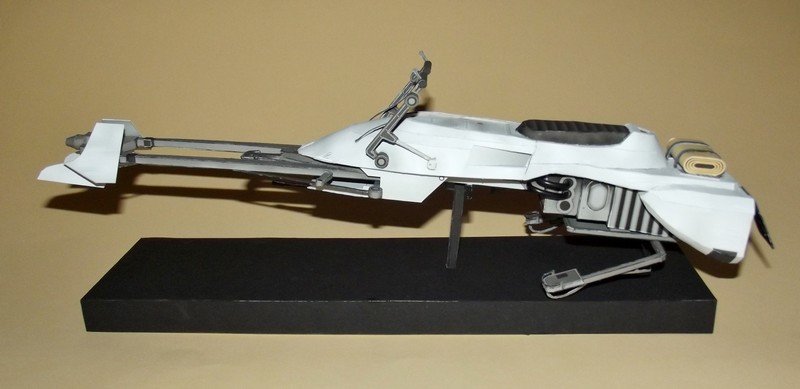
My Star Wars friend's birthday is imminent and I am busy making a new model for him. This time I chose the Speeder Bike by Julius Perdana. Since my friend and I are huge fans of "The Mandalorian" I recoloured the plans accordingly and turned it from brown to bone-white. To do so I imported the pages into Gimp, desaturated the parts in question and played around with the layer settings till I had a pleasing result.
I have wanted to build this kit for a long time by now but time and space constraints prohibited this project. Now that I know that the model would not stay at my place for very long I gave it a go. Because I had to meet a deadline I was constantly cutting and gluing as much and as fast as possible and had very little time for anything else. With the main work completed I found some time to (finally) start the build thread on this beautiful model.
This kit has some errors and some missing parts but nothing you could not correct and enhance on-the-fly. And assembly is a charm (unlike the Aston Martin) and it was kinda refreshing and relaxing to build such a straight-forward kit.
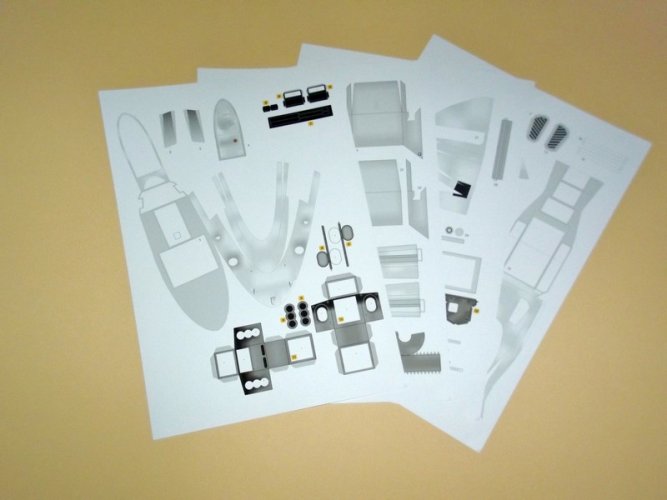
Everything begins with the printing.
Then comes the cutting.
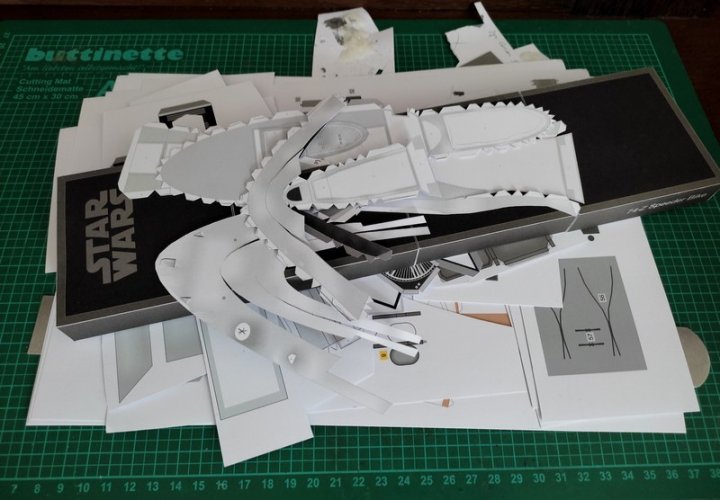
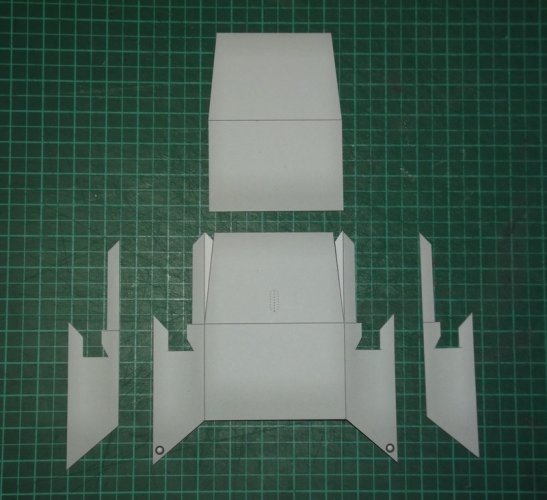
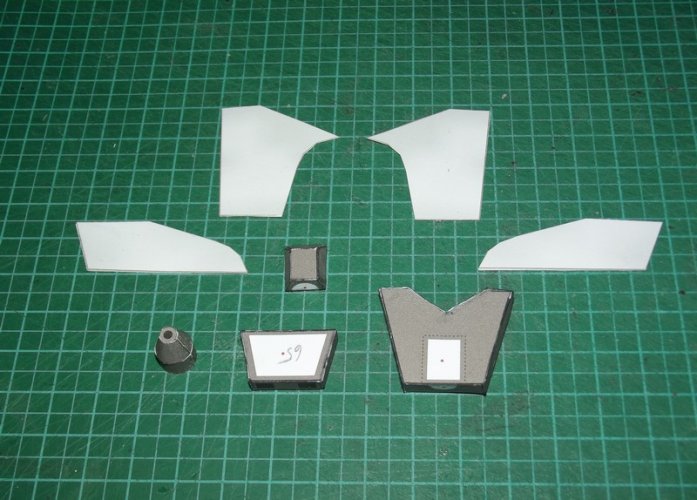
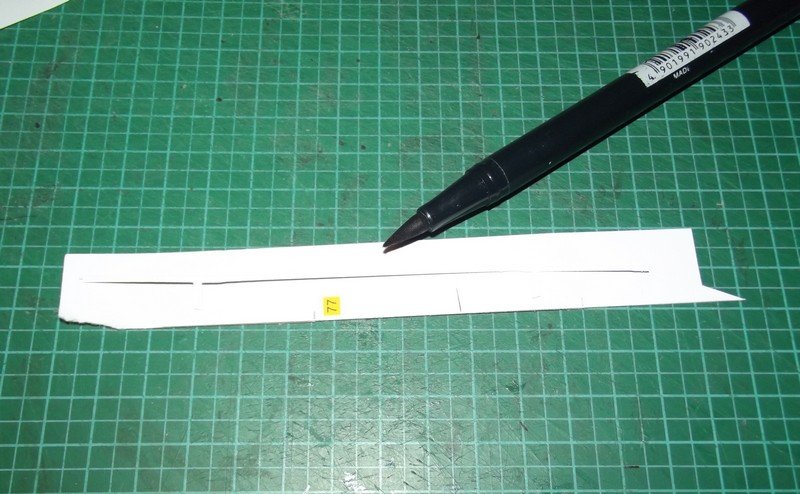
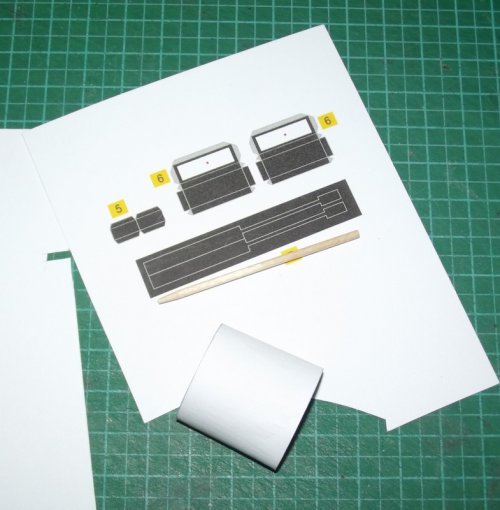
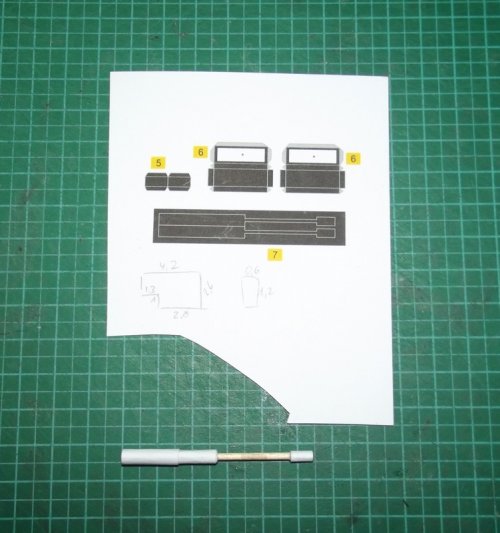
Many parts are easily identifiable, so I swang into action and spent one complete afternoon with cutting and scoring.
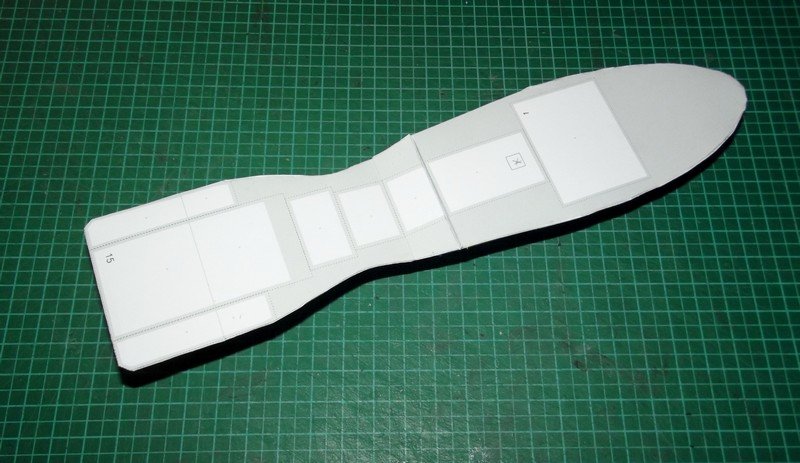
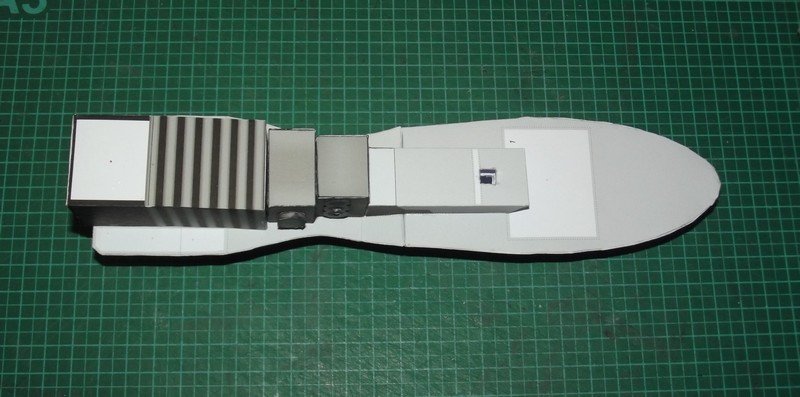
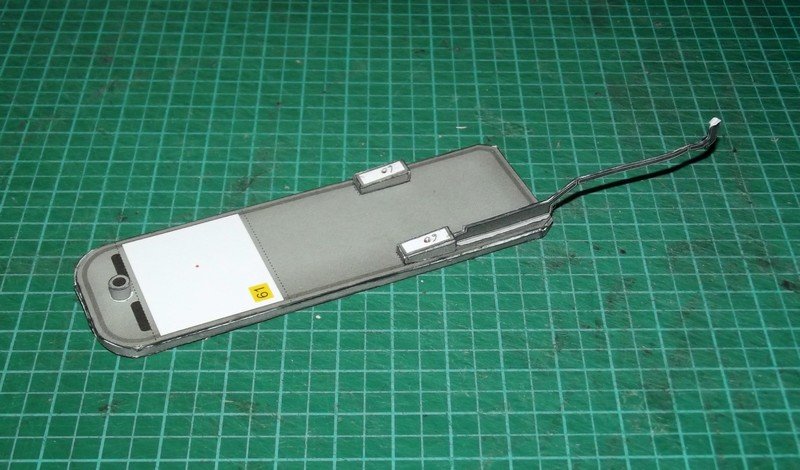
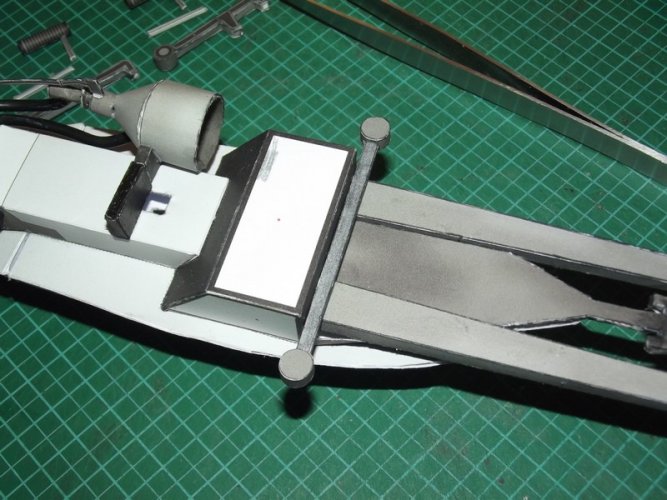
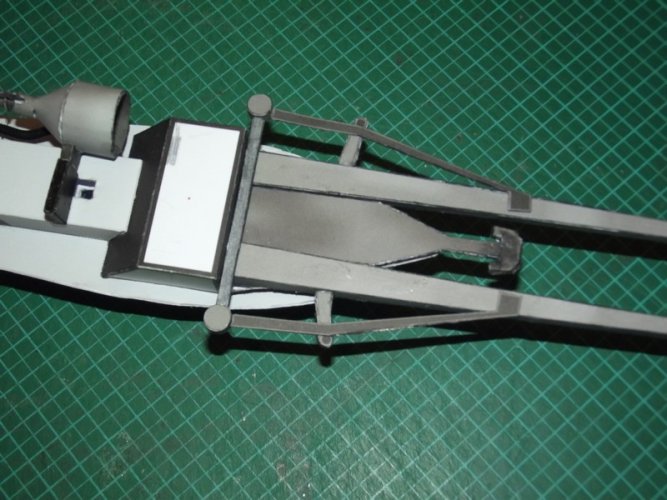
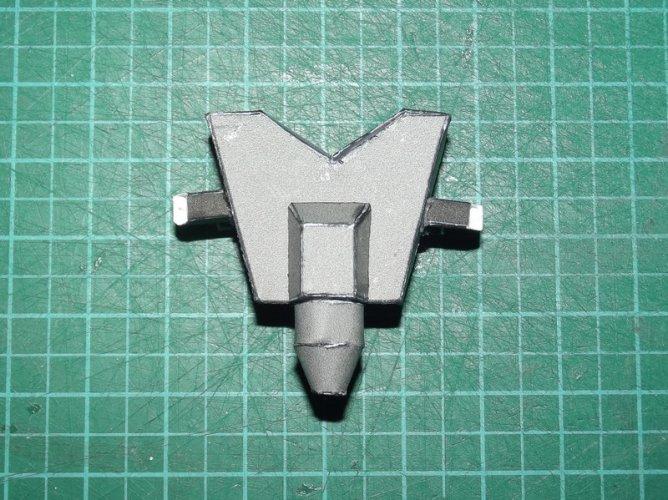
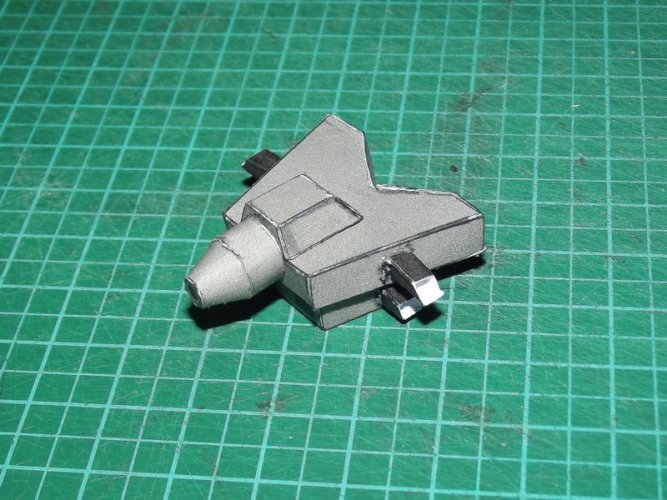
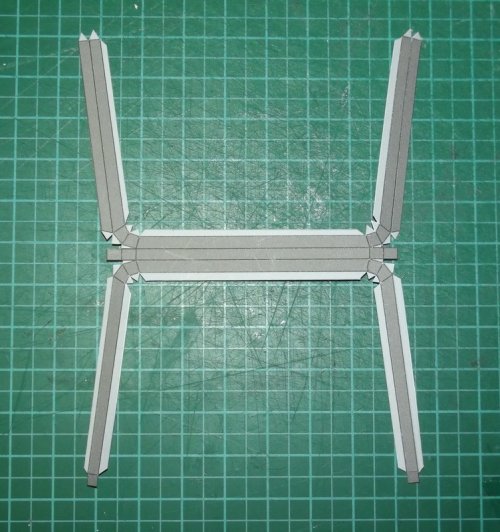
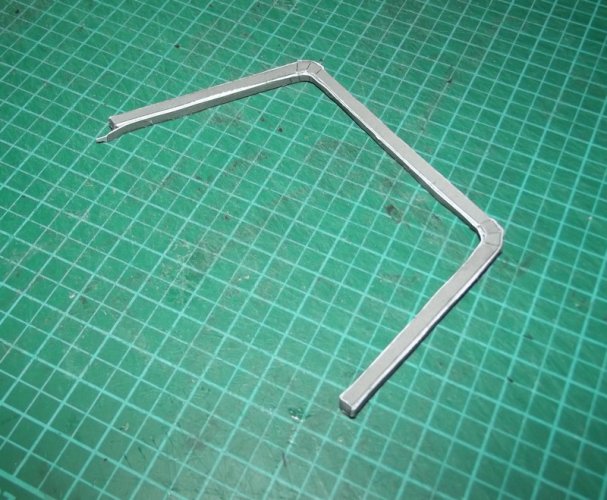
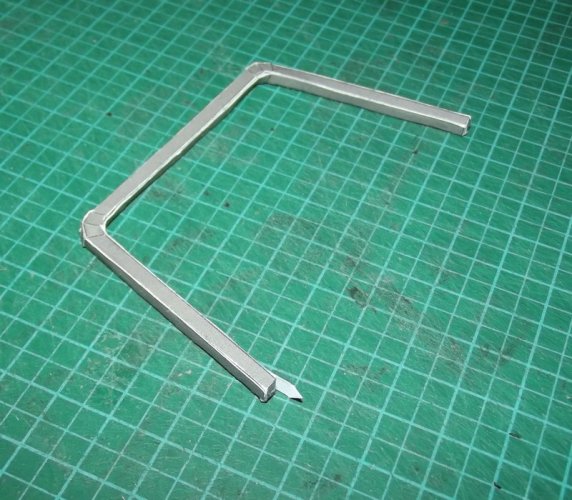
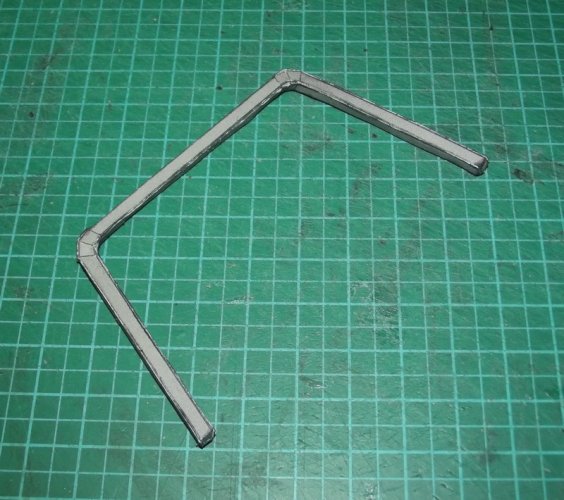
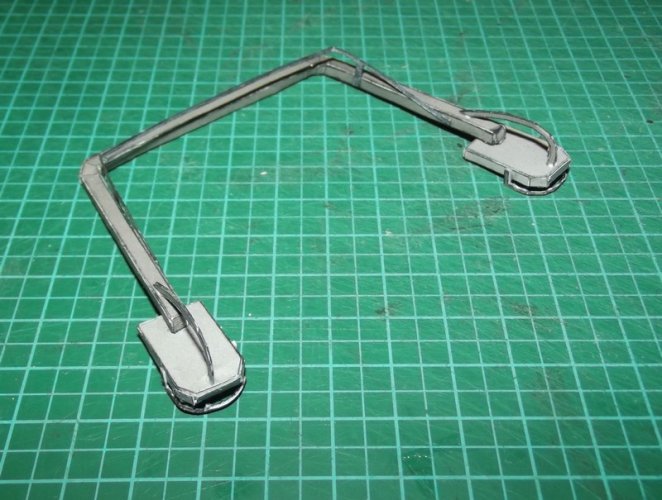
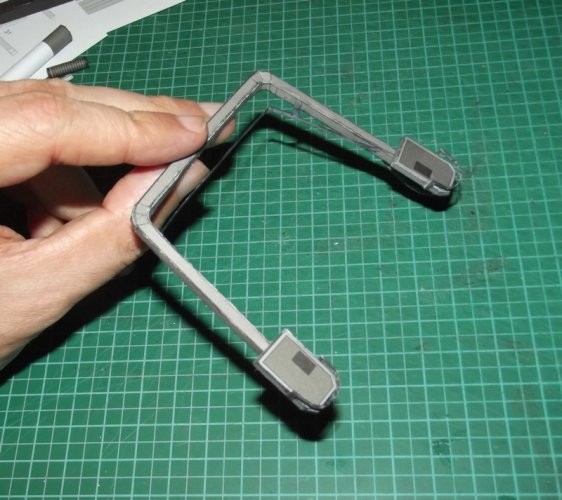
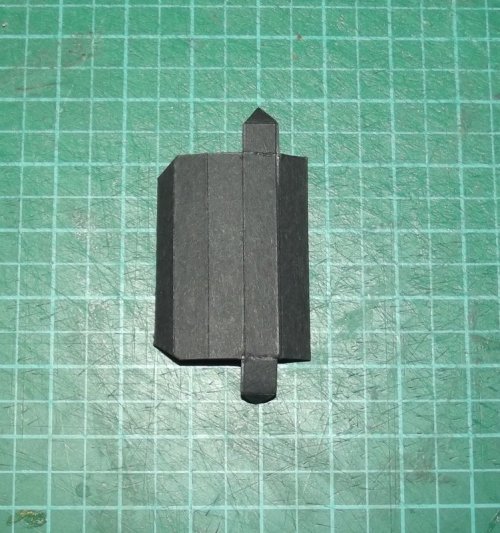
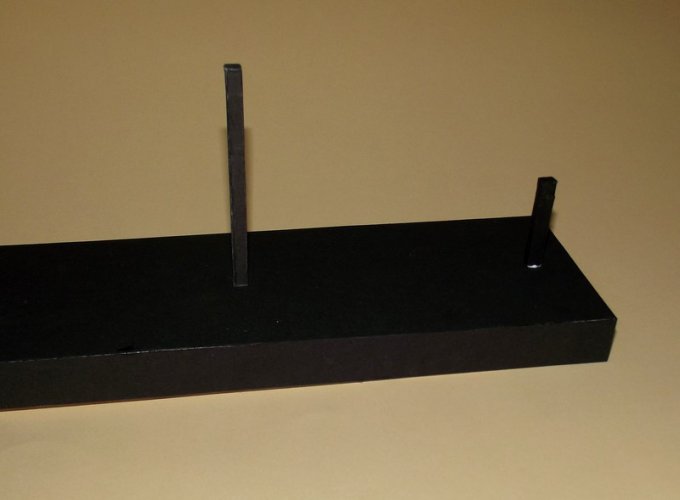
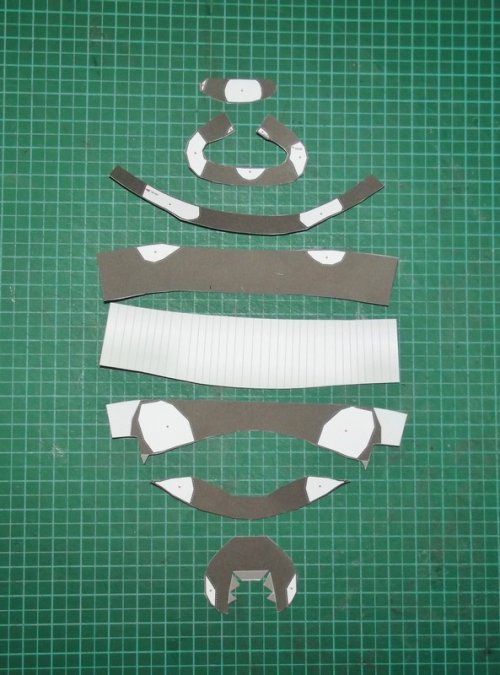
The first big piece I assembled was the display stand.
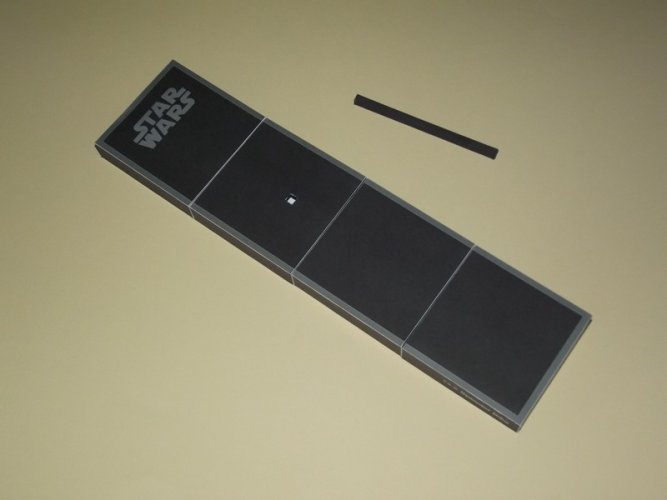
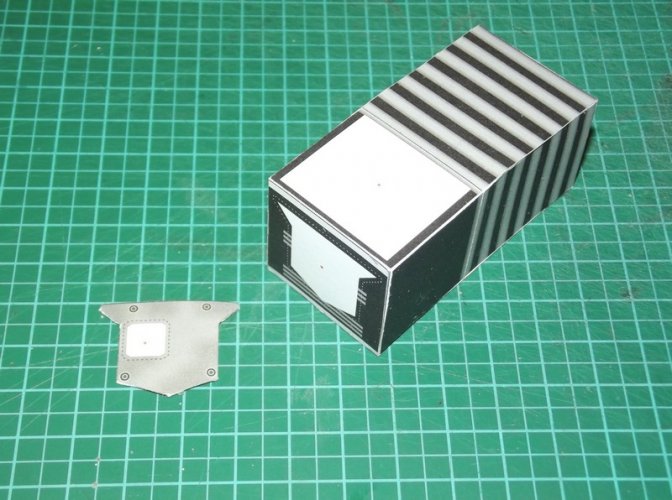
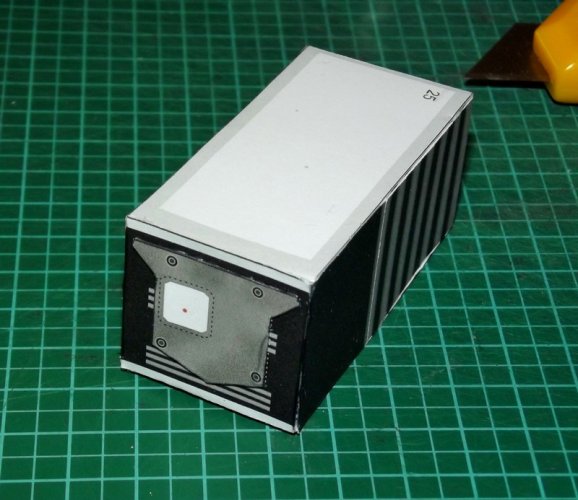
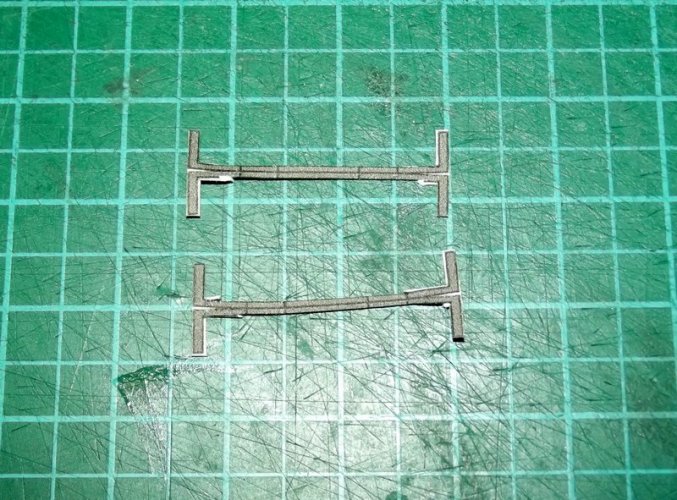
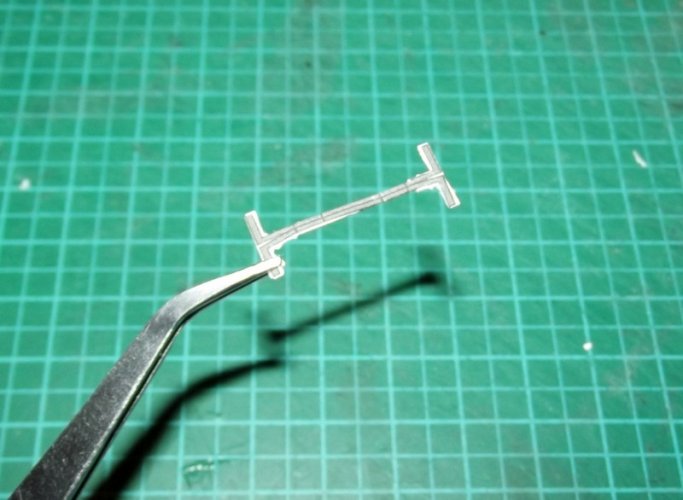
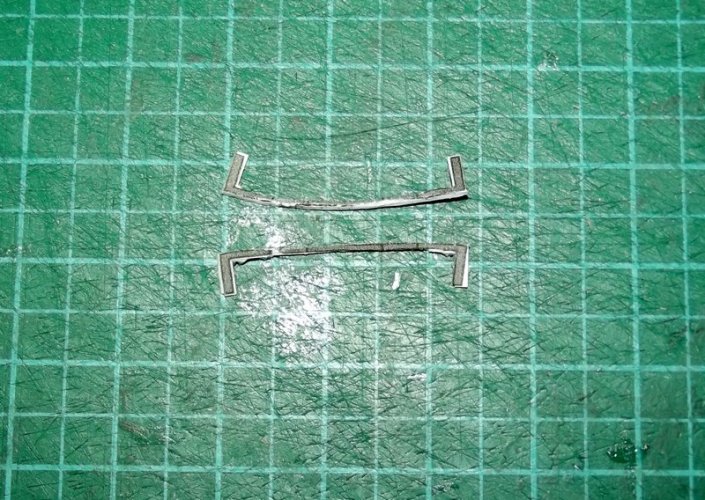
I did not like the segmented look, so I laminated some pieces of black card to the surface.
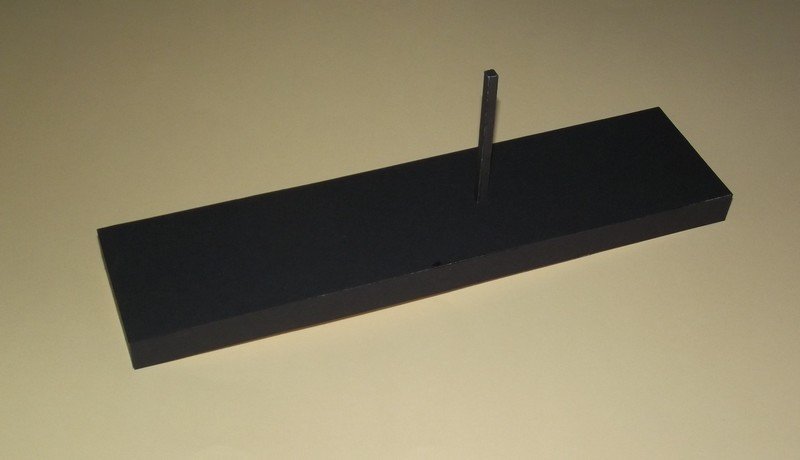
This looks much nicer and much more elegant now.
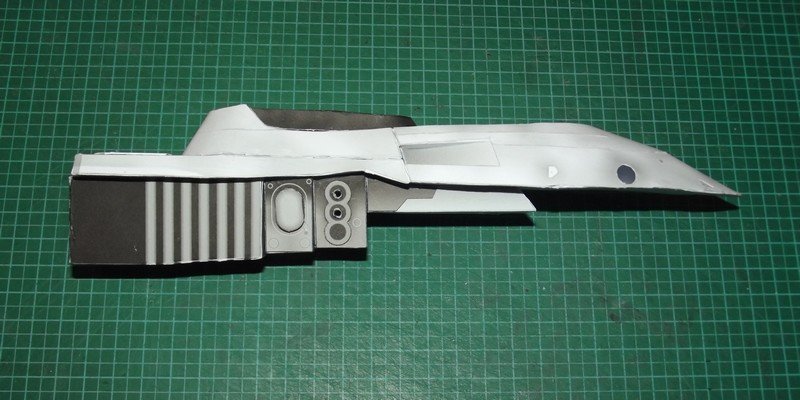
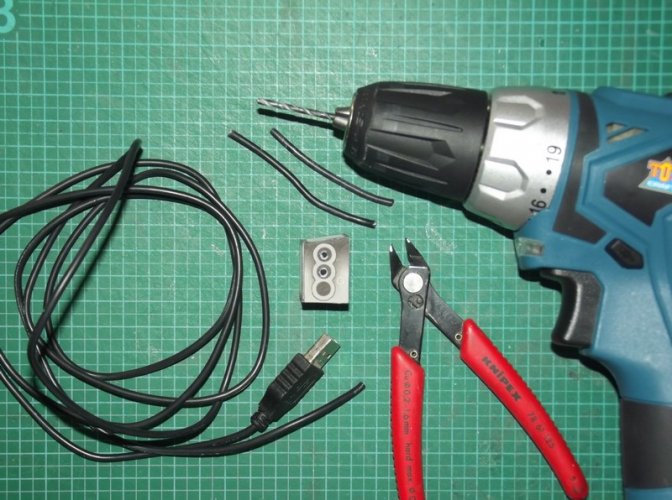
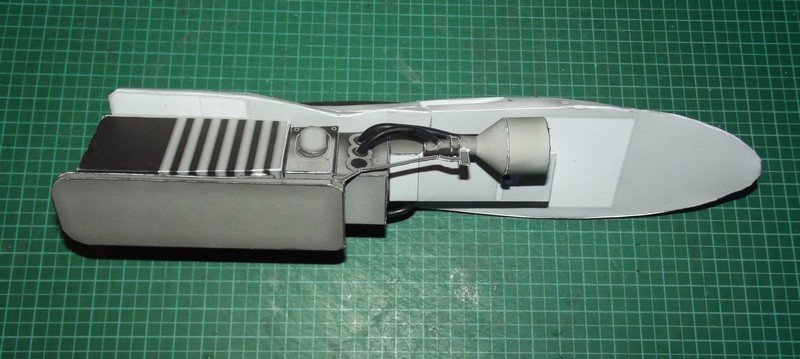
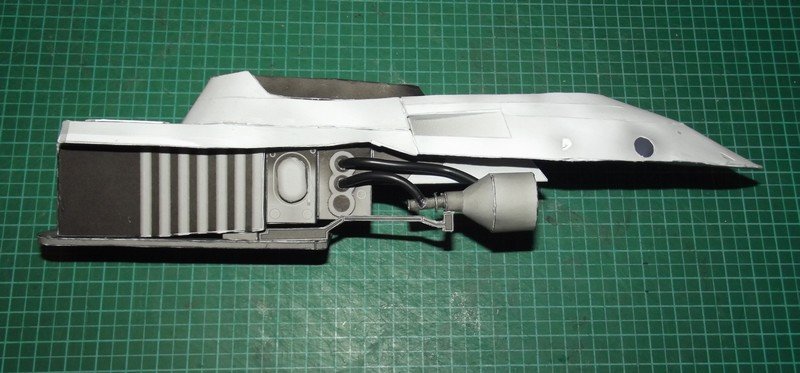
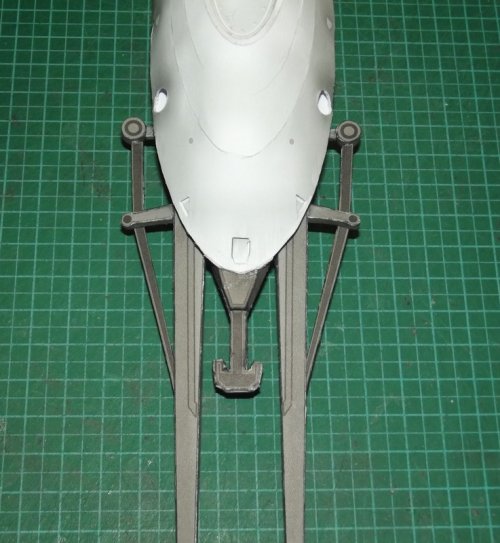
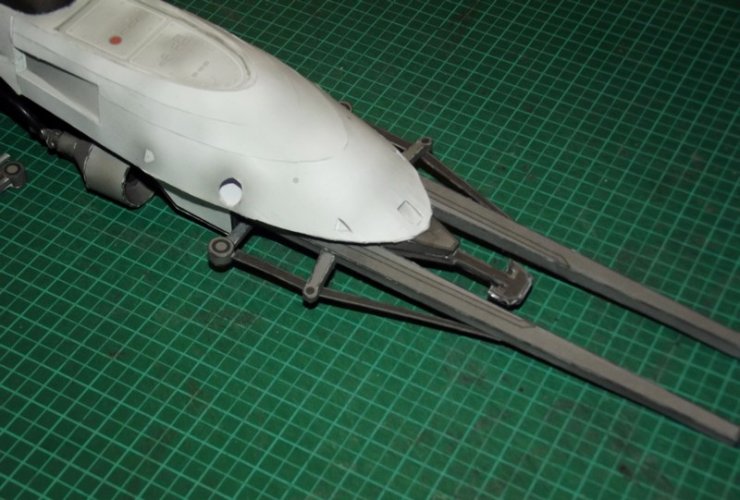
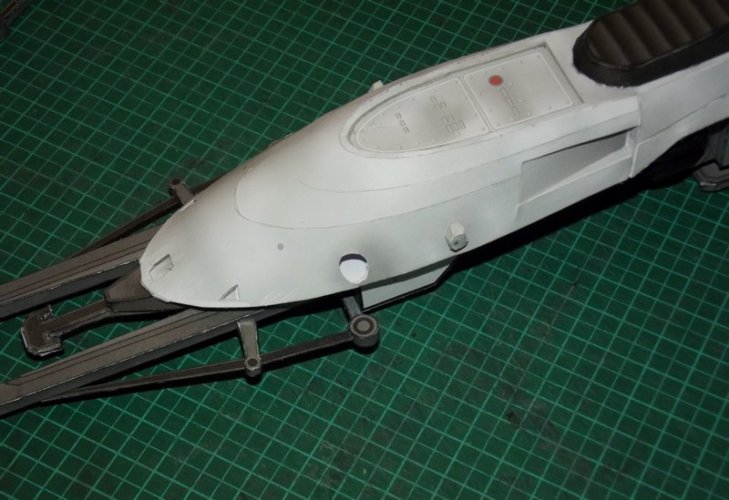
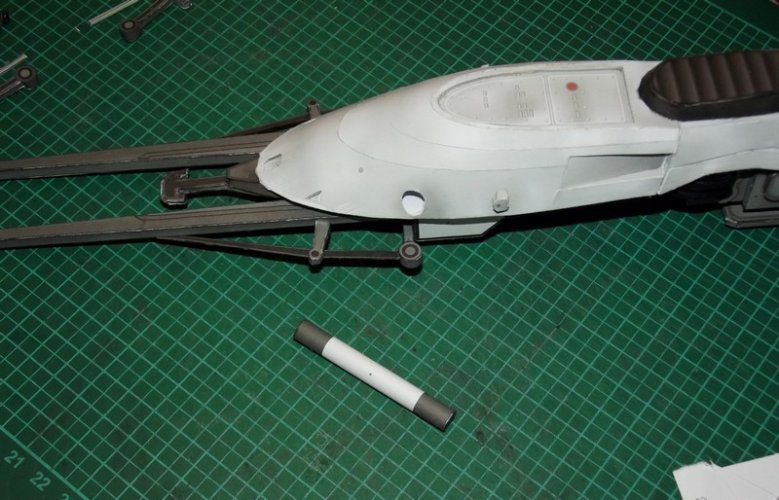
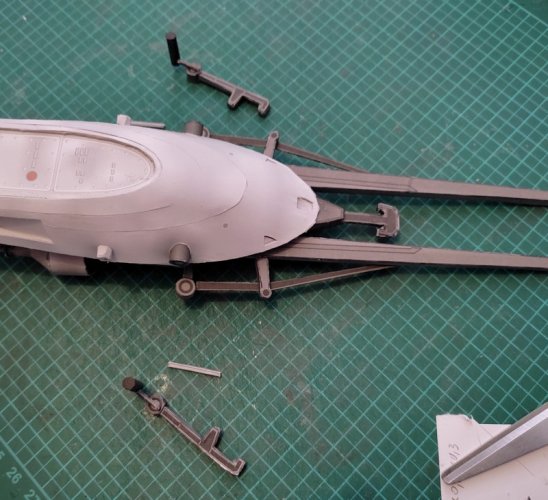
The first thing I changed on the bike was to recess the three small inserts at the front of the main body.
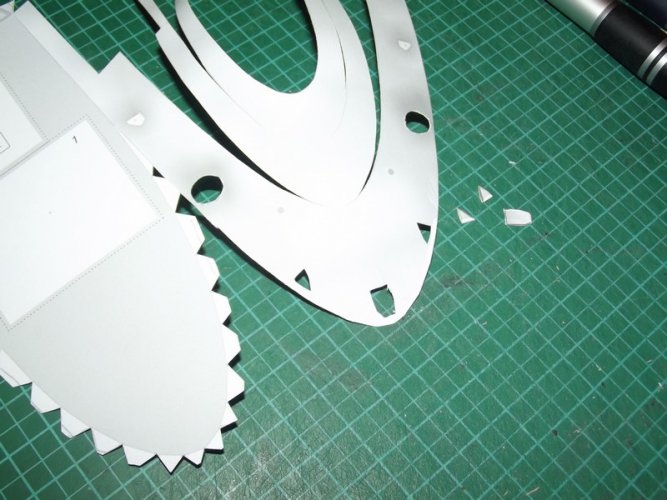
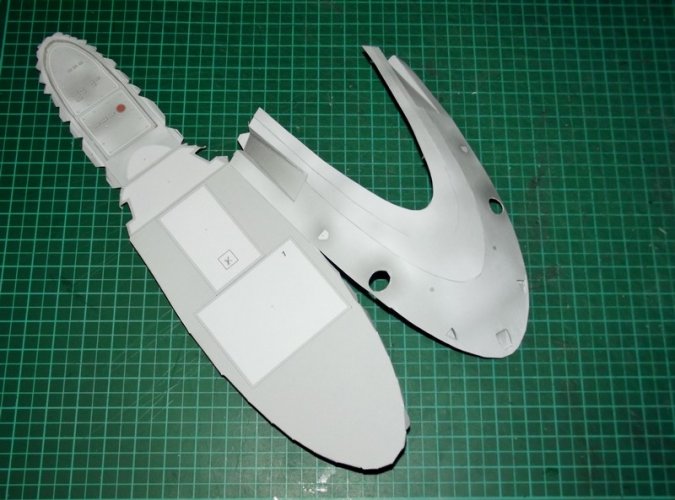
The control panel was recessed using a piece of leftover card. Unfortunately the kit does not provide a spacer but it is not difficult to make one.
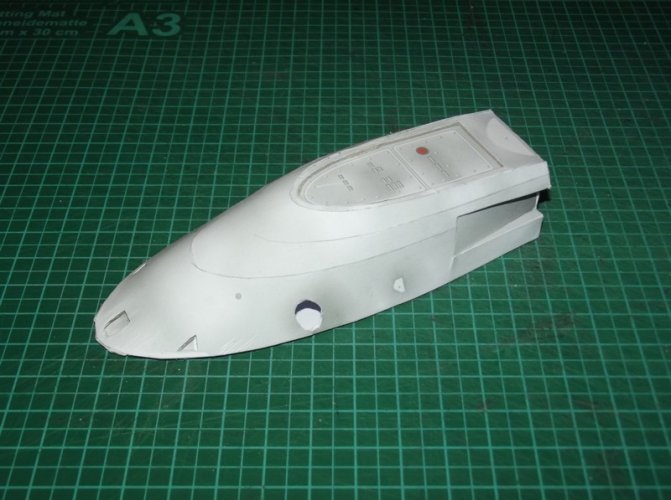
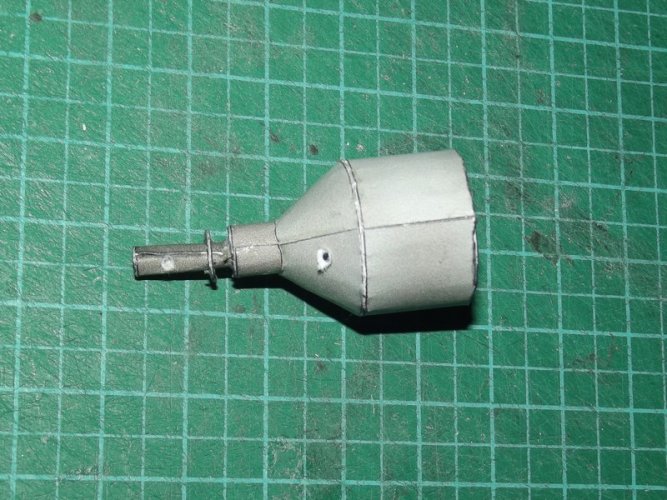
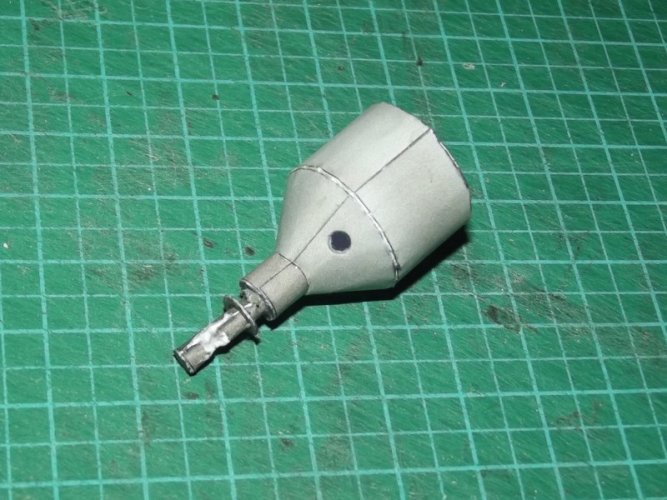
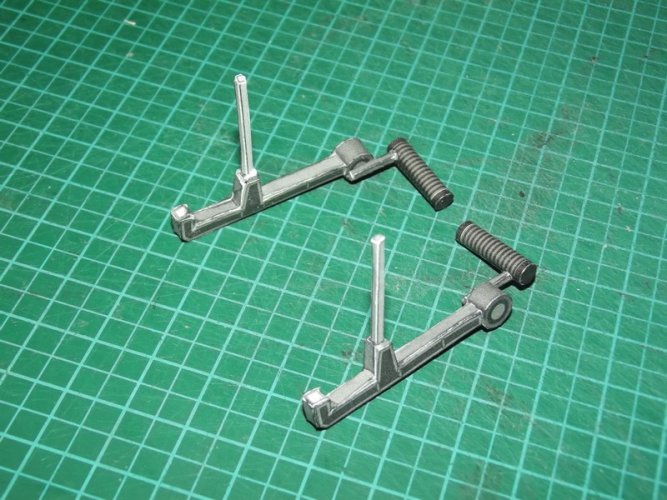
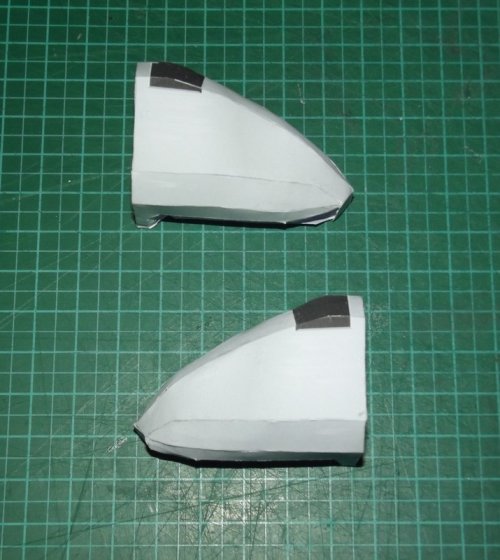
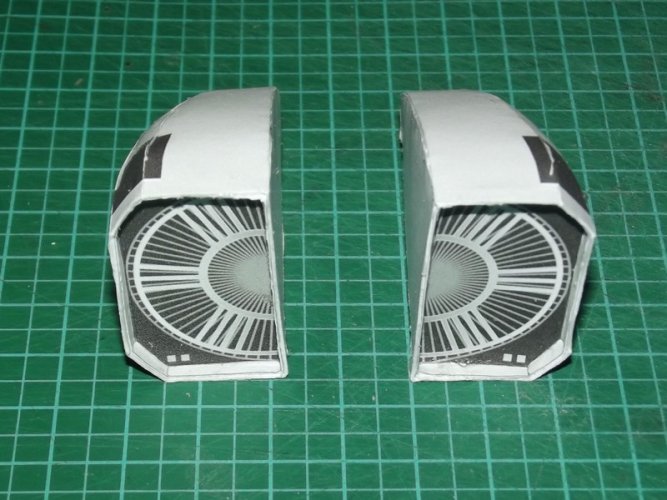
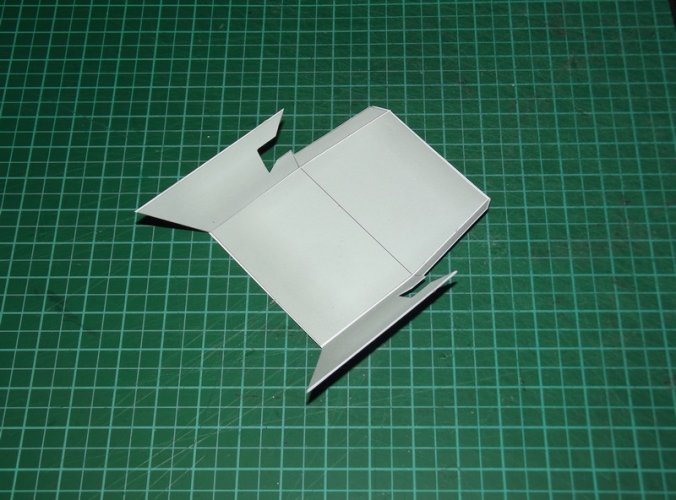
Whenever necessary I cut off the flaps on the curved parts and glued them together with paper strips on the back.
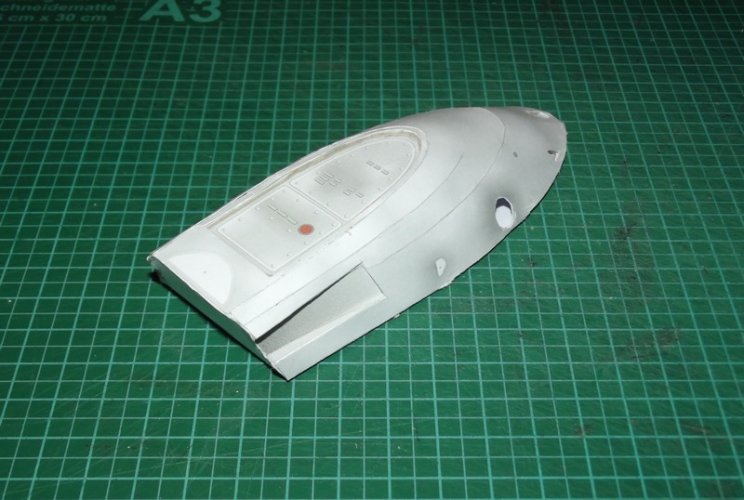
Even at this early stage you can see that Julius met the proportions extraordinarily well and it is a testiment of masterful craftmanship to achieve such a complex shape with so few cuts.
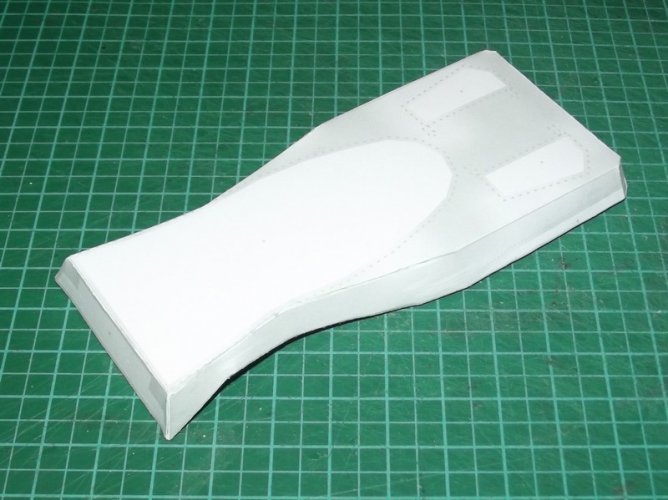
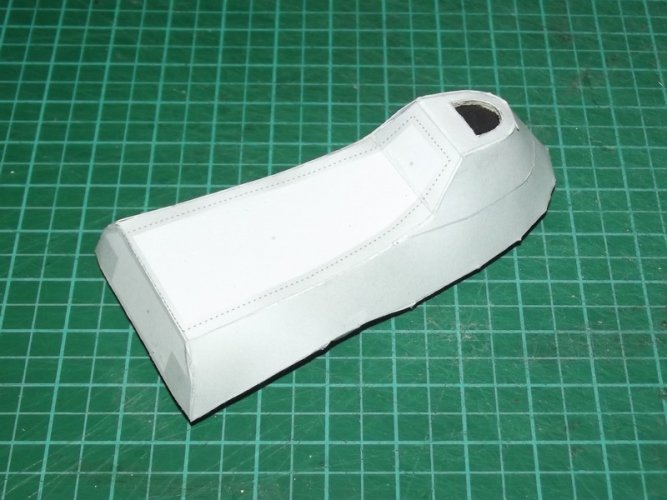
I too recessed the black area behind the seat. Easy job.
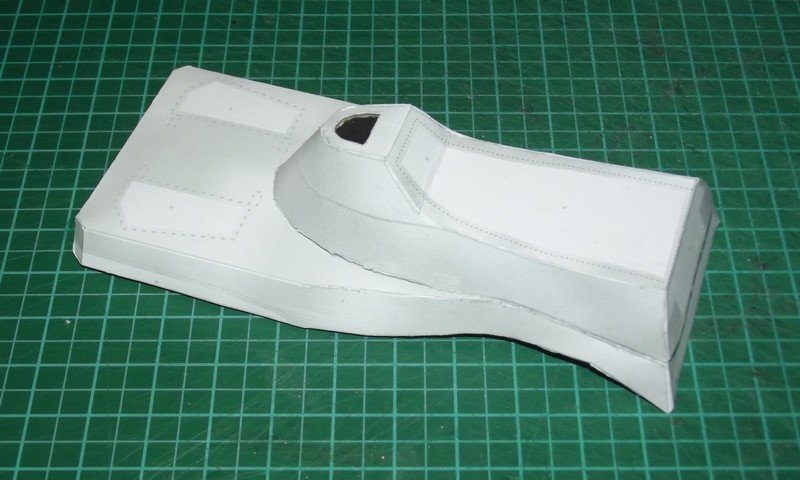
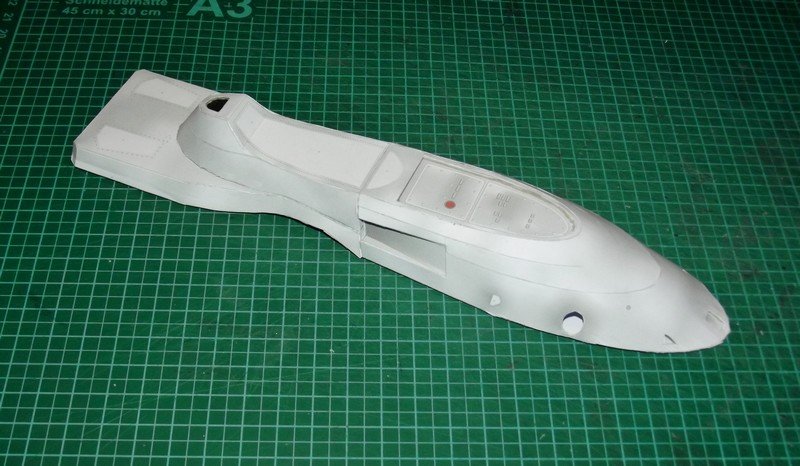
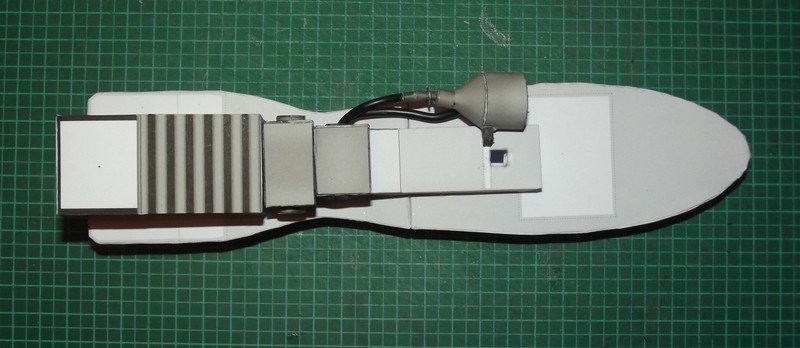
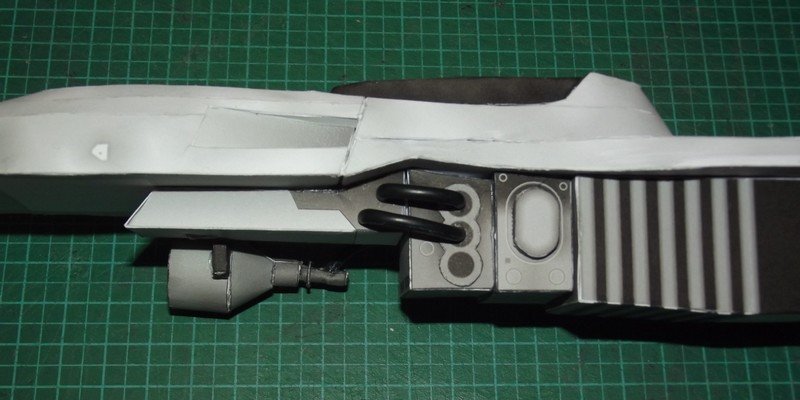
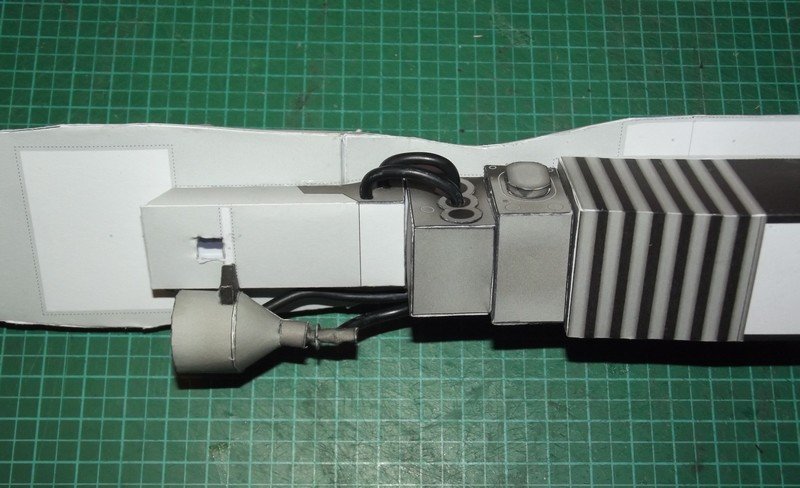
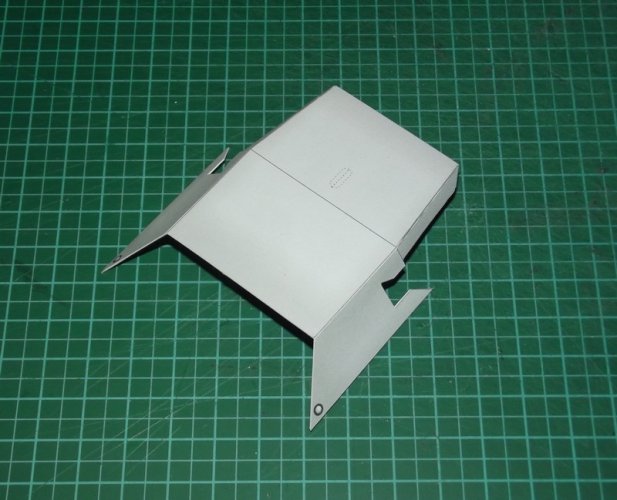
Both halves are glued together.
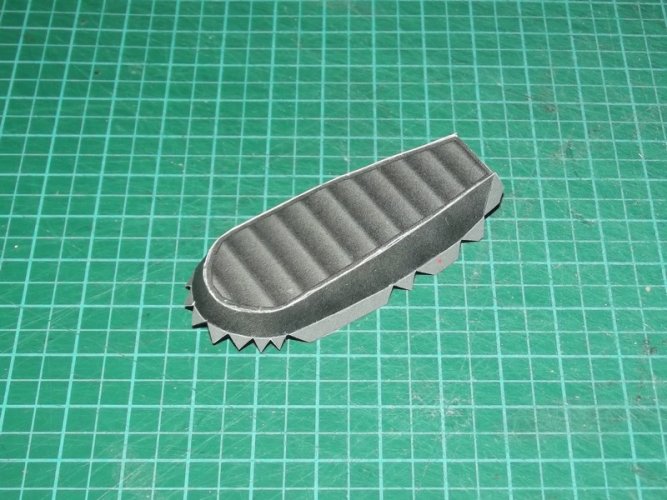
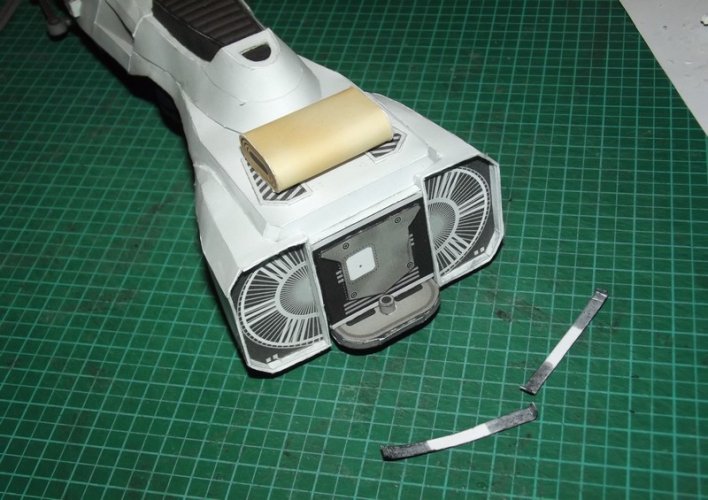
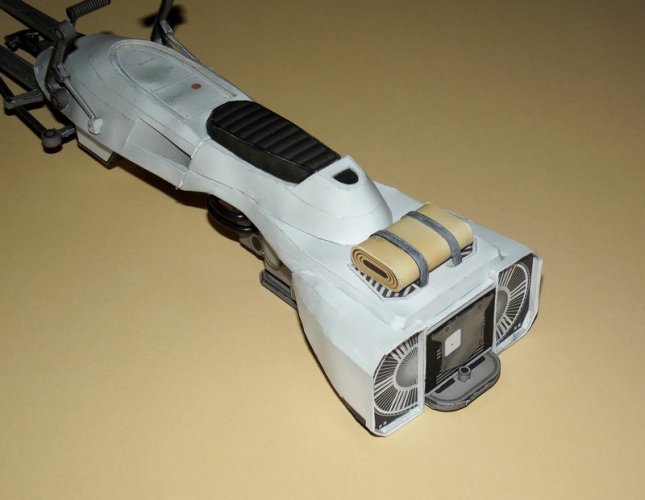
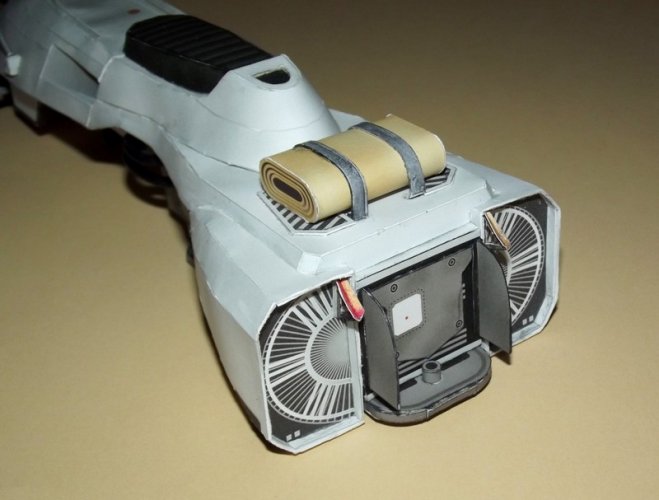
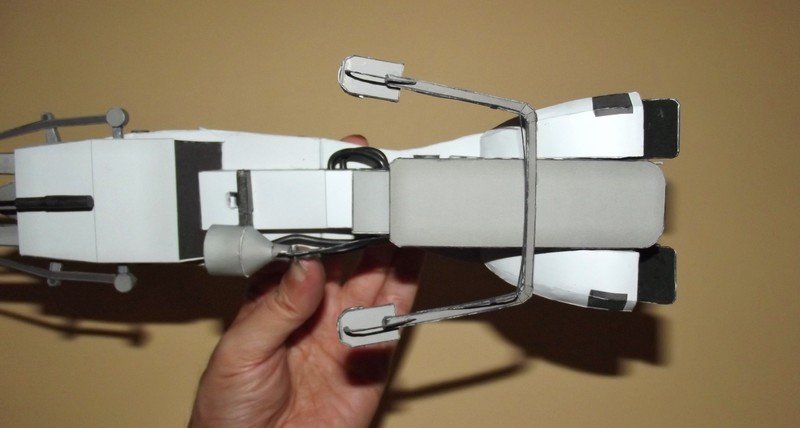
The seat is attached. This piece could be improved since the real one follows the curvature of the bike. However, I guess Julius chose this simplified shape to make the build easier and to effectively hold the Scout Trooper in place later. In order not to mess up the design I left it as is.
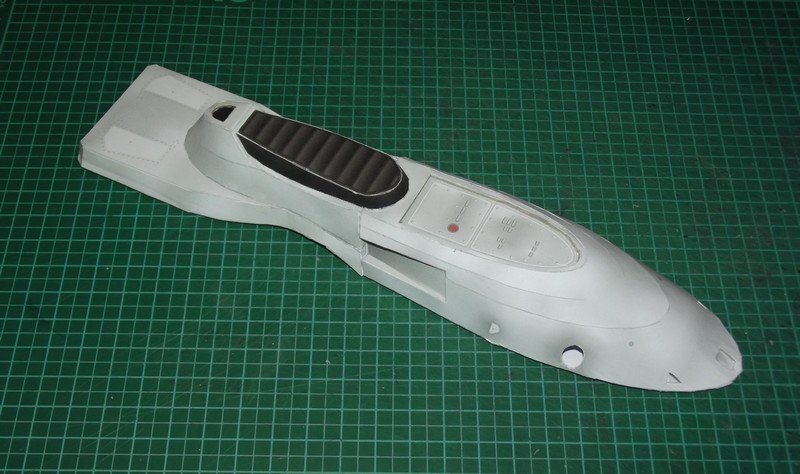
BEAUTIFUL! I already love it! Stay tuned!
probably you were wondering about the lack of updates of the Aston Martin thread lately. Now I'm gonna tell and show you the reason for that.
My Star Wars friend's birthday is imminent and I am busy making a new model for him. This time I chose the Speeder Bike by Julius Perdana. Since my friend and I are huge fans of "The Mandalorian" I recoloured the plans accordingly and turned it from brown to bone-white. To do so I imported the pages into Gimp, desaturated the parts in question and played around with the layer settings till I had a pleasing result.
I have wanted to build this kit for a long time by now but time and space constraints prohibited this project. Now that I know that the model would not stay at my place for very long I gave it a go. Because I had to meet a deadline I was constantly cutting and gluing as much and as fast as possible and had very little time for anything else. With the main work completed I found some time to (finally) start the build thread on this beautiful model.
This kit has some errors and some missing parts but nothing you could not correct and enhance on-the-fly. And assembly is a charm (unlike the Aston Martin) and it was kinda refreshing and relaxing to build such a straight-forward kit.
Everything begins with the printing.

Then comes the cutting.

Many parts are easily identifiable, so I swang into action and spent one complete afternoon with cutting and scoring.
The first big piece I assembled was the display stand.

I did not like the segmented look, so I laminated some pieces of black card to the surface.

This looks much nicer and much more elegant now.
The first thing I changed on the bike was to recess the three small inserts at the front of the main body.


The control panel was recessed using a piece of leftover card. Unfortunately the kit does not provide a spacer but it is not difficult to make one.

Whenever necessary I cut off the flaps on the curved parts and glued them together with paper strips on the back.

Even at this early stage you can see that Julius met the proportions extraordinarily well and it is a testiment of masterful craftmanship to achieve such a complex shape with so few cuts.


I too recessed the black area behind the seat. Easy job.


Both halves are glued together.

The seat is attached. This piece could be improved since the real one follows the curvature of the bike. However, I guess Julius chose this simplified shape to make the build easier and to effectively hold the Scout Trooper in place later. In order not to mess up the design I left it as is.

BEAUTIFUL! I already love it! Stay tuned!
Last edited:


