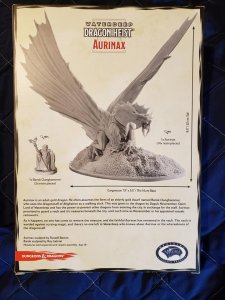
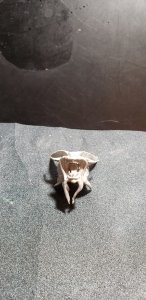
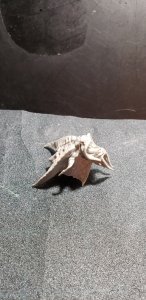
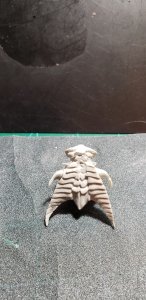
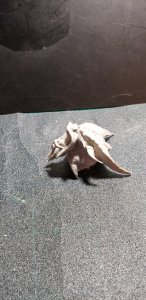
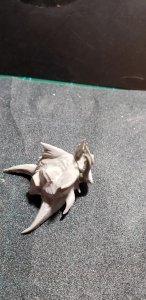
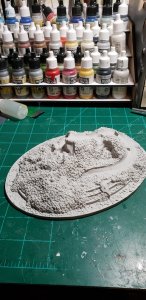
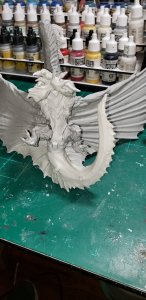
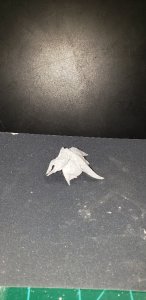
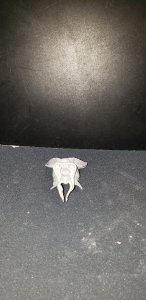
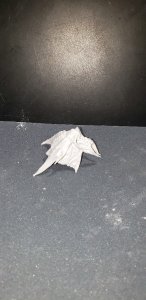
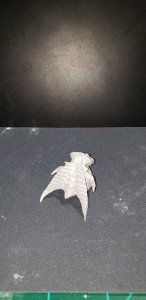
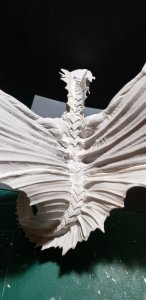
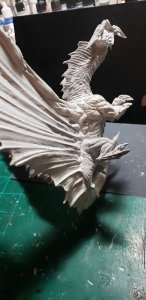
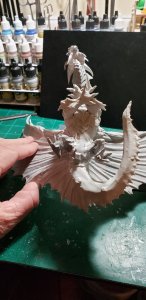
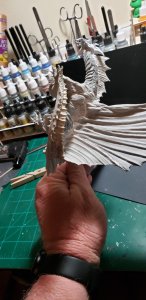
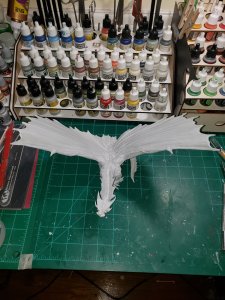
Aurinax, Gold Dragon miniature resin model by GaleForce Nine, for Wizards of the Coast.

micahrogers

Moderator "Where am I, and how did I get here?"
Staff member
Moderator
This post was lost in it's entirety by TapATalk...
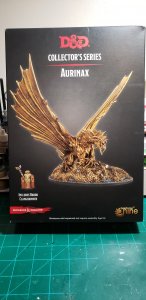
The box top...
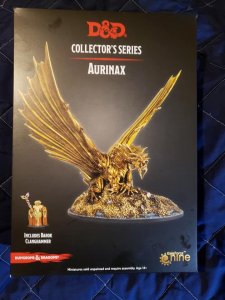
Aurinax-box-front_n.jpg

back of the box.
Aurinax-box-back_n.jpg
the text on the back of the box gives the back story of the figure.

"Aurinax is an adult Gold Dragon. He often assumes the form of an elderly gold dwarf named Barok Clanghammer, who uses the Dragonstaff of Ahghairon as a walking stick. This was given to the dragon by Dagult Neverember, Open Lord of Waterdeep and has the power to prevent other dragons from entering the city. In exchange for the staff, Aurinax promised to guard a vault and it's treasures beneath the city, untill such time as Neverember of his appointed vassals removed it.
As it happens, no one has come to remove the treasure, and the faithful Aurinax has remained in the vault. The vault is warded against scrying magic, and there's no one left in Waterdeep who knows about Aurinax or the whereabouts of the dragonstaff."

This is a resin kit of the dragon and his dwarven form. As a resin kit, it will be fraught with the difficulties that come with resin.

It's been over 20 years since I've done a resin kit, so I'll cronical my modelers journey here.
 

micahrogers

Moderator "Where am I, and how did I get here?"
Staff member
Moderator
I getting the photo's resized and posting as I can,
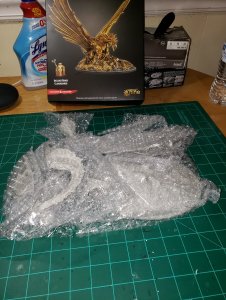
all the parts of the kit in thier "protective" bubble wrap.
20190714_201951-1.jpg

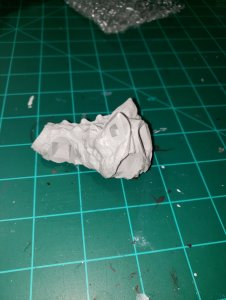
The main body part, this will rest of the base, and all the other pieces will attach to this, it actually looks to be a pretty nice casting.
20190714_202009-1.jpg

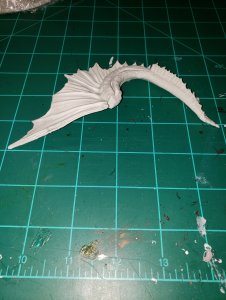
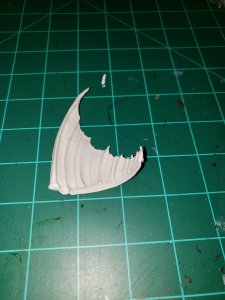
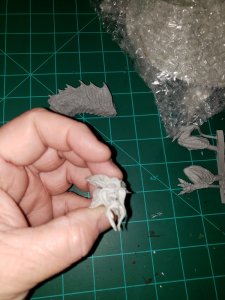
The back tail piece, with the left hand wing/fin attached, it dosent show in this pic, but the wing/fin is warped and will have to be straightened.
20190714_202044-1.jpg

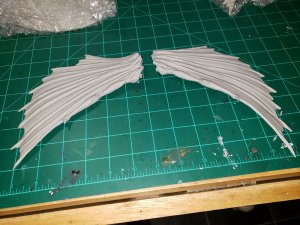
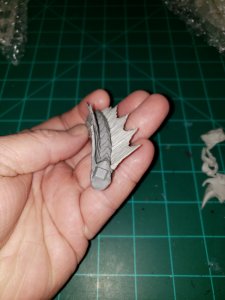
The main wings, these will attach to the upper shoulders of the body piece and to the front edges of the rear wing/fins
20190714_202105-1.jpg

And the base piece it's cast to look lie a pile of treasure on a raised dais.
20190714_202128-1.jpg

next I'll get the rest of the photos I have resized and posted.
 

micahrogers

Moderator "Where am I, and how did I get here?"
Staff member
Moderator
more pics resized,
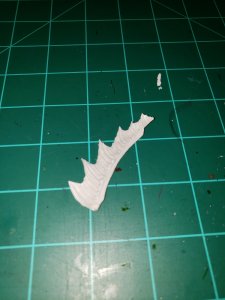
the right side rear tail wing/fin piece
20190714_202151-1.jpg

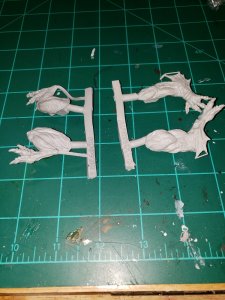
The legs, still attached to thier pour stubs...
20190714_202229-1.jpg

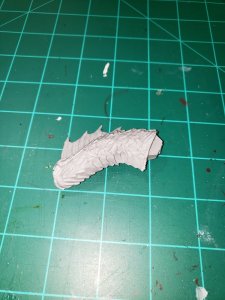
the neck with left side fin molded in
20190714_202239-1.jpg

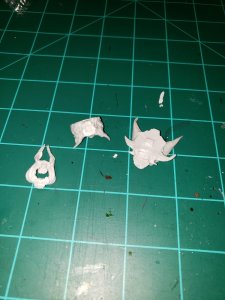
Three pieces that make up the head...
20190714_202255-1.jpg

the right side neck fin
20190714_202303-1.jpg

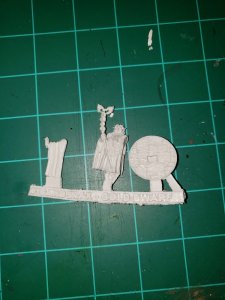
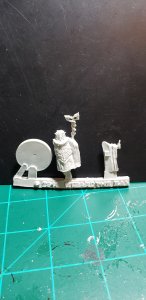
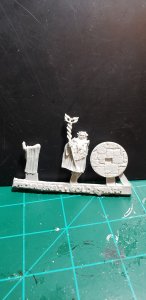
the gold dwarf, Barok Clanghammer, 2 pieces plus the base, still on the pour stub...
20190714_202507-1.jpg

the neck with the separate right side fin in place... nor a bad fit...
20190714_202343-1.jpg

the three pieces that make up the head just held in place,.. this is gonna take some major work to turn into a nice looking head.
20190714_202439-1.jpg
 

micahrogers

Moderator "Where am I, and how did I get here?"
Staff member
Moderator
Finally going to get started on this one, Aurinax the Gold by Gale Force 9 (GF9).
20200731_162329_resized.jpg

I am starting the build with Barok Clanghammer, Aurinax's polymorphed form of a Gold Dwarf priest.
20200731_162424_resized.jpg
20200731_162414_resized.jpg

I have to get used to working with resin again.
The first step was washing all the pieces with warm soapy water to get any mold release agent's off the resin. Next is to remove the pieces from the runner.
 

micahrogers

Moderator "Where am I, and how did I get here?"
Staff member
Moderator
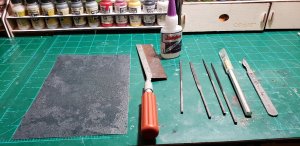
Tools used so far. My Really Old ExactO saw, Files, hobby knife and scalpel, CA glue, and sanding film.
20200731_174637_resized_1.jpg

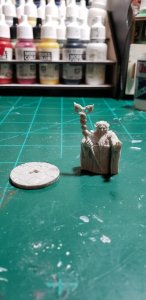
I've got all the pieces for Barok Clanghammer off the pour stubs, and sanded ready to assemble.
20200731_174700_resized_1.jpg
No assembly and painting of the Dwarf...
 

micahrogers

Moderator "Where am I, and how did I get here?"
Staff member
Moderator
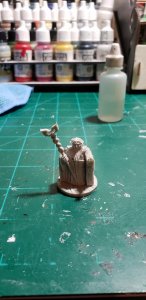
Barok Clanghammer is assembled, and I straightened the staff.
20200731_182908_resized.jpg

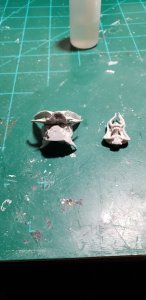
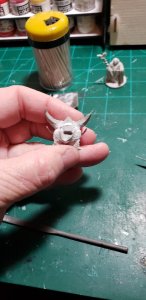
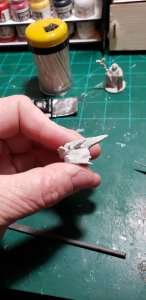
Starting actual Aurinax assembly with the head, 3 pieces, and all of them are warped.
20200731_182714_resized.jpg
I have sanded all I can, to get the head pieces to line up, but I don't want to sand away too much detail. So I'm gonna assemble the pieces and fill the gaps...

Resin kits, ya gotta love 'em.
 

Revell-Fan

Co-Administrator
Staff member
Administrator
Moderator
The molding quality looks great. Just be careful not to inhale the resin dust during sanding. ;)
 

micahrogers

Moderator "Where am I, and how did I get here?"
Staff member
Moderator
The molding quality looks great. Just be careful not to inhale the resin dust during sanding. ;)
Yea, one of the upsides from being a plumber for 30+ years, I have 3 boxes of nitrle gloves, 1 box of latex gloves, two Tyvec suits, and a half a box of NIOSH N95 dust and particulate masks left from when I cleaned out my truck. The detail on the molds is great, but this is from like the third pour? on the mold, so there is warpage, and misalignment of some pieces, but I'll get it built.
 

micahrogers

Moderator "Where am I, and how did I get here?"
Staff member
Moderator
I had to sand the index stubs off of the head pieces to even try to get them straight.
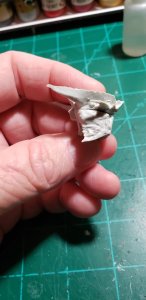
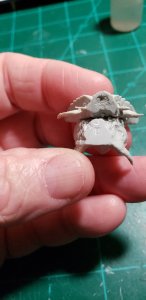
first dry fit,
20200801_133144_resized.jpg20200801_133151_resized.jpg20200801_133156_resized.jpg
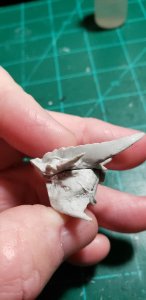
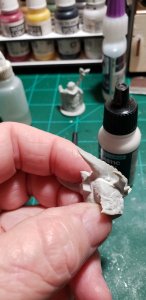
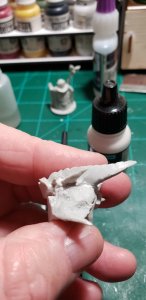
alignment stubs sanded off, glued together, and first filler added
20200801_155604_resized.jpg20200801_155607_resized.jpg20200801_155612_resized.jpg
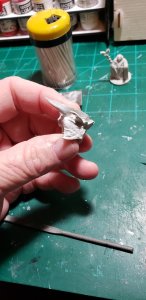
second filler coat added
20200801_175741_resized.jpg20200801_175748_resized.jpg
Once I smooth the filler putty out, I'll have something I can live with.
 

micahrogers

Moderator "Where am I, and how did I get here?"
Staff member
Moderator
Got a light primer on the seem line, and it looks good enough to go ahead,
Glued the snout part with "whiskers" in place
20200802_094440_resized.jpg20200802_094446_resized.jpg20200802_094453_resized.jpg20200802_094458_resized.jpg20200802_094503_resized.jpg

Now it's starting to look like a dragon's head.
 

micahrogers

Moderator "Where am I, and how did I get here?"
Staff member
Moderator
The base
20200802_171252_resized.jpg
assemble the body...
20200802_171308_resized.jpg
20200802_171315_resized.jpg
neck and wings added
20200802_173254_resized.jpg
The body was placed on the base to get the orientation of the tail, and legs before gluing. this allowed me to only have to heat and bend a very few pieces, but still get a nice fit. The dragon is not glued to the base, and I may leave him this way, still haven't decided.
He is currently just tacked together with CA. I will be filling the seems first with Thick CA, then my AV Vallejo Plastic Putty. The Thick CA will provide a little more structure, and the plastic putty will provide the finish.
 

micahrogers

Moderator "Where am I, and how did I get here?"
Staff member
Moderator
The gaps on the hind legs will be filled, these were caused by the warp in the hind leg parts, in relation to the body, and base.
Needless to say, this is the underside of the figure.
20200802_175237_resized.jpg
This is my stopping point for today. Let the CA fully cure, and then tomorrow start filling the seams.
 

micahrogers

Moderator "Where am I, and how did I get here?"
Staff member
Moderator
I got the head finished, and in primer. Those seams have disappeared, and it's a nice looking head now.

20200803_092945_resized.jpg20200803_092952_resized.jpg20200803_093002_resized.jpg20200803_093012_resized.jpg20200803_093019_resized.jpg

when I get back, I'll start on seam reinforcing and filling on the body. I also have 4 shades of gold to try out, and see which will be the base coat, and what order to apply them in. Aurinax represents and adult Gold Dragon, as such he should look almost as if he was covered in liquid gold, so no yellow base coats for him.
 

micahrogers

Moderator "Where am I, and how did I get here?"
Staff member
Moderator
I worked till late last night on the seams, and started on them again this morning. They are all filled now, but the last round of filler needs to dry, then I can finish cleaning up the seams.

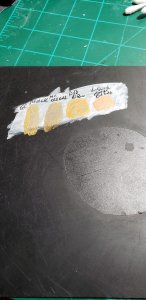
Here is a sample of my 4 gold colors painted on primed plastic.
20200804_131651_resized_1.jpg from left to right, Vallejo Game Color Polished Gold, Model Color Old Gold, TAP D&D Ki-Rin Gold, and Vallejo Liquid Metals Red Gold. I'm thinking the Red Gold as the base color, then lighten it up with layers of the others.

20200804_131948_resized_1.jpg 20200804_132010_resized_1.jpg 20200804_132024_resized_1.jpg 20200804_132034_resized_1.jpg 20200804_132041_resized_1.jpg All the seams filled.

20200804_133449_resized_1.jpg the base is primed.

and a beauty shot so far.
20200804_133828_resized_1.jpg
 

micahrogers

Moderator "Where am I, and how did I get here?"
Staff member
Moderator
First primer coat on the dragon shows spot gaps in the filler, so fixed those, waiting for the filler to dry again.
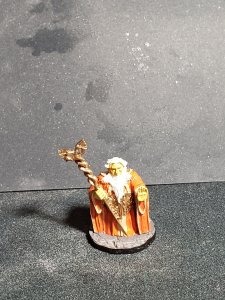
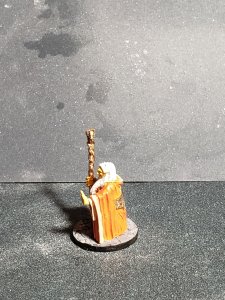
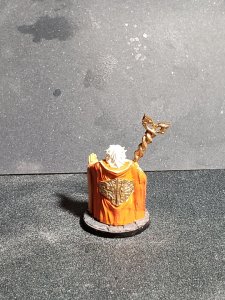
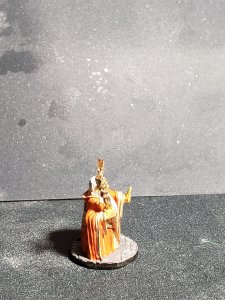
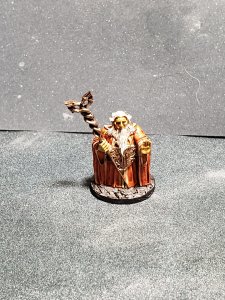
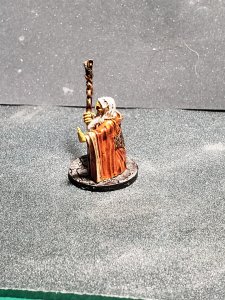
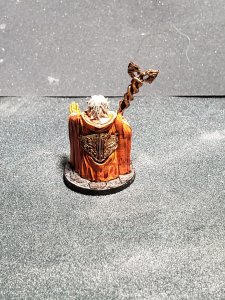
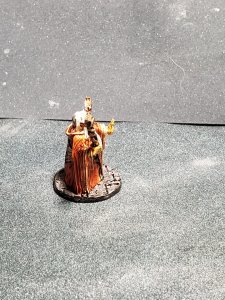
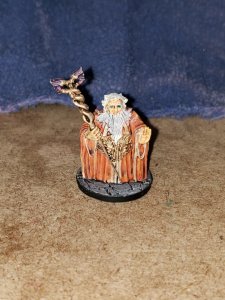
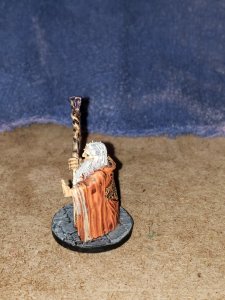
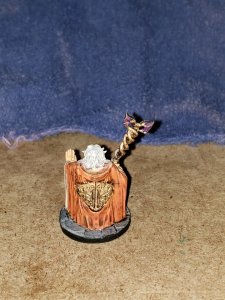
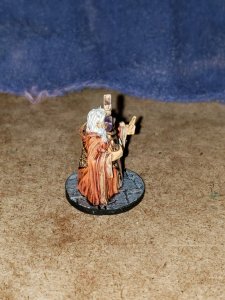
Finished Barok Clanghammer mini, the eyes aren't quite right.. Ohh well.

20200807_180508_resized.jpg20200807_180516_resized.jpg20200807_180523_resized.jpg20200807_180531_resized.jpg
 

micahrogers

Moderator "Where am I, and how did I get here?"
Staff member
Moderator
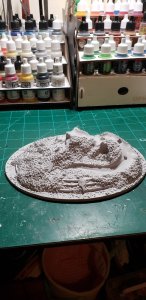
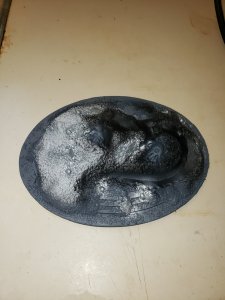
first pre shade and color coats airbrushed to the base.
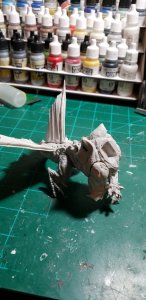
20200808_112733_resized.jpg

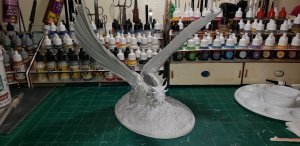
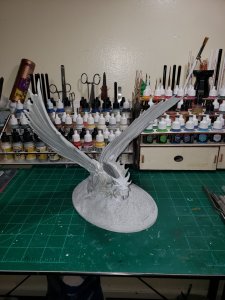
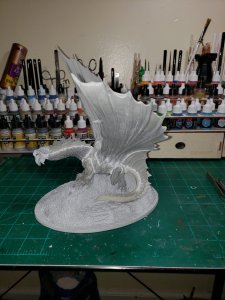
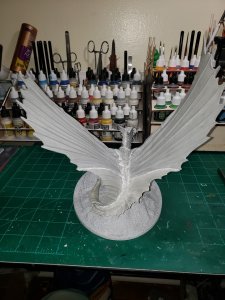
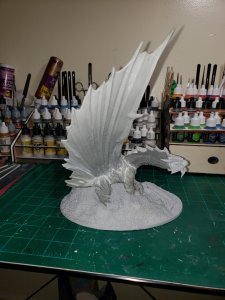
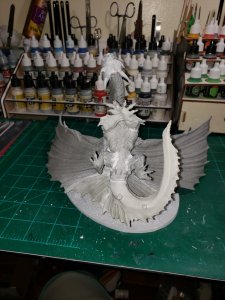
overall primer airbrushed to the dragon itself. No more voids found, and overall, I can live with this.
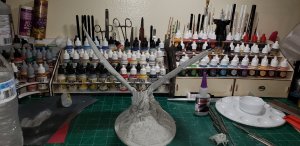
20200808_112815_resized.jpg

AV Vallejo Acrylic Polyurethane Primer takes a minimum of 24, and ideally 48 hours to cure, so now I wait.
 
Top