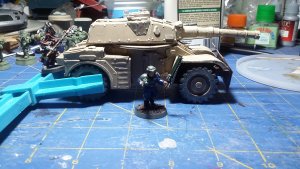
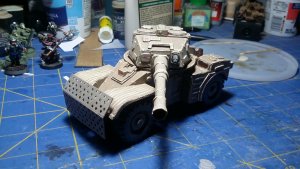
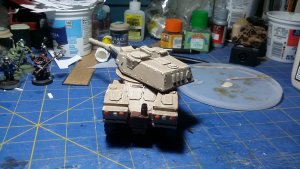
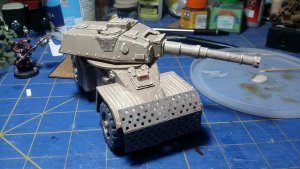
Armored Car - Patoroch T19 Warga

Sudsy

Well-Known Member
Talk about bring to lige with greebling!! Wow!!

note...You may wish to use the Thumbnail options, as the pages take a long time to load with larger pictures, especially for those of us in rural areas, the piegeons aren't fast enough in carrying the bits of info. ;)

Noted, will use thumbnails from now on (at least until final detailing...).
 

Sudsy

Well-Known Member
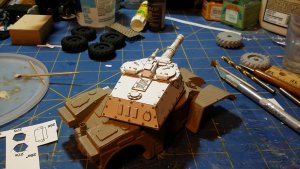
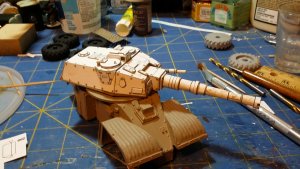
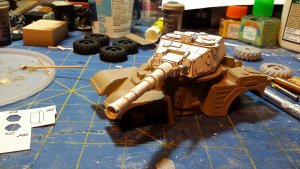
So, after helping my son with the Y-Wing build this evening, I moved on to my project after kids went to bed.

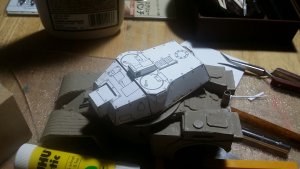
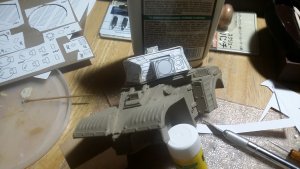
Instead of "Taco Tuesday" (made famous by the Lego Movie), partook in the Military SF model building tradition of "Turret Tuesday" and started on my two man turret.

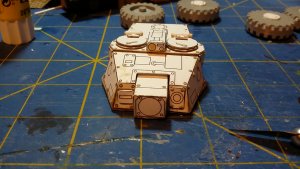
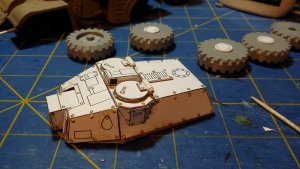
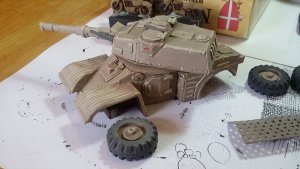
I'm prety pleased with it. However, on the next model (after all, I build in platoon/squadrons/sections/lances/insert equivelent here) in my force, I'm going to do things a tad different. Aligning the upper and lower turrets was, well, frustrating. I glued the upper turret together while I was waiting on the lower turret parts and grebles to dry on the thicker card I laminated them to. Turns out, that was a mistake, as was keeping the tabs!

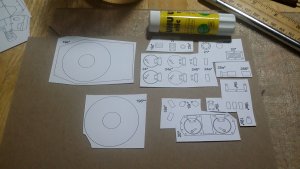
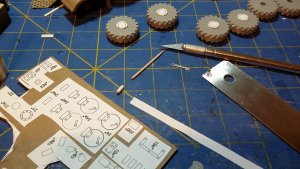
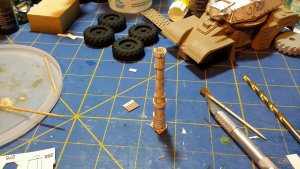
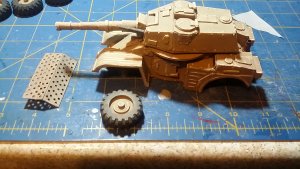
I've provided a picture of my small parts lamination for @dr_tetrode since I think I've been mentioning it a few times.

20190618_222720.jpg20190618_222709.jpg20190618_210939.jpg
 
Last edited:

zathros

*****SENIOR ADMINISTRATOR*****
Staff member
Administrator
Moderator
Man, that is really coming out fantastic!! ;)
 

dr_tetrode

Active Member
Thanks for the pictures, can't wait to see it in person. Learning to use the UHU glue stick, beginning to like it a lot. Looking really good. You may have to teach me how to play, if this keeps up! ;-)

Scott ;-) Have fun!
 

Gandolf50

Researcher of obscure between war vehicles...
Staff member
Moderator
So, after helping my son with the Y-Wing build this evening, I moved on to my project after kids went to bed.

Instead of "Taco Tuesday" (made famous by the Lego Movie), partook in the Military SF model building tradition of "Turret Tuesday" and started on my two man turret.

I'm prety pleased with it. However, on the next model (after all, I build in platoon/squadrons/sections/lances/insert equivelent here) in my force, I'm going to do things a tad different. Aligning the upper and lower turrets was, well, frustrating. I glued the upper turret together while I was waiting on the lower turret parts and grebles to dry on the thicker card I laminated them to. Turns out, that was a mistake, as was keeping the tabs!

I've provided a picture of my small parts lamination for @dr_tetrode since I think I've been mentioning it a few times.

Center pix is the way to use a UHU glue stick!!! I would never actually use it on a card model. Just not the best thing to use. Works great when dealing with kids and glue as long as you don't have that one that starts to eat it... I know other preferred ways are a bit messy and time-consuming and cause delays in modeling... but you just can't beat spread glue and a brayer !!! +++ it gets rid of all those plastic cards that arrive in the mail!
 

Sudsy

Well-Known Member
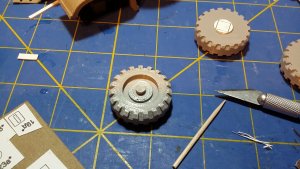
I decided to cheat on the tires. I printed the original tires at 200% and the are a perfect diameter and thickness!

20190626_171544.jpg


Used woodglue (titebond 3) on the PLA tire and paper hub to attach to car axle. Now, if this works on the game table... If it falls off, I will make the card tires as a penance!

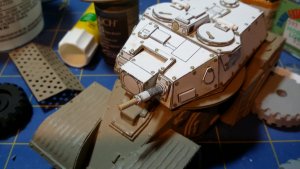
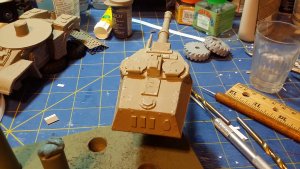
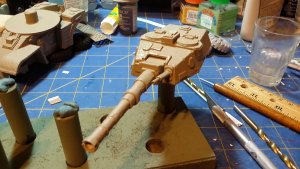
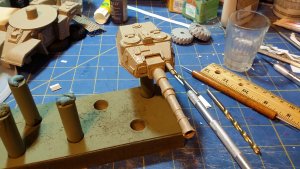
Turret got rivets and grebles this afternoon:

20190626_174101.jpg20190626_174049.jpg20190626_171537.jpg


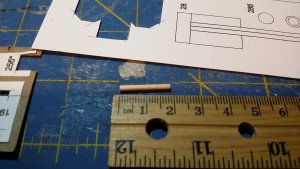
First picture shows my modification of the hinges on the hatches using toothpick cut to length, and 1.00" (25.40mm) strip of paper cut to width based on pattern. Next two are results, and I am pleased with them!
 
Last edited:

Sudsy

Well-Known Member
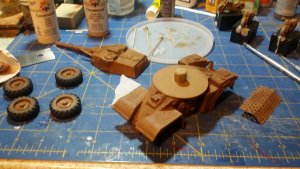
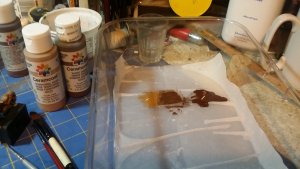
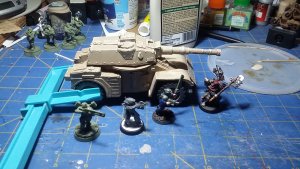
Not too much to report at the moment. I just base coated and gave a basic shade and wash. Here are the results, and my pallette choice for those who have access to Delta Ceramcoat here in North America (or maybe just the US; or possibly everywhere globally, but given chemicals and shipping internationally...).

20190702_220147.jpg20190702_220141.jpg

These two colors are my shading work-horse paints! Along with the tan camo spray paint...
 
Last edited:

Sudsy

Well-Known Member
A quick check to see if I can still post with the Tapatalk update causing issues for me on my PC...
20190703_203200.jpg
 
Last edited:

Sudsy

Well-Known Member
Rats, images are indeed gone. Darn Tapatalk to deepest darkest realms of heck (to keep it family friendly).
 

Sudsy

Well-Known Member
All of the pictures. While not the same order as the posts, I hope everybody can enjoy the sequence of construction. Maybe this will help someone else that builds this vehicle! Okay, these are the last 20 pictures I took. I just found you can only post 20 pictures a post...

EDIT: 28SEP19, while sitting with my youngest in my arms, I went through and re-inserted (mostly) the pictures into the right spot (mostly). So... This post is a place holder!
 
Last edited:

Sudsy

Well-Known Member
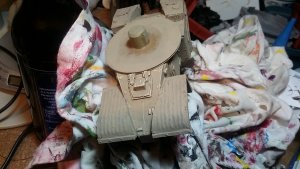
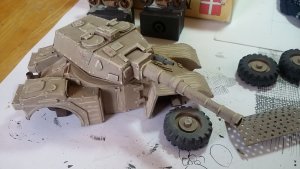
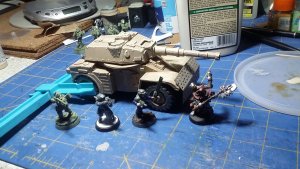
So, I've added back in most of the photos to the right places. In my purge of extraneous posts (where I put in 20 images at a time, mostly previous images that got lost...), I may have deleted the final paint job and finished project hidden among the previous images! My four month old observed my work, when he was awake and not focused on his bottle or pacifier...

20190705_153027.jpg20190705_153037.jpg20190705_212305.jpg20190707_223200.jpg20190707_223210.jpg20190707_223248.jpg20190707_223356.jpg20190707_223413.jpg20190707_223502.jpg
 
Top