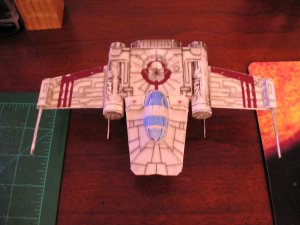
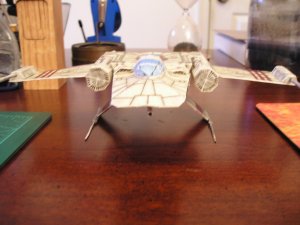
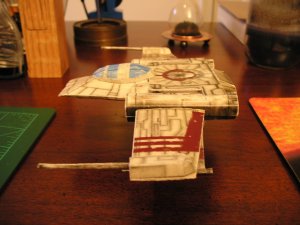
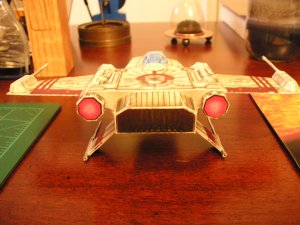
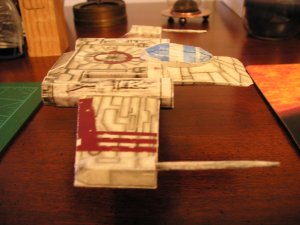
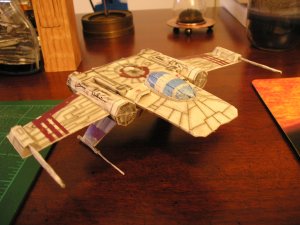
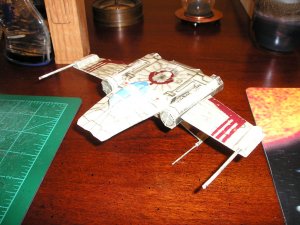
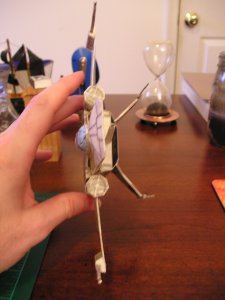
I was going through some of my files the other day and found this gem among some other compressed files in the old archive..

It is in a pepakura format and needing a break from designing the small parts on the Vorchan I decided to give it a try. This is the first model I have made from a Pepkura design. The one thing about Pepakura designs is that keeping track of each piece is tougher than some other methods with pre-numbered pieces that make it pretty intuitive to assemble. Also, when assembling a model like this it is recommended that you tackle one page at a time for cutting or assembling. Organization is key and much harder with a Pepakura model. You MUST refer back to the virtual model when assembling other wise you WILL quickly get lost.
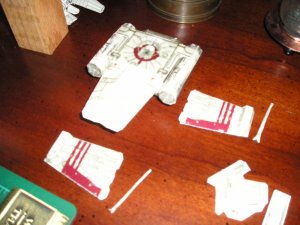
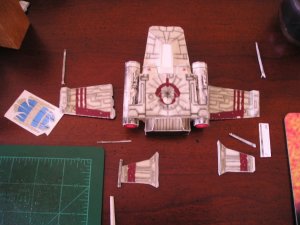
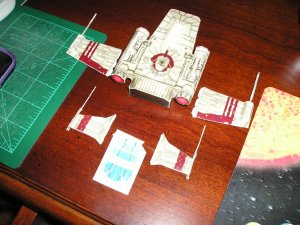
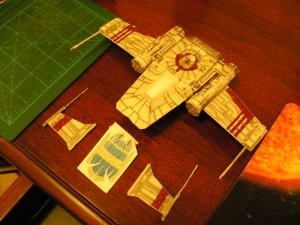
Here are all of the parts once they are printed and cut out.
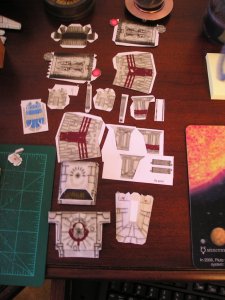
Note that the parts at the bottom of the pic above have already been assembled.
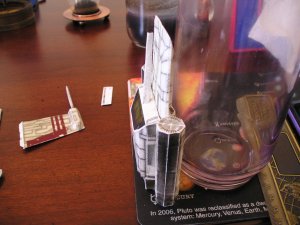
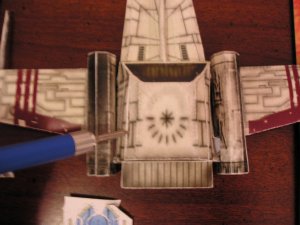
The pic below is the upper body portion. The front section has been cut to allow for insertion of the nose portion. The original design had the front nose portion mounted on a slanted form of the upper body. It definitely was not going to work.
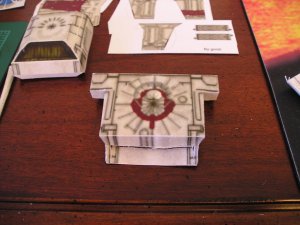
Top and bottom body portions joined together. Note the front cut section.
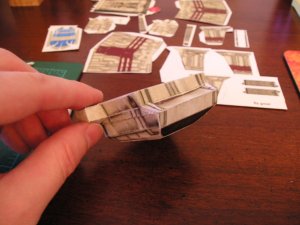
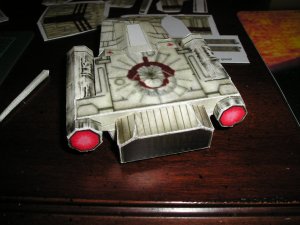
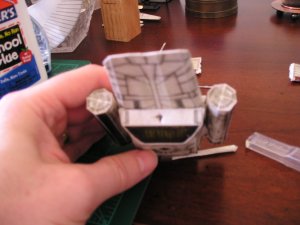
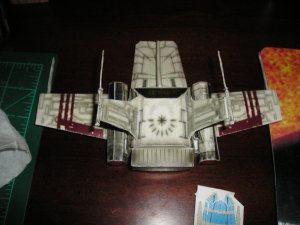
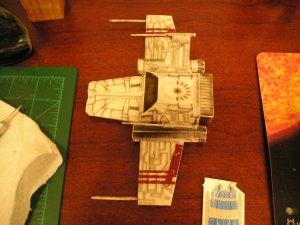
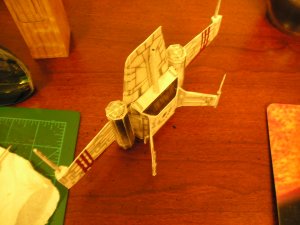
Nose section glued to the front of the upper body (bottom view). Note the alignment of of the gray engine intakes which align with the front of the upper and lower bodies.
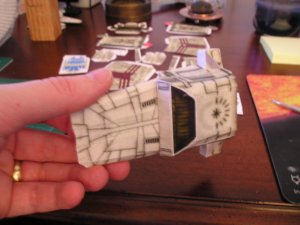
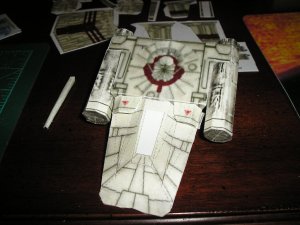
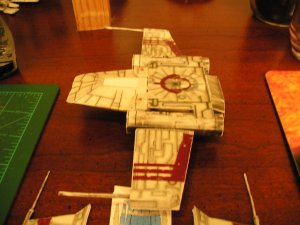
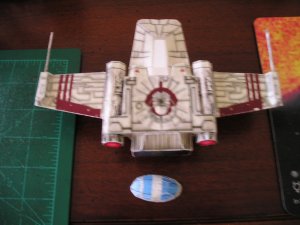
Top view of the nose mounted to the upper and lower bodies which now form the main fuselage.
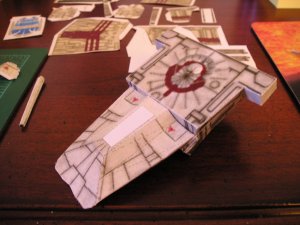
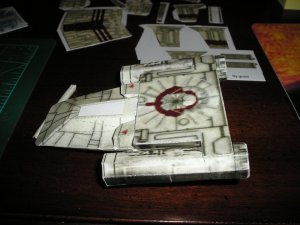
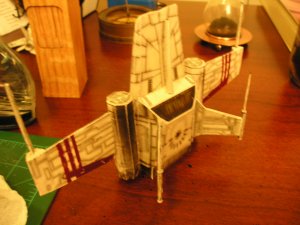
Upper engine intake added adjacent to the upper body.
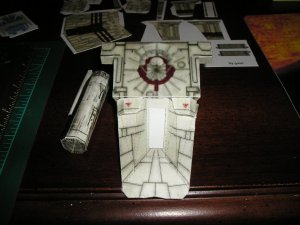
That's it for now.
Sky Seeker
:tank:

It is in a pepakura format and needing a break from designing the small parts on the Vorchan I decided to give it a try. This is the first model I have made from a Pepkura design. The one thing about Pepakura designs is that keeping track of each piece is tougher than some other methods with pre-numbered pieces that make it pretty intuitive to assemble. Also, when assembling a model like this it is recommended that you tackle one page at a time for cutting or assembling. Organization is key and much harder with a Pepakura model. You MUST refer back to the virtual model when assembling other wise you WILL quickly get lost.
Here are all of the parts once they are printed and cut out.

Note that the parts at the bottom of the pic above have already been assembled.
The pic below is the upper body portion. The front section has been cut to allow for insertion of the nose portion. The original design had the front nose portion mounted on a slanted form of the upper body. It definitely was not going to work.

Top and bottom body portions joined together. Note the front cut section.

Nose section glued to the front of the upper body (bottom view). Note the alignment of of the gray engine intakes which align with the front of the upper and lower bodies.

Top view of the nose mounted to the upper and lower bodies which now form the main fuselage.

Upper engine intake added adjacent to the upper body.

That's it for now.
Sky Seeker
:tank:
Last edited:


 .
.