Hello, dear vampires, monsters and papercrafters,
tonight I would like to follow me on another journey into the world of the unknown. The world of the supernatural, the realm of the witches! What? Wait??? Witches??? Well...
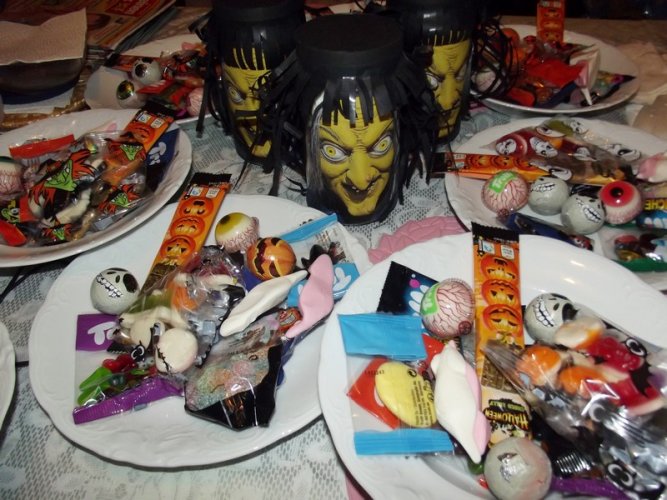
Like every year I'd like to scare my workmates with a little Halloween gift. This year things evolved a bit differently and things got a bit out of hand due to an unexpected break. I was in the midst of my latest project (the secret project I mentioned in the OTT thread) when I got caught by a nasty case of cough, supposedly caused by a combination of glue fumes, cold fall air and spores accumulated under falling leaves in the streets. That completely spoiled my schedule so that I was seriously considering cancelling this year's Halloween gift show. However, when I felt better I decided to do it anyway - even if it meant to be somewhat smaller than in the years before. I had to radically reduce the number of presents in order to distribute them in time but with the combined help of my mother as cutting and gluing aide everything proceeded as planned. Well, to be honest, the original plan did not work out very well but led to a new plan which was even better than the first one. Let me show you.
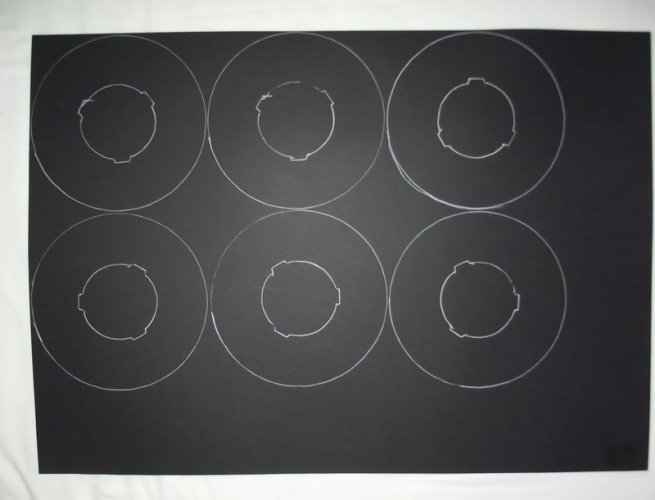
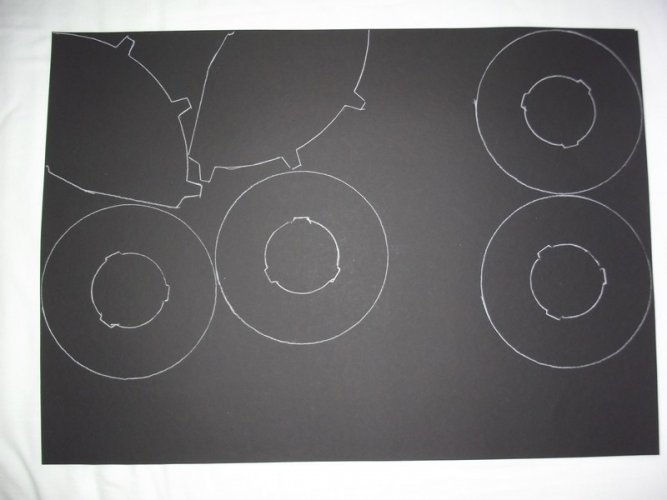
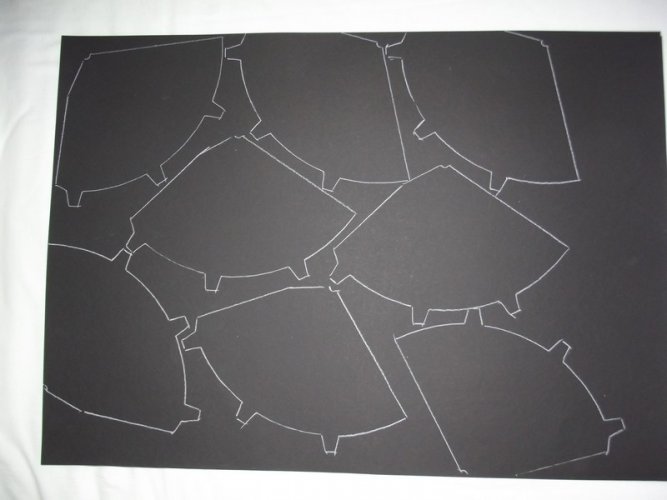
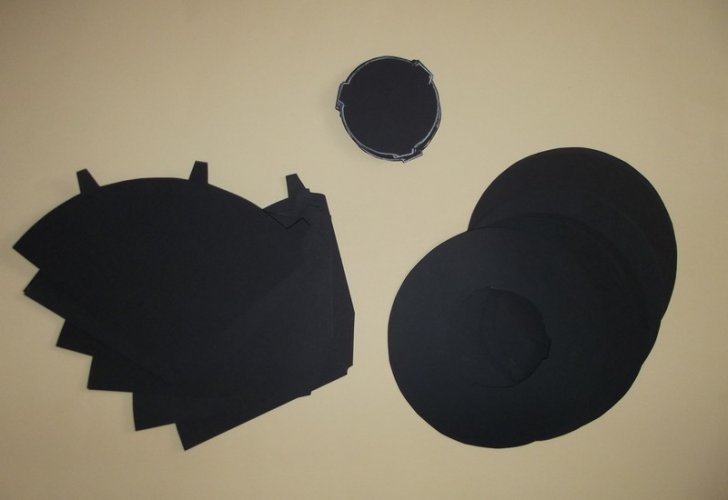
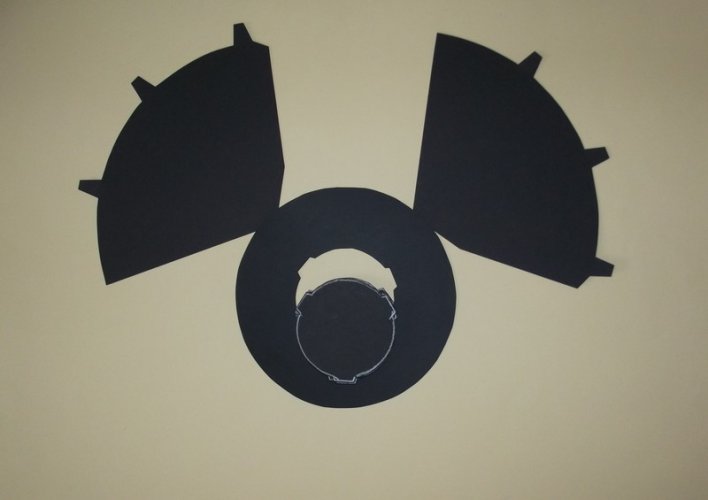
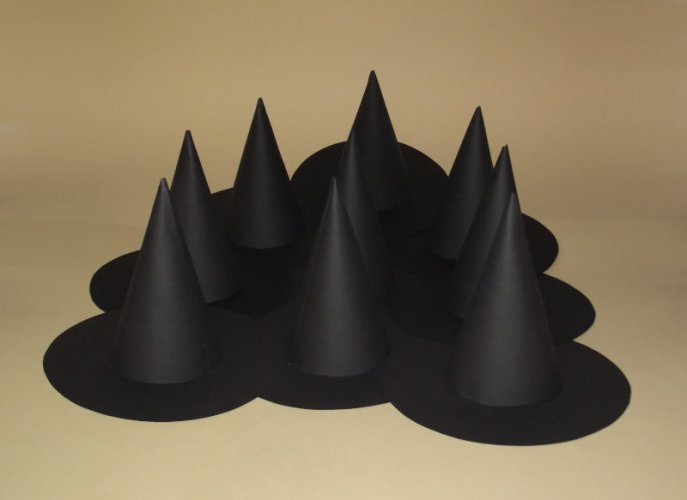
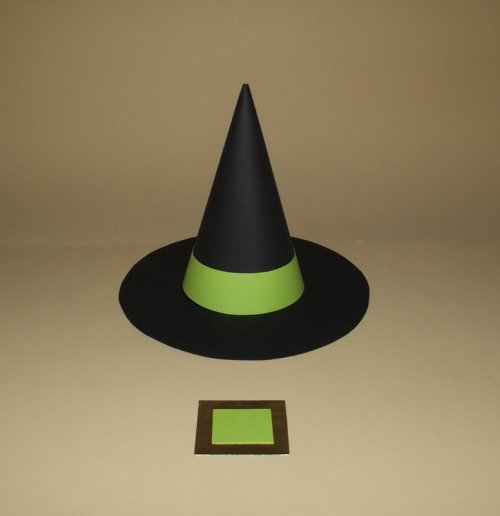
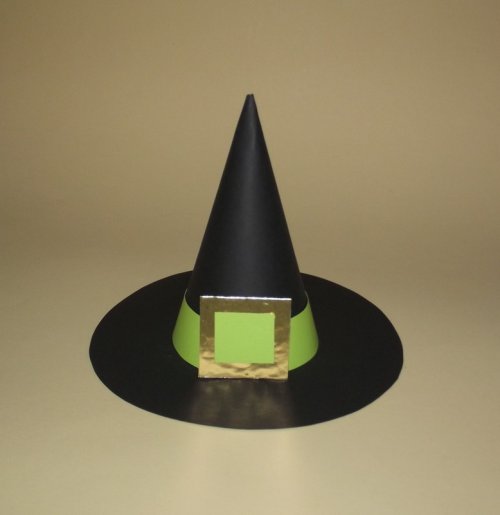
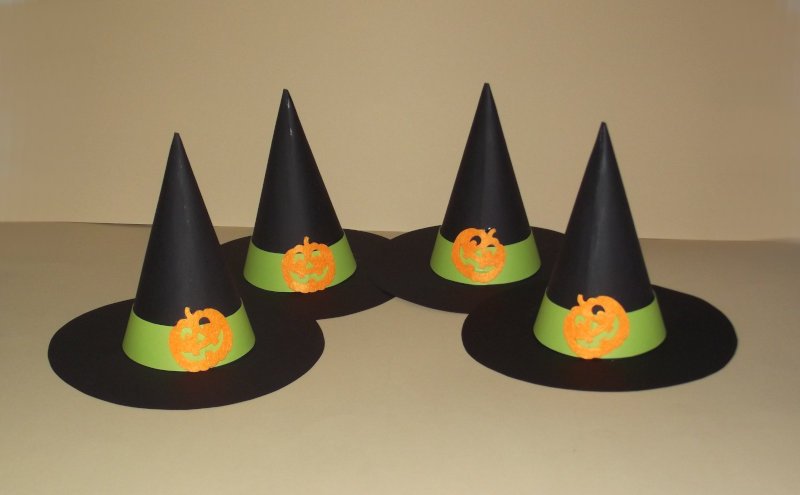
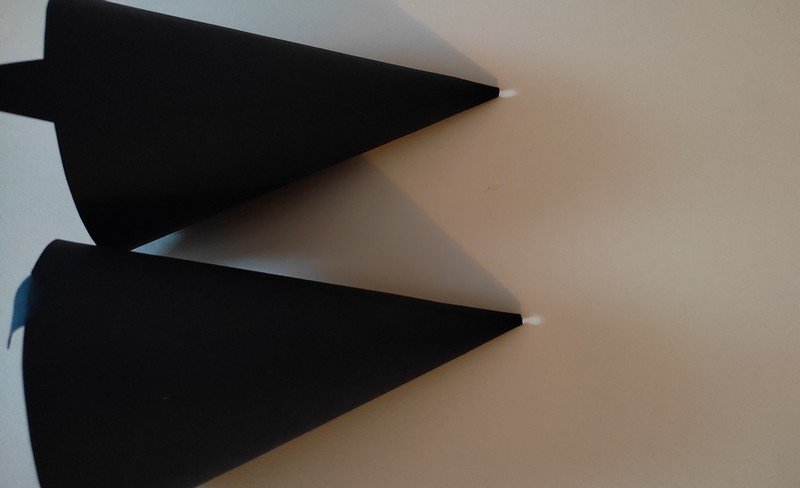
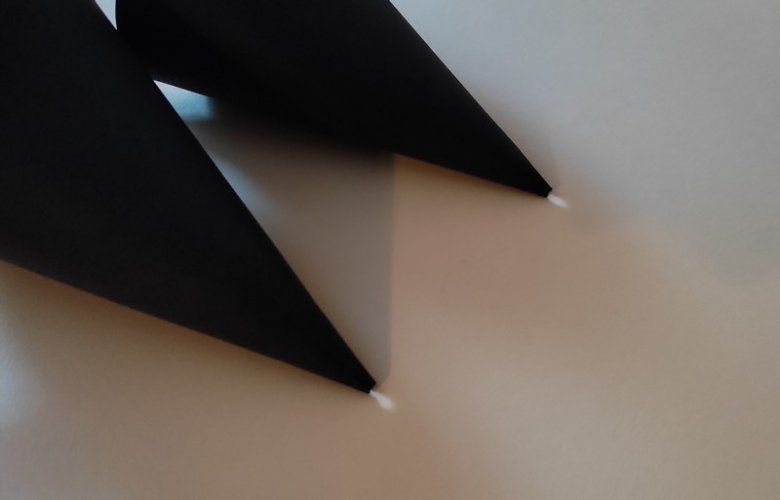
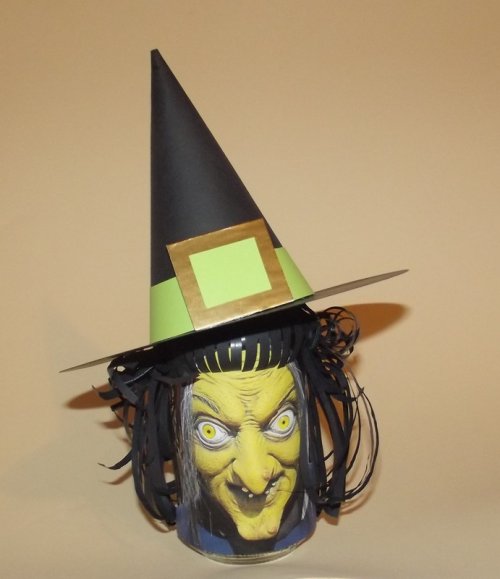
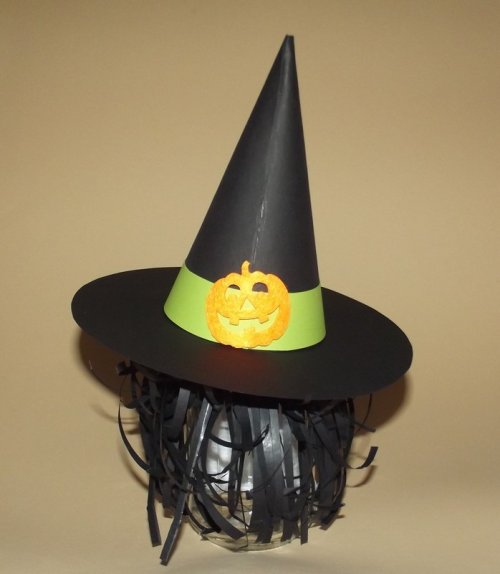
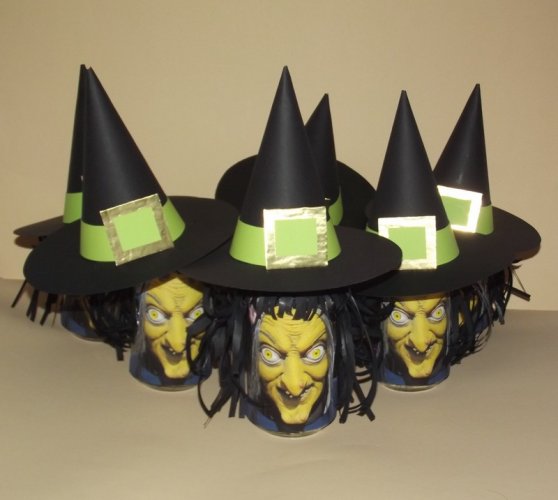
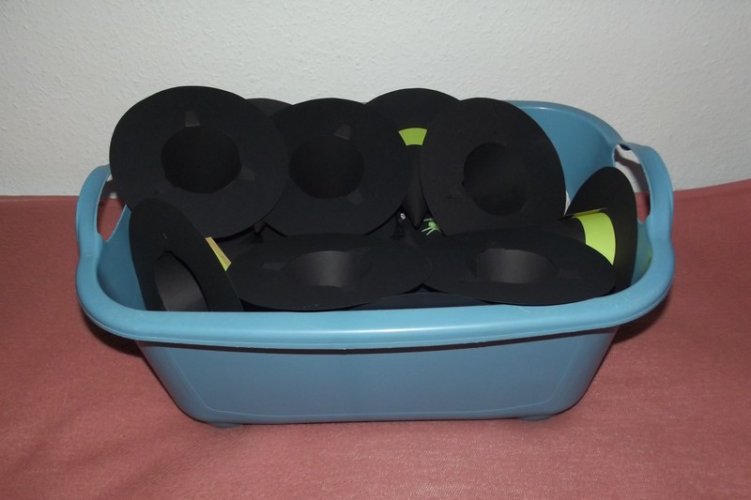
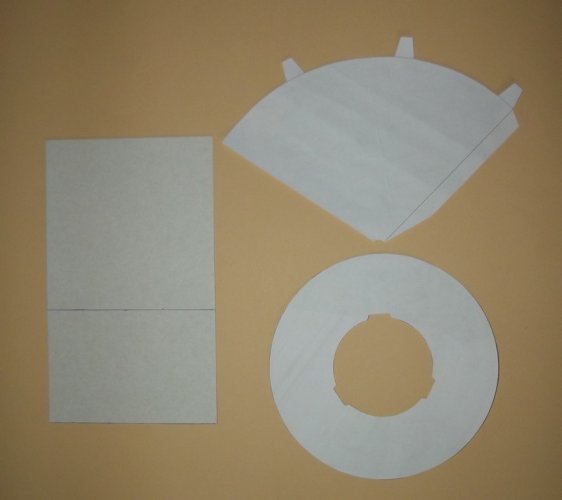
Plan A was a series of witch hats filled with sweets. I found a very nice template in a Halloween set from Canon. I extracted the hat template and enlarged it so that each part fit on one page.
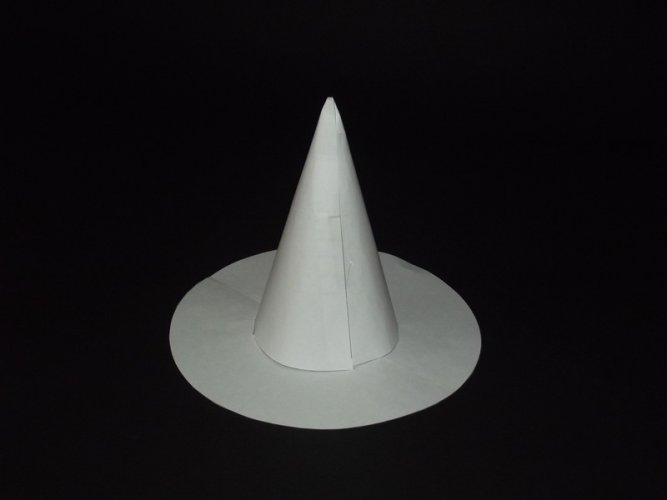
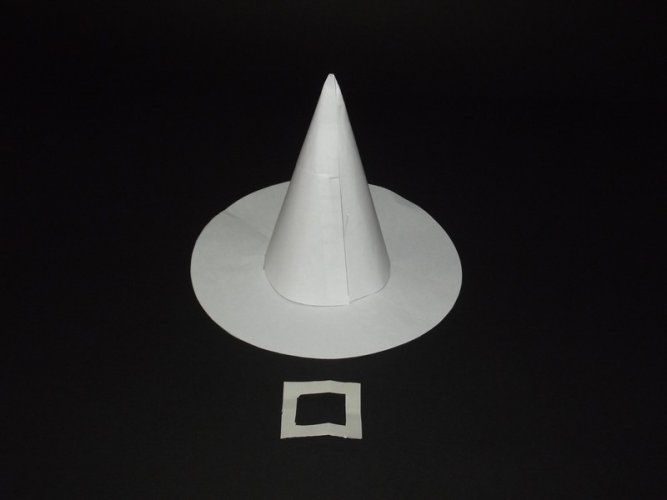
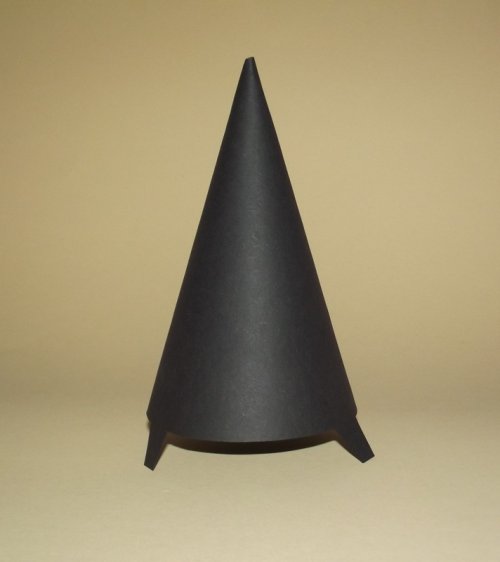
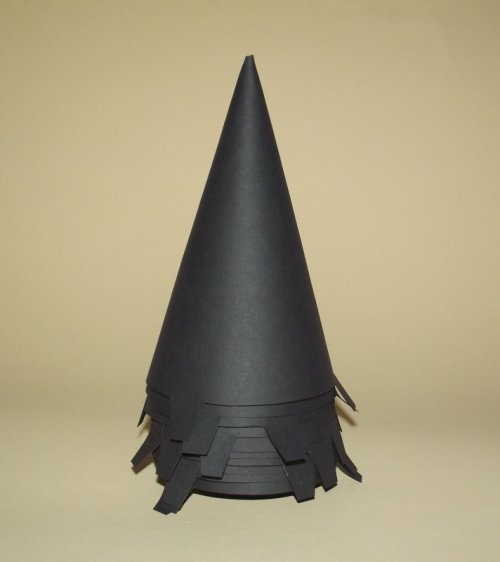
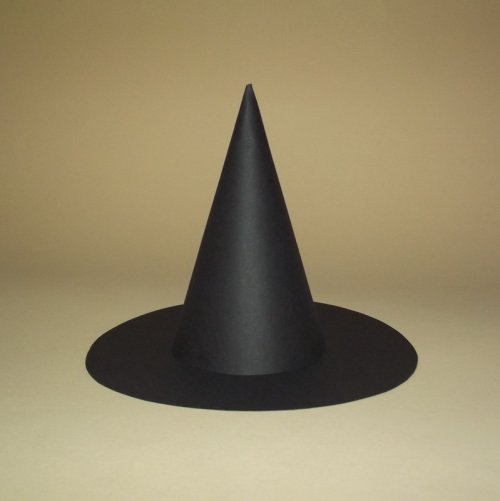
However, the first test assembly showed that the hat was much too small to contain a "healthy" amount of sweets!
That was quite a dilemma. The hat would need to have the size of a school cone to be big enough. So I put the prototype away and resumed work on the other secret project.
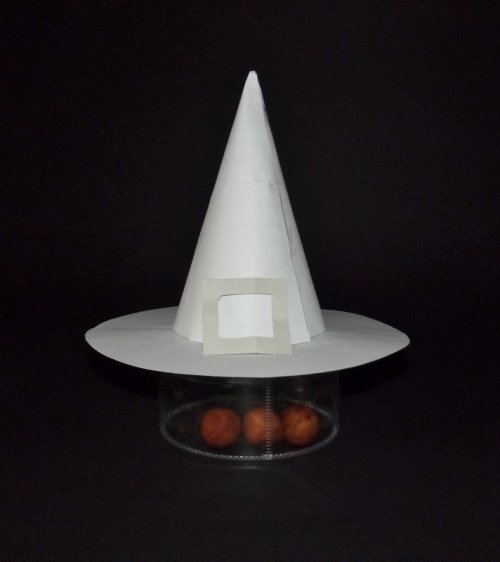
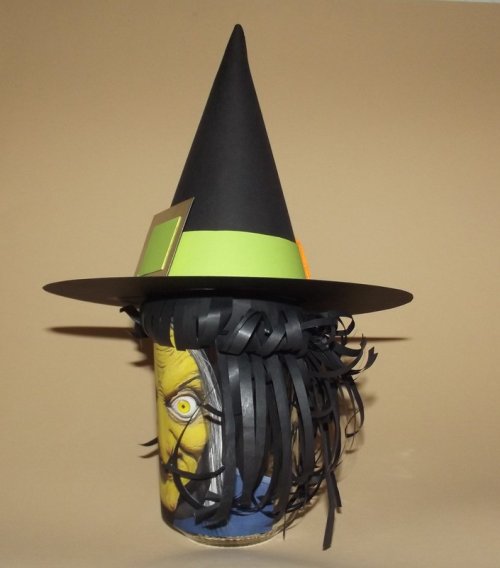
By accident the hat was left on a sweet box. We were thinking and thinking until we found out that the answer to the problem was directly in front of us: If we put the sweets into a separate container which was bigger than the cone everything would work out fine.
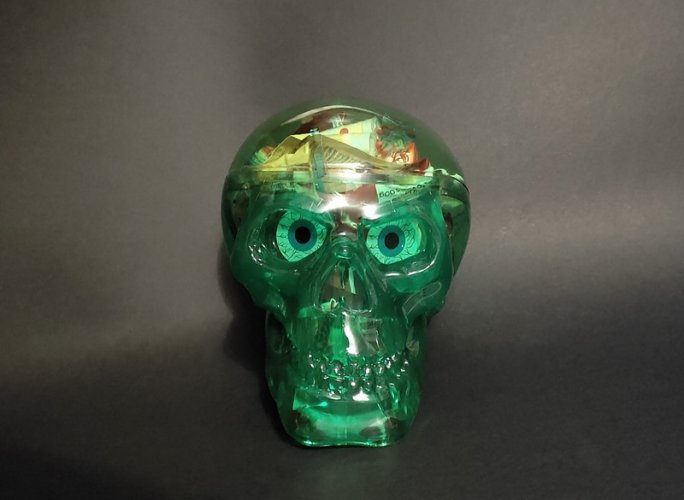
Fortunately we had collected some jam glasses and checked their size:
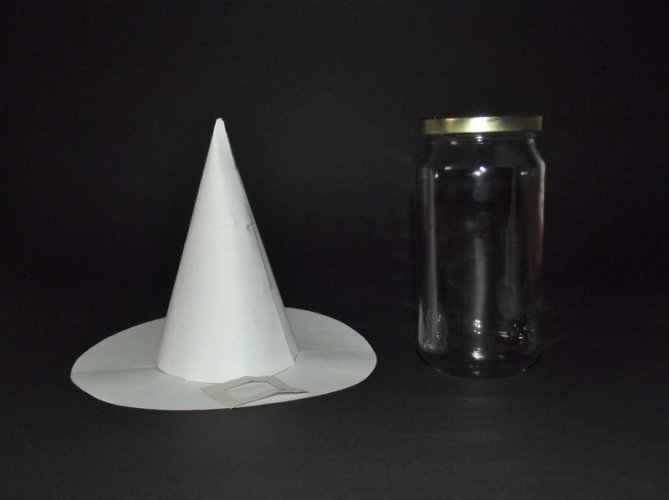
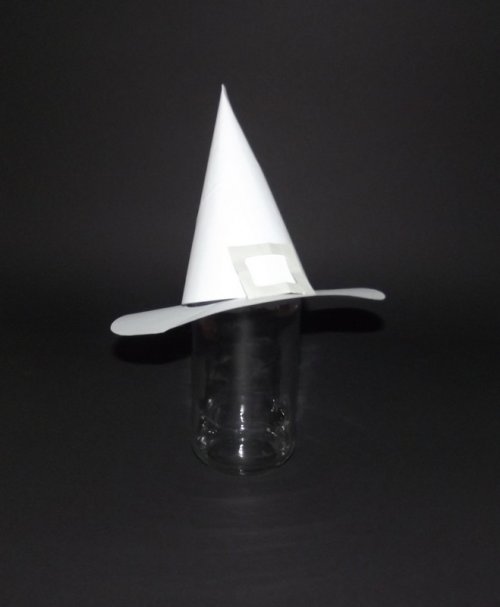
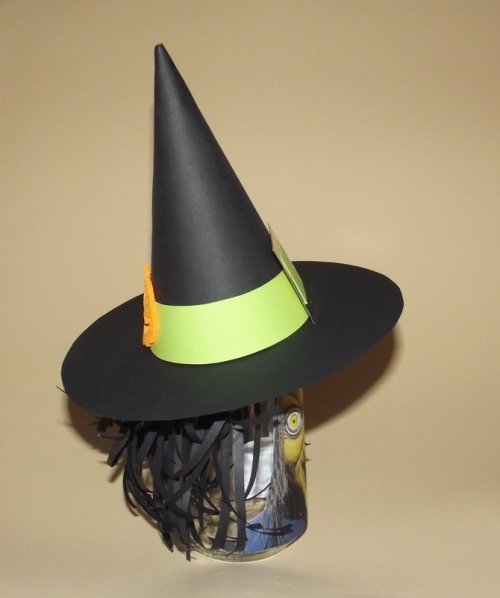
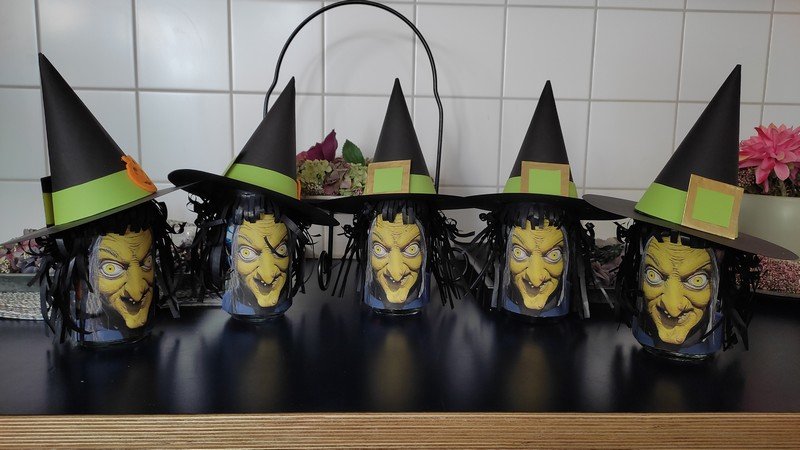
They fit like a glove! And they were big enough to store enough sweets. Plan B was in full swing!
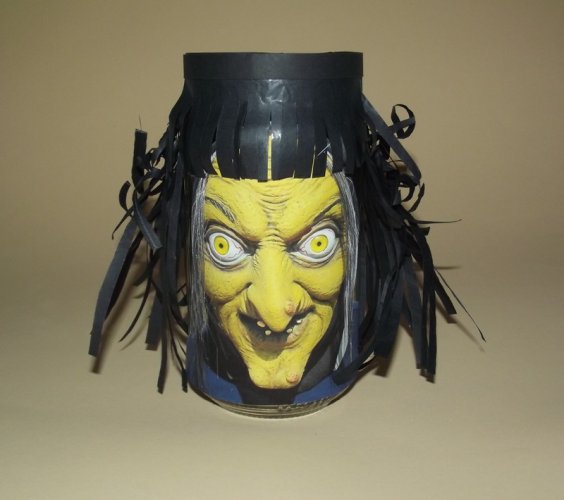
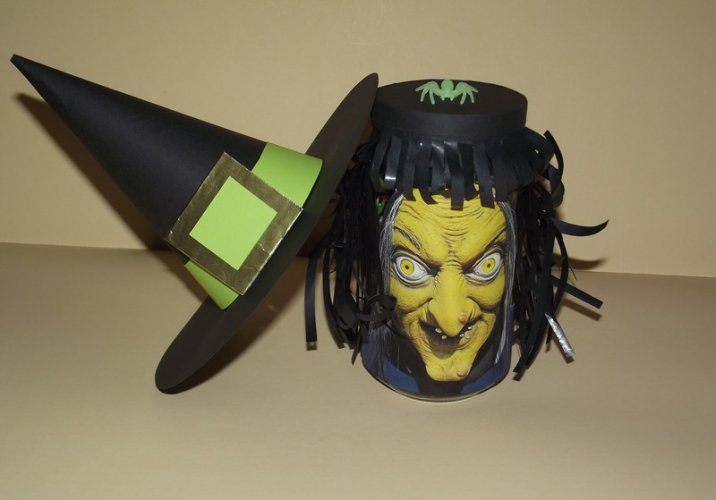
However, a simple glass was not very exciting. It had to be decorated accordingly. And again sergeant Happenstance came to the rescue. The haunting image of a witch mask on the "big river shop" popped up which would fit perfectly on the glassand to add to the mood.
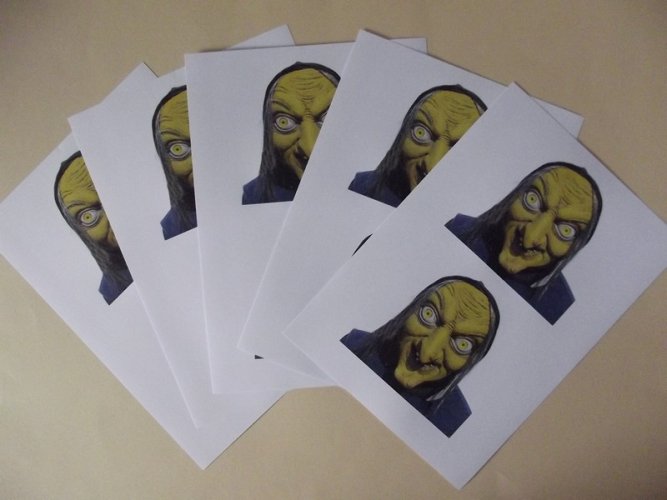
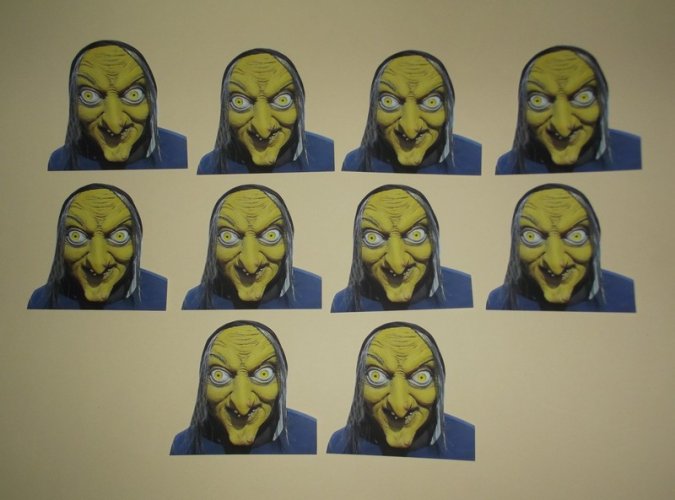
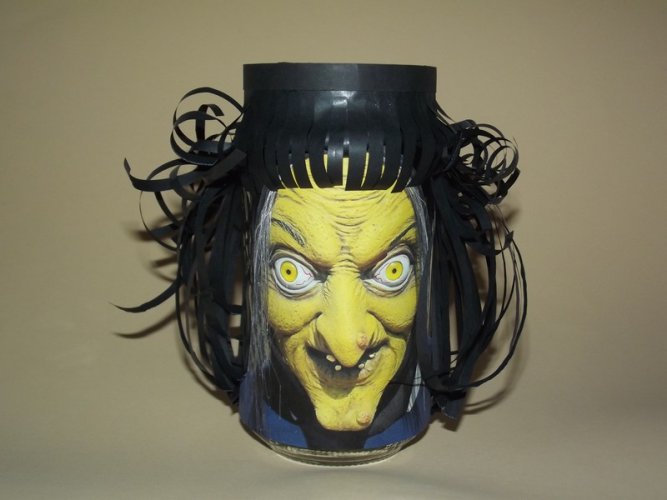
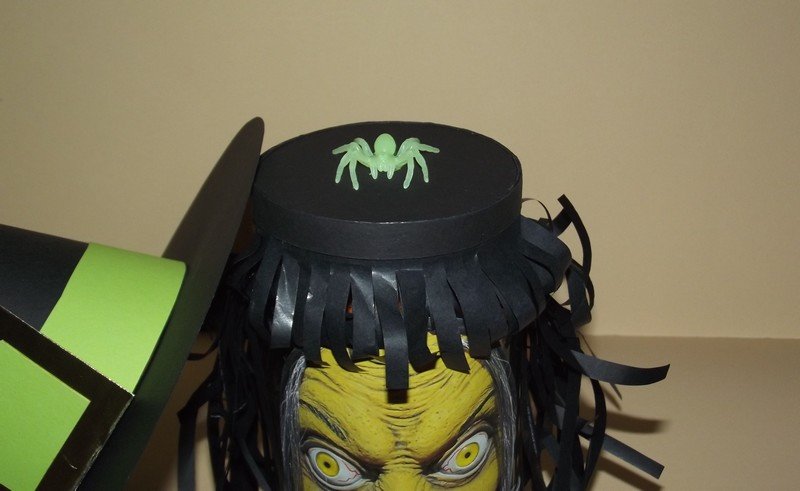
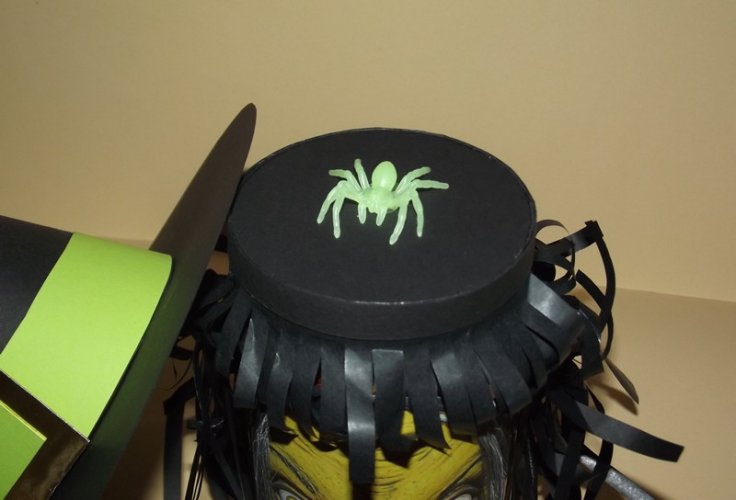
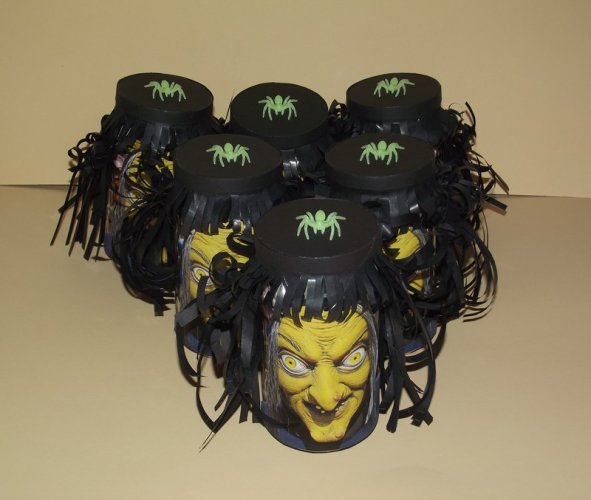
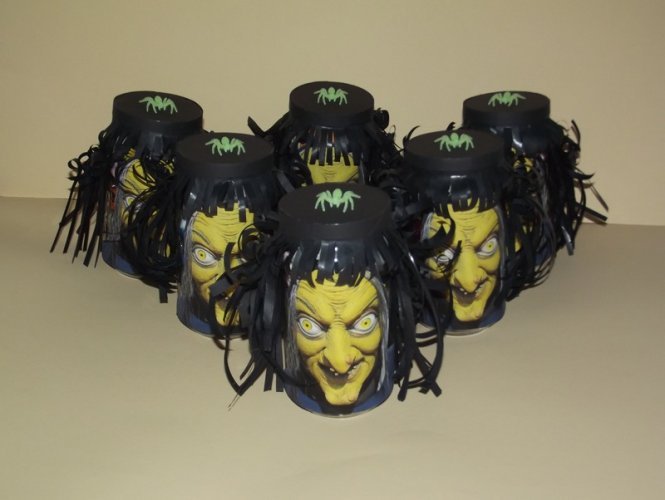
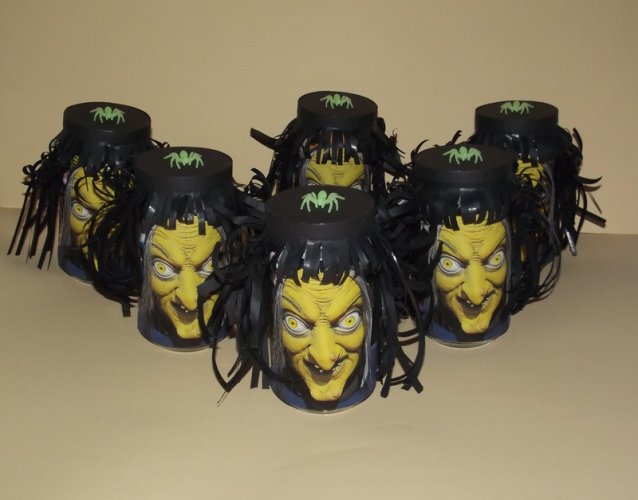
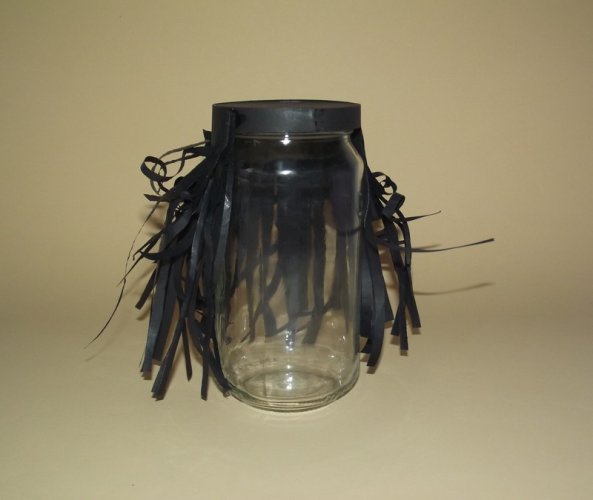
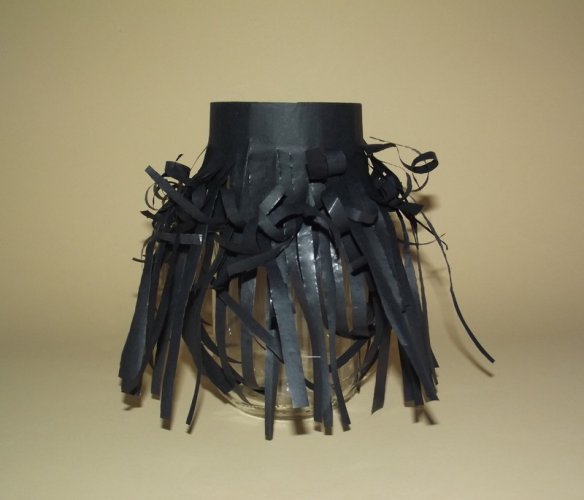
I rescaled it a bit and stretched it horizontally so that the face did not look squished on the curved surface and attached it to the glass. The lids were laminated with some black card to have a nice and even surface. Some leftover black silk paper was used to disguise the remaining clean areas of the glass.
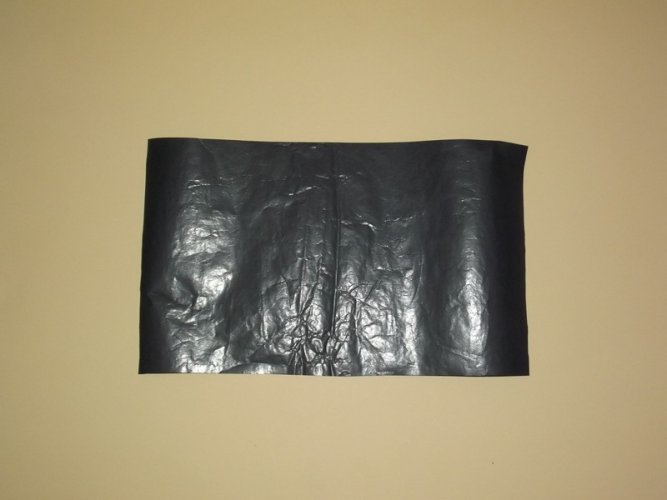
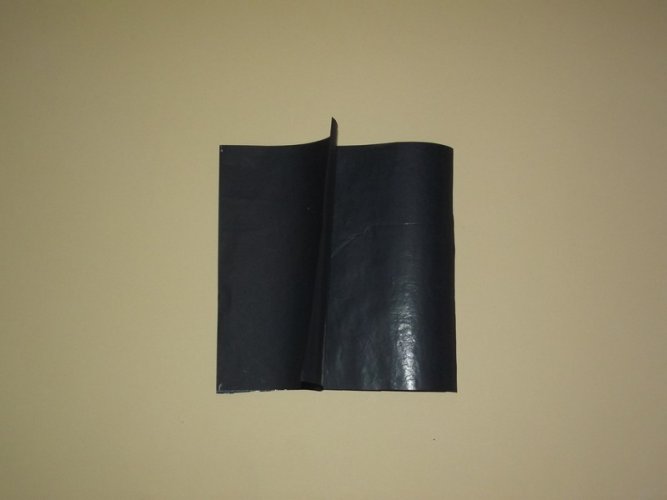
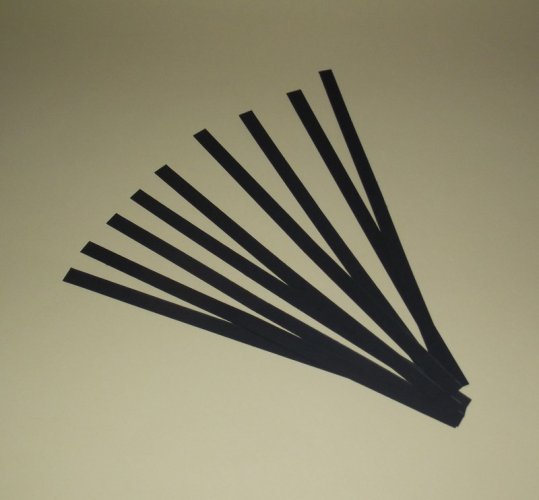
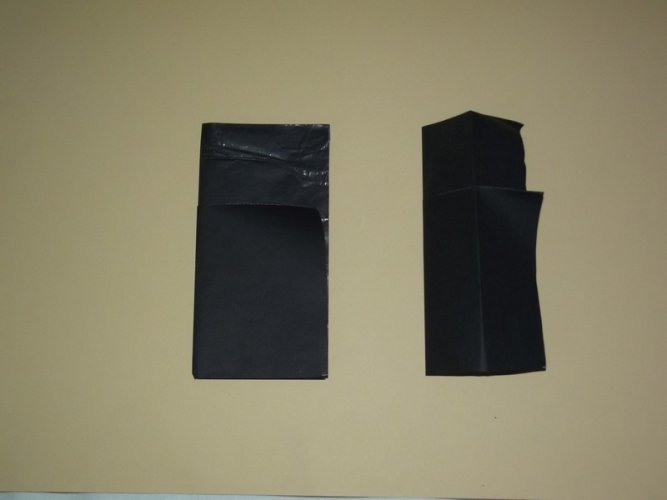
The paper was folded several times and then cut in to create some stripes.
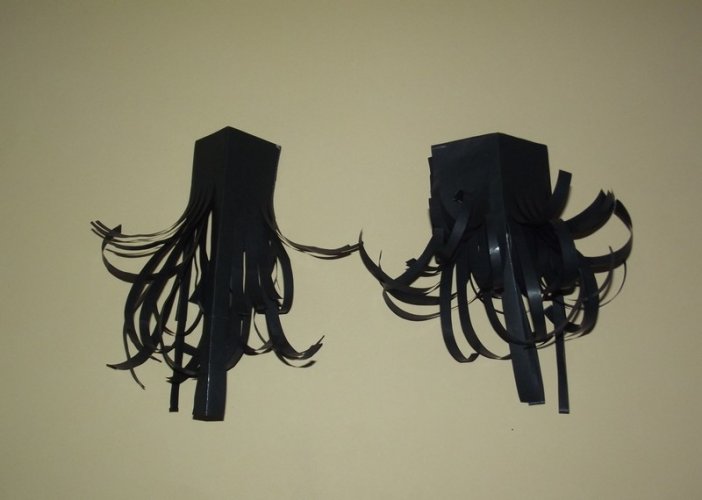
The stripes were pushed over some scissors to curl them lightly.
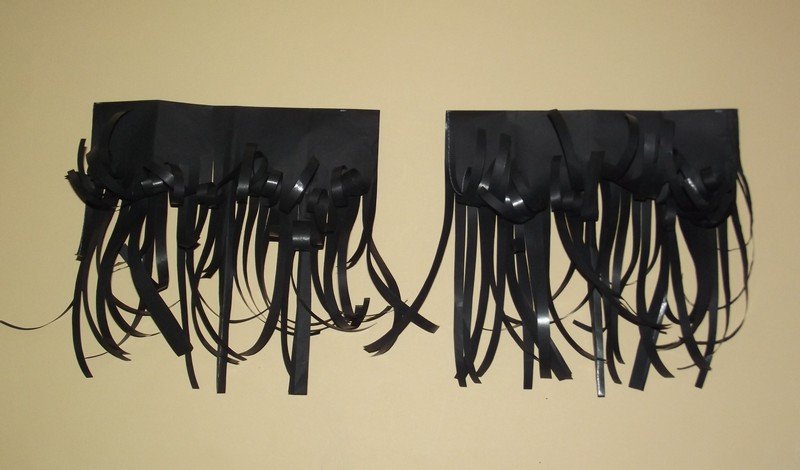
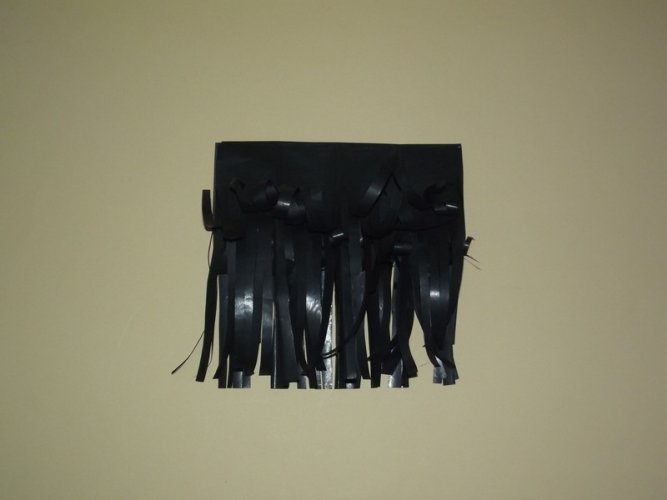
Then they were attached to the lid:
tonight I would like to follow me on another journey into the world of the unknown. The world of the supernatural, the realm of the witches! What? Wait??? Witches??? Well...
Like every year I'd like to scare my workmates with a little Halloween gift. This year things evolved a bit differently and things got a bit out of hand due to an unexpected break. I was in the midst of my latest project (the secret project I mentioned in the OTT thread) when I got caught by a nasty case of cough, supposedly caused by a combination of glue fumes, cold fall air and spores accumulated under falling leaves in the streets. That completely spoiled my schedule so that I was seriously considering cancelling this year's Halloween gift show. However, when I felt better I decided to do it anyway - even if it meant to be somewhat smaller than in the years before. I had to radically reduce the number of presents in order to distribute them in time but with the combined help of my mother as cutting and gluing aide everything proceeded as planned. Well, to be honest, the original plan did not work out very well but led to a new plan which was even better than the first one. Let me show you.
Plan A was a series of witch hats filled with sweets. I found a very nice template in a Halloween set from Canon. I extracted the hat template and enlarged it so that each part fit on one page.


However, the first test assembly showed that the hat was much too small to contain a "healthy" amount of sweets!
That was quite a dilemma. The hat would need to have the size of a school cone to be big enough. So I put the prototype away and resumed work on the other secret project.

By accident the hat was left on a sweet box. We were thinking and thinking until we found out that the answer to the problem was directly in front of us: If we put the sweets into a separate container which was bigger than the cone everything would work out fine.
Fortunately we had collected some jam glasses and checked their size:


They fit like a glove! And they were big enough to store enough sweets. Plan B was in full swing!
However, a simple glass was not very exciting. It had to be decorated accordingly. And again sergeant Happenstance came to the rescue. The haunting image of a witch mask on the "big river shop" popped up which would fit perfectly on the glassand to add to the mood.


I rescaled it a bit and stretched it horizontally so that the face did not look squished on the curved surface and attached it to the glass. The lids were laminated with some black card to have a nice and even surface. Some leftover black silk paper was used to disguise the remaining clean areas of the glass.


The paper was folded several times and then cut in to create some stripes.


The stripes were pushed over some scissors to curl them lightly.


Then they were attached to the lid:


Last edited:


