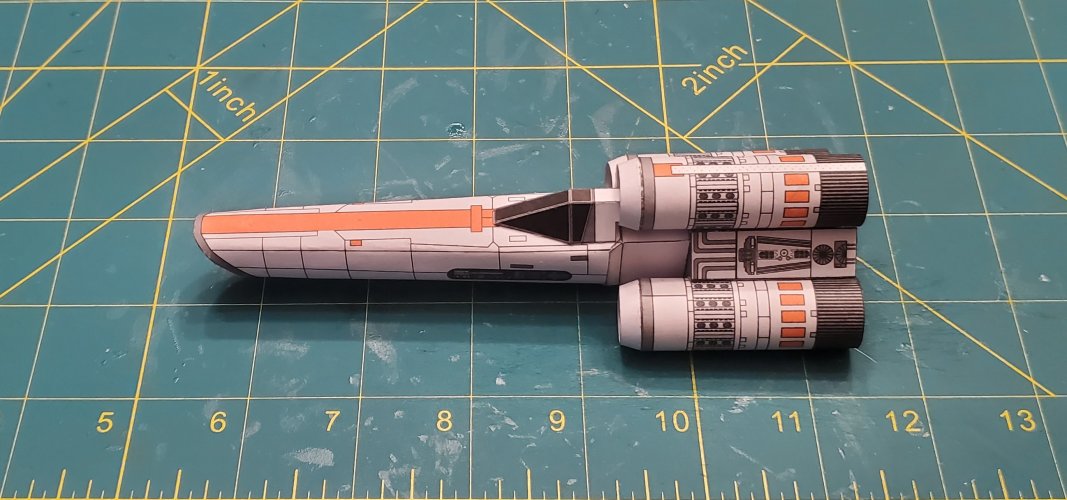
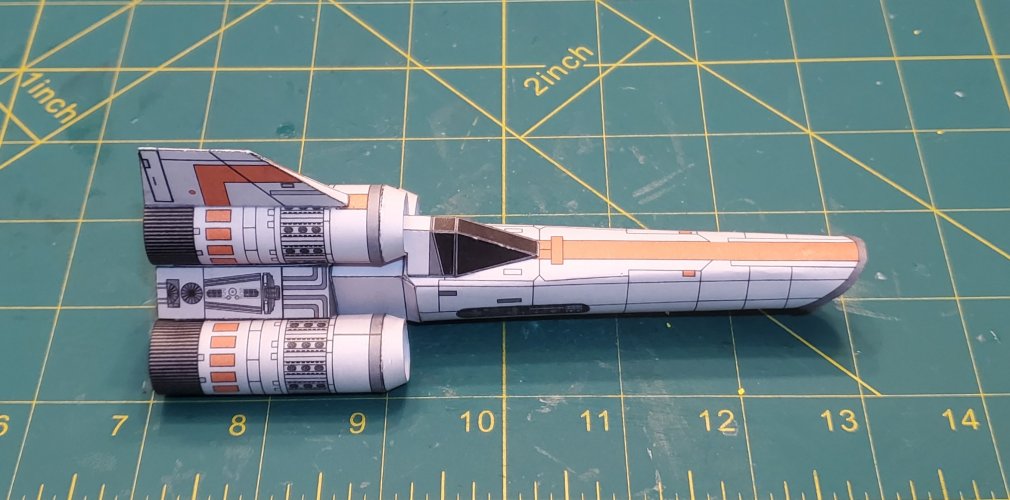
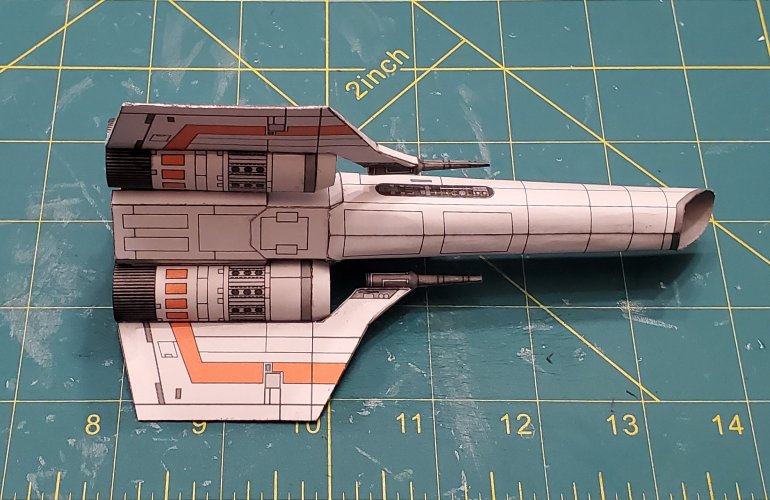
A friend has introduced his (15 year old) son to (TOS) Battlestar Galactica. My friend's son really likes the Colonial Viper. The boy also is interested in paper/cardstock model building (even though, he has never built a model of any kind). I had shown both of them the models that I have built (especially the Colonial Viper). My friend asked if there is a simple template of the Viper that I would recommend for a beginner builder. I know that geocities.jppapertoy_box made a very simple template (and Sirius Replicas repainted it).
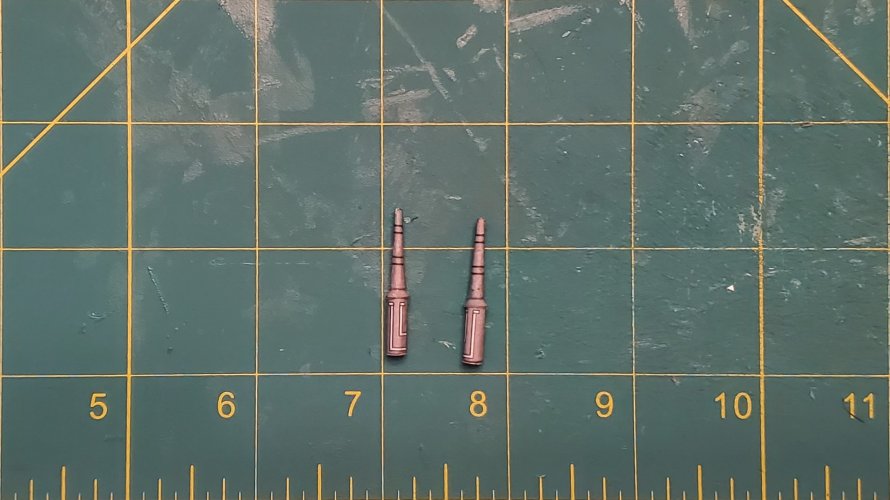
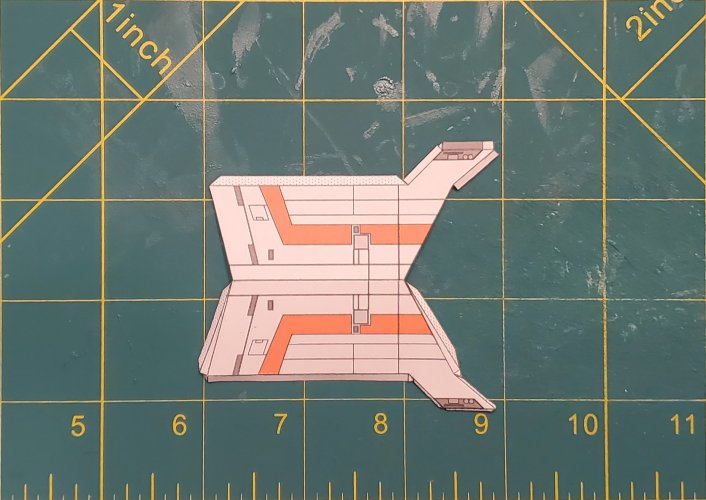
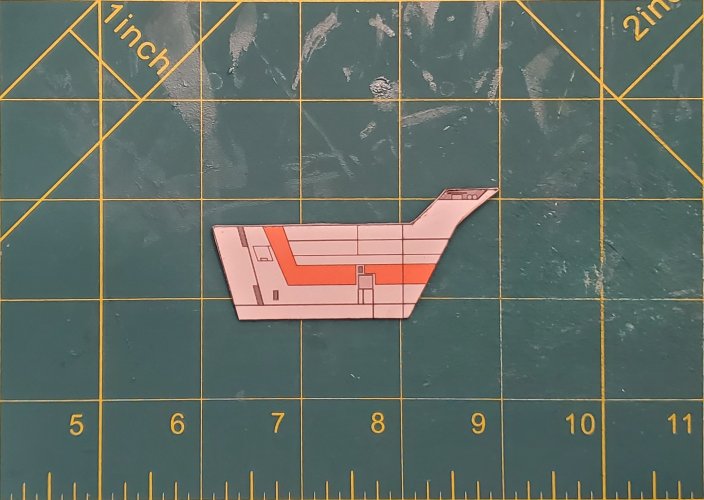
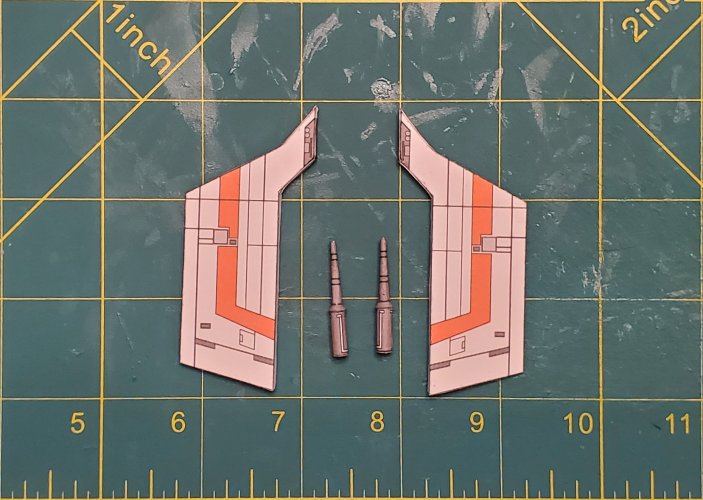
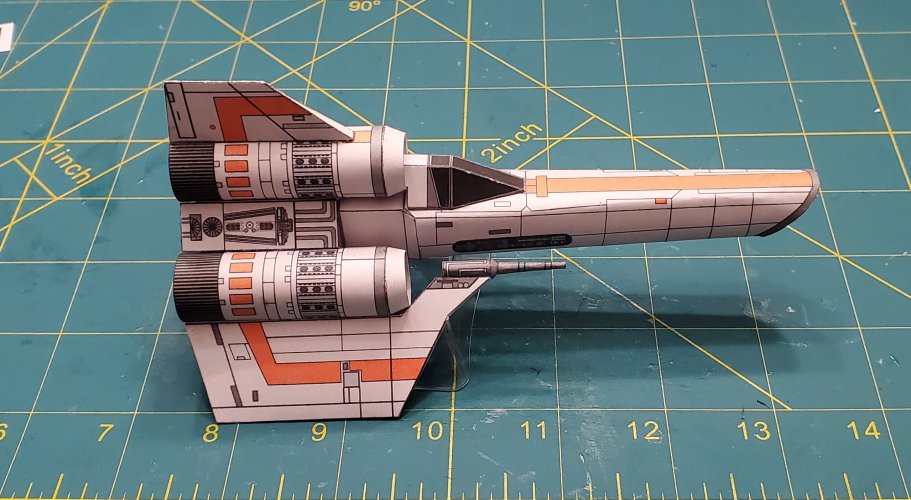
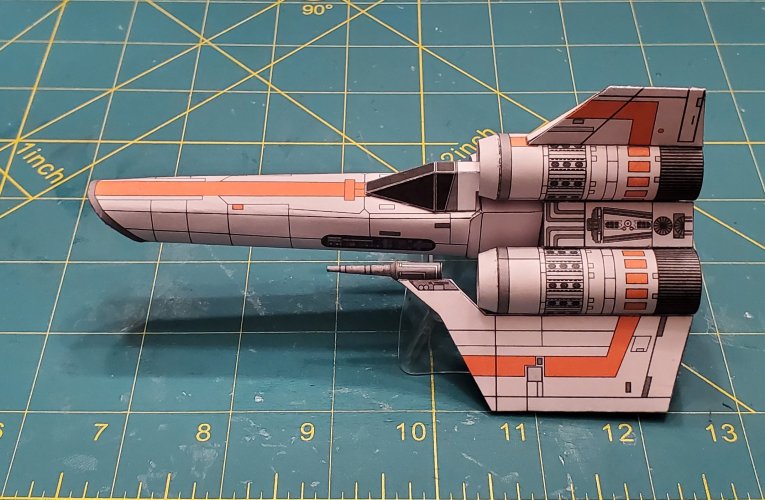
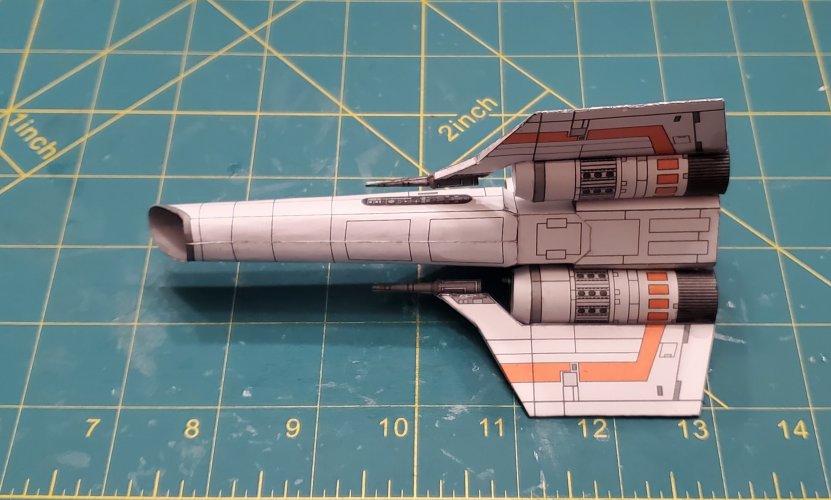
I have both models and decided that the texture needed a serious upgrade. With the help of @Revell-Fan, I repainted (and retextured) the template. I also added a few parts to make it look a little more "realistic", but still keep the template simple and easy to build.
Once I am finished building this model, I plan to make an instruction sheet for this new template and uploading it to the RESOURCE SECTION.
*NOTE* For this build, I have printed this template twice (Each 8x11 (letter size) page has a parts sheet printed twice on it), so that I have extra parts, just in case I make a mistake. No, I am not greebling this build.
This purpose of this build thread is to introduce the template and show what all I have done to change it.
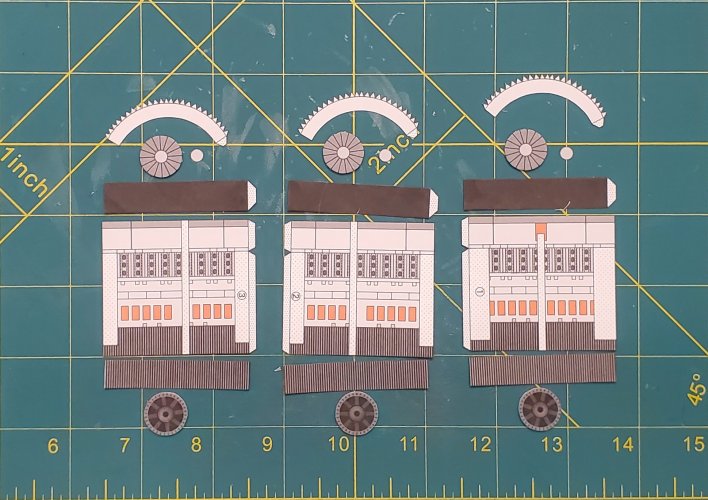
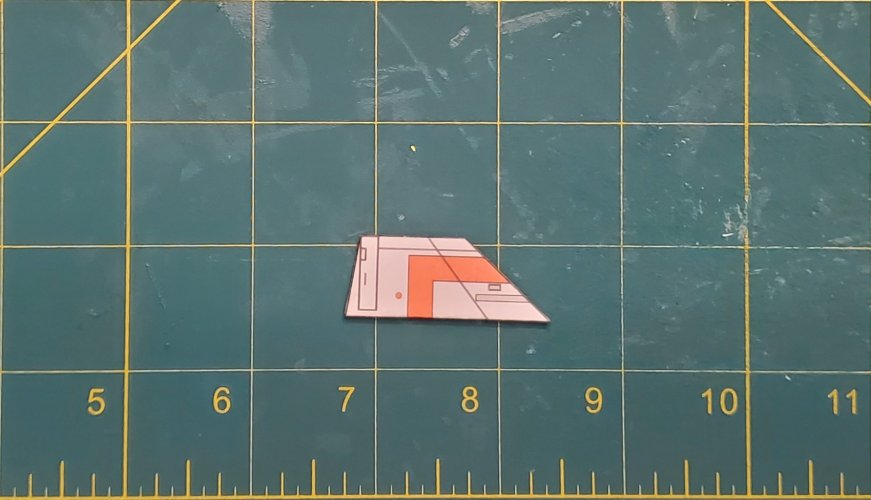
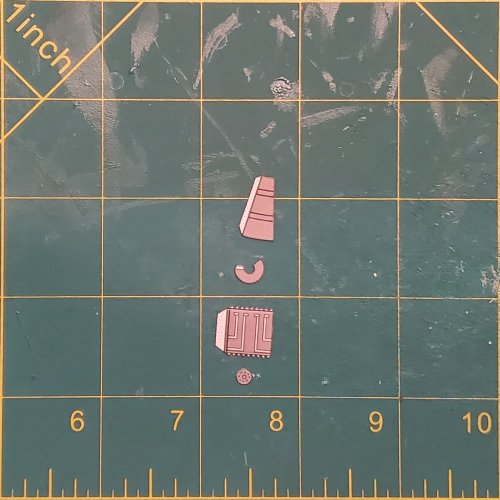
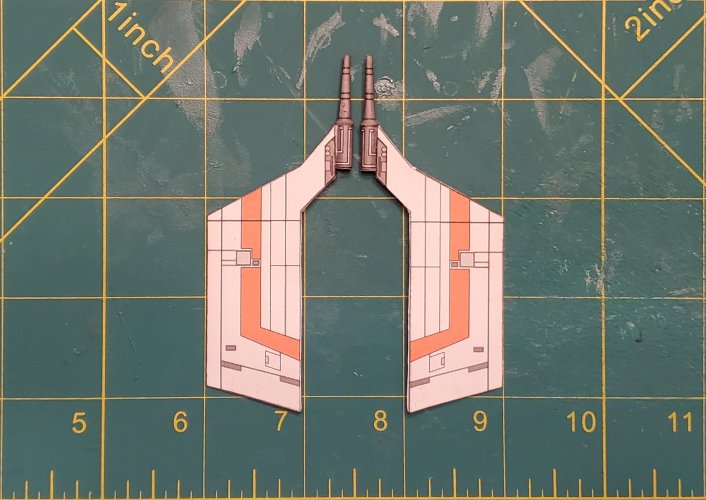
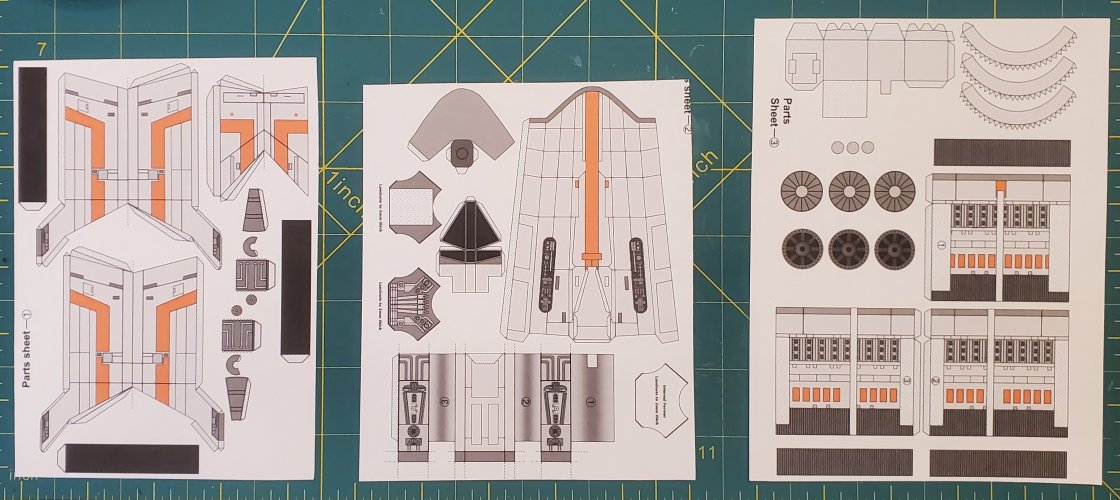
Here are the parts sheets.
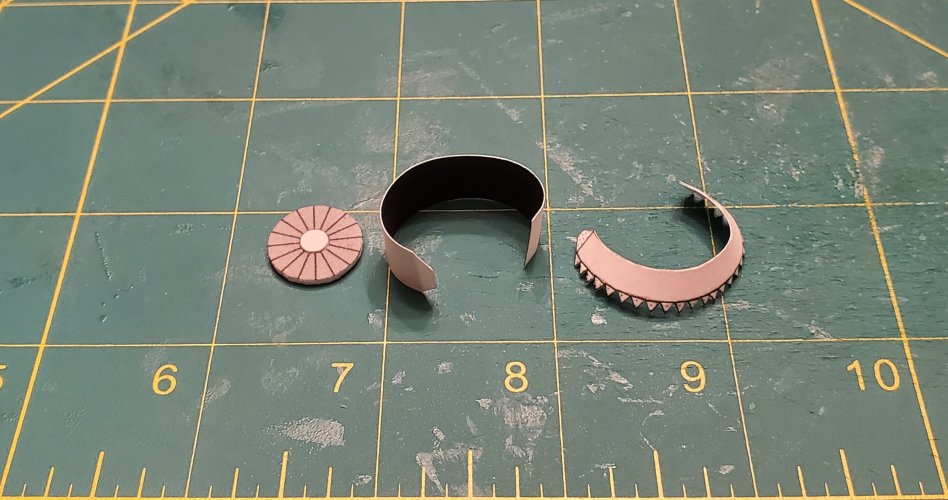
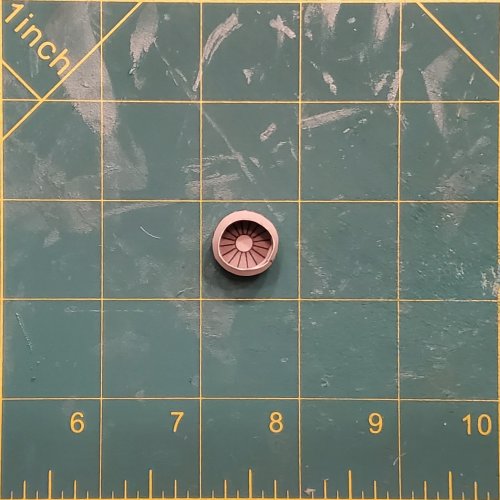
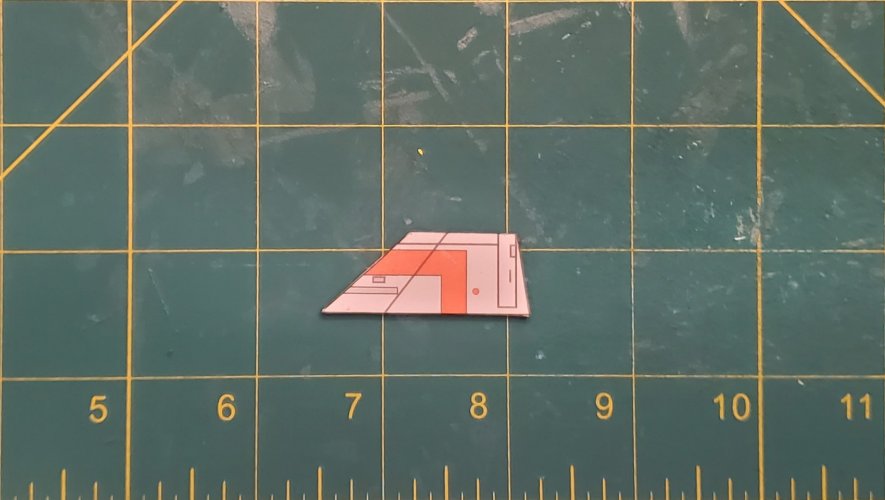
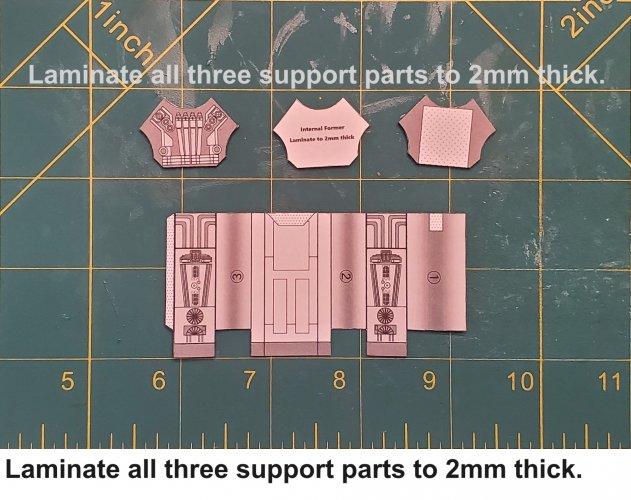
I start with the engine mounting block. I have added a supports former to be placed in the center.
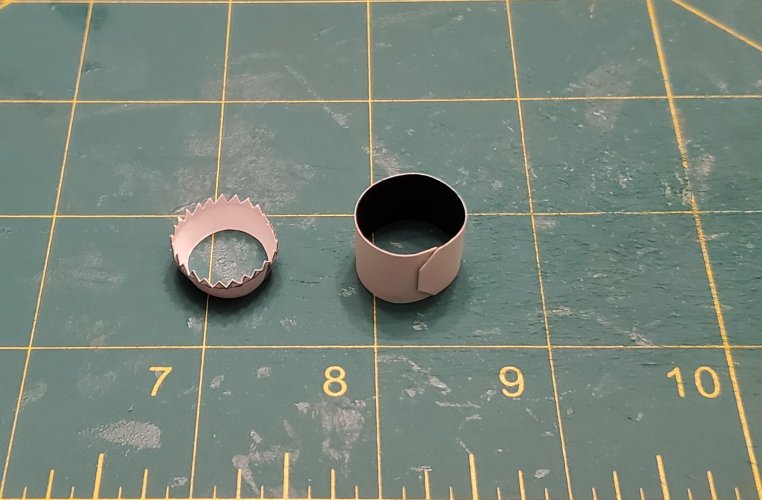
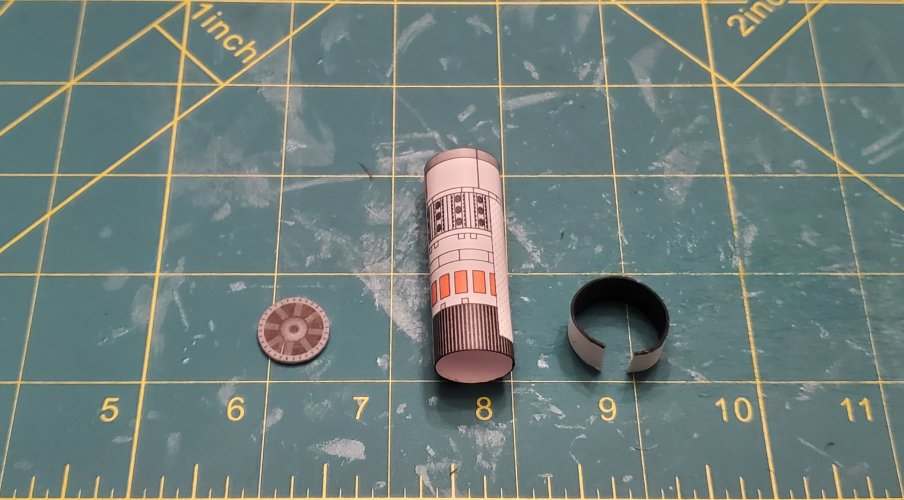
I attach the support pieces to the skin.
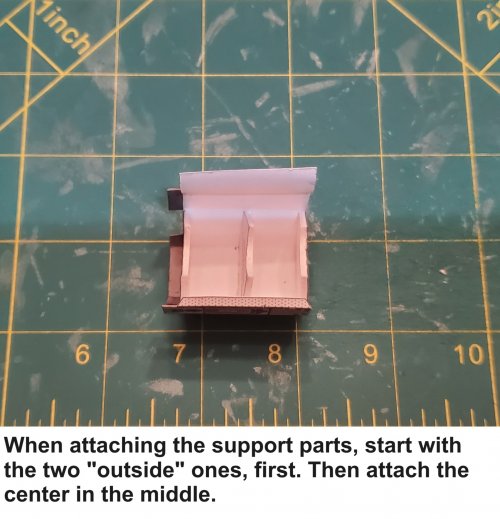
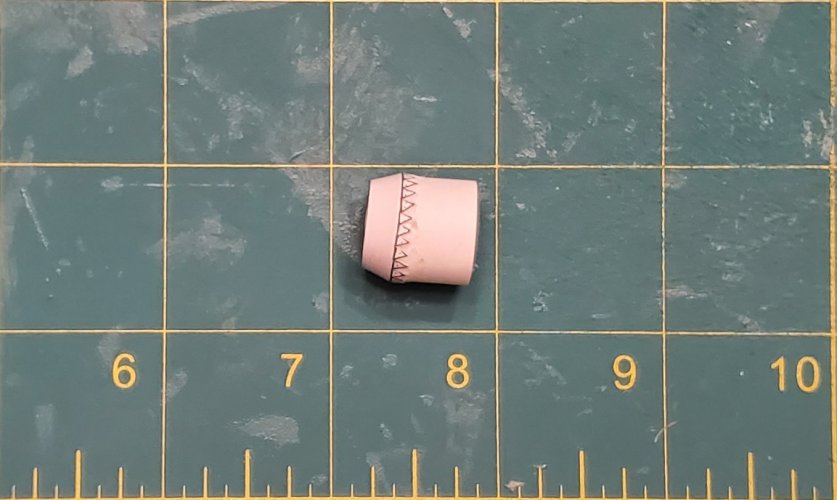
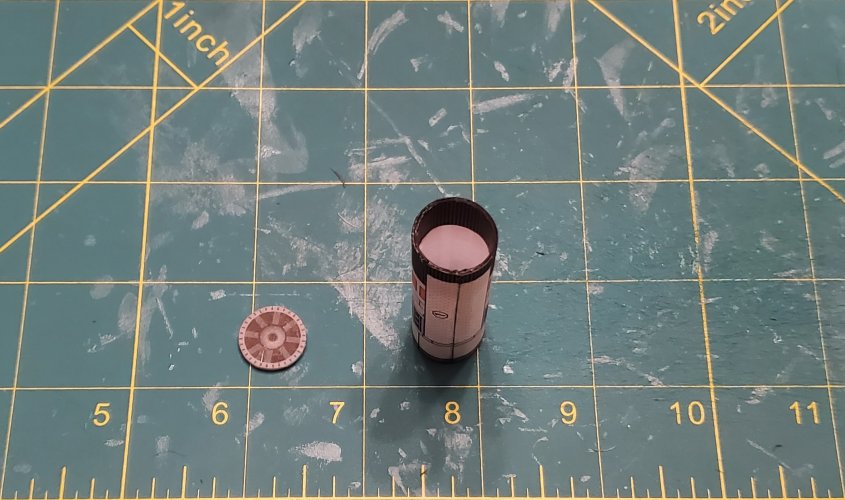
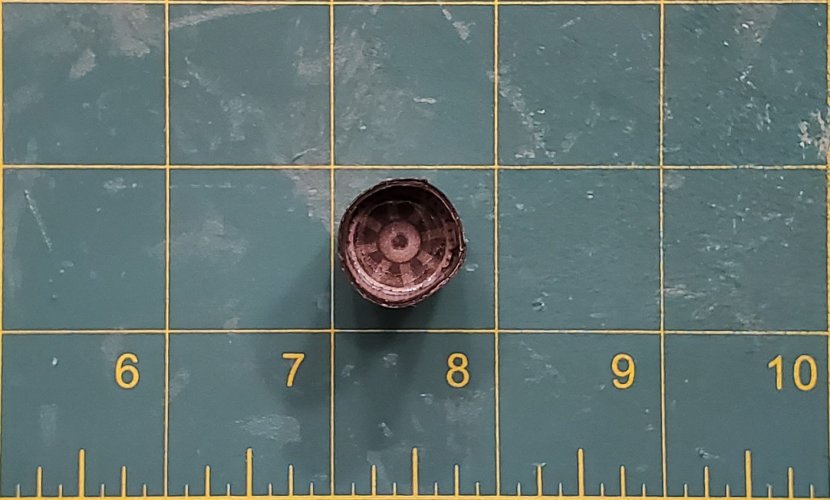
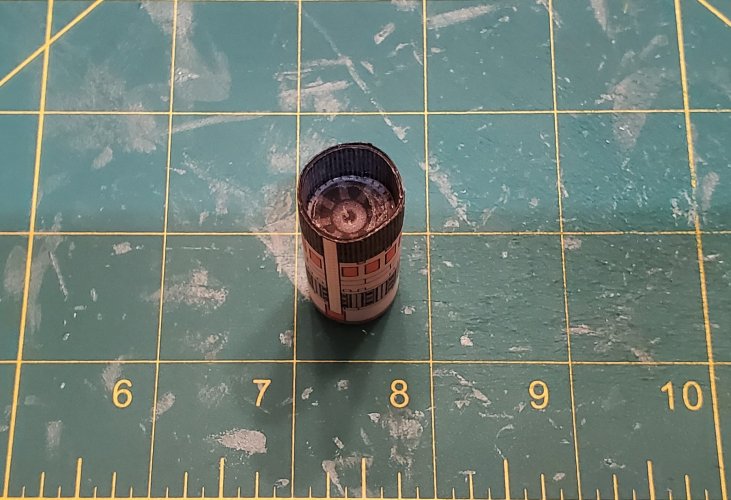
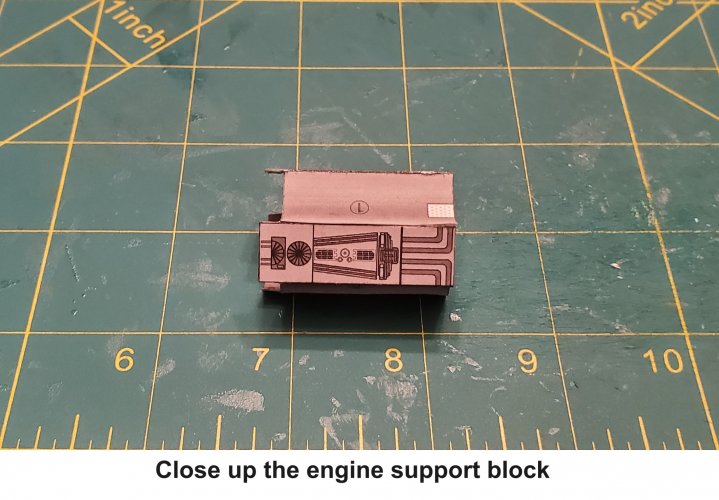
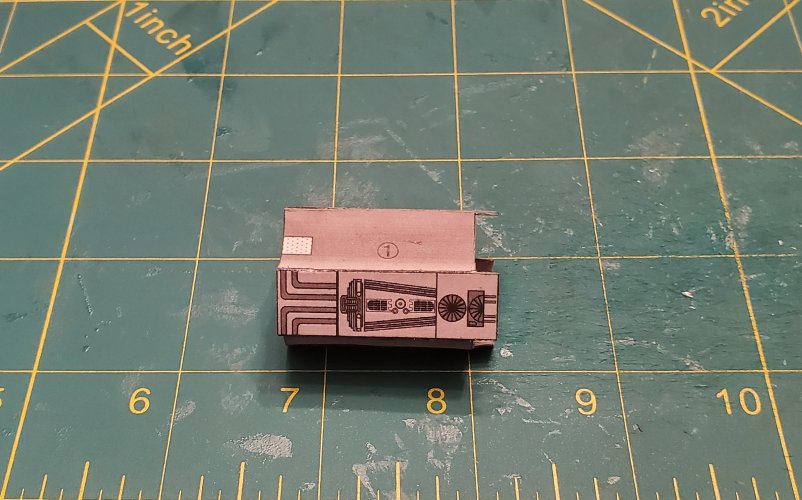
The engine mounting block is assembled.
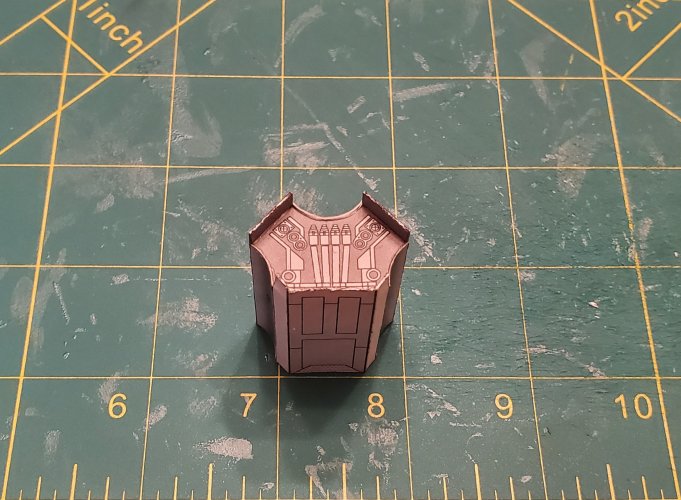
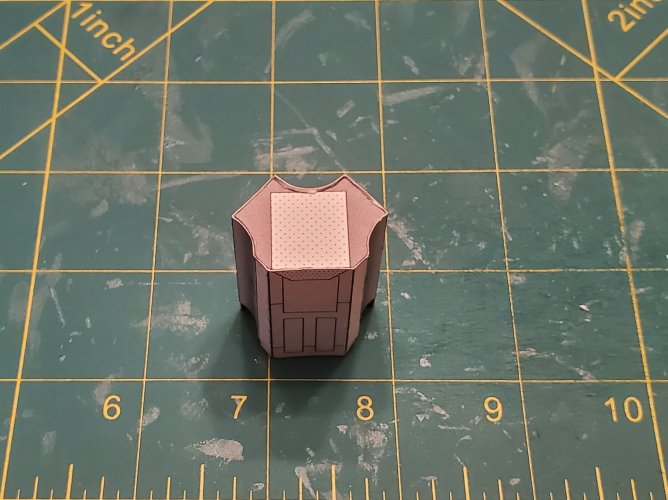
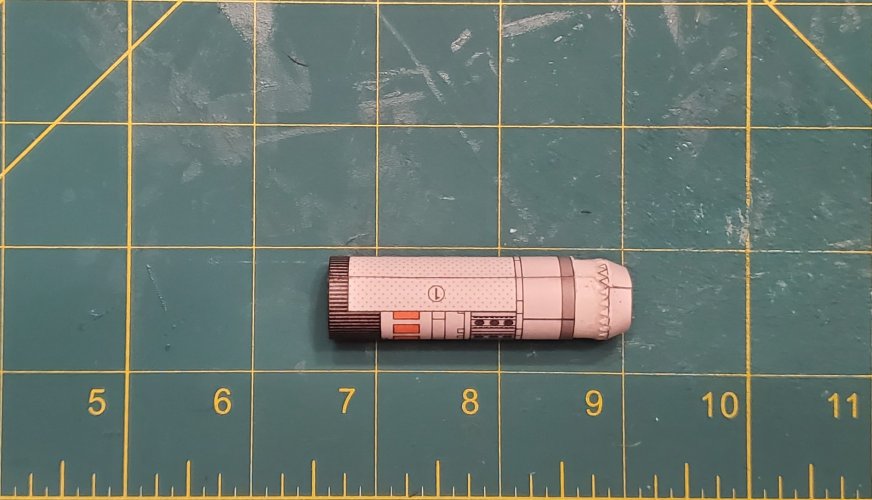
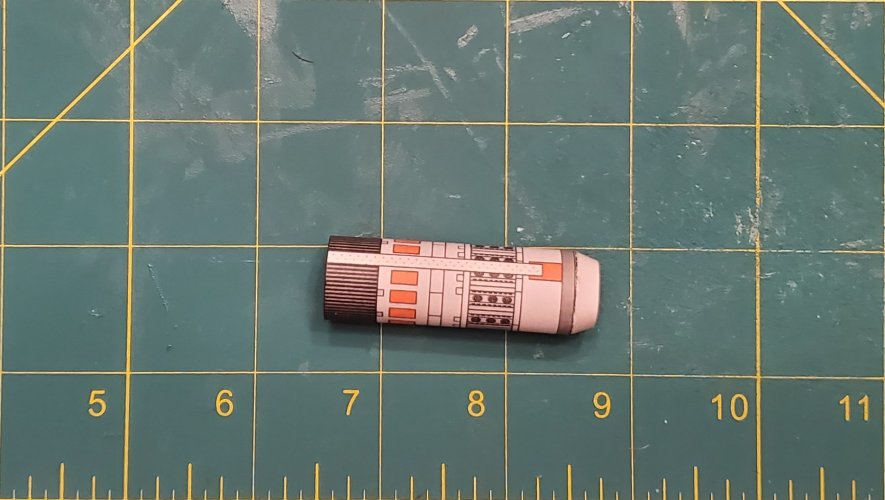
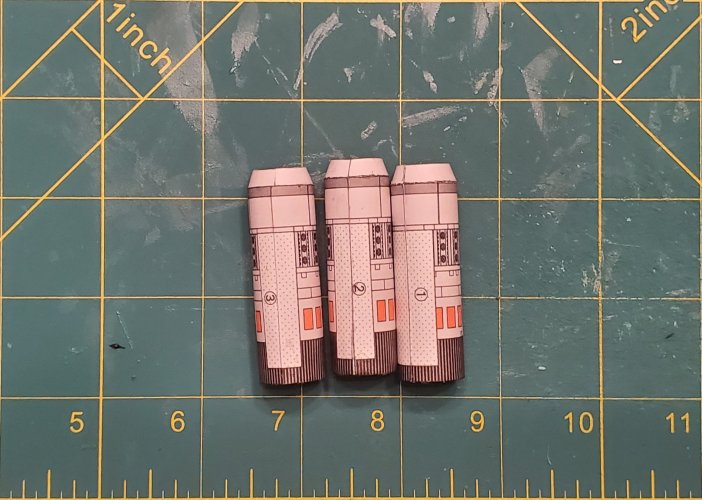
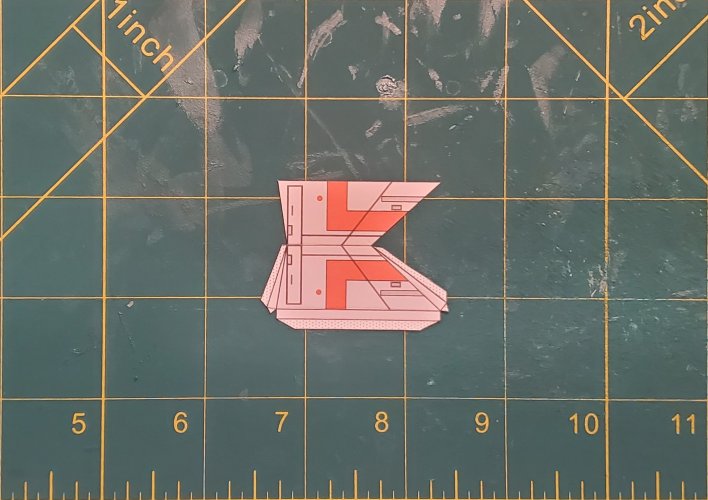
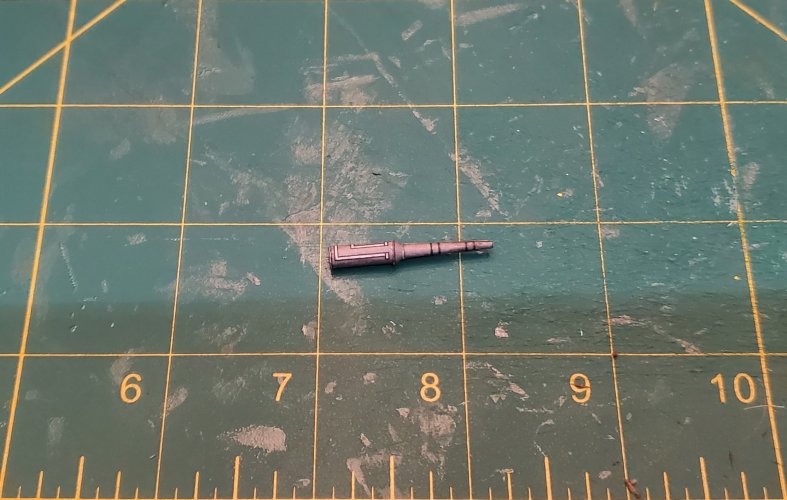
I assemble the fuselage.
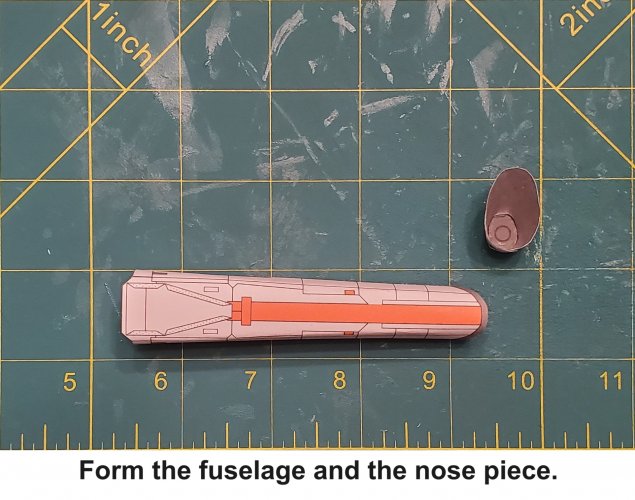
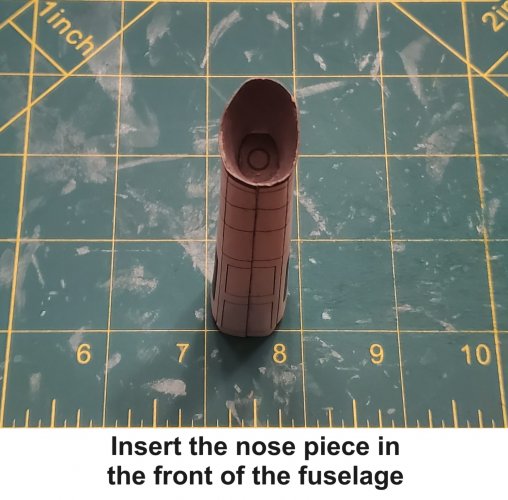
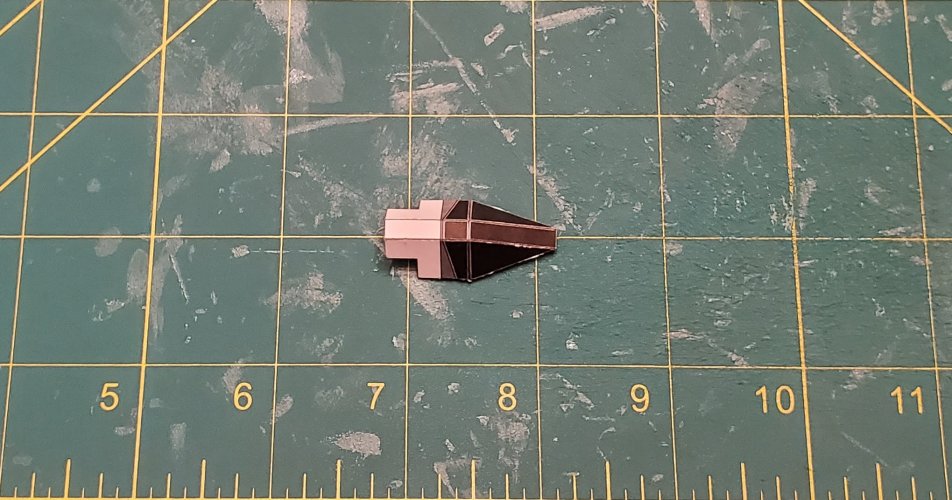
This is the box that connects the fuselage and engine mounting clock together.
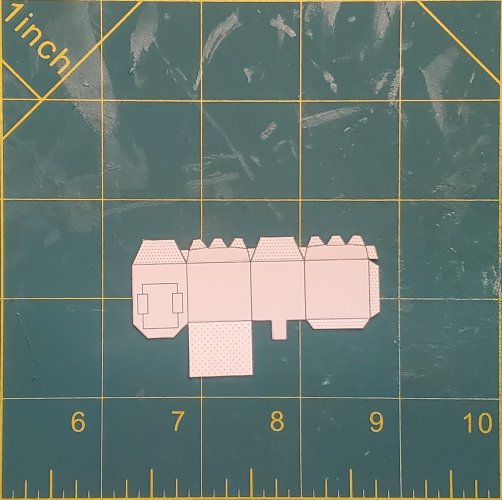
I assemble the box (but do not close it up yet).
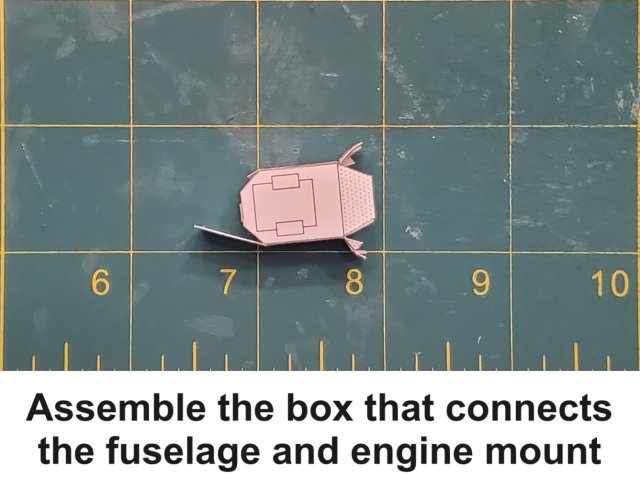
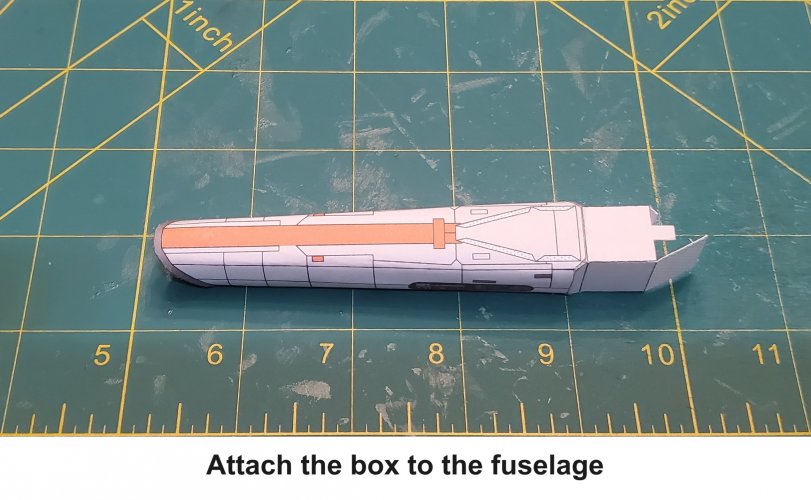
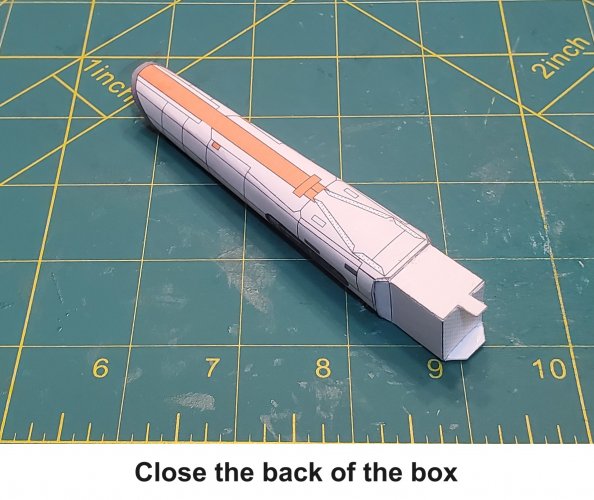
I attached the box to the fuselage.
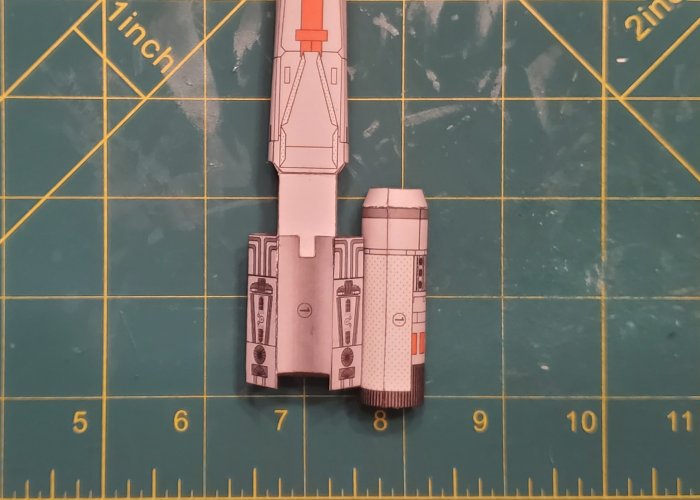
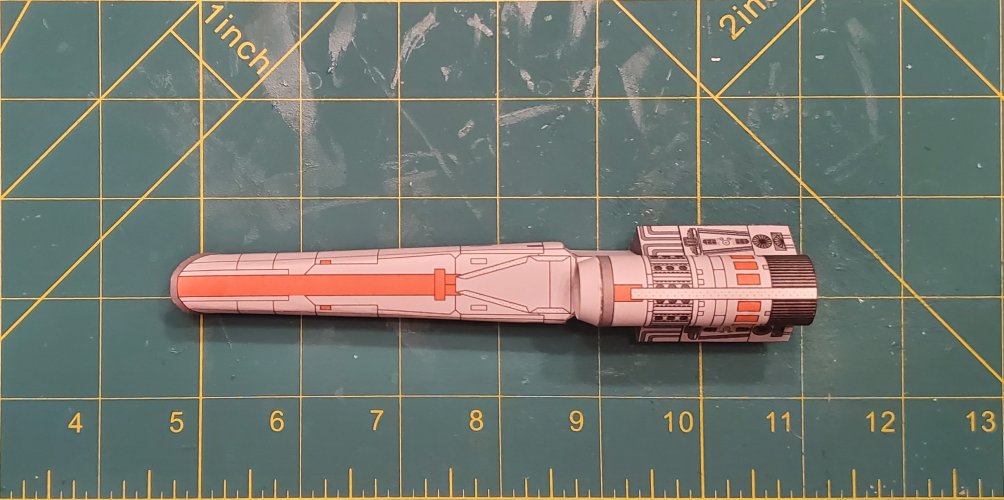
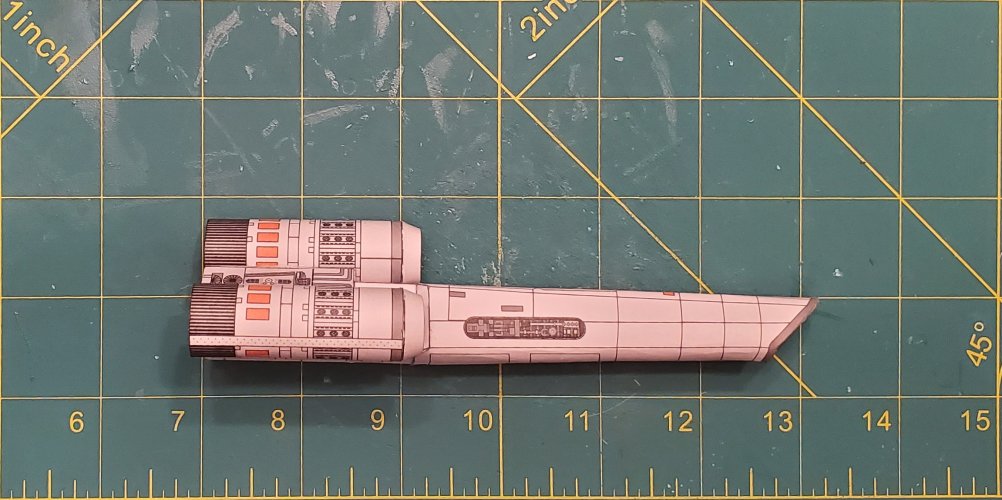
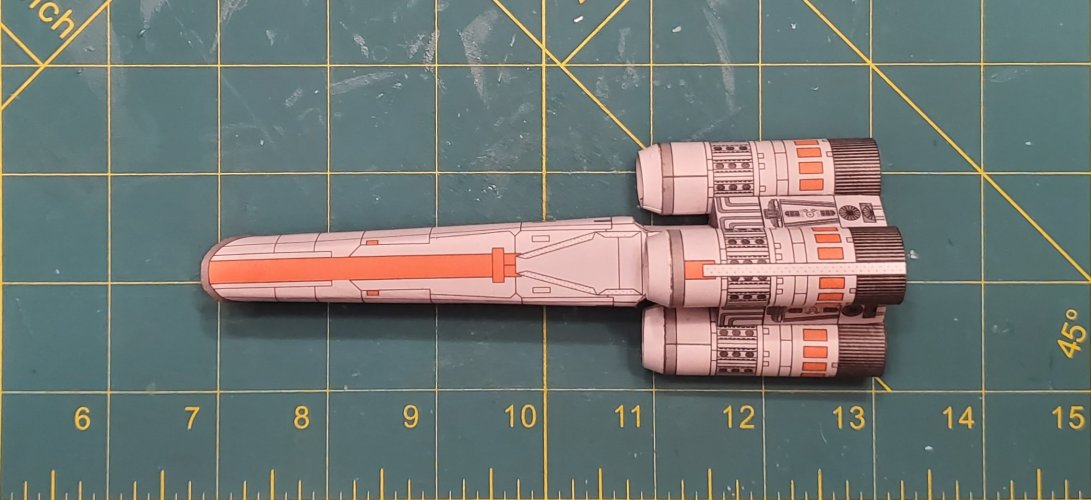
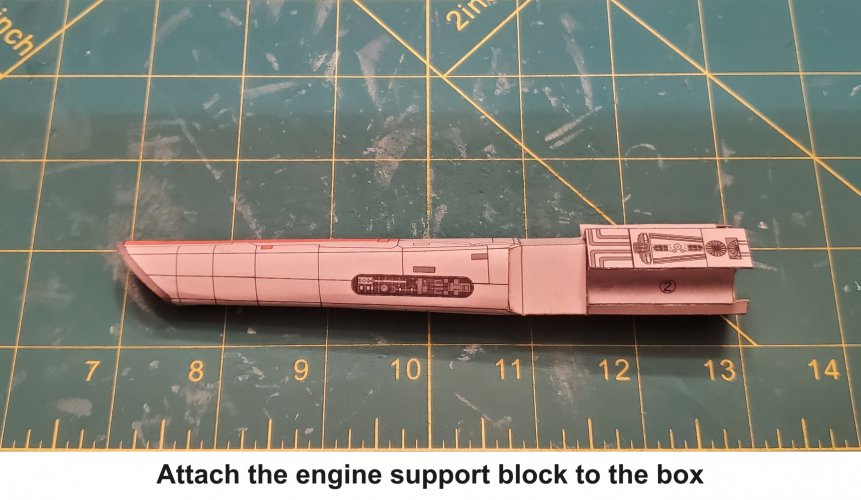
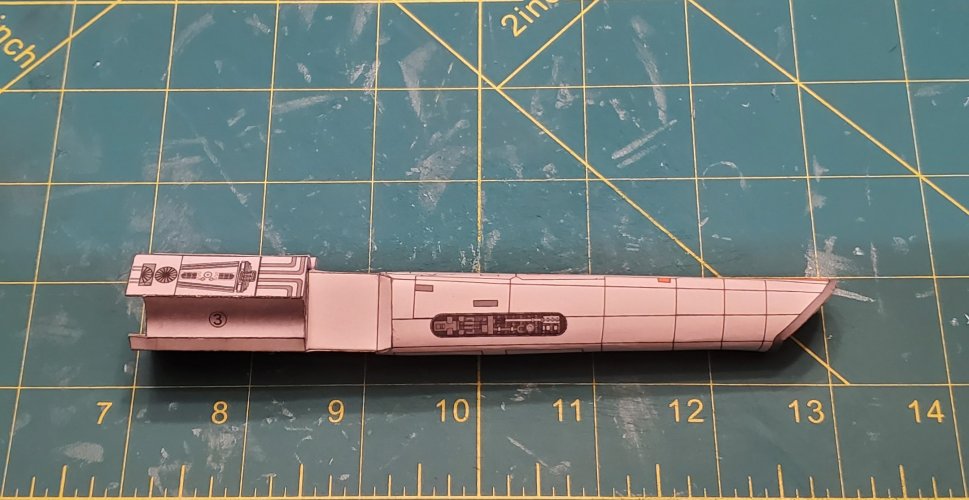
I attached the engine mounting block to the box.
Please stay tuned in to your local Colonial Broadcast Network for further updates and they happen.
I have both models and decided that the texture needed a serious upgrade. With the help of @Revell-Fan, I repainted (and retextured) the template. I also added a few parts to make it look a little more "realistic", but still keep the template simple and easy to build.
Once I am finished building this model, I plan to make an instruction sheet for this new template and uploading it to the RESOURCE SECTION.
*NOTE* For this build, I have printed this template twice (Each 8x11 (letter size) page has a parts sheet printed twice on it), so that I have extra parts, just in case I make a mistake. No, I am not greebling this build.
This purpose of this build thread is to introduce the template and show what all I have done to change it.
Here are the parts sheets.

I start with the engine mounting block. I have added a supports former to be placed in the center.

I attach the support pieces to the skin.

The engine mounting block is assembled.


I assemble the fuselage.


This is the box that connects the fuselage and engine mounting clock together.

I assemble the box (but do not close it up yet).

I attached the box to the fuselage.


I attached the engine mounting block to the box.


Please stay tuned in to your local Colonial Broadcast Network for further updates and they happen.
Last edited:


