

This is the Portal Tutorial project which is entirely the work of fellow Gauger Shaywen. She designed, built and documented the 2 Portals shown in the following pictures. This tutorial is on our web site and wasn't posted to the Gauge because she didn't think it was that useful. I guess if any one likes it or has questions I'll have to get her to show up here more often. Yes I did get permission to post the tutorial here.
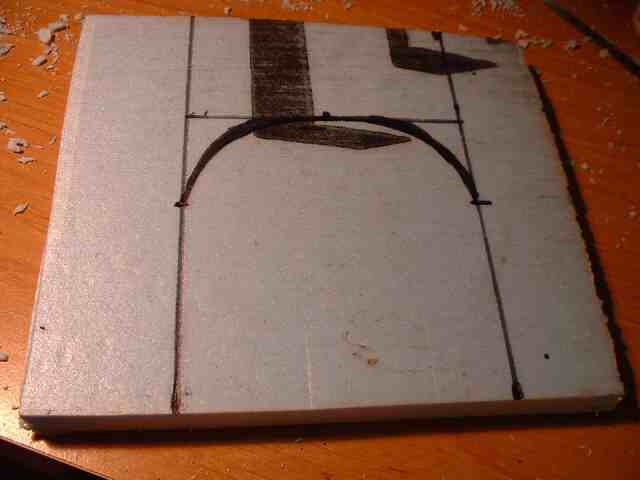
- Plan your portal opening on a piece of foam.
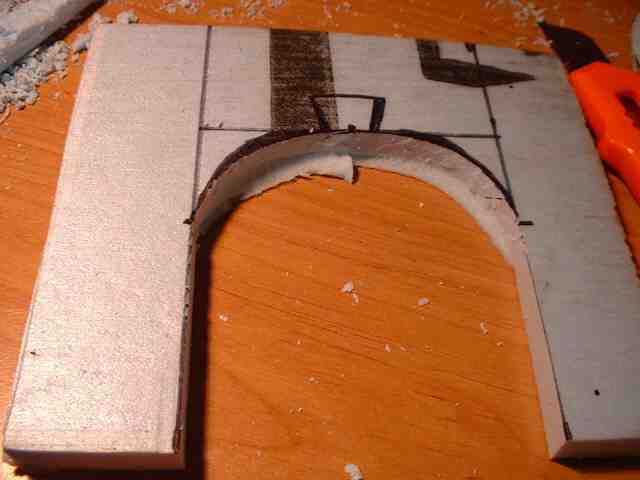
- Cut out the opening with a very sharp knife.
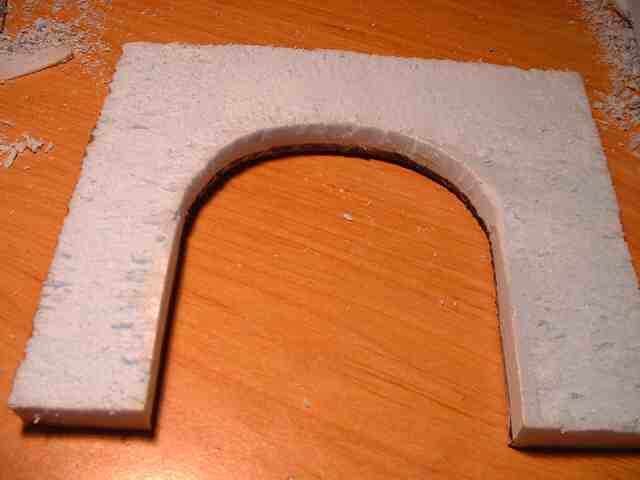
- Rough up surface of portal. This was done with a file. Get rid of the smooth outer layer.
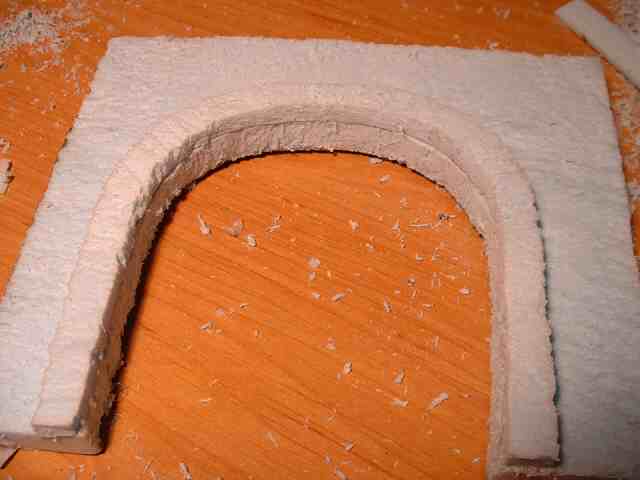
- Attach layers if needed. Hot glue works well, but don't melt the foam.
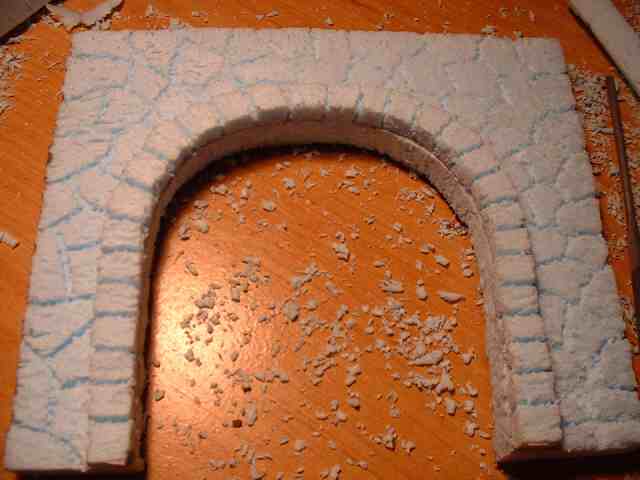
- Carve the rocks/bricks/designs/ledges/etc.
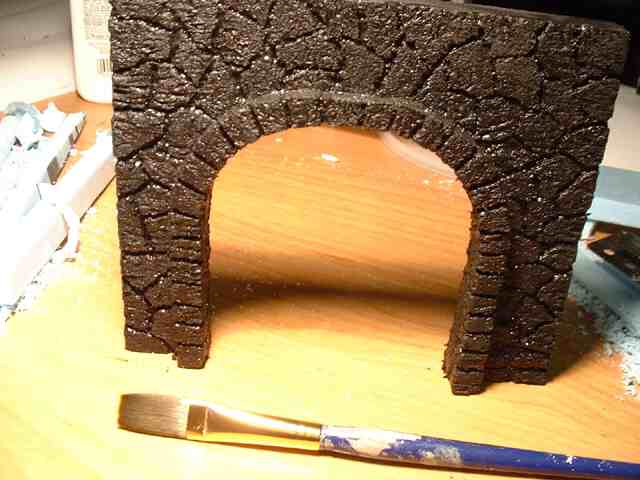
- Paint base/grout colour (black here). Work the paint into all the cracks so no foam shows.
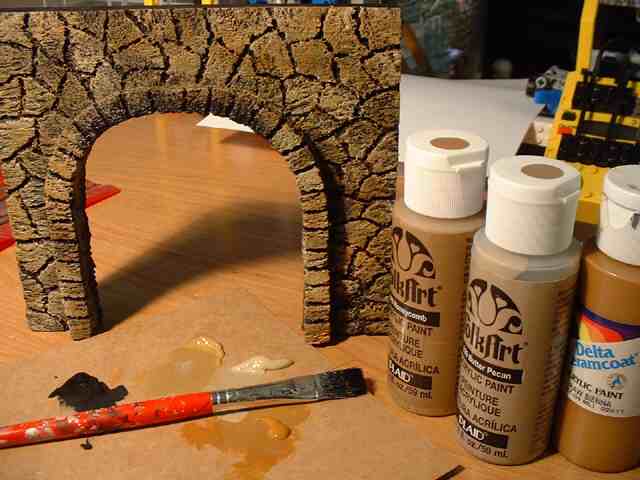
- Drybrush desired rock/brick colours. Add a sooty area at the top of the portal opening.
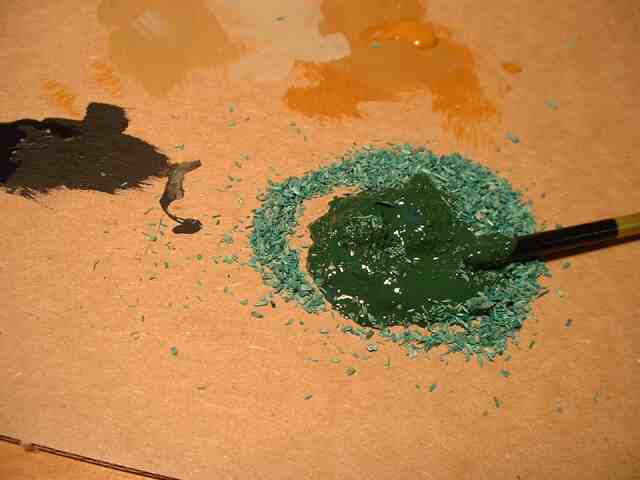
- Mix green paint with fake grass bits.
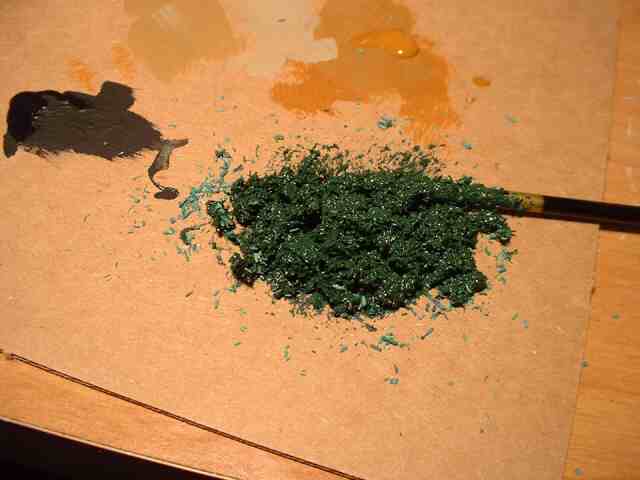
- Ivy/moss ready to apply. It'll dry hard.
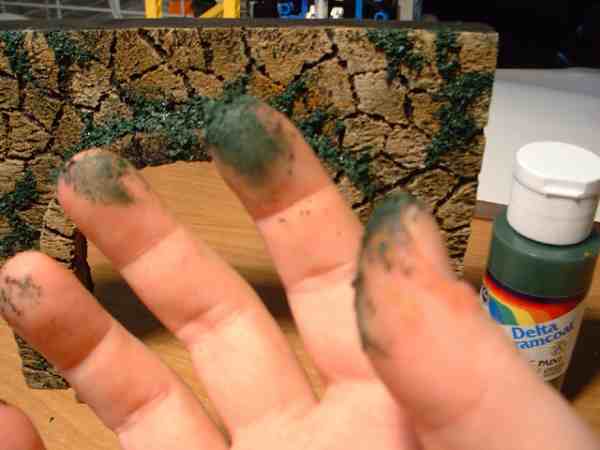
- I find it easiest to apply with fingers.
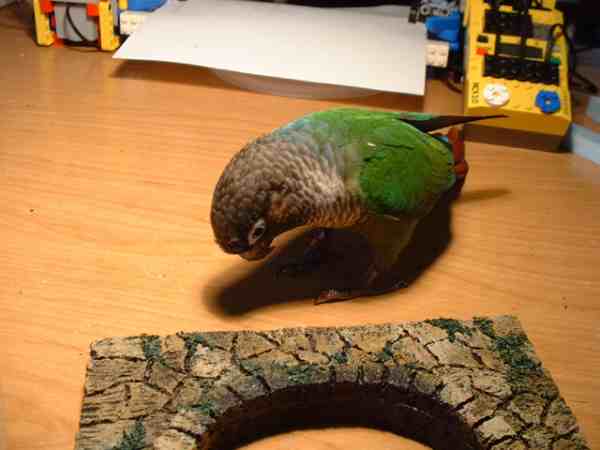
- Time for inspection while the ivy dries.

- Wash darker shadows around the ivy, and drybush lighter green highlights.
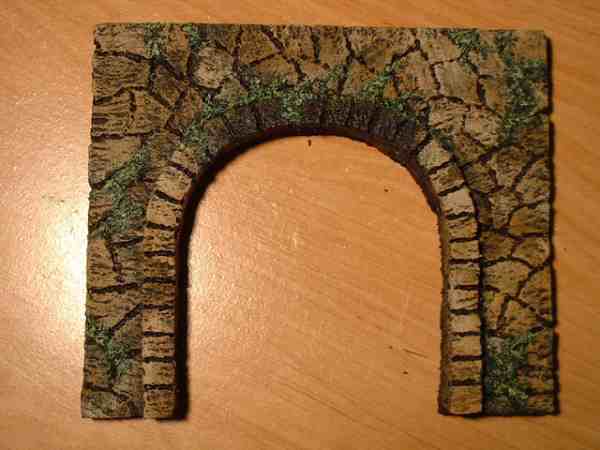
- It's a new portal!

- Put it on the layout and run trains through it.
(Edited to resize and compress images for faster loading)
- Plan your portal opening on a piece of foam.
- Cut out the opening with a very sharp knife.
- Rough up surface of portal. This was done with a file. Get rid of the smooth outer layer.
- Attach layers if needed. Hot glue works well, but don't melt the foam.
- Carve the rocks/bricks/designs/ledges/etc.
- Paint base/grout colour (black here). Work the paint into all the cracks so no foam shows.
- Drybrush desired rock/brick colours. Add a sooty area at the top of the portal opening.
- Mix green paint with fake grass bits.
- Ivy/moss ready to apply. It'll dry hard.
- I find it easiest to apply with fingers.
- Time for inspection while the ivy dries.
- Wash darker shadows around the ivy, and drybush lighter green highlights.
- It's a new portal!
- Put it on the layout and run trains through it.
(Edited to resize and compress images for faster loading)


