P
Padre
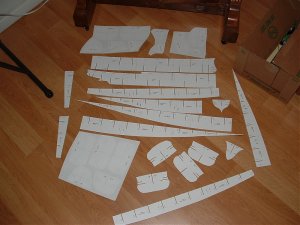
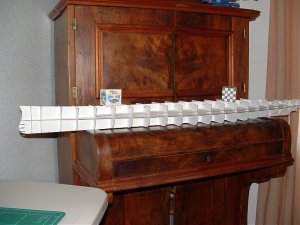
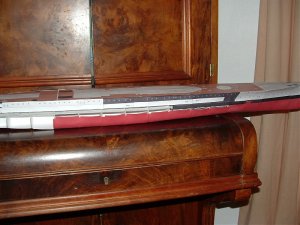
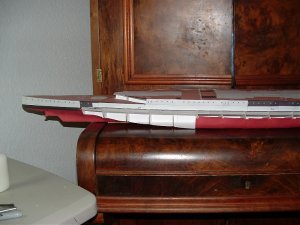
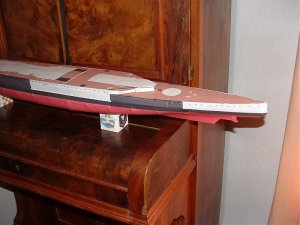
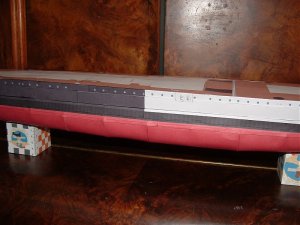
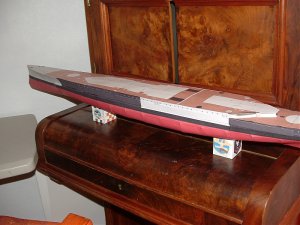
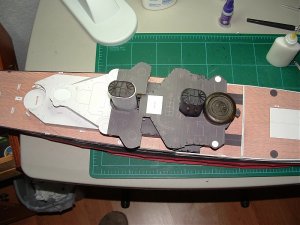
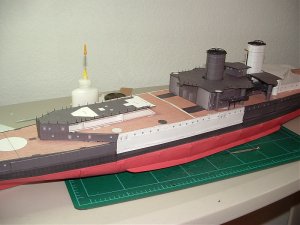
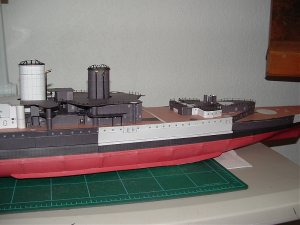
Beginning of the build of the HMS Repulse From GreMir. It is bigger than I thought, Have to find room for it when I am done!.
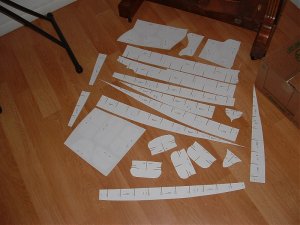
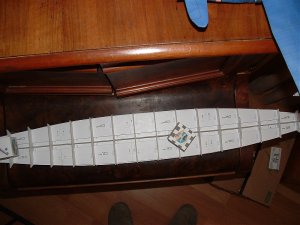
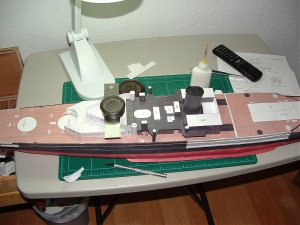
After laminating to thick card I am in the process of cutting out the frames.
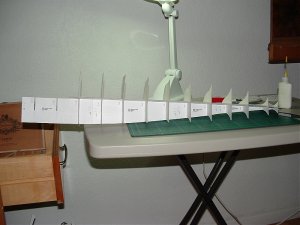
HMS Repulse
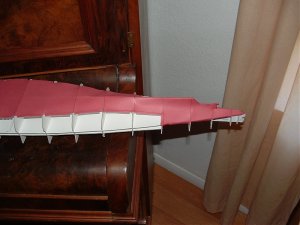
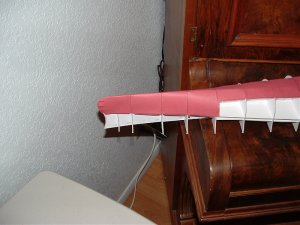
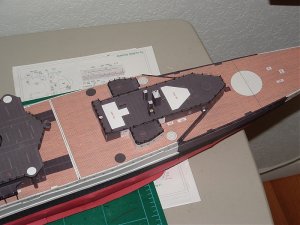
After laminating to thick card I am in the process of cutting out the frames.
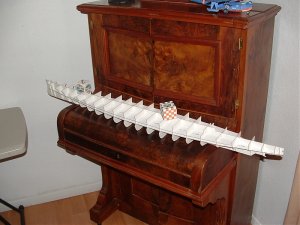
HMS Repulse