OK...In keeping with the spirit of this challenge I have started my build and have some pics to show for it...
A few words about the "kit"...I say kit, but it's a misnomer...It's more like a scratchbuild, without having to go hunting for the materials. It's a MUIR kit, probably from the mid-60's, of a coal dealer. What you get in this "kit" is all the materials you'll need to complete the structure. With the exception of the windows, everything else has to be cut out, cut to size, fitted, assembled and painted....As I mentioned to Don, some of the materials were missing, but I was fortunate to find the same size materials that were missing at Michaels..!! So, without further jabbering...here it goes...
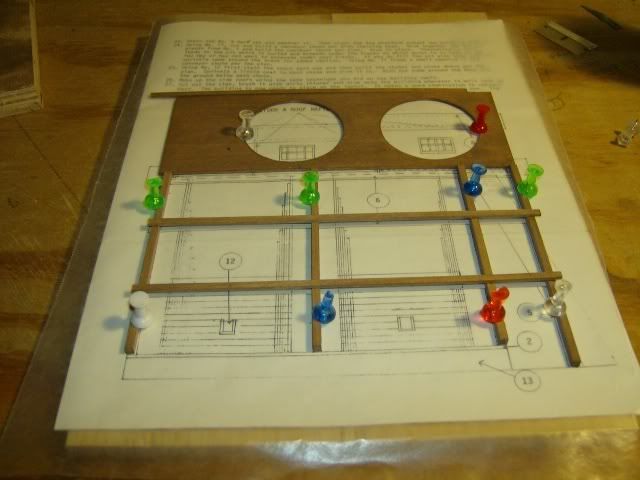
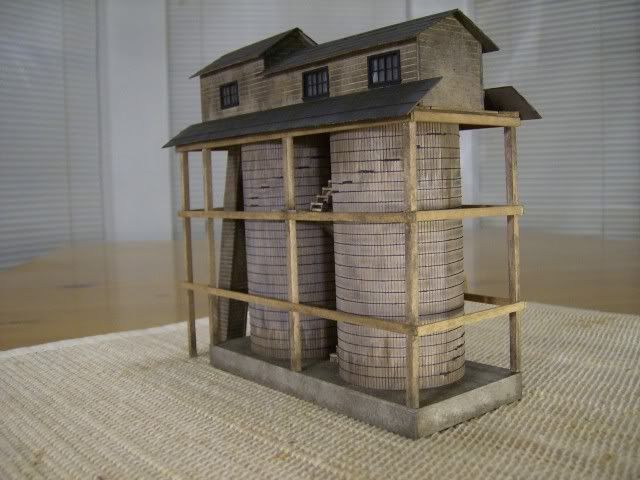
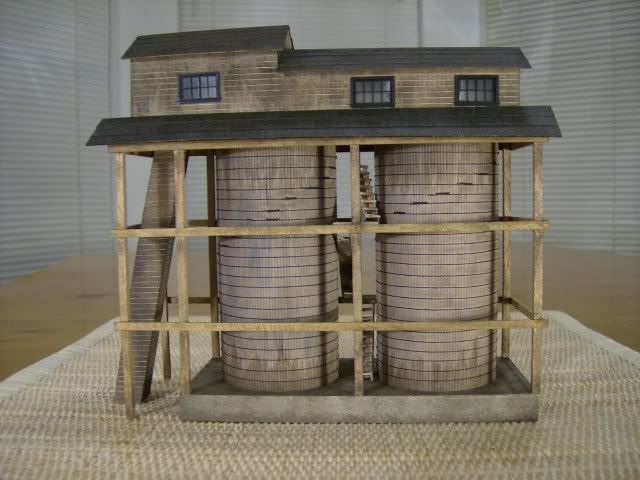
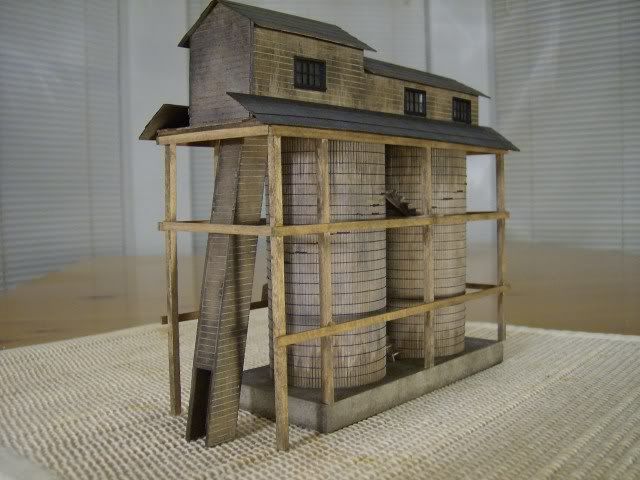
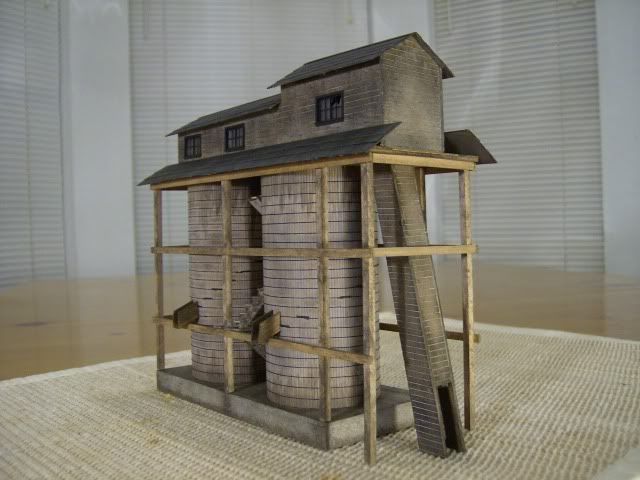
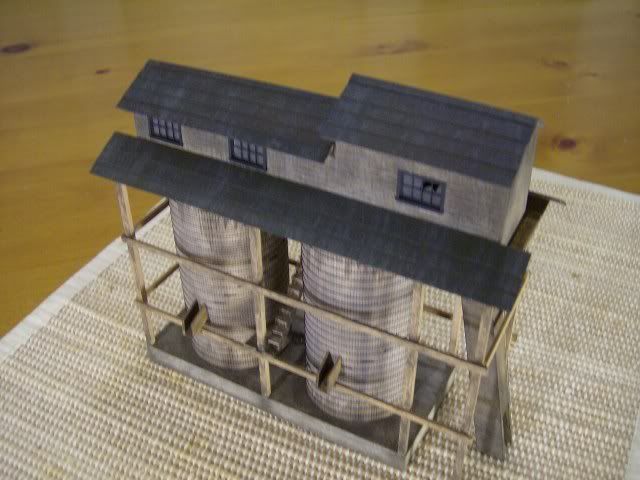
The first pic is of the structure as it will look when finished. It's off the instruction sheet.
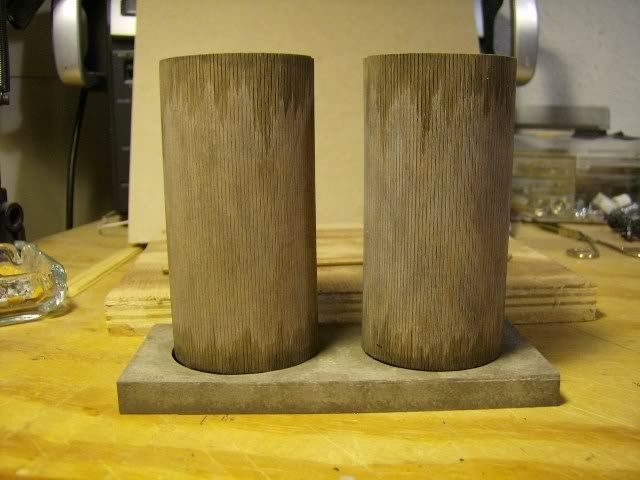
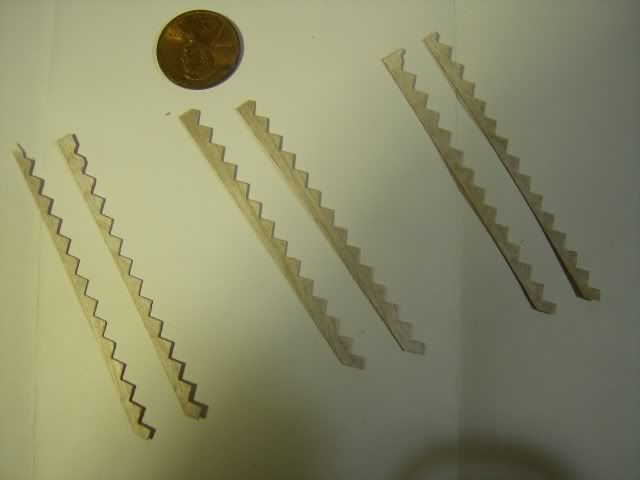
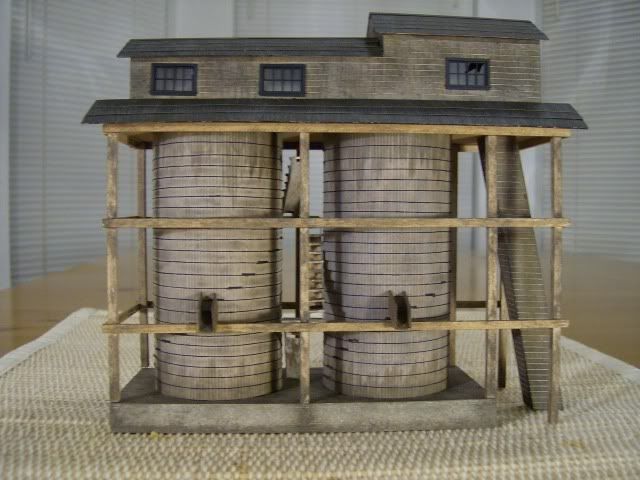
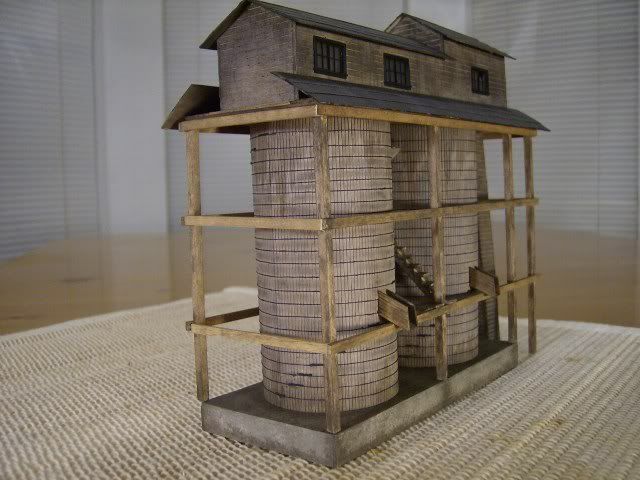
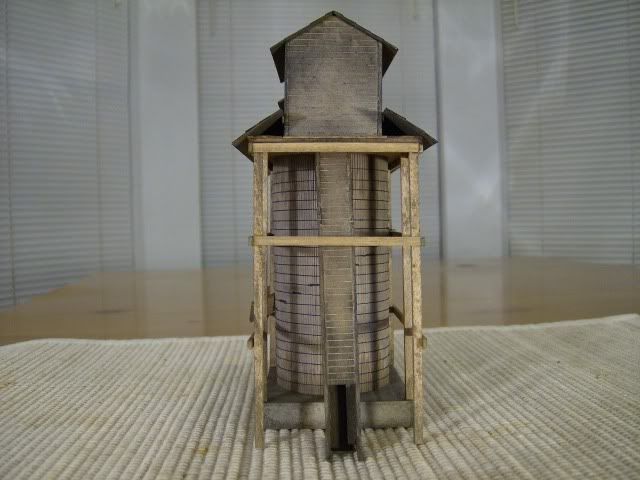
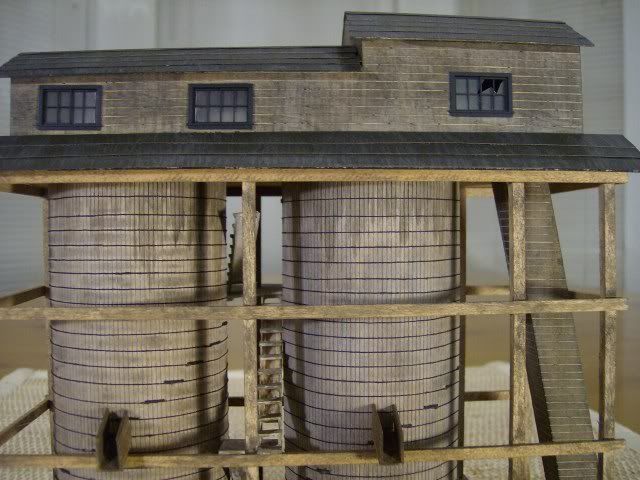
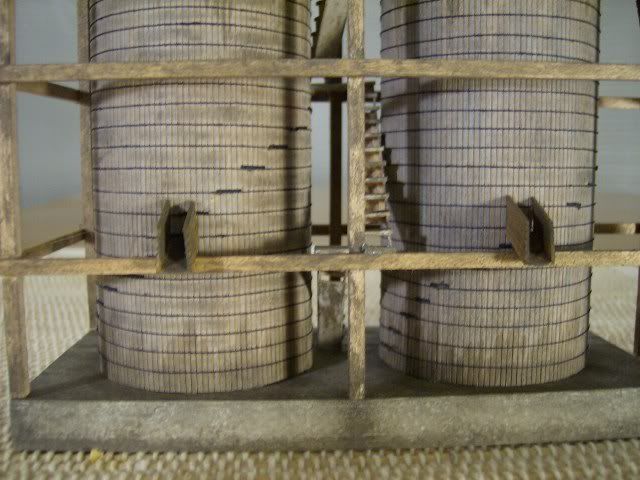
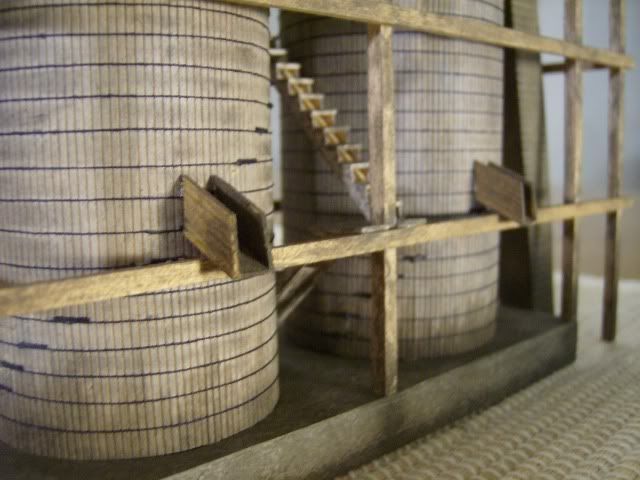
The pictures that follow are of the coal holding tanks as they are being assembled, and a picture of one finished and the other about to be "skinned". Note how I use squares to keep everything lined up so the skins will wrap around evenly and not skew as they are wrapped around the tank structure. Also, I use every sanding aid known to man...The secret to building a structure like this is to cut the pieces to a close approximate size, and then sand them to the exact size required. This will insure that everything fits nice and square.
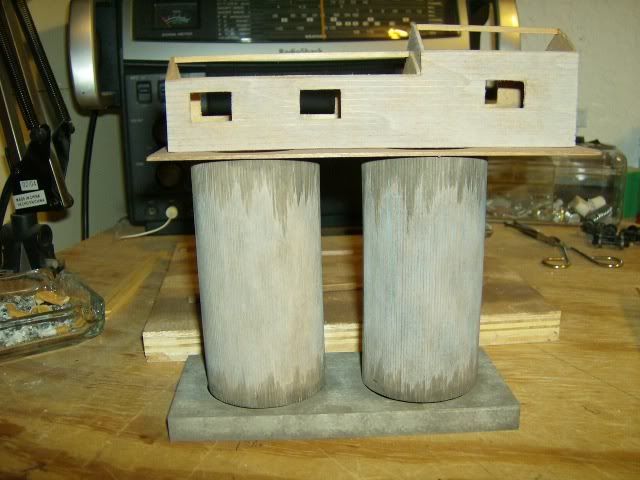
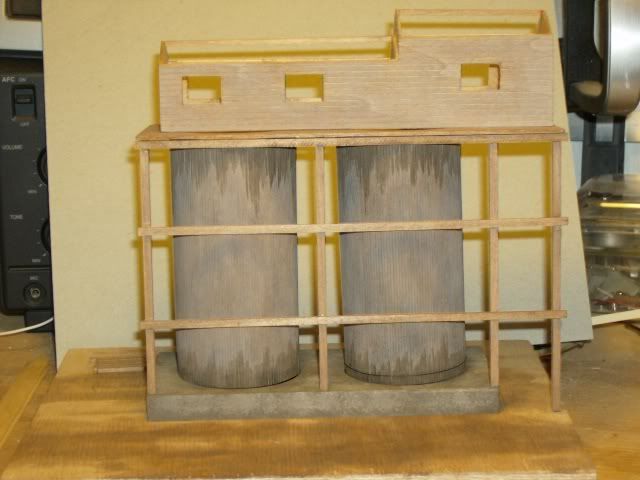
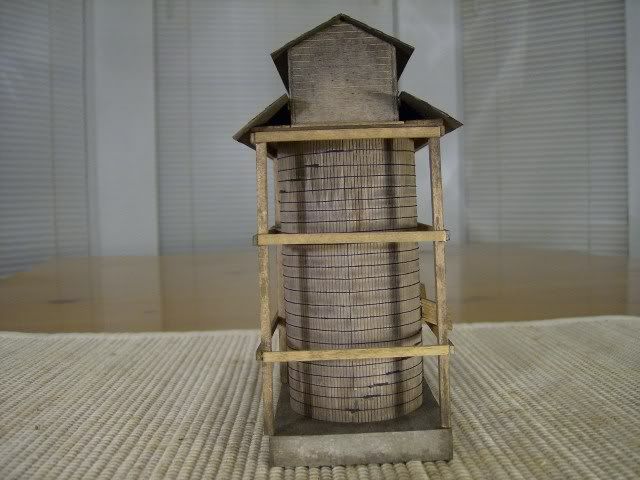
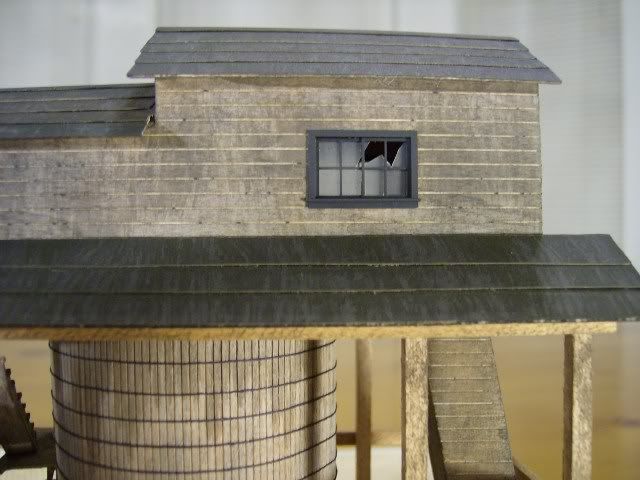
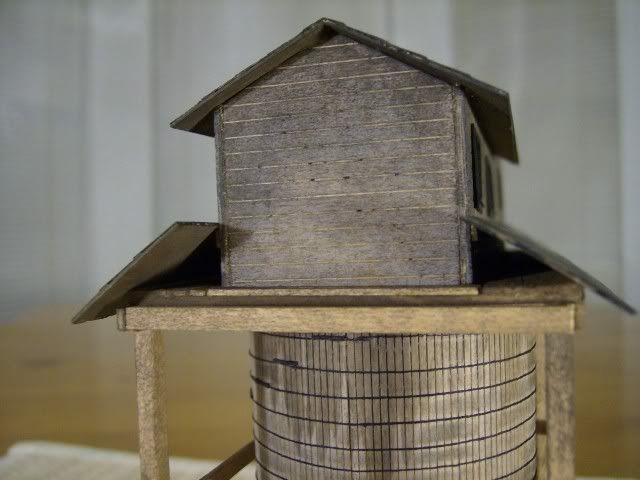
The next post is about building the structure atop the tanks.
A few words about the "kit"...I say kit, but it's a misnomer...It's more like a scratchbuild, without having to go hunting for the materials. It's a MUIR kit, probably from the mid-60's, of a coal dealer. What you get in this "kit" is all the materials you'll need to complete the structure. With the exception of the windows, everything else has to be cut out, cut to size, fitted, assembled and painted....As I mentioned to Don, some of the materials were missing, but I was fortunate to find the same size materials that were missing at Michaels..!! So, without further jabbering...here it goes...
The first pic is of the structure as it will look when finished. It's off the instruction sheet.
The pictures that follow are of the coal holding tanks as they are being assembled, and a picture of one finished and the other about to be "skinned". Note how I use squares to keep everything lined up so the skins will wrap around evenly and not skew as they are wrapped around the tank structure. Also, I use every sanding aid known to man...The secret to building a structure like this is to cut the pieces to a close approximate size, and then sand them to the exact size required. This will insure that everything fits nice and square.
The next post is about building the structure atop the tanks.