OK folks, this is gonna be a LOOONG post.
")
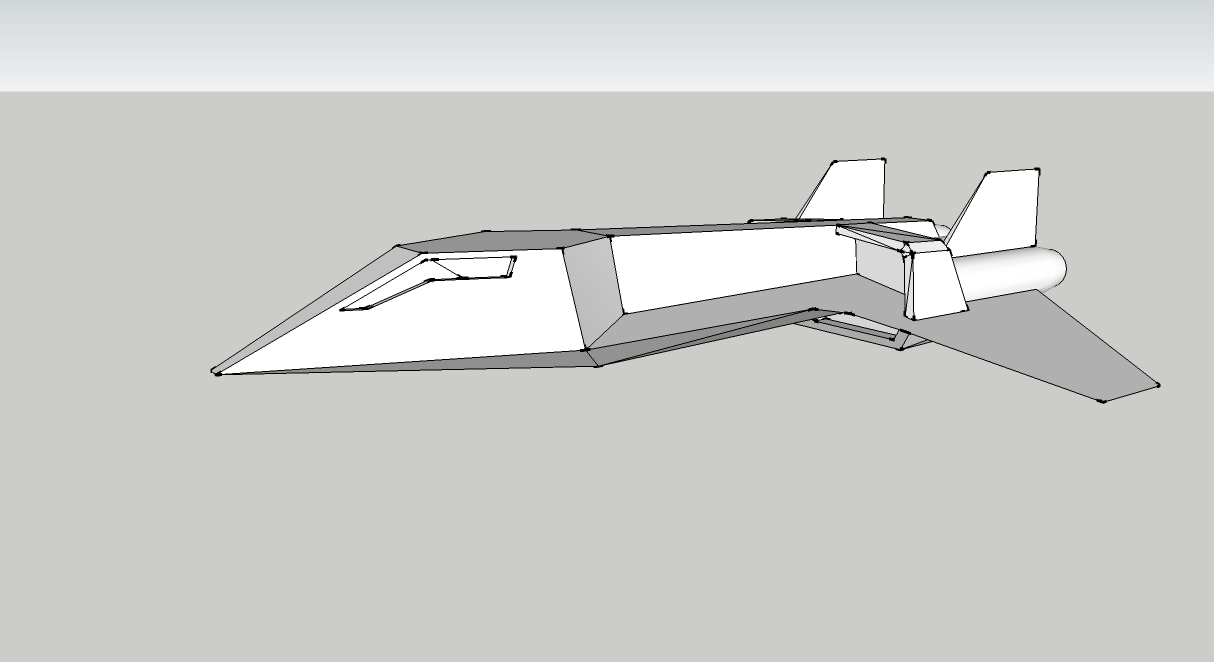
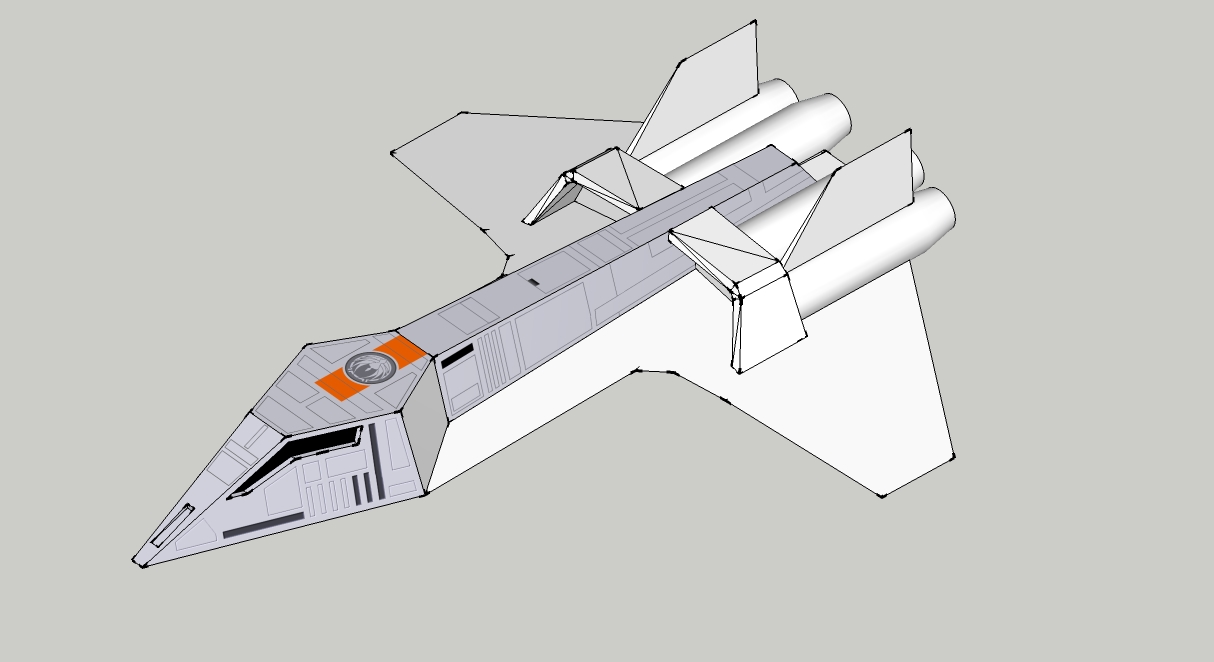
I have cleaned up the model and made some tweaks to reduce the poly count and to make assembly easier, so basically it is ready for unfolding.
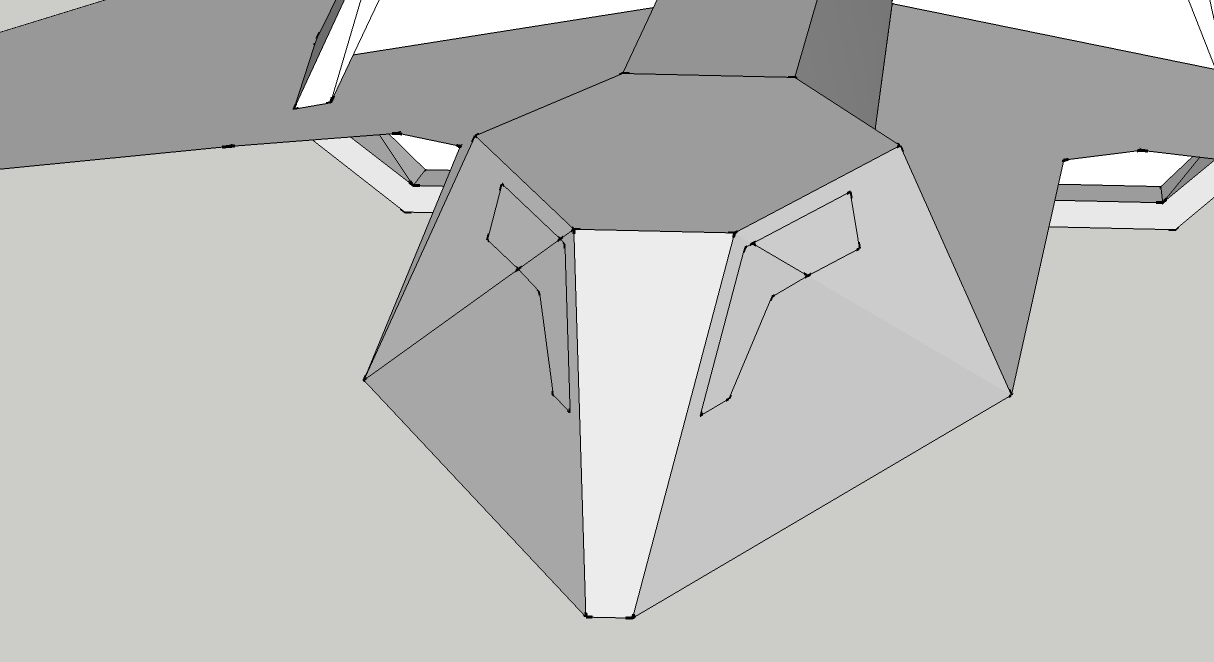
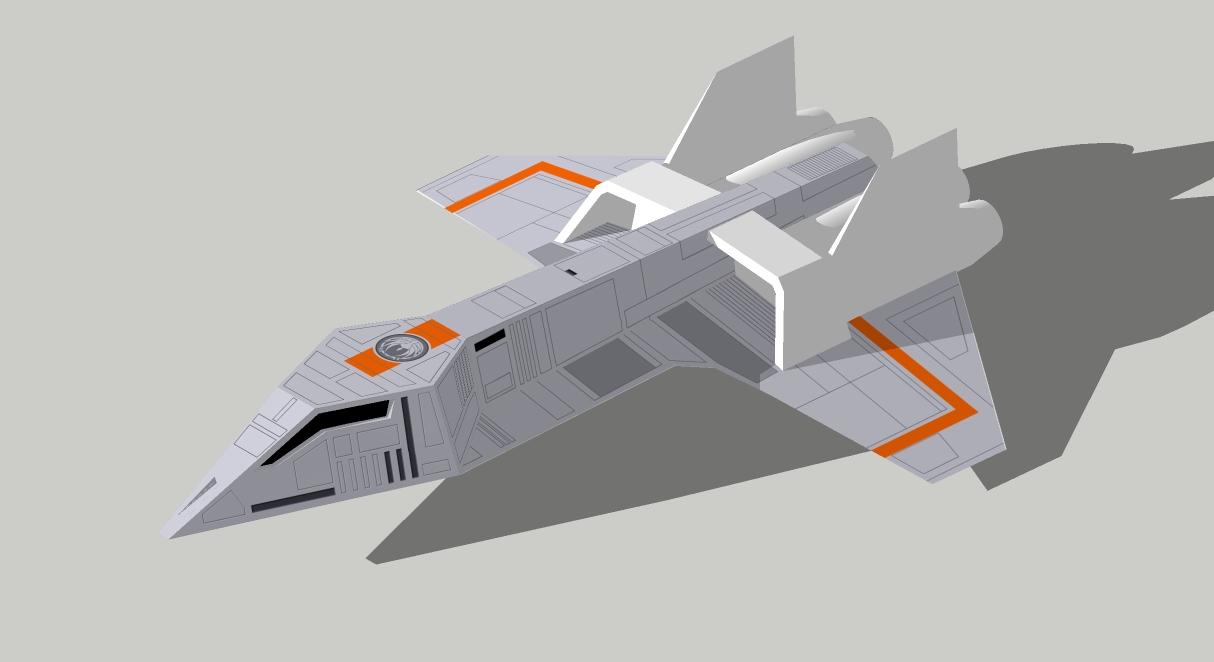
I noticed that the windows are recessed. This won't be a big problem later because this will be achieved by cutting out the windows, glueing them to a stack of matching frames and glueing these to the back side of the canopy, similar to the technique Martin used on his marvellous Thunderfighter. However, for those who are about to build a CG model in SketchUp, too, and who want to know how this is done in the CG realm I have prepared a little tut on that.
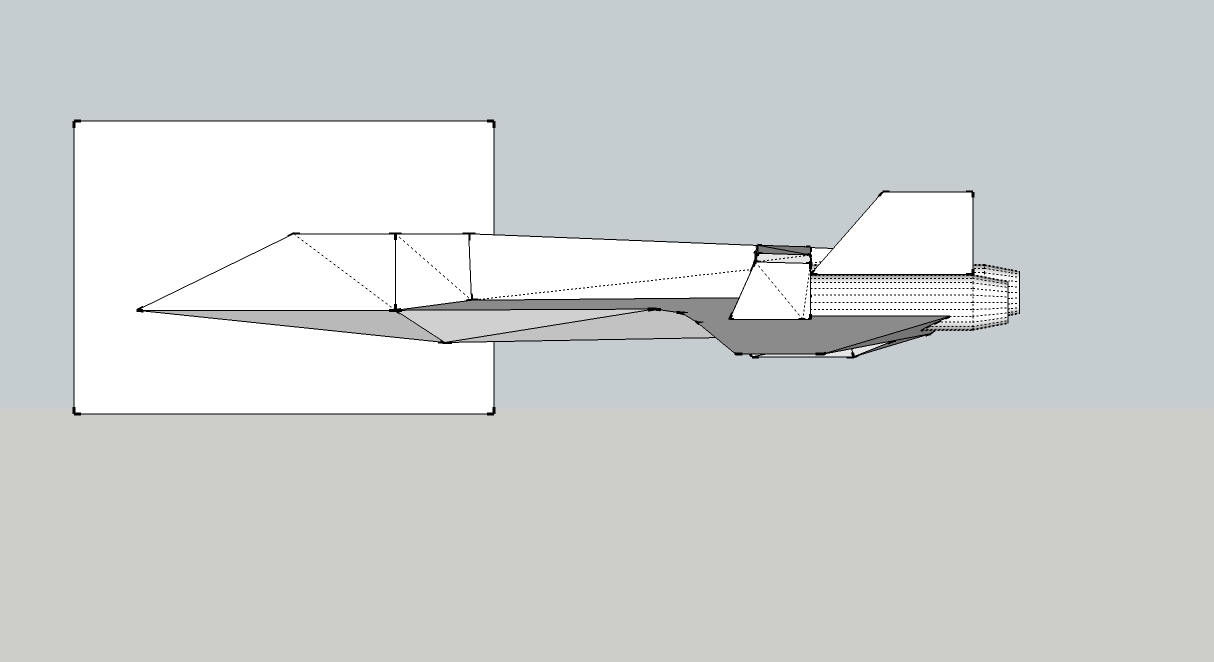
Switch to parallel view (Camera - Standard views - right):
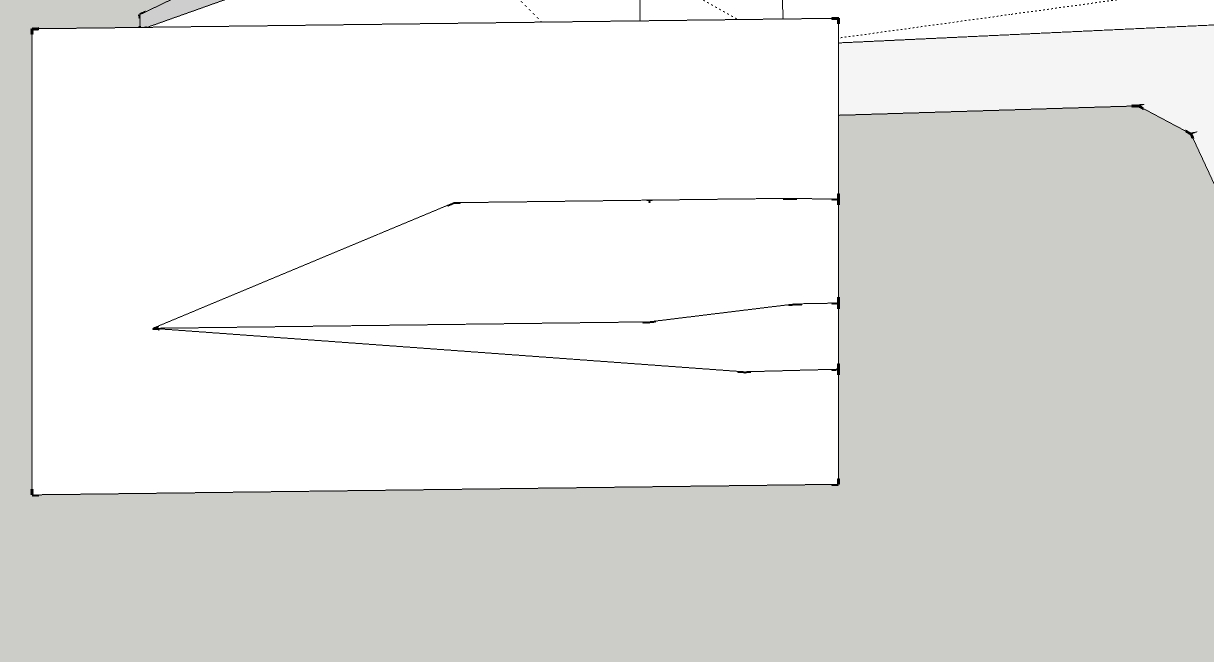
Group the model (Ctrl+A - right-click - group). Draw a rectangle around the cockpit area:
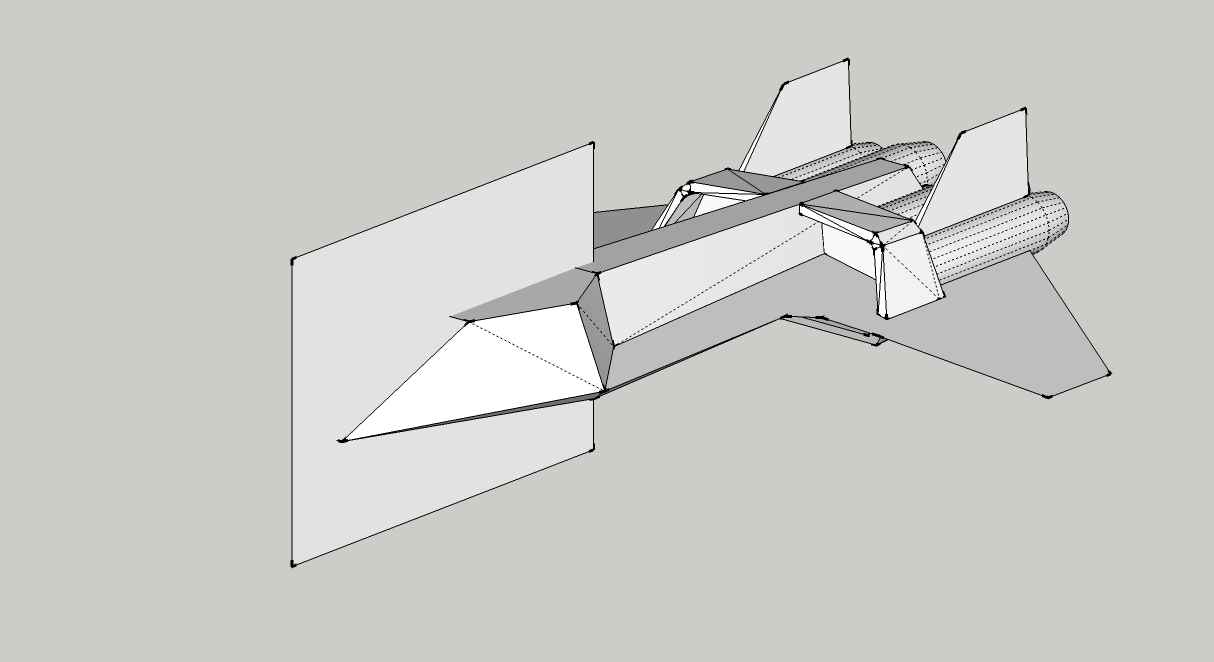
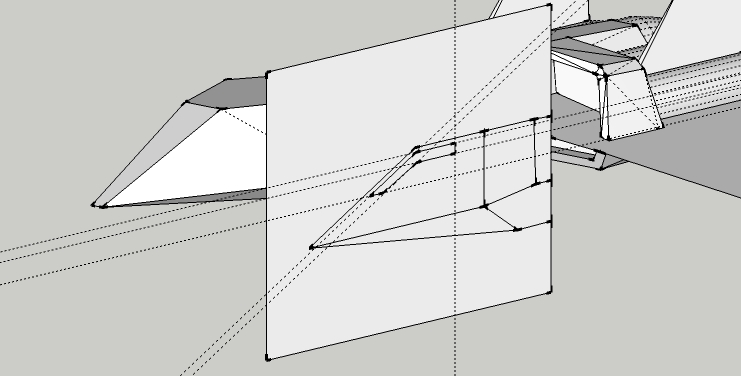
Move the rectangle to the center of the model and intersect (right-click - intersect - with model):
So the outlines of the cockpit are traced onto the rectangle. Double-click the rectangle - right-click - group.
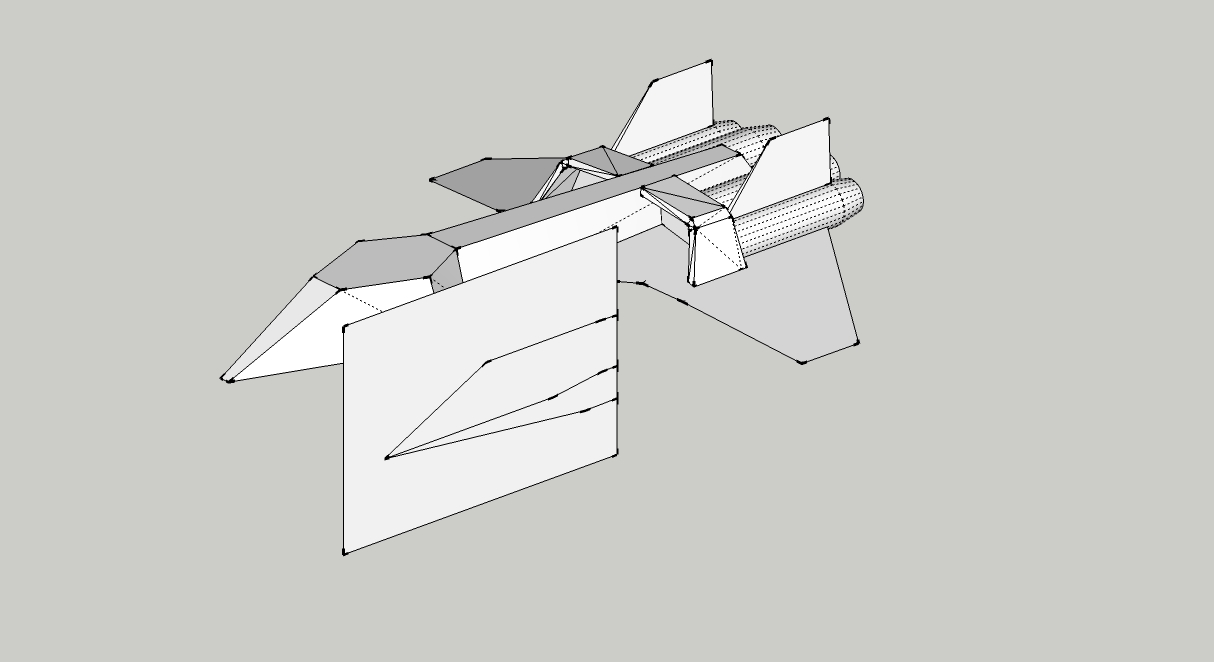
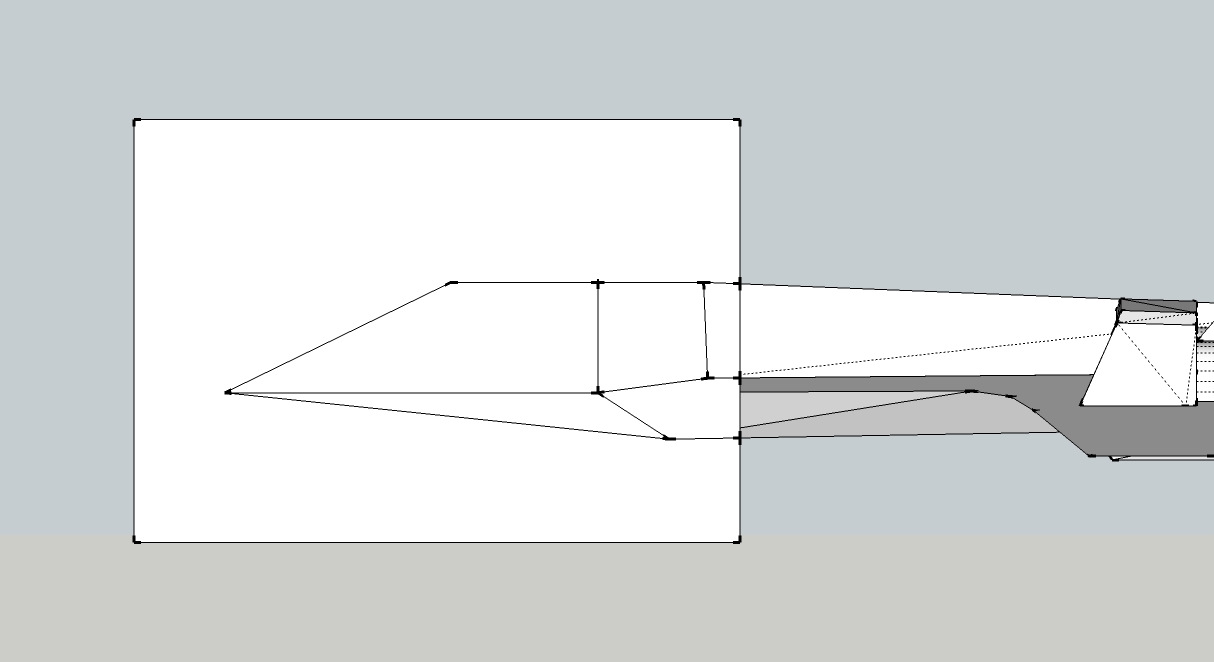
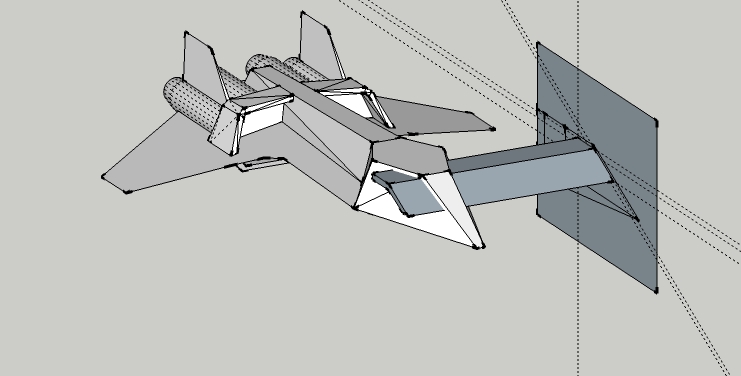
Use the Move tool to move the rectangle in front of the model.
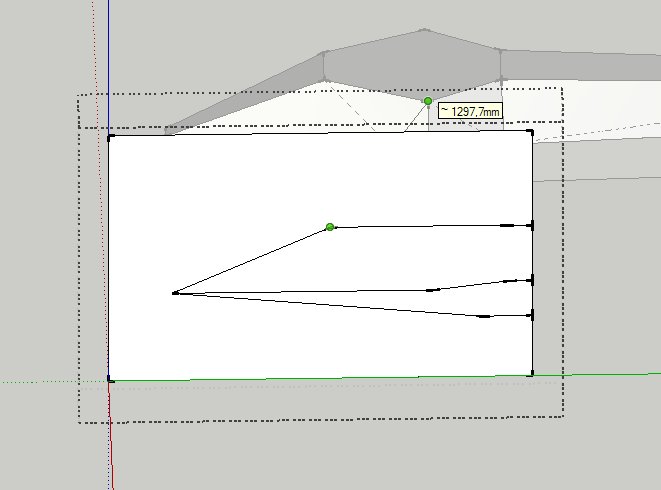
One important line wasn't punched through onto the rectangle and has to be drawn manually. Double-click the rectangle to make it accessible. Select the Tape Measure tool, click at a point near the starting point of the line to be drawn, move the Measure tool to the point where the line begins on the model and keep it there for a few seconds.
SketchUp now "remembers" the exact position of the point. Move the Measure tool back to the rectangle and watch a black square showing up on the outline. This is the parallel contruction point. Click it once to create a mark.
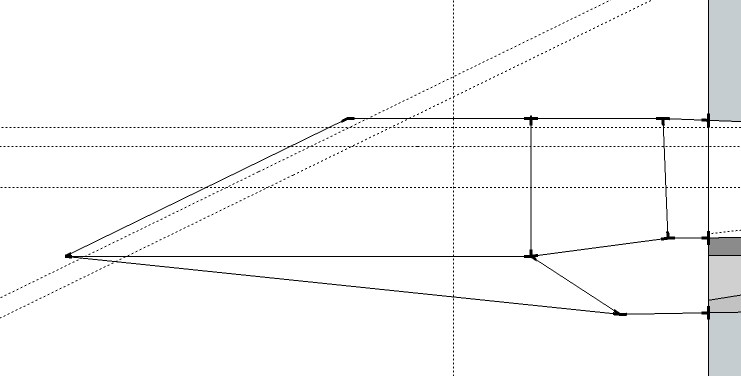
Switch to parallel side view and draw the missing line.
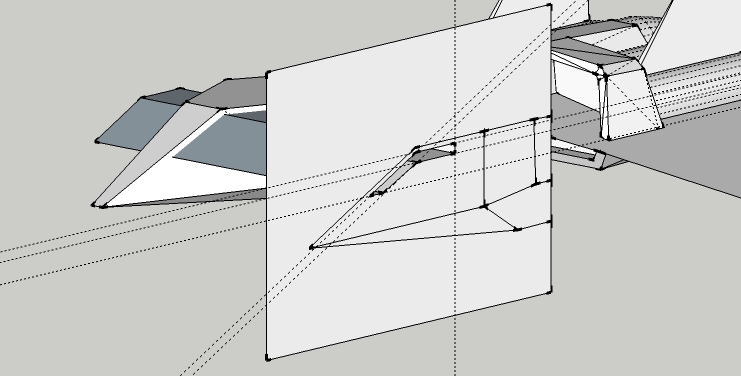
Add several guide lines parallel to the outline using the Tape Measure tool
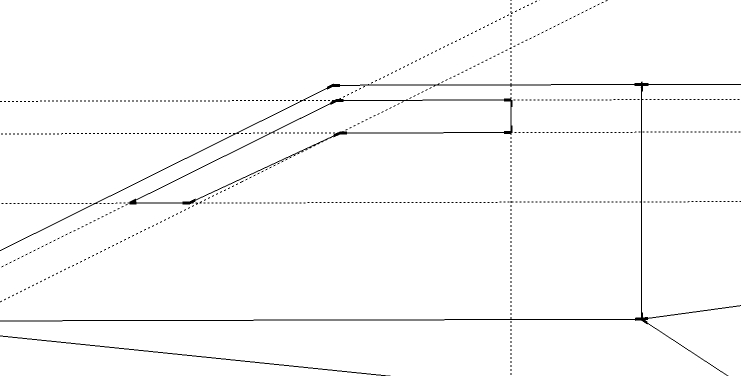
and draw the cockpit windows.
Use the Push-Pull tool to pull out the window area till it penetrates the model.
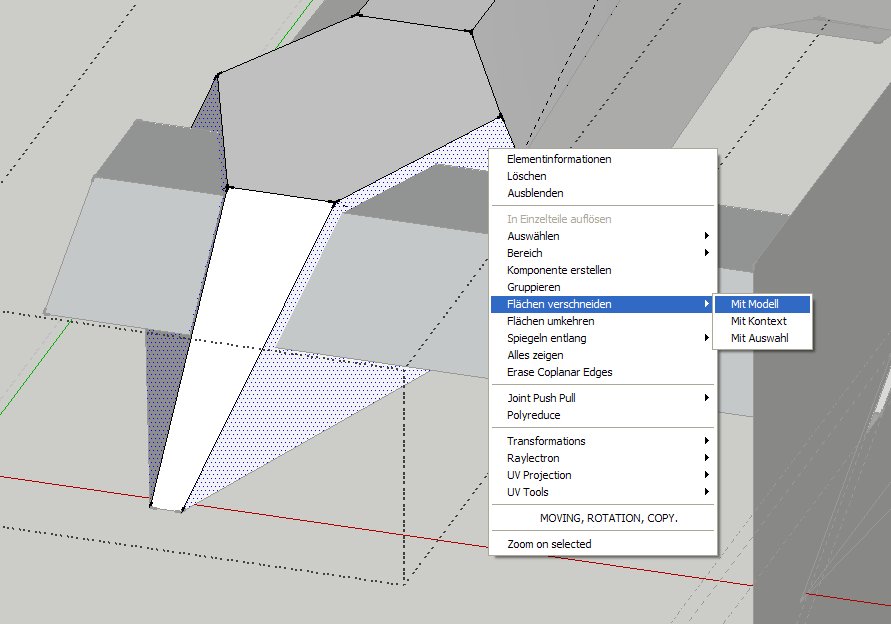
Double-click the cockpit to make it accessible (remember, it was grouped before). Then select the canopy side parts (Ctrl+left-click) - right-click - intersect with model.
Now remove the rectangle with the pulled out window or make it invisible.
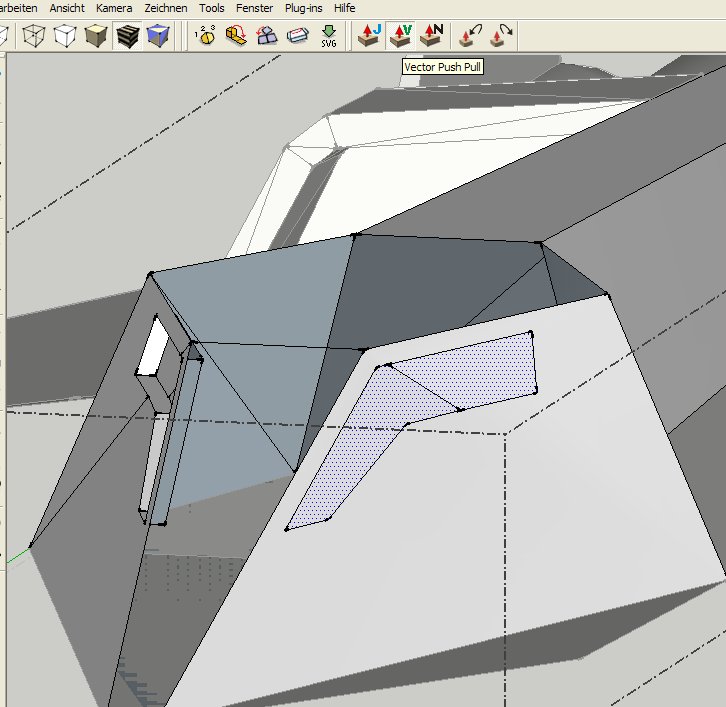
To get a better view make two of the faces invisible (right-click - hide). Then make use of a plugin called "Vector Push Pull". This does not come with the standard SU and has to be added manually (run a quick google search to find it). You can't use the regular Push-Pull tool here because the faces to be pulled out are not aligned.
Select the faces to be moved, move the Vector Push Pull tool to a straight line (I used the connecting line between the two cockpit halves), left-click once and move towards the left or the right. Enter the exact value using your keyboard and hit "Enter".
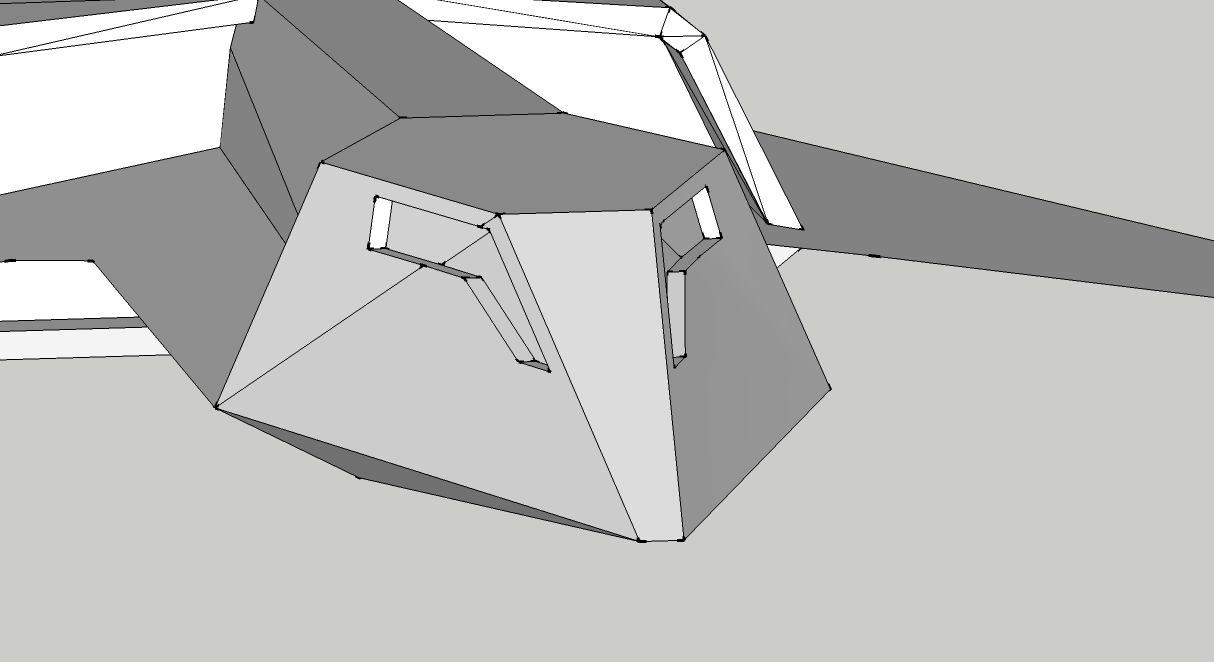
Now you may make the hidden faces visible again (view - unhide - previous) and it is done!