Hello folks,
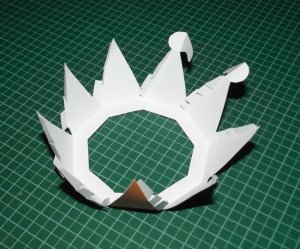
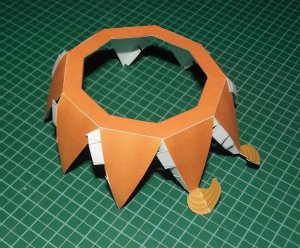
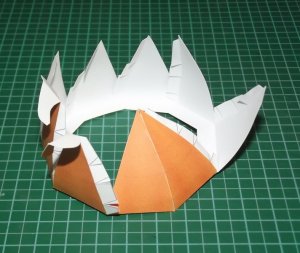
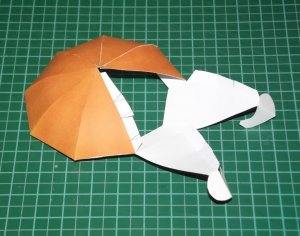
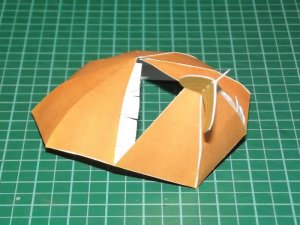
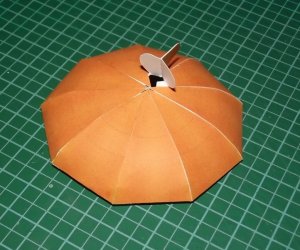
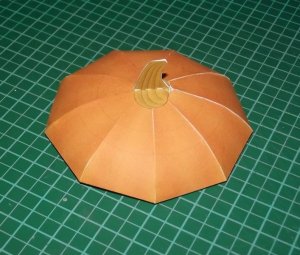
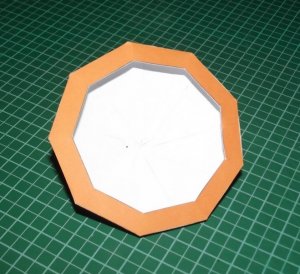
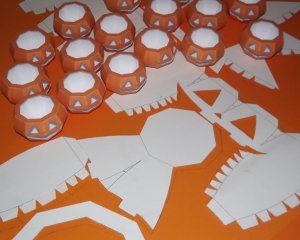
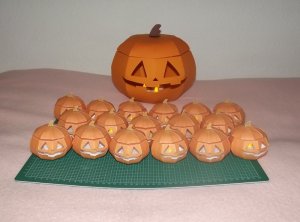
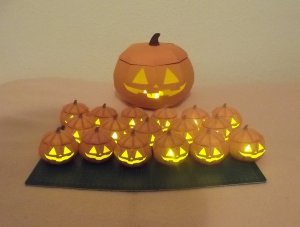
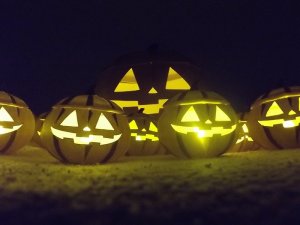
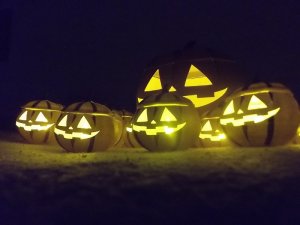
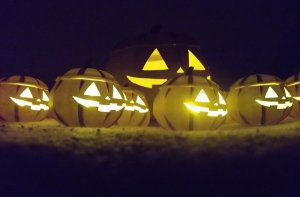
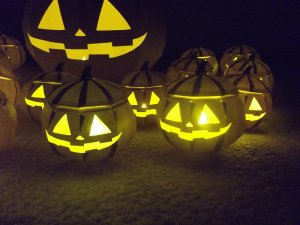
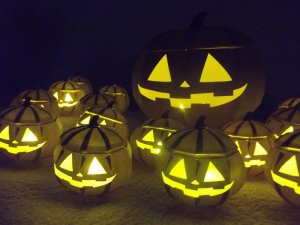
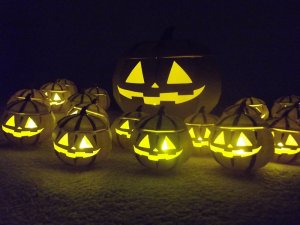
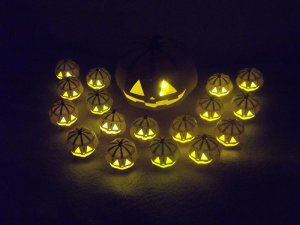
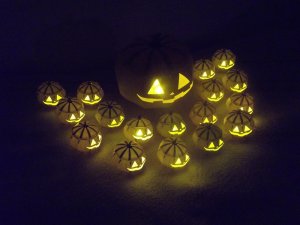
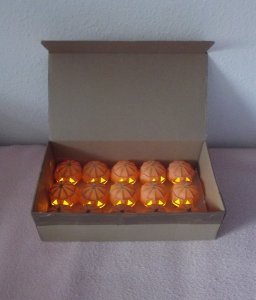
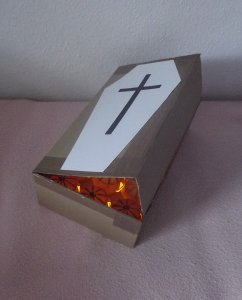
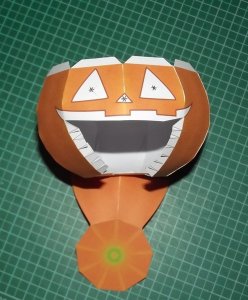
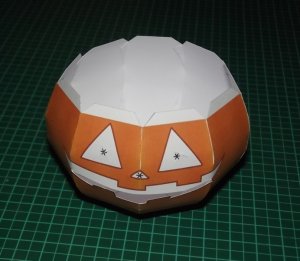
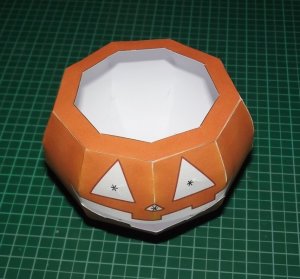
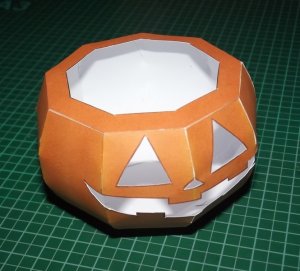
Halloween is approaching and like every year it is time for me to build something for my dear colleagues. This time I chose the Jack-o-lantern from Yamaha.
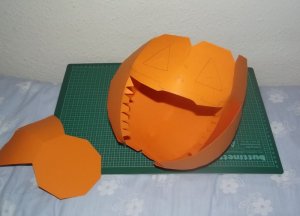
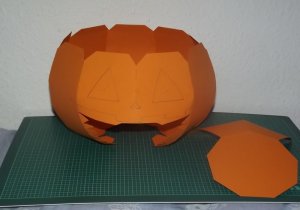
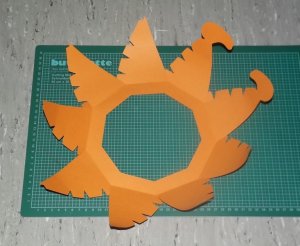
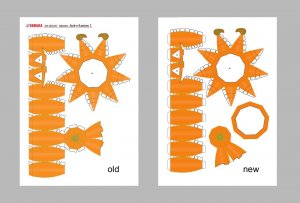
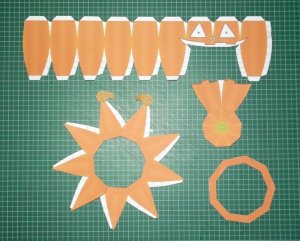
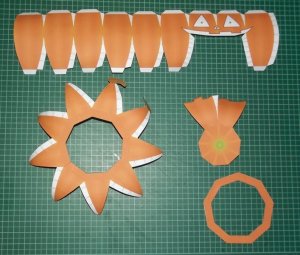
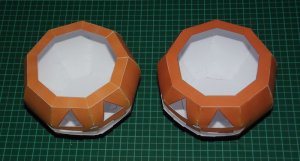
I built one for myself last year to check out how the piece was assembled. It is really a cute model but the unfold could be improved. Some steps were rather difficult, the model was about to be severely damaged during assembly. That made me edit the unfold to produce a more user-friendly arrangement. It took me two builds to see which changes had to be made. And now I'll show you how to do it.
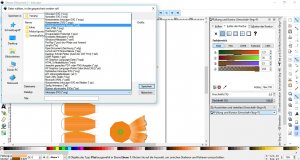
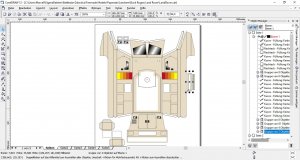
First, fire up InkScape since the Jack-o-lantern a vector file. This preserves images quality and makes editing much easier. Then import the first page of the two-page file: File > Import (Ctrl+I) > OK:
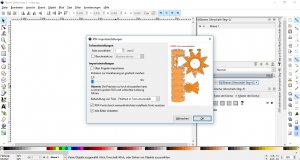
Center the image by clicking the "center" buttons in the positioning dialogue:
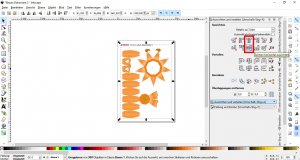
Right-click the image and "ungroup" it:
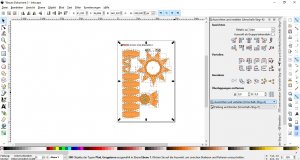
All separate elements are compsied by an "ants road line". Now move in onto the image by using the "+" button on your keyboard. (NOTE: "+" is for zooming in, "-" for zooming out; the mouse wheel moves the image up and down). Using the hotkeys is much easier than going through the command functions.
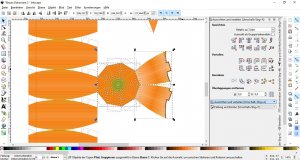
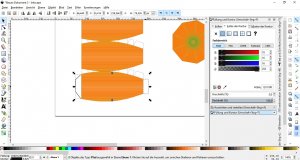
Draw a rectangle around the lower mouth parts and the bottom piece to select them. Move them away from the body piece using the up / down / right / left keys or the mouse:
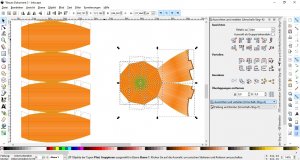
Click on the flaps comprising the bottom piece and delete all but one of them.
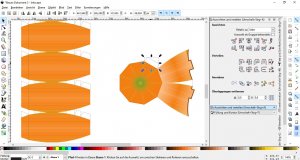
Zoom in and move it to one edge of the main body piece. Double-click it:
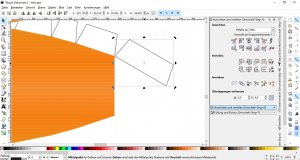
Drag the little cross in the center to the top left edge. This is the new rotation point. Then grab the "turn" arrow at the bottom right and turn the part towards the edge:
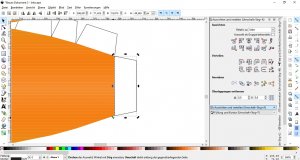
Zoom out. Chose the "rectangle" drawing tool:
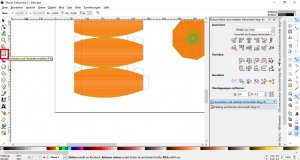
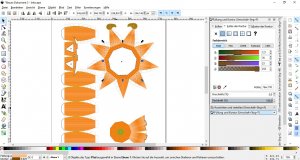
Now draw a white rectangle to hide the single top ring parts on the main body. This will hide the parts forming the top ring of the main body. If you assemble the ring as is, the ring will look segmented. In addition, glueing all the single elements together is a it tedious. It is easier to hide them than to edit the shape of the part. Choose "no colour" for the contour:
Halloween is approaching and like every year it is time for me to build something for my dear colleagues. This time I chose the Jack-o-lantern from Yamaha.
I built one for myself last year to check out how the piece was assembled. It is really a cute model but the unfold could be improved. Some steps were rather difficult, the model was about to be severely damaged during assembly. That made me edit the unfold to produce a more user-friendly arrangement. It took me two builds to see which changes had to be made. And now I'll show you how to do it.
First, fire up InkScape since the Jack-o-lantern a vector file. This preserves images quality and makes editing much easier. Then import the first page of the two-page file: File > Import (Ctrl+I) > OK:

Center the image by clicking the "center" buttons in the positioning dialogue:

Right-click the image and "ungroup" it:

All separate elements are compsied by an "ants road line". Now move in onto the image by using the "+" button on your keyboard. (NOTE: "+" is for zooming in, "-" for zooming out; the mouse wheel moves the image up and down). Using the hotkeys is much easier than going through the command functions.

Draw a rectangle around the lower mouth parts and the bottom piece to select them. Move them away from the body piece using the up / down / right / left keys or the mouse:

Click on the flaps comprising the bottom piece and delete all but one of them.

Zoom in and move it to one edge of the main body piece. Double-click it:

Drag the little cross in the center to the top left edge. This is the new rotation point. Then grab the "turn" arrow at the bottom right and turn the part towards the edge:

Zoom out. Chose the "rectangle" drawing tool:

Now draw a white rectangle to hide the single top ring parts on the main body. This will hide the parts forming the top ring of the main body. If you assemble the ring as is, the ring will look segmented. In addition, glueing all the single elements together is a it tedious. It is easier to hide them than to edit the shape of the part. Choose "no colour" for the contour:

Last edited:




 OK. Back to topic.