

Hello everyone.
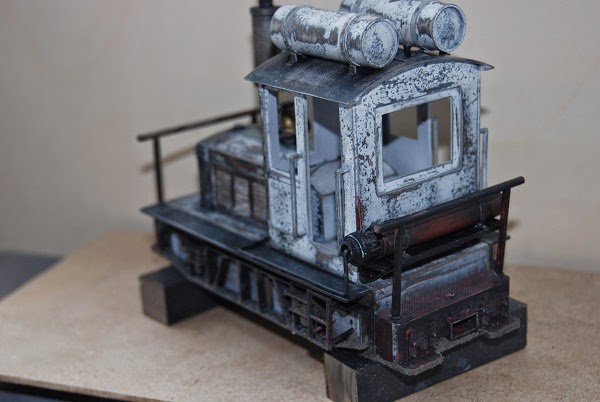
This project I had in my head a long time ago , since I bought this locomotive kit .
The truth is that the kit itself is very poor, but to be experiencing is a good candidate ..
Apply extreme weathering, which may seem excessive, but it is real.
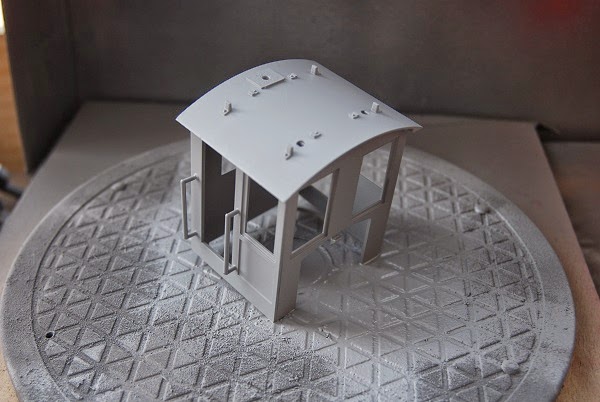
First the kit , many of you already know it .

First step, with a cutter I have going over all the slots and junctions to give them a little more depth.
Then clean the plastic well. I used water and soap dishes, all very technical stuff, yes.
Then once dry, a little alcohol with a paper, and priming.
Vallejo Primer Grey

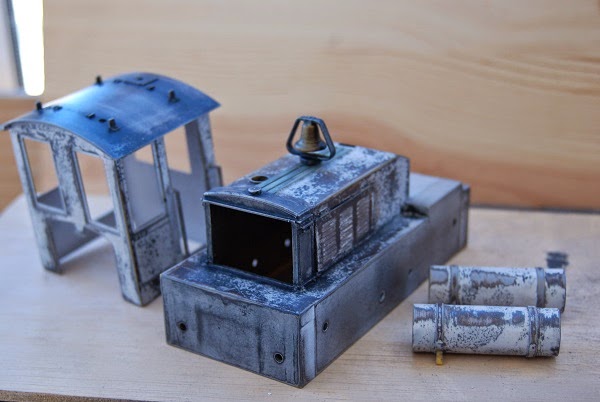
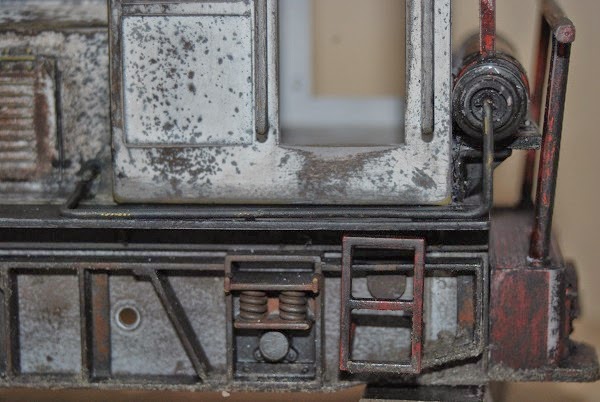
Weathering.
Some dirt on lower side frame
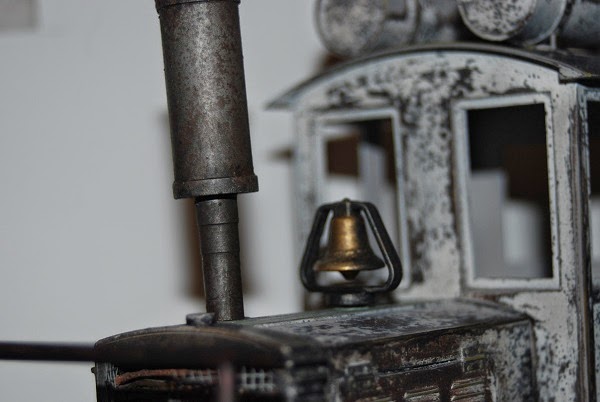
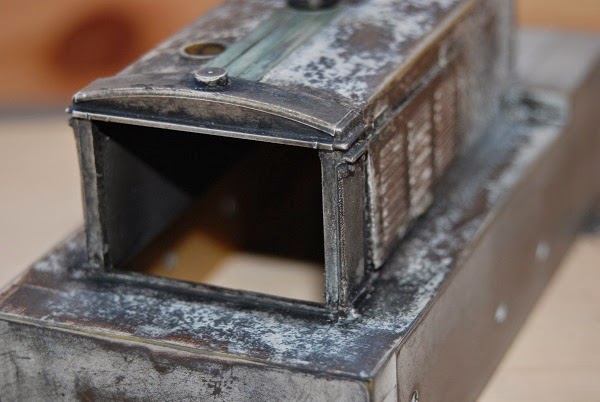
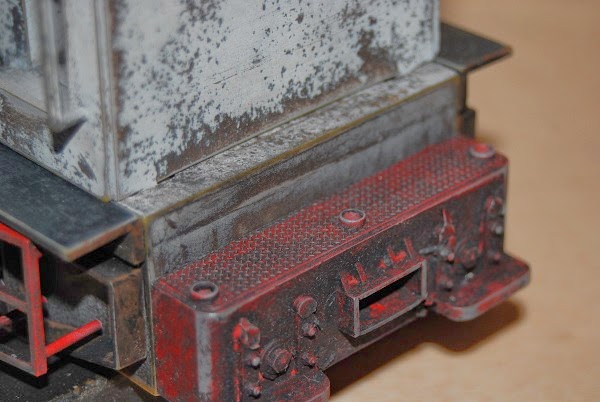
Close up.
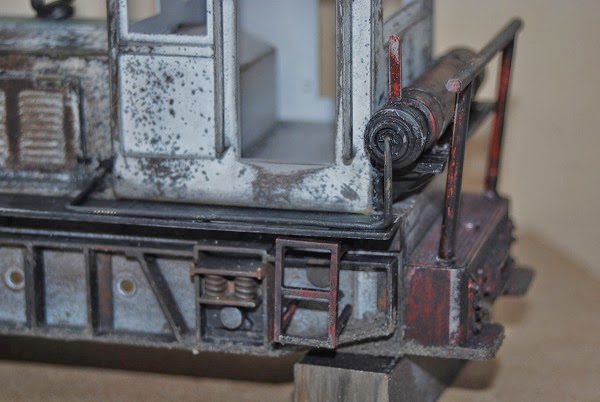
The entire rear extinguisher is a piece of aluminum tube, with turned brass caps. (head and base)
a couple of pieces like a valves and a piece of aluminum as Operation lever. The tube of the extinguisher into the engine is wire brass.

.jpg)
The rear light ripped


By the way, is already motorized and works!
Hope you like,
regards,
This project I had in my head a long time ago , since I bought this locomotive kit .
The truth is that the kit itself is very poor, but to be experiencing is a good candidate ..
Apply extreme weathering, which may seem excessive, but it is real.
First the kit , many of you already know it .
First step, with a cutter I have going over all the slots and junctions to give them a little more depth.
Then clean the plastic well. I used water and soap dishes, all very technical stuff, yes.
Then once dry, a little alcohol with a paper, and priming.
Vallejo Primer Grey
Weathering.
Some dirt on lower side frame
Close up.
The entire rear extinguisher is a piece of aluminum tube, with turned brass caps. (head and base)
a couple of pieces like a valves and a piece of aluminum as Operation lever. The tube of the extinguisher into the engine is wire brass.
The rear light ripped
By the way, is already motorized and works!
Hope you like,
regards,

")