The build sequence is more or less identical to the Se5a. (https://www.zealot.com/threads/se5a-1-32-scale-resized-version-of-the-zio-prudenzio-model.182094/#post-1055368).
After constructing the previous models in the series, I found that cutting off the fuselage tabs and using joiners instead made the fuselage assembly much easier.
After the fuselage is completed, I found that the following sequence worked well. (After each stage, check that the fuselage is not distorted).
1. Assemble and glue the engine cowl.
2. Glue in the rear seat from underneath.
3. When dry, shape the top of the fuselage where the dashboard goes and glue in the rear dashboard from underneath.
4. Do the same again for the front dashboard.
5. Glue in the front seat from underneath.
The lower wing can now be assembled similar to the Se5a.
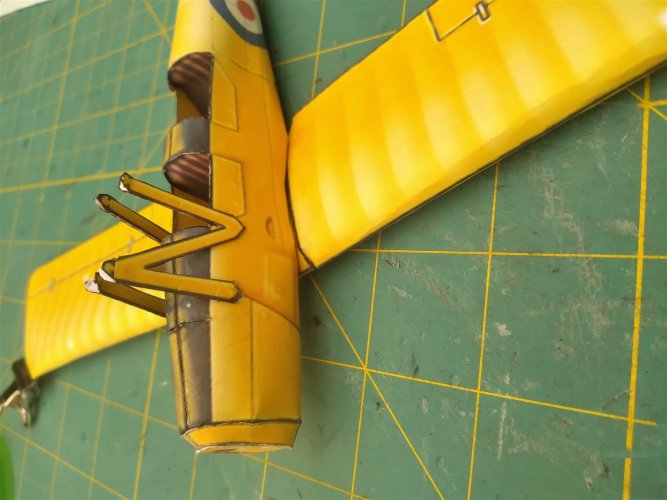
Now fit the inner wing struts (g1 & g2) to the fuselage.

Attach the upper wing to these struts and this will give the correct forward inclination of the top wing.
When set, attach the outer wing struts (p1 – p4) between the two wings. (They may need some fine tuning).
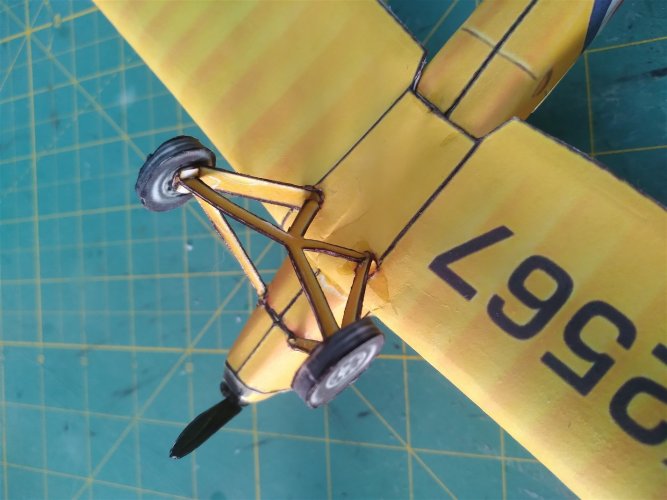
The undercarriage assembly.

Everything else is now straight forward.
the pdf of parts is in the resource section.
After constructing the previous models in the series, I found that cutting off the fuselage tabs and using joiners instead made the fuselage assembly much easier.
After the fuselage is completed, I found that the following sequence worked well. (After each stage, check that the fuselage is not distorted).
1. Assemble and glue the engine cowl.
2. Glue in the rear seat from underneath.
3. When dry, shape the top of the fuselage where the dashboard goes and glue in the rear dashboard from underneath.
4. Do the same again for the front dashboard.
5. Glue in the front seat from underneath.
The lower wing can now be assembled similar to the Se5a.
Now fit the inner wing struts (g1 & g2) to the fuselage.

Attach the upper wing to these struts and this will give the correct forward inclination of the top wing.
When set, attach the outer wing struts (p1 – p4) between the two wings. (They may need some fine tuning).
The undercarriage assembly.

Everything else is now straight forward.
the pdf of parts is in the resource section.
Last edited:

