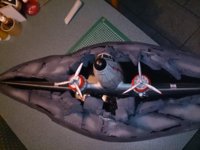
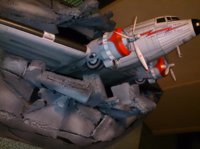
Now that the New Zealot has settled down from the successful transition, I return, and have started this thread of my build of the Alan Rose DC-3, beautifully redrawn by Ruben A Martinez.
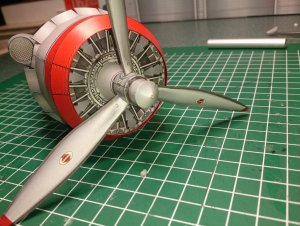
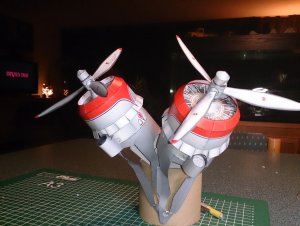
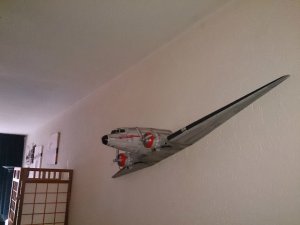
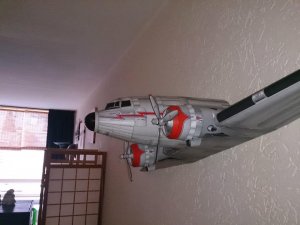
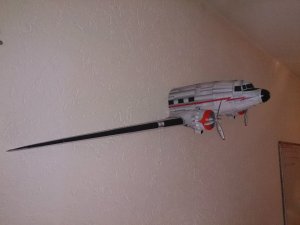
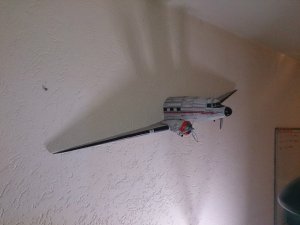
This is a beast of a model when it comes to size! And it took a heck of a lot of convincing the lady of the house, that it would look good hanging on a wall in the lounge!!!
What sold the idea to her, was what I intend to do as a mounting/display base for the model. More on that at the end of the build, I am not going to reveal my idea just yet!!!
We decided that the 6'3" version was just a little too big and so I decided to print the model on A4 stock, using 'Fit to Page' when printing. I used a firm white 220gsm paper stock. The thicker paper should give a bit more structural strength to such a large model.
Even printed on A4 sheets the model still has a wingspan of around 1,35m !!!!! And with a rough calculation, the scale at this size is around 1/20th. That is BIG!!!
In my two years of doing this hobby, I have yet to build a paper model of an aircraft. So, on a very large scale, here is my first attempt!!!!
Due to the scale of this model, accuracy and structural integrity is important, in achieving a quality finish. With this in mind, the parts need to be accurately folded and the complex angles of the parts need to be as accurate as possible.
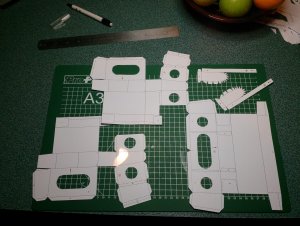
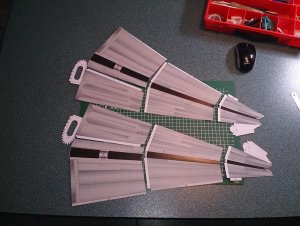
Using my prototype design of a light box/cutting/scoring table, I scored all the fold lines from behind, for clean, sharp folds. I used a dried out ballpoint pen as a scoring tool.
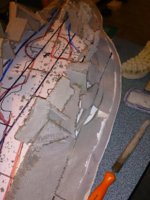
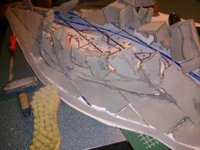
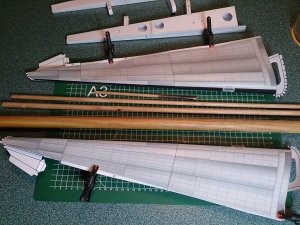
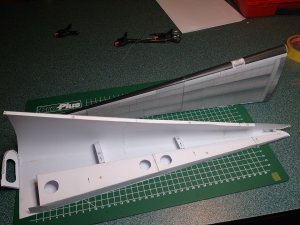
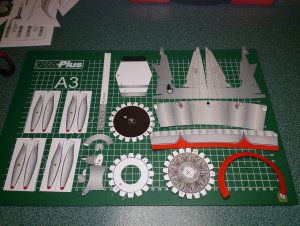
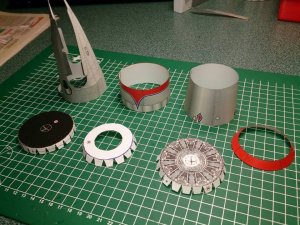
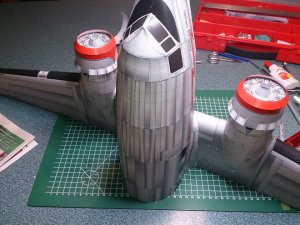
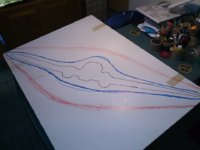
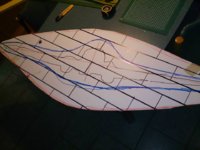
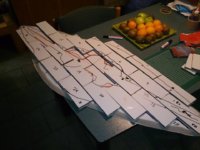
Once all the parts were scored, I then cut out and folded the parts for the internal formers for the wings. I glued these up, triple checking the angles and squareness of each piece. These pieces are the formers for the center section of the wing, where it attaches to the fuselage.
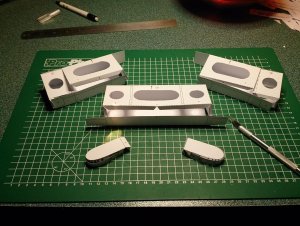
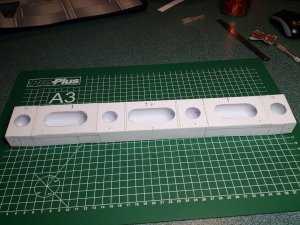
Next up, the internal formers for the outer sections of the wings.
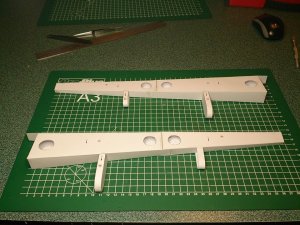
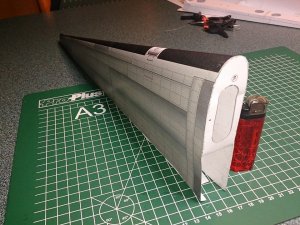
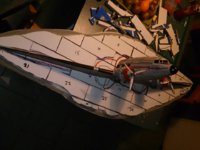
Once all the internal formers had dried, it was time to 'skin-up!' And no, I dont mean to roll a joint, but to attach the outer skin to the internal formers!!!!
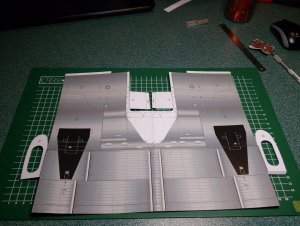
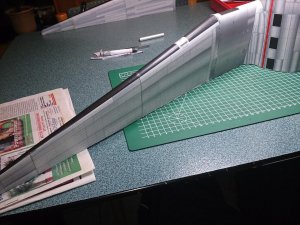
One thing I wanted to avoid, was wrinkles in the skin caused by the glue. So, after attaching the edges to the formers with normal glue, I sprayed the formers and inside of the wing skins with 3M spray glue. This stuff makes the paper less 'wet' than ordinary glue.
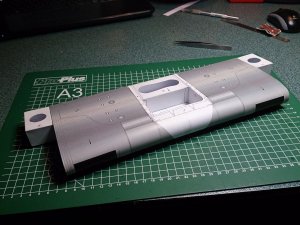
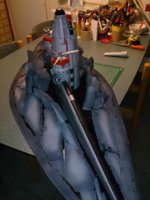
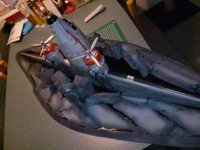
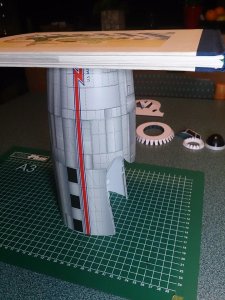
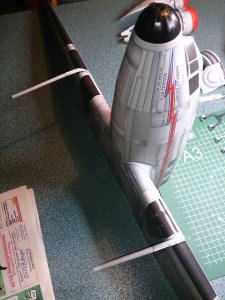
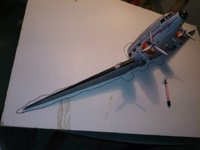
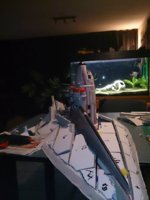
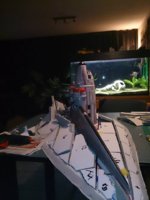
Laying on the skin required some careful work to get them on correctly and smooth. I pre-formed the leading edges of the wings using various sized wooden dowels (and a broom stick) to get the curves and tapers correct. I am happy with the end result.
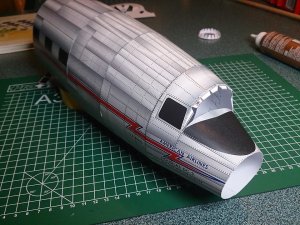
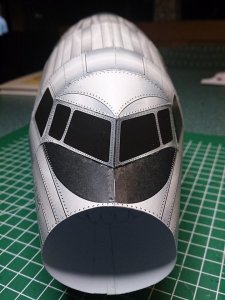
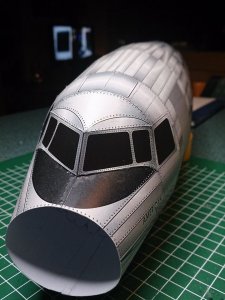
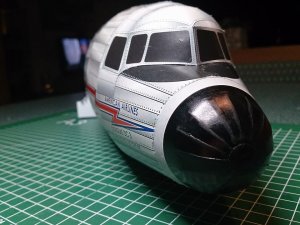
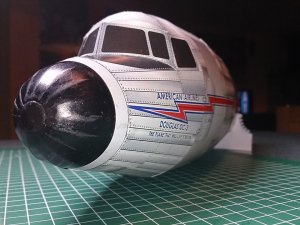
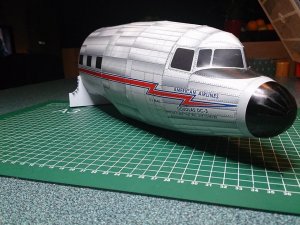
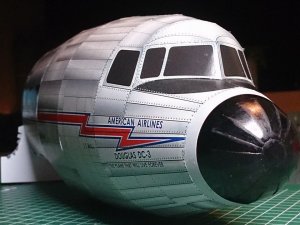
Next up: The fuselage!
See you all soon
This is a beast of a model when it comes to size! And it took a heck of a lot of convincing the lady of the house, that it would look good hanging on a wall in the lounge!!!
What sold the idea to her, was what I intend to do as a mounting/display base for the model. More on that at the end of the build, I am not going to reveal my idea just yet!!!
We decided that the 6'3" version was just a little too big and so I decided to print the model on A4 stock, using 'Fit to Page' when printing. I used a firm white 220gsm paper stock. The thicker paper should give a bit more structural strength to such a large model.
Even printed on A4 sheets the model still has a wingspan of around 1,35m !!!!! And with a rough calculation, the scale at this size is around 1/20th. That is BIG!!!
In my two years of doing this hobby, I have yet to build a paper model of an aircraft. So, on a very large scale, here is my first attempt!!!!
Due to the scale of this model, accuracy and structural integrity is important, in achieving a quality finish. With this in mind, the parts need to be accurately folded and the complex angles of the parts need to be as accurate as possible.
Using my prototype design of a light box/cutting/scoring table, I scored all the fold lines from behind, for clean, sharp folds. I used a dried out ballpoint pen as a scoring tool.
Once all the parts were scored, I then cut out and folded the parts for the internal formers for the wings. I glued these up, triple checking the angles and squareness of each piece. These pieces are the formers for the center section of the wing, where it attaches to the fuselage.


Next up, the internal formers for the outer sections of the wings.

Once all the internal formers had dried, it was time to 'skin-up!' And no, I dont mean to roll a joint, but to attach the outer skin to the internal formers!!!!

One thing I wanted to avoid, was wrinkles in the skin caused by the glue. So, after attaching the edges to the formers with normal glue, I sprayed the formers and inside of the wing skins with 3M spray glue. This stuff makes the paper less 'wet' than ordinary glue.

Laying on the skin required some careful work to get them on correctly and smooth. I pre-formed the leading edges of the wings using various sized wooden dowels (and a broom stick) to get the curves and tapers correct. I am happy with the end result.


Next up: The fuselage!
See you all soon
Last edited:


![DSC_0260[1].jpg DSC_0260[1].jpg](https://www.zealot.com/data/attachments/106/106736-5207a41be79f569775829e9f4b464bbd.jpg?hash=UgekG-efVp)

![DSC_0312[1].jpg DSC_0312[1].jpg](https://www.zealot.com/data/attachments/106/106732-12fc4f1f2d338506adeb1e885c5bd358.jpg?hash=EvxPHy0zhQ)





![DSC_0007[1].jpg DSC_0007[1].jpg](https://www.zealot.com/data/attachments/107/107031-acff73764588f20c7e6894f8257be001.jpg?hash=rP9zdkWI8g)
![DSC_0008[1].jpg DSC_0008[1].jpg](https://www.zealot.com/data/attachments/107/107030-28feba814567465cd32904f72082187e.jpg?hash=KP66gUVnRl)
![DSC_0009[1].jpg DSC_0009[1].jpg](https://www.zealot.com/data/attachments/107/107029-c9f354271cb68e96fc3b652314252d0a.jpg?hash=yfNUJxy2jp)
