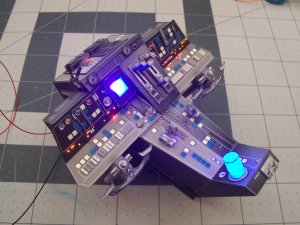
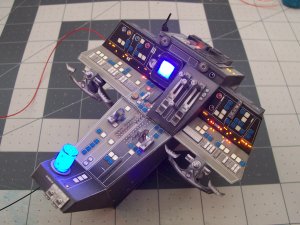
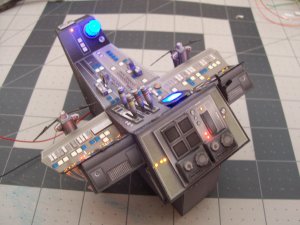
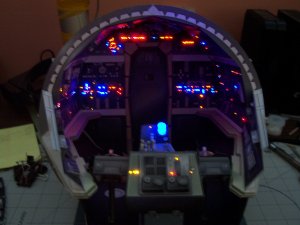
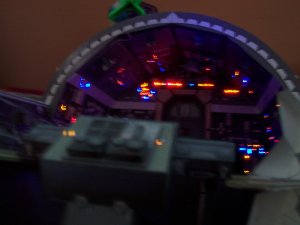
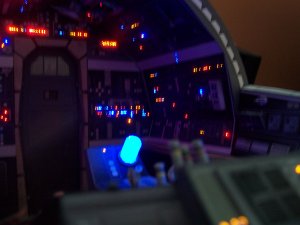
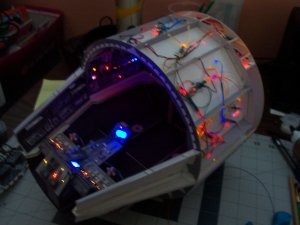
I found a few more photos that I took that aren't quite so blurry of when testing the lighting on the M. Falcon.
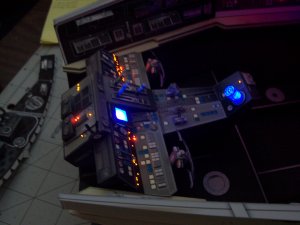
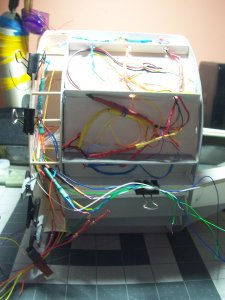
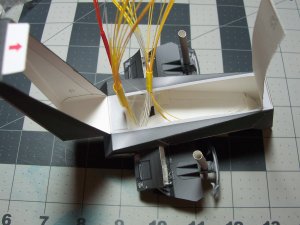
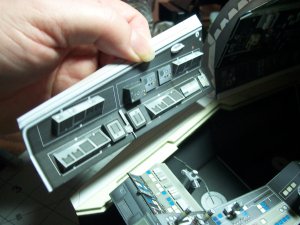
The sides that lift up that allow you to take photos of the inside of the model, now do not require paper-clips to hold them in alignment in the closed position. I braced the doors/lids so they are more solid with glue-gussets, and pieces of cardboard in the corners where needed for added rigidity.
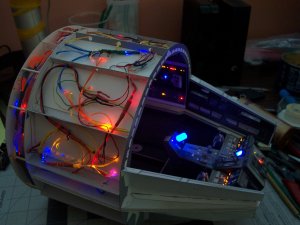
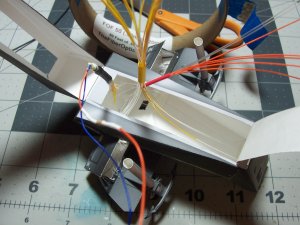
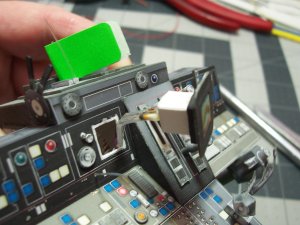
This is the top panel that goes above the heads of the pilots. There is a nice touch that UHU02 added of a pair of furry-dice that hang on a string from above. Trouble is though it's very delicate, and I will need to re-attach them again at the end of the build.
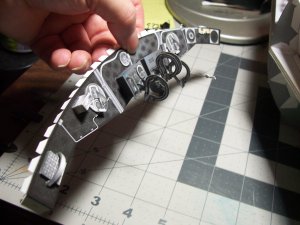
With the upper panel in place, it makes it very awkward to experiment fitting any kind of figure in the cockpit. Everything clashes with those round hoses that hang down as you try and wiggle the figures into place.
Oh, also, the ends of the upper panel are a bit too long and needed to be trimmed just a little on my build.
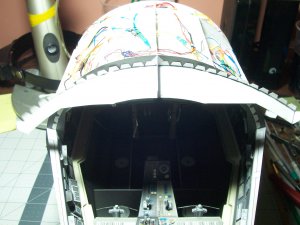
This is where I started testing the attachment of the nose-cone onto the main body where it slides into place. At least it is supposed to

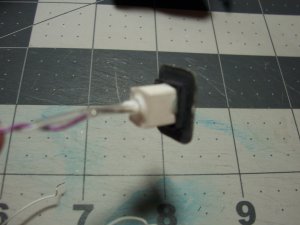
. This required a lot of finessing to get it to fit right. I took a photo of one of the typical issues below where the edge was being forced upwards away from the bulkhead. I had to trim away in a few places. There seems to be no quick way around this. You just have to slowly go around the edge fixing each point working on about an inch at a time, cutting, trimming, and sanding the area where the two join. The problem will be is if this is not corrected, the main outer skin will not slide over into place accurately. It will snag on the edge(s) sticking out, and will buckle, and possibly tear the paper if you don't notice what's going on, and that will be a disaster!! It would likely mean re-making the outer skin over again. The outer-skin is very delicate being only a single thickness of paper. Ideally, it could do with being strengthened by layering it at least on another sheet of paper. The only problem then of course is that it wouldn't slip over the main body into place being to thick!

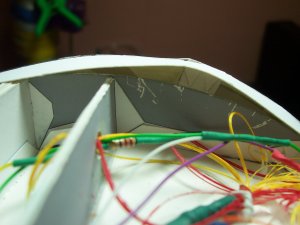
This is another area I decided to modify. Its where the tops of the side panels are supposed to slide into an area that was left unglued in the frame at of the bottom of the windows.
If you accidentally didn't leave them unglued, then it will be tough to separate the pieces without damaging them! Then again, if you want to put "glass" in the windows, then this design would make it hard to do so!
The clear plastic sheet would have nowhere to be fixed to, and would conflict with the operation of sliding the tops of the panels into the window frames, So, I re-designed this area of the model because I really wanted to add windows to the nose. My wife said it doesn't look good without windows, and I think she was right!
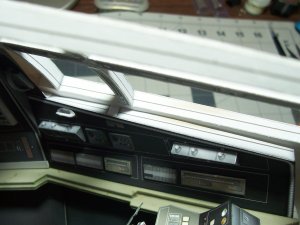
You will need to spend some time carefully familiarizing yourself with how and where the pieces are supposed to contact one-another. This is where your work with aligning the main frame will be evident. The more accurate you were, the easier this will be. I would say this is definitely the hardest part of building the model.

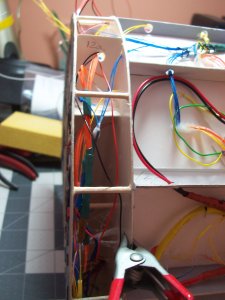
Here's a pretty good view of the sides in question. I cut and folded pieces of stiff card into a 90 degree angle and tapered in size accordingly.
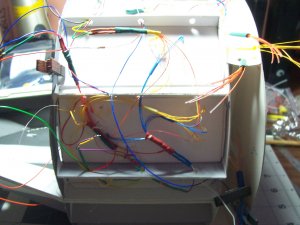
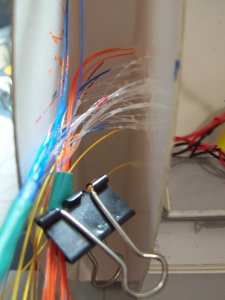
Also, you can see the fiber-optics starting to be installed into the side panels.
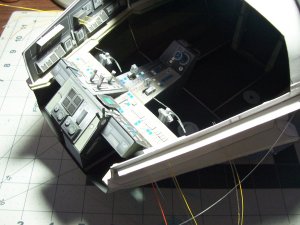
Another view of the modified nose-cone "guides". The nose-cone should slide into place nice and easy without "popping" forward on its own when the model is moved about. I was thinking of using some kind of retention device such as magnets or otherwise, but so long as its all aligned properly, its not needed.
It looks like a cat's whiskers sticking out at the sides!

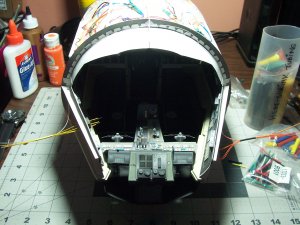
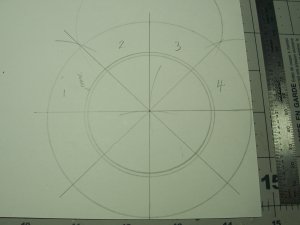
I designed templates for the windows on paper. This is the one for the front windows. I always knew my drafting interests would be useful one day... wow, that was before computers were the norm! :Computer: :Smartass:
Here are all the windows glued into place. I was originally going to cut out individual windows but I found it better to just make one big wraparound window for the large "side" windows area. The windows do seem to add something to the appearance of the finished model

.They just need cleaning with a little Windex and Finish to complete the job

rinks:
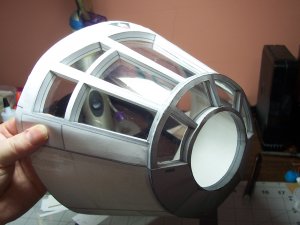
Here are all of the window templates. I used overhead projector film for the actual window material. It seems harder to get the 100% clear stuff any more?
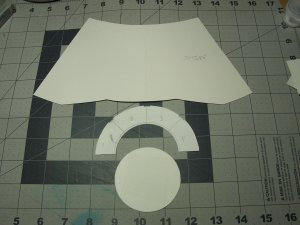
It is a large model for sure!
"Star Wars theme song going in the background.... de, de, de, du, du da......".
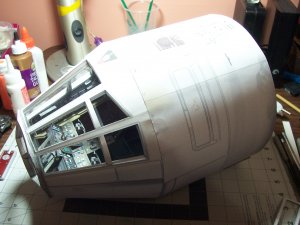
There are a bunch of details to add to the outside of the model to greeble it up! Yes, sir! That's gonna keep ya busy for week or too!!
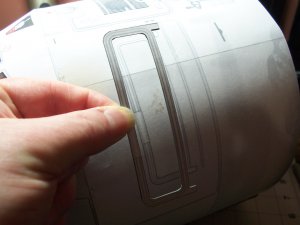
The nose-cone slides on real nice now! Snug-as-a-bug-in-a-rug!
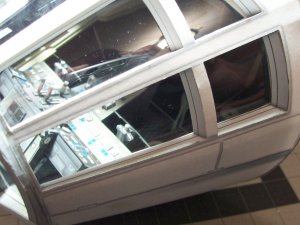
Pre-rolled to match the contours of the main body outer shell. If you don't do that, it will crease up in a nasty way!
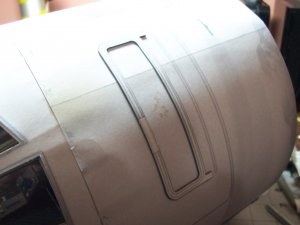
Lots of detail added to the undersides towards the back. It looks like some kind of sensor the scoop looking deal on the front? Is it supposed to be a light one wonders?
The bottom area of the nose-cone is straight at the back. It slowly tapers into a flat section. It does make it harder to seat the thing properly, and can easily cause a situation where you want to pull your hair out!


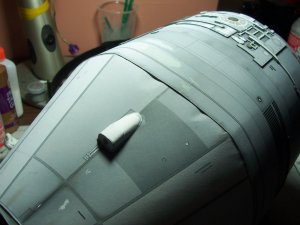
I used a fairly thick cardboard to laminate the details to as I wanted the embossed effect to be easily noticeable. (Waiting for the glue to dry!)


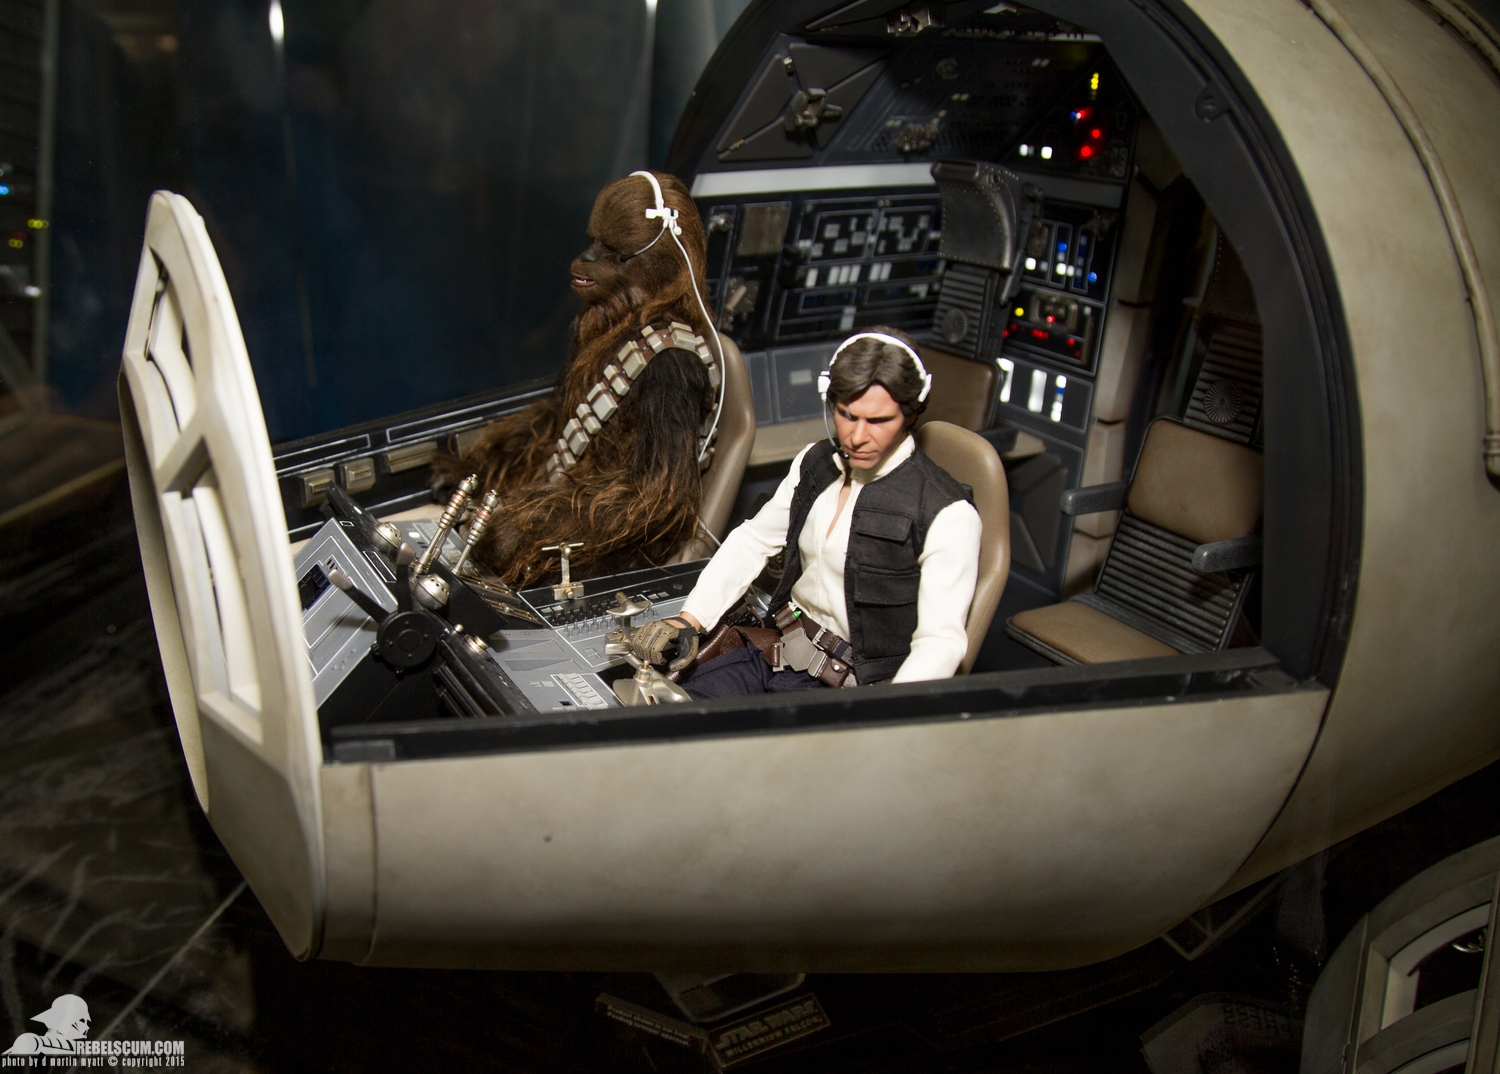


 . It wouldn't be a case of course just doubling the size of the model as a quick fix as that would make it way too big overall. It's gonna take some effort to make the combination with Hasbro figures work. I think that the model as it is from UHU02 is more like 1/12.75 scale.and some of the areas inside are 1/13 scale or thereabouts. The Hasbro characters are also pretty darn heavyweights too! The model would be easily crushed on the sides when it was lifted without substantial strengthening to the outer shell, flooring, seats, stand, and so on. Yeah, if anyone is thinking of buying these Hasbro Black Series characters to decorate this model in its original form, don't waste your money... and these figures are expensive and difficult to get as they are collectors items generally! If you wanted to go the whole hog, and add Princess Leia, C3-PO, and R2-D2, to the mix then WOW!! That would be REALLY heavy! There are also some 3.75" figures from Hasbro out there but the detail is not good, and they of course are too small
 . Dang, it sucked when that happened! I then had to find out where it came from, re-drill the hole, feed the fiber back in (not an easy task) and then glue it a few times to the surrounding stuff to get a good strong anchor for it. It only happened about 20 times
 .
.




 . This required a lot of finessing to get it to fit right. I took a photo of one of the typical issues below where the edge was being forced upwards away from the bulkhead. I had to trim away in a few places. There seems to be no quick way around this. You just have to slowly go around the edge fixing each point working on about an inch at a time, cutting, trimming, and sanding the area where the two join. The problem will be is if this is not corrected, the main outer skin will not slide over into place accurately. It will snag on the edge(s) sticking out, and will buckle, and possibly tear the paper if you don't notice what's going on, and that will be a disaster!! It would likely mean re-making the outer skin over again. The outer-skin is very delicate being only a single thickness of paper. Ideally, it could do with being strengthened by layering it at least on another sheet of paper. The only problem then of course is that it wouldn't slip over the main body into place being to thick!


