Hello everyone,
it's been a while since I found the time to get involved in model building. Now it has become a little quieter
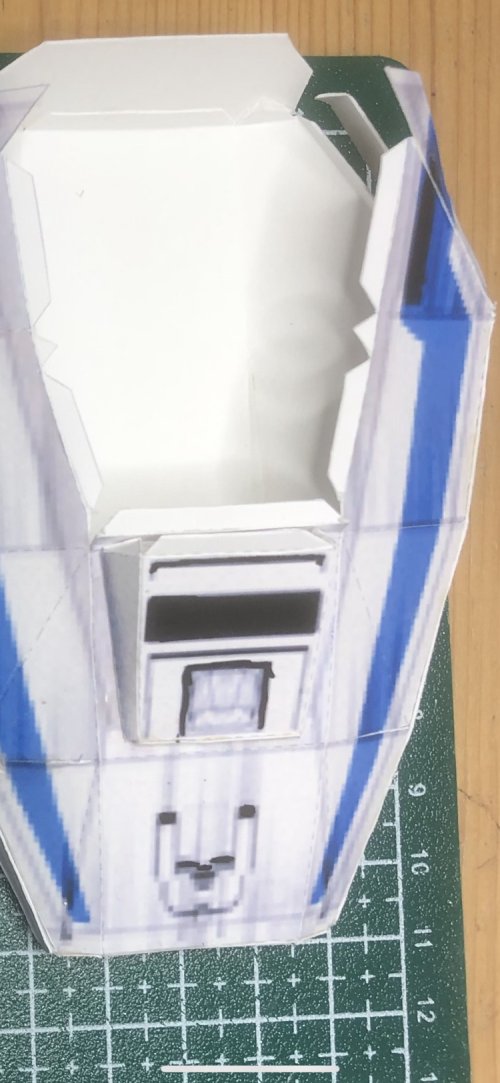
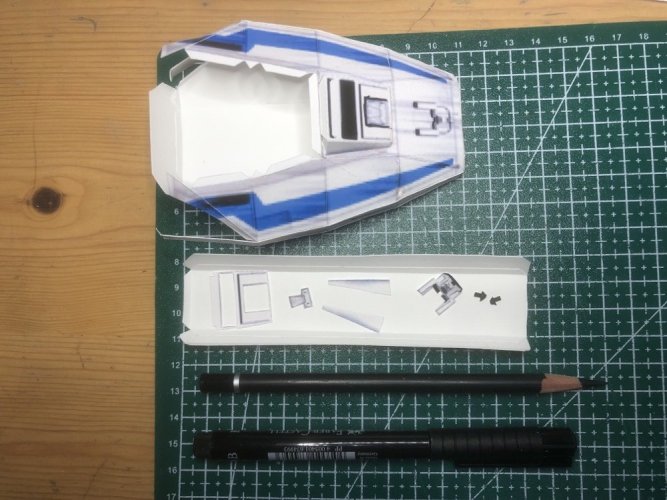
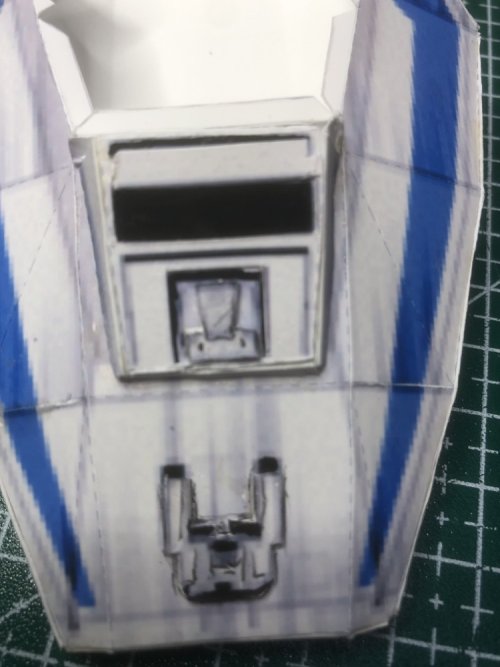
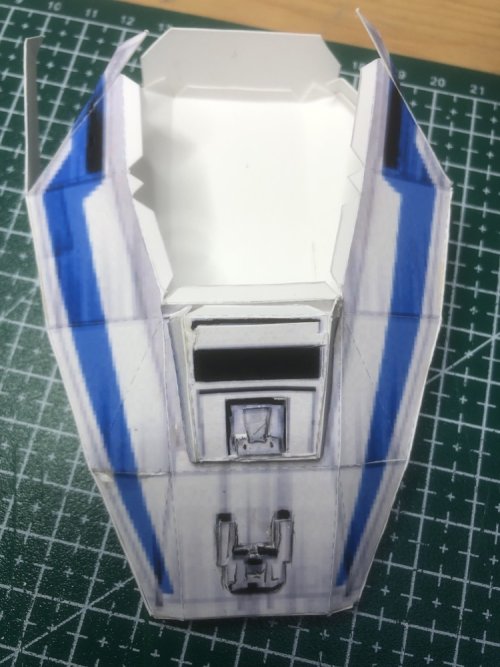
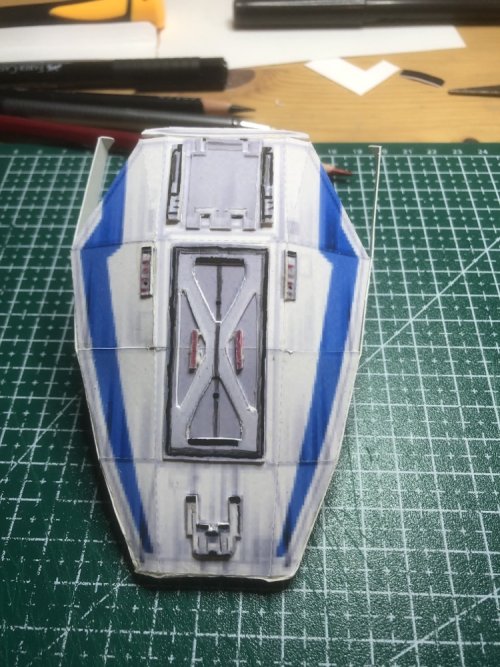
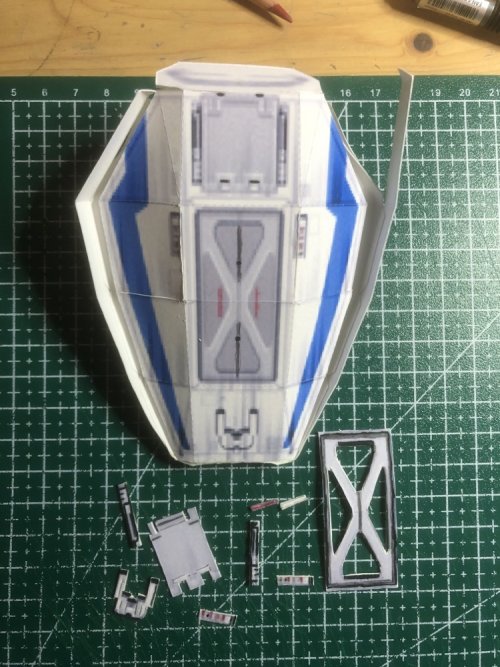
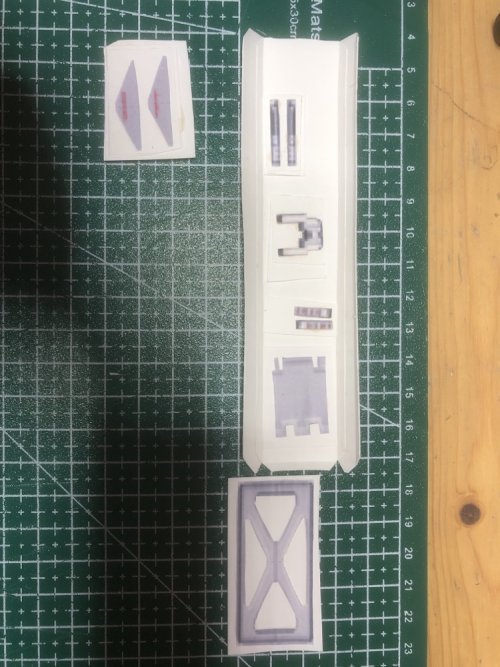
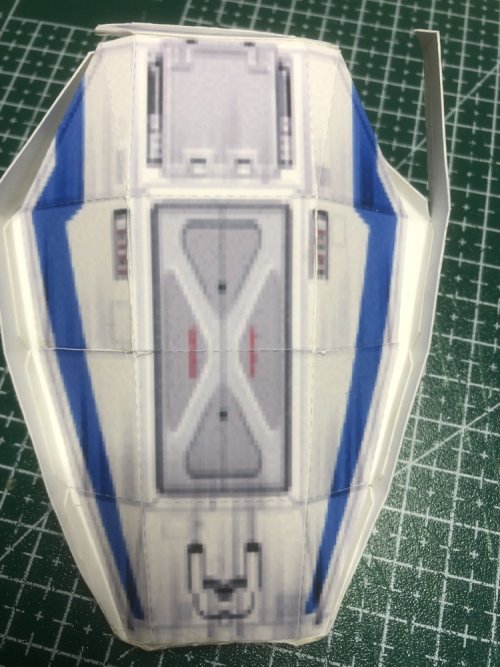
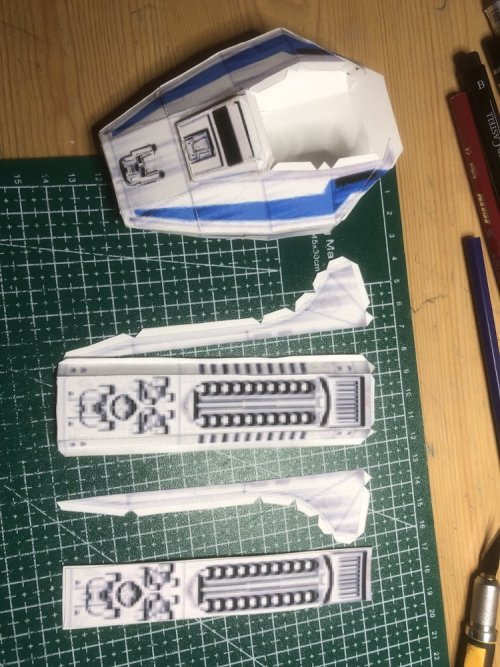
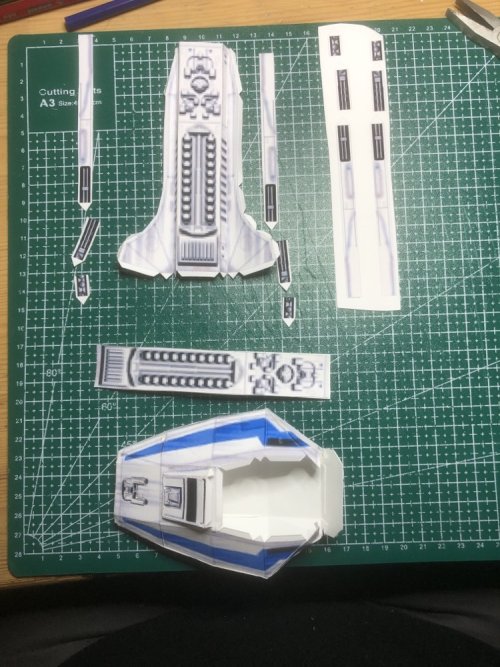
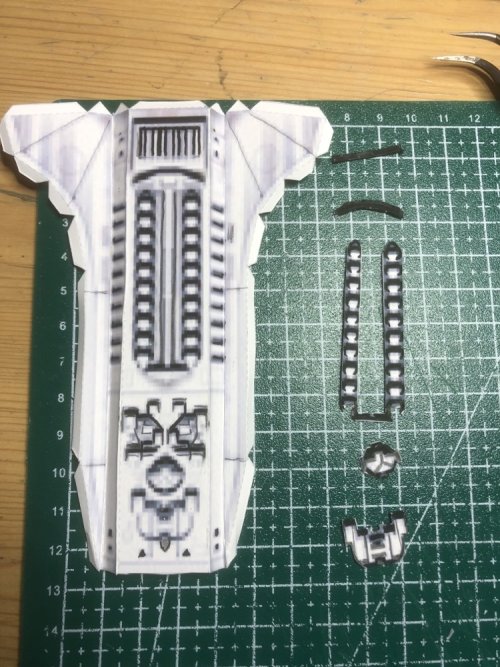
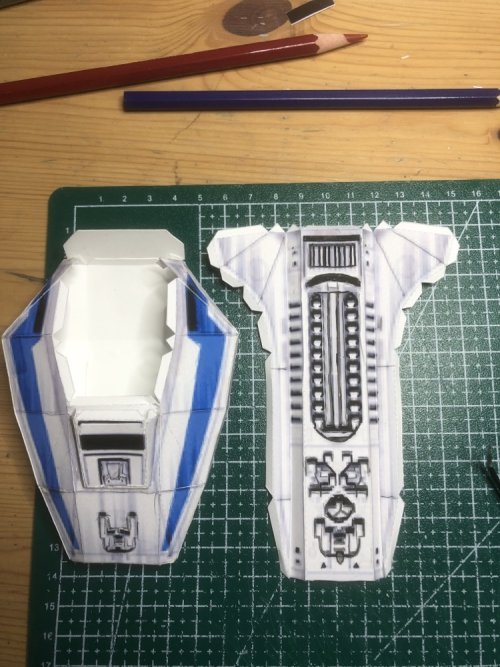
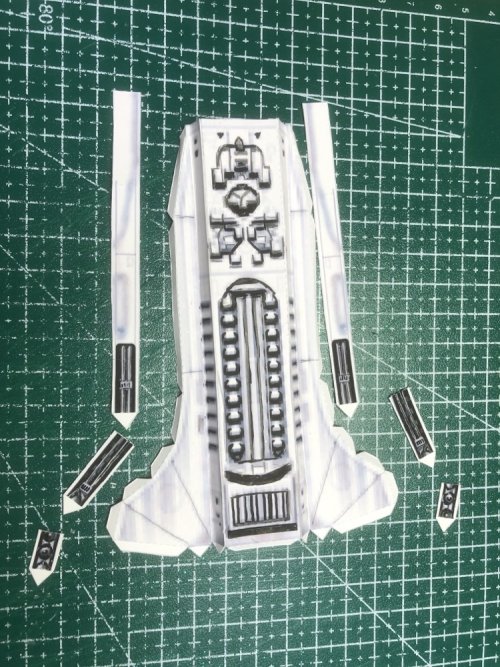
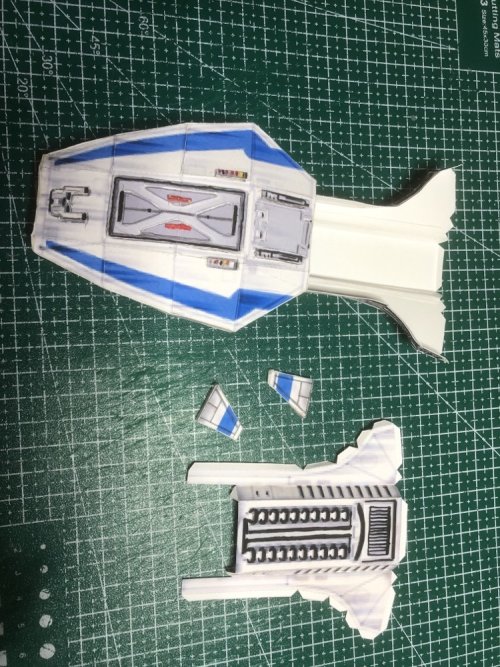
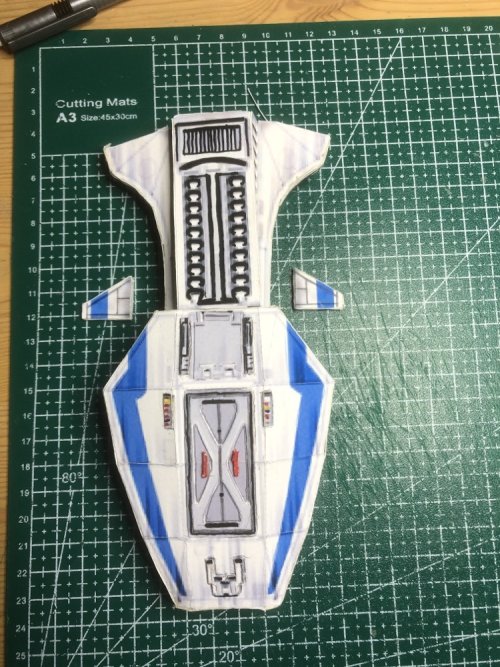
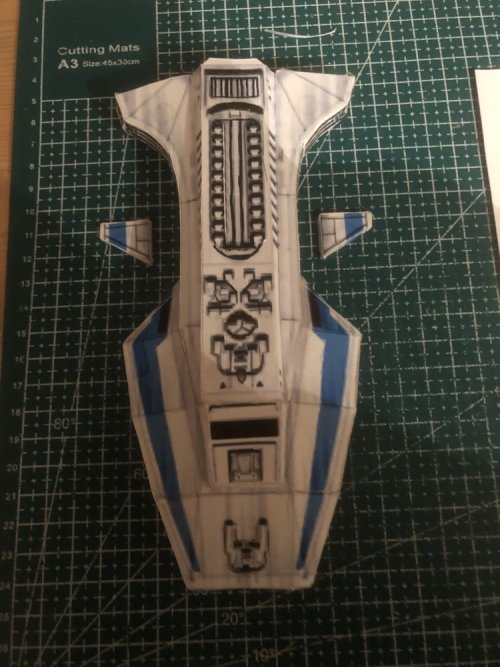
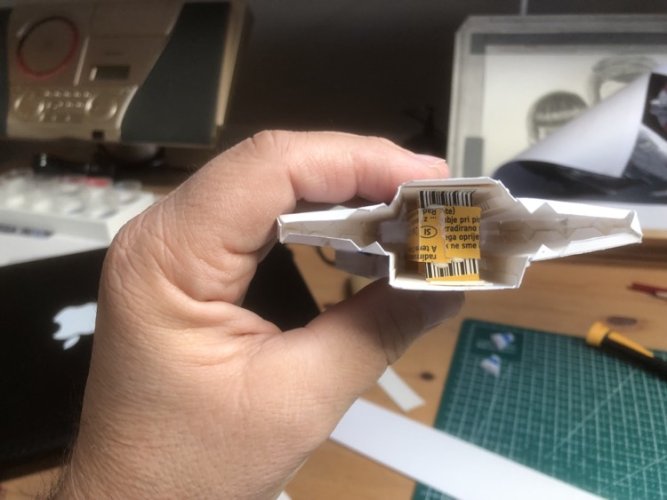
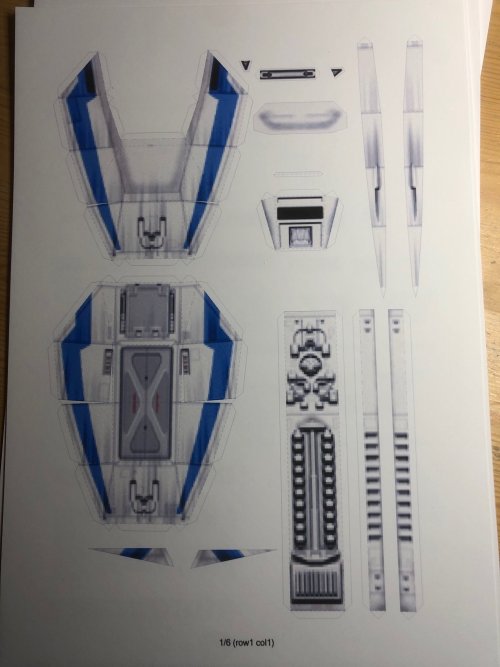
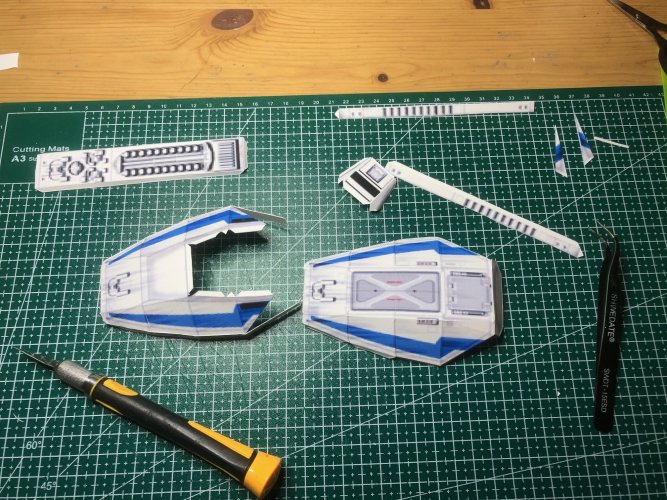
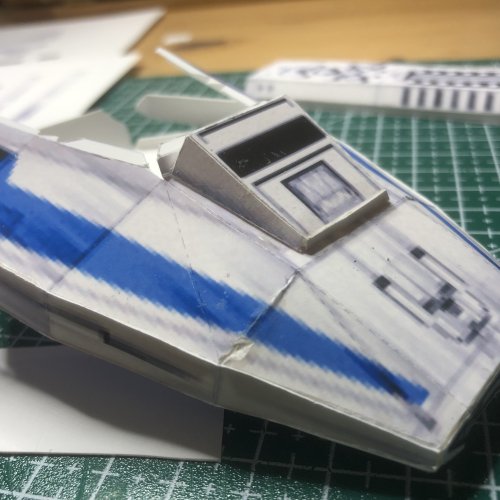
and I have decided to build the Marauder Corvette from the Star Wars universe.
I saw the ship and knew immediately that I had to build it at some point
.
it's been a while since I found the time to get involved in model building. Now it has become a little quieter
and I have decided to build the Marauder Corvette from the Star Wars universe.
I saw the ship and knew immediately that I had to build it at some point
.


")
")