The build sequence is more or less identical to the Se5a. (https://www.zealot.com/threads/se5a-1-32-scale-resized-version-of-the-zio-prudenzio-model.182094/#post-1055368 ), with the following exceptions.
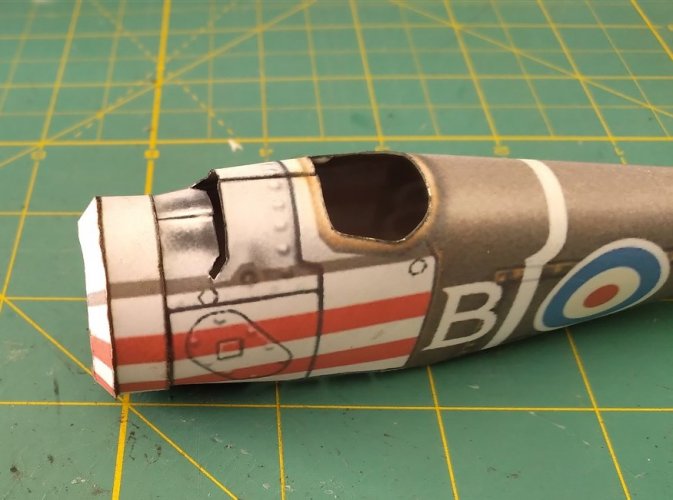
Assemble the engine cowl assembly and fit it to the fuselage before attaching the pilot’s seat and instrument panel. This allows manipulation of the nose to easier fit the cowl.

The lower wing and upper wings are attached to the fuselage in the same sequence as the Se5a.

Glue the base of each inner strut to the fuselage and when completely dry, glue the tops of the struts to the underside of the top wing.
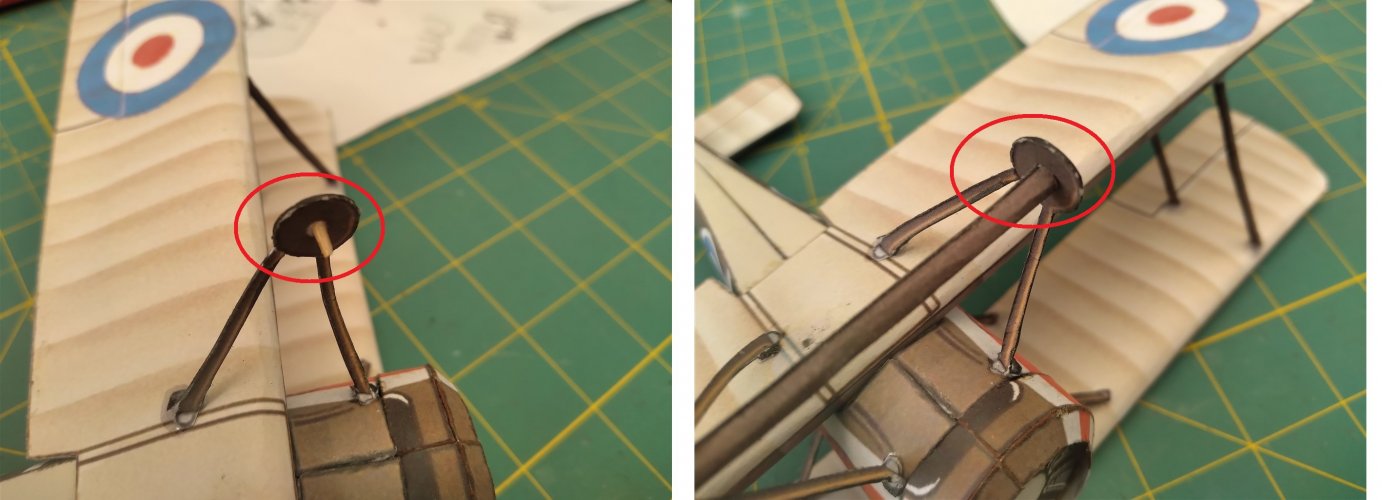
Cut the ends of a toothpick and superglue them to the struts n1 & n2 as shown. Glue the assembled part n3 onto these “pins”.

The rest of the build is straight forward.

The parts pdf is in the resource section.
Assemble the engine cowl assembly and fit it to the fuselage before attaching the pilot’s seat and instrument panel. This allows manipulation of the nose to easier fit the cowl.

The lower wing and upper wings are attached to the fuselage in the same sequence as the Se5a.

Glue the base of each inner strut to the fuselage and when completely dry, glue the tops of the struts to the underside of the top wing.
Cut the ends of a toothpick and superglue them to the struts n1 & n2 as shown. Glue the assembled part n3 onto these “pins”.

The rest of the build is straight forward.

The parts pdf is in the resource section.
Last edited:

