

Heya guys I've been having a look at kirigami or origami architecture recently and it really caught my imagination as a different twist on the type of paper crafting I've done in the past. Some of the back-lit models gave me the idea to make a pop-up card/lantern for my grandmothers birthday this week. Sorry for the mobile phone pics but my camera ran out of batteries and I've misplaced my charger.
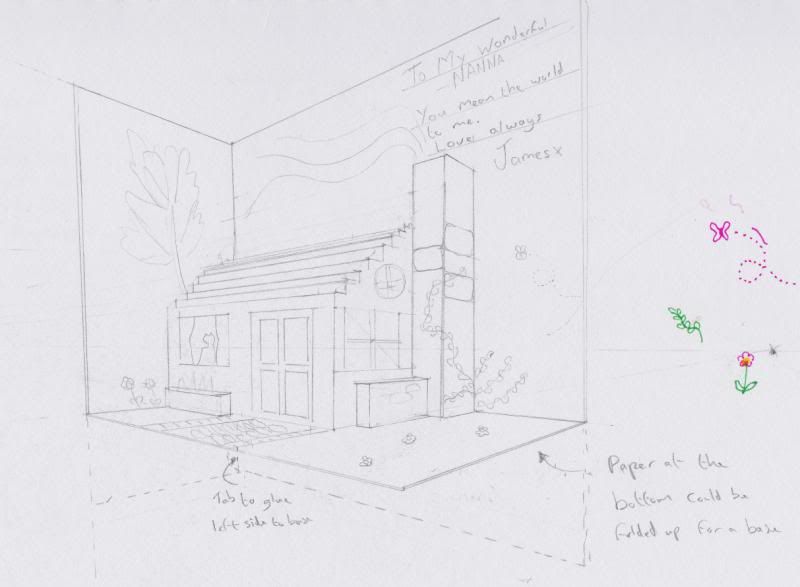
First I drew up a sketch to give me an idea of how it might look. I really enjoy doing two-point perspective drawings so if anything I probably put a bit too much effort into this!
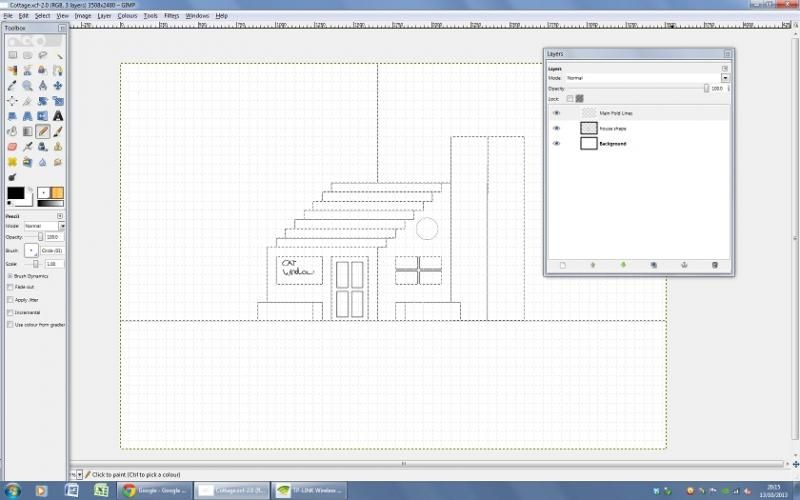
Next I used the grid feature in GIMP to make an accurately sized pattern. This is a really handy tool as you can adjust the size of the grid and activate the "snap to grid" feature to place lines exactly where you need them, down to the millimetre.
I printed the pattern onto 160gsm paper as it's easy to cut and fold but still rigid enough to give a decent structure. It's also, by sheer coincidence, the only paper I have. At first these sort of patterns confused me but basically if the finished model opens like a book you generally cut the horizontal lines and score the vertical ones. I bought a circle cutter recently but I still haven't mastered its use so I had to cut the circle window freehand. I folded the design outwards from the lines so they wouldn't be showing on the finished model, I didn't think about it during the design stage but this mirrored the model to how I originally intended. I need to remember to flip the image before I print next time. I was short on time so it was too late to change it this time though!
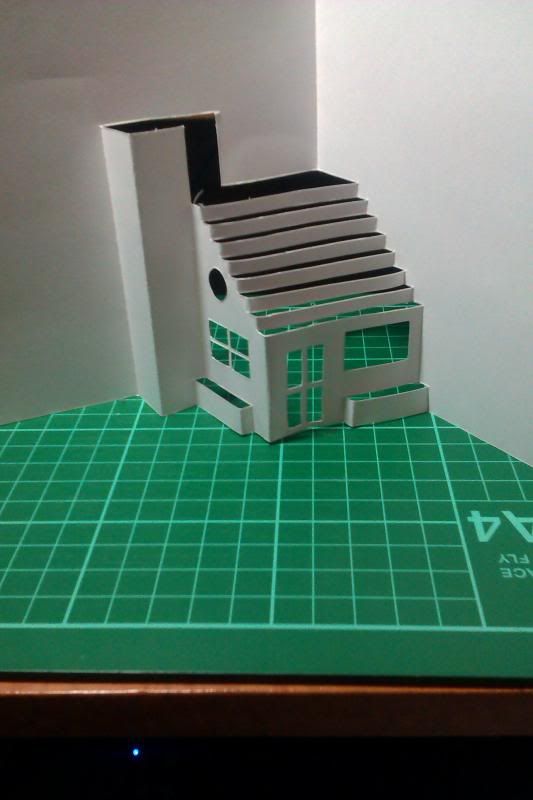
I scoffed before about people using rulers when cutting but I clearly need to get one, my cuts are a little messy!
Next I added the decorations and the soppy dedication. The cat in the cat window and the flowers in the planters are separate bits of paper glued in place. Yes, these decorations were done by a 26 year old man and not by a 5 year old girl. It's the thought that counts ok!
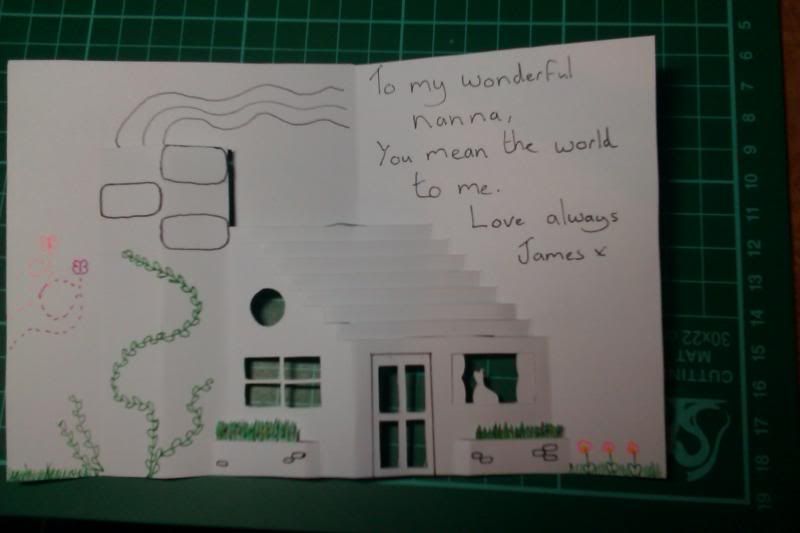
I glued tracing paper over the window and door holes to act as a sort of shade and diffuse the light from the lantern. I added the backing with a piece which could be folded up at the bottom of the model and act as a base.
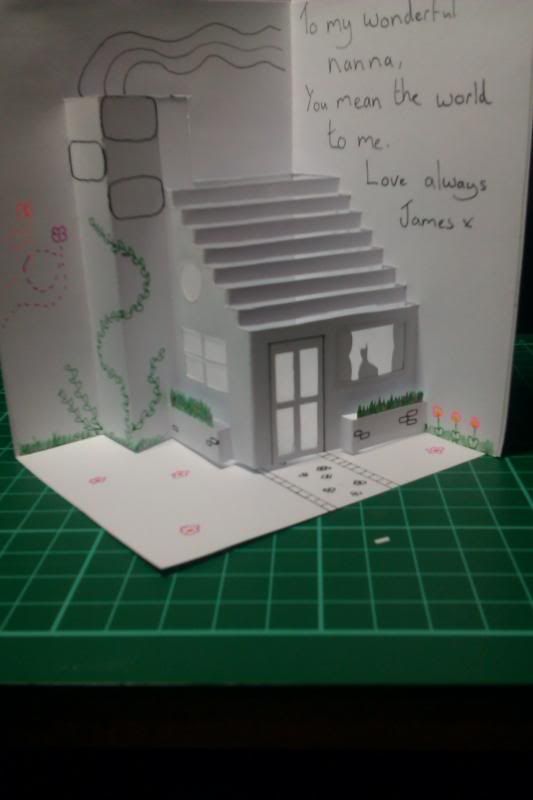
I neglected to take a picture of it unfortunately but the whole thing folds up flat and can be put in an envelope.
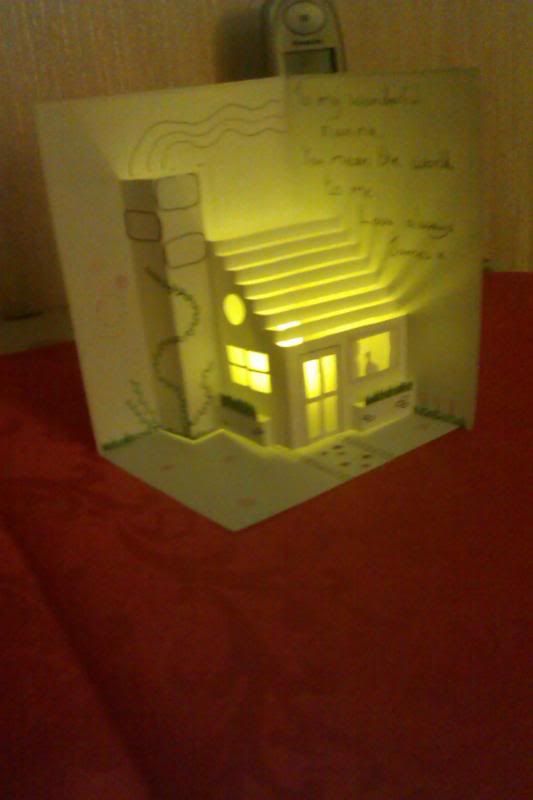
The completed model with an electric tea light in it. The flickering effect from the light makes it look a little bit like a house fire to me but my Nan was impressed, bless her! I'm quite pleased with how it turned out.
It's a bit too square compared to the sketch and the chimney is a bit big but I think I will class this one as a success and I look forward to making some more designs and giving them to friends and family.
Thanks for reading,
James
First I drew up a sketch to give me an idea of how it might look. I really enjoy doing two-point perspective drawings so if anything I probably put a bit too much effort into this!

Next I used the grid feature in GIMP to make an accurately sized pattern. This is a really handy tool as you can adjust the size of the grid and activate the "snap to grid" feature to place lines exactly where you need them, down to the millimetre.

I printed the pattern onto 160gsm paper as it's easy to cut and fold but still rigid enough to give a decent structure. It's also, by sheer coincidence, the only paper I have. At first these sort of patterns confused me but basically if the finished model opens like a book you generally cut the horizontal lines and score the vertical ones. I bought a circle cutter recently but I still haven't mastered its use so I had to cut the circle window freehand. I folded the design outwards from the lines so they wouldn't be showing on the finished model, I didn't think about it during the design stage but this mirrored the model to how I originally intended. I need to remember to flip the image before I print next time. I was short on time so it was too late to change it this time though!

I scoffed before about people using rulers when cutting but I clearly need to get one, my cuts are a little messy!
Next I added the decorations and the soppy dedication. The cat in the cat window and the flowers in the planters are separate bits of paper glued in place. Yes, these decorations were done by a 26 year old man and not by a 5 year old girl. It's the thought that counts ok!

I glued tracing paper over the window and door holes to act as a sort of shade and diffuse the light from the lantern. I added the backing with a piece which could be folded up at the bottom of the model and act as a base.

I neglected to take a picture of it unfortunately but the whole thing folds up flat and can be put in an envelope.

The completed model with an electric tea light in it. The flickering effect from the light makes it look a little bit like a house fire to me but my Nan was impressed, bless her! I'm quite pleased with how it turned out.
It's a bit too square compared to the sketch and the chimney is a bit big but I think I will class this one as a success and I look forward to making some more designs and giving them to friends and family.
Thanks for reading,
James
