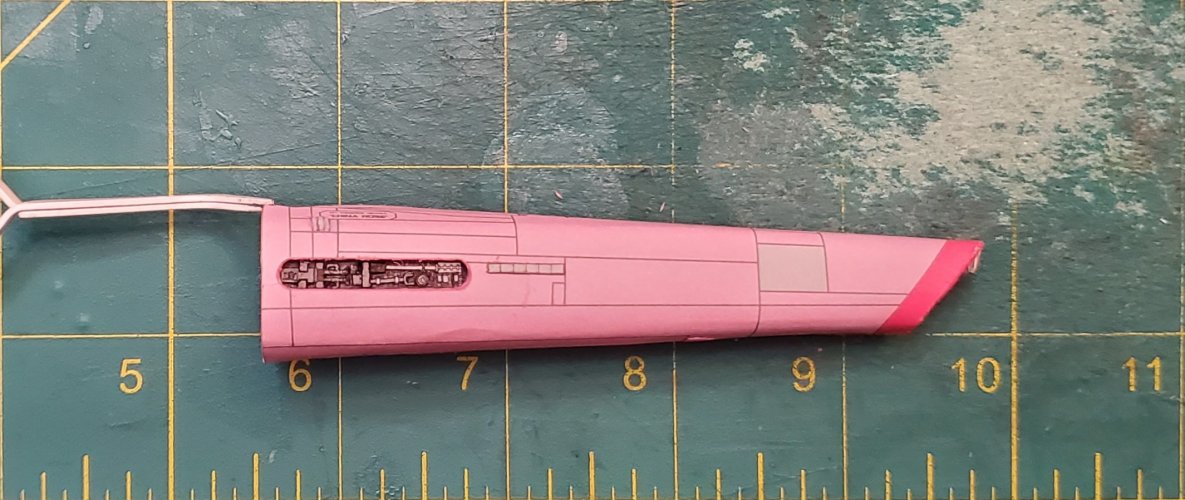
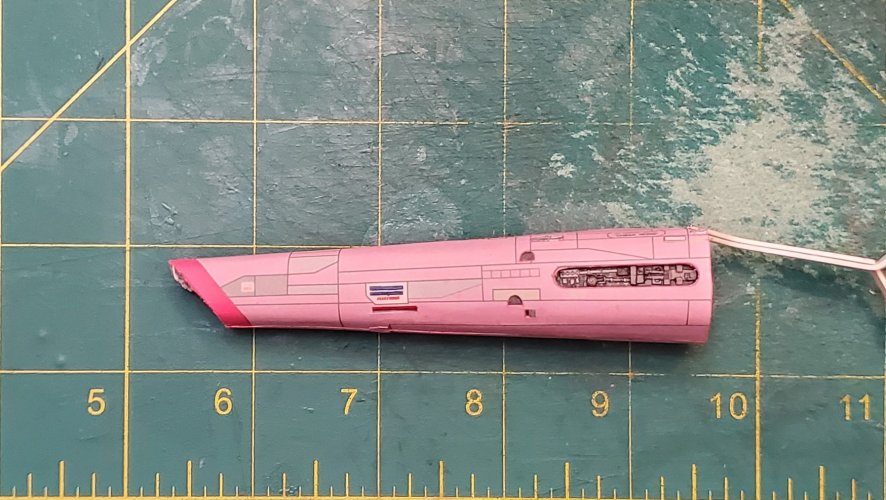
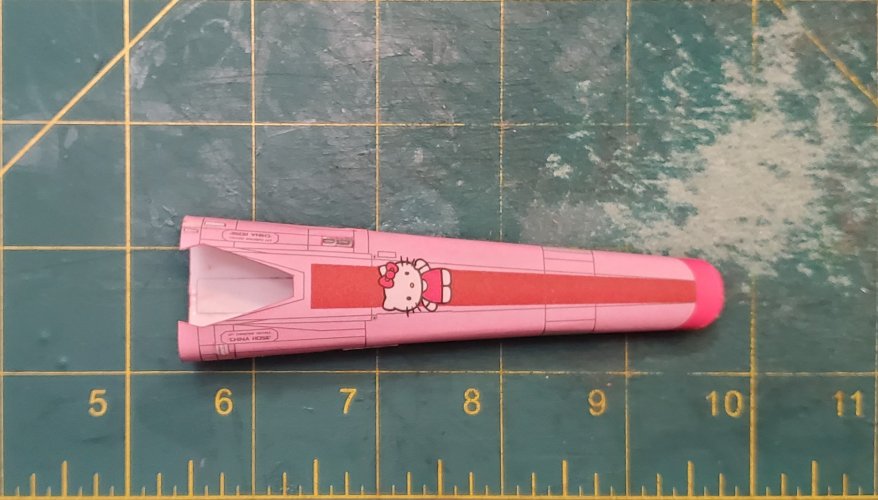
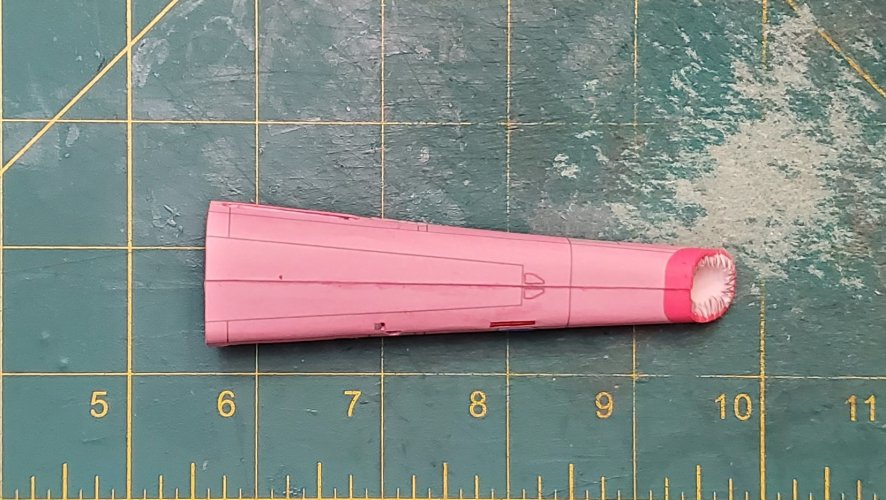
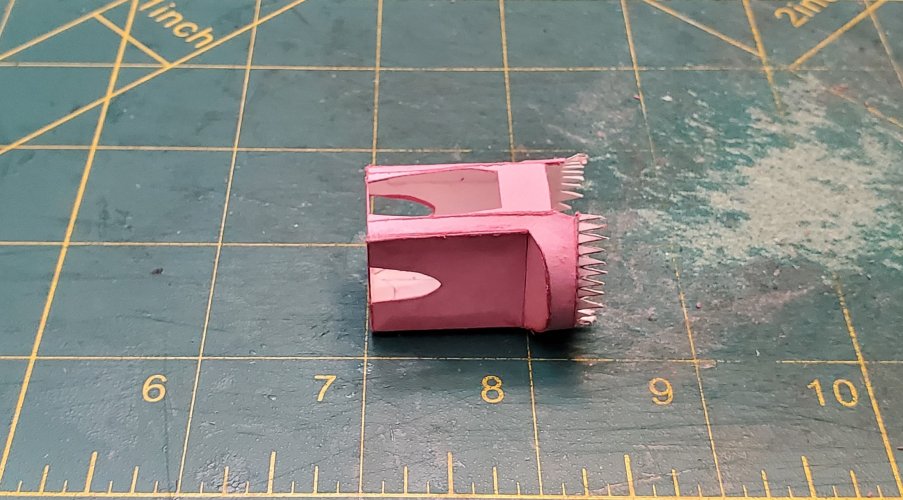
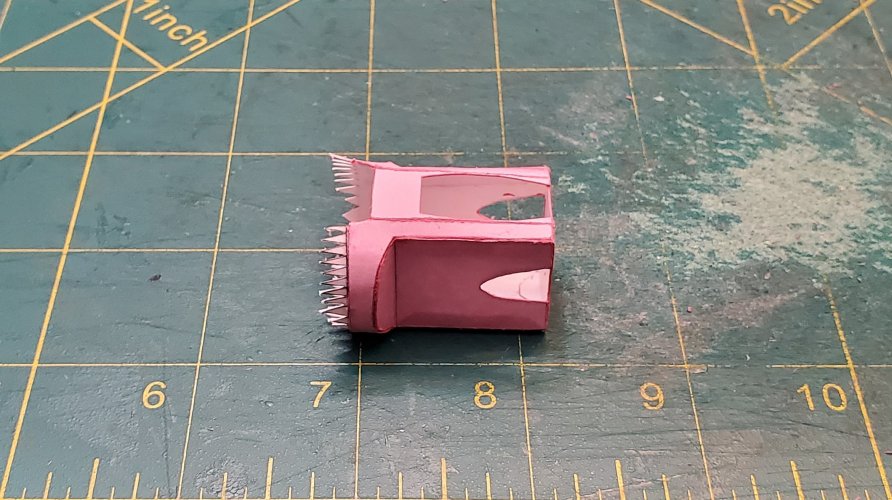
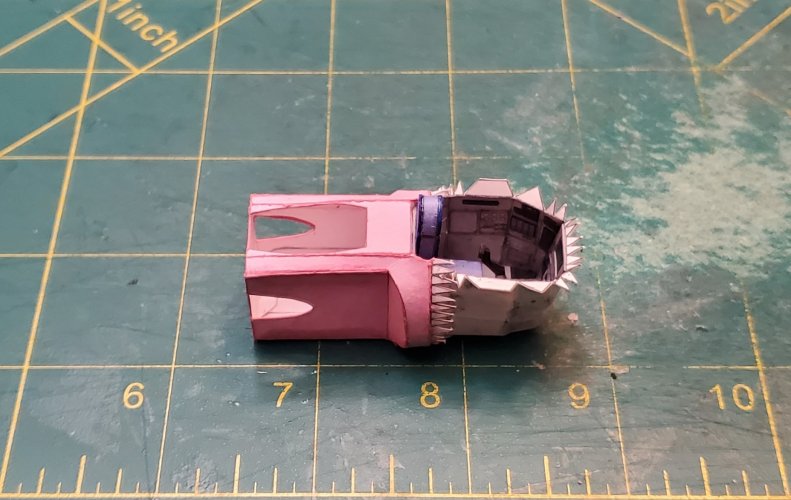
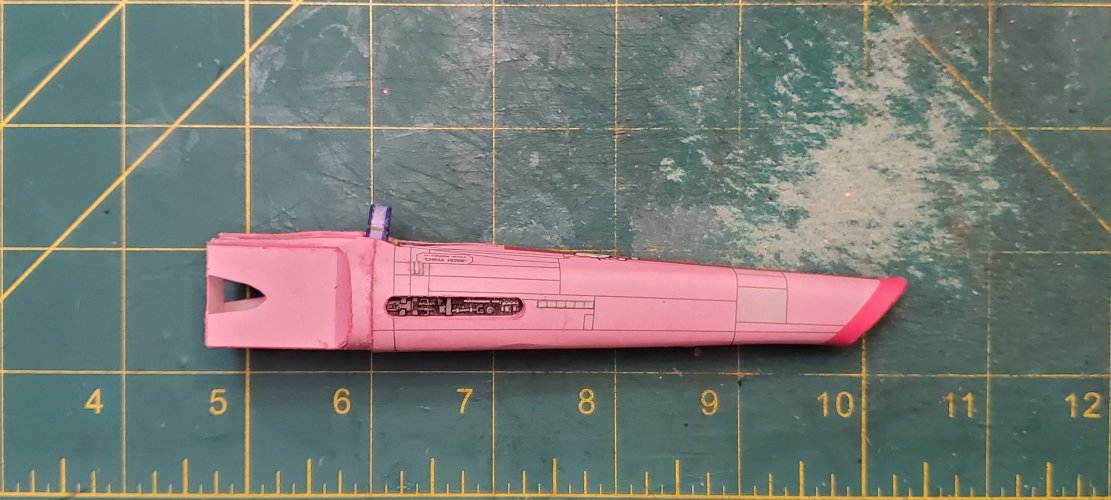
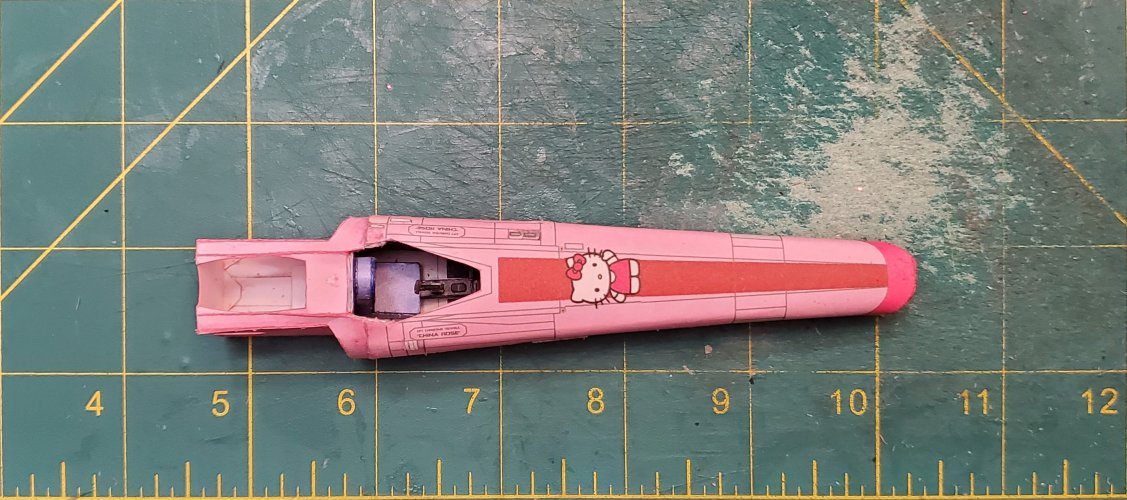
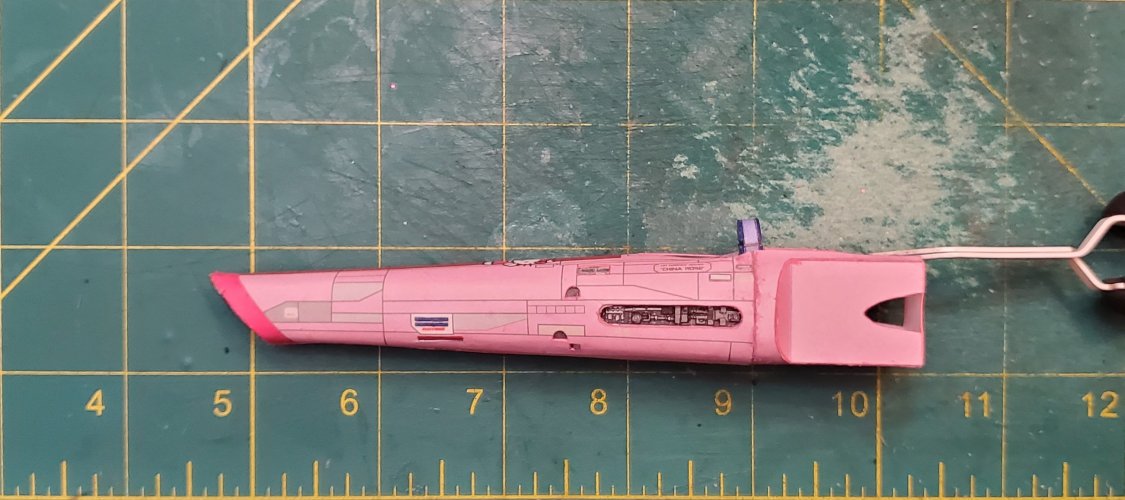
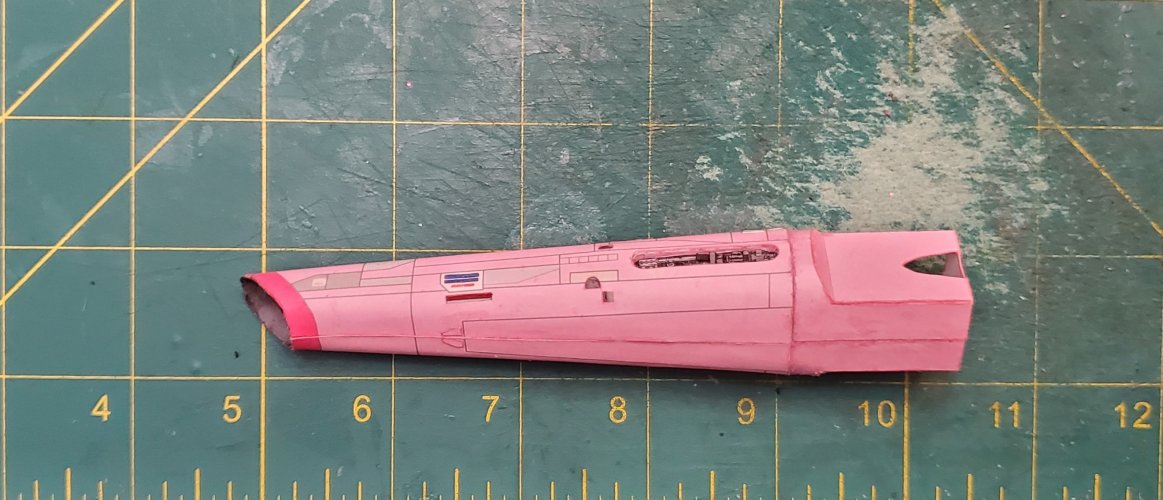
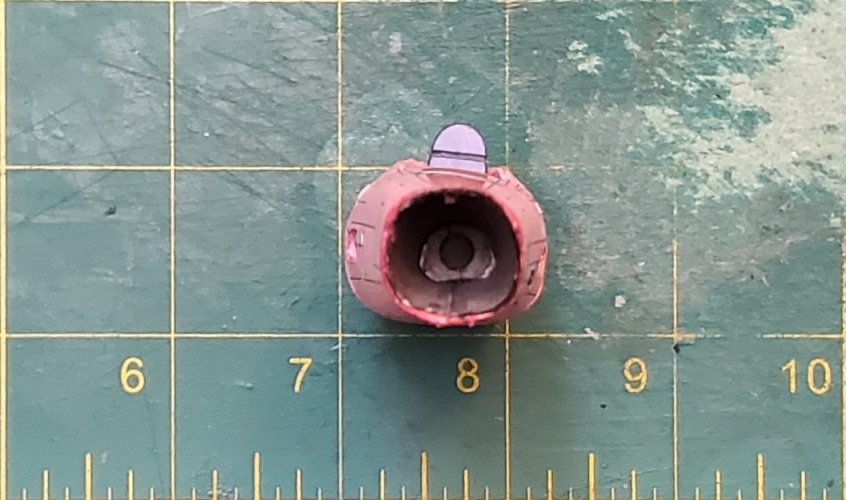
Whilst I was working on the (TOS) Colonial Viper (MK-I), my fiancé and I were talking about the Viper, and the subject of "HELLO KITTY" products (as well as a few paper/cardstock models of unusual SCI-FI ships and vehicles that were made in "HELLO KITTY" livery) wormed its way into the conversation. She asked if it were possible to make a Viper in "HELLO KITTY" livery. So, after a long conversation with @Revell-Fan (requesting him to repaint the Viper in "HELLO KITTY" livery). He agreed to make the template (as well redesign the stand from the BSG Raptor for the Viper).
(*NOTE* Since I have already conducted two detailed builds of this model already, I am not going to be as detailed with this thread. However, I will be putting as much detail and greebling into this model as possible. Yes, I will feature the detail and greebling in this thread).
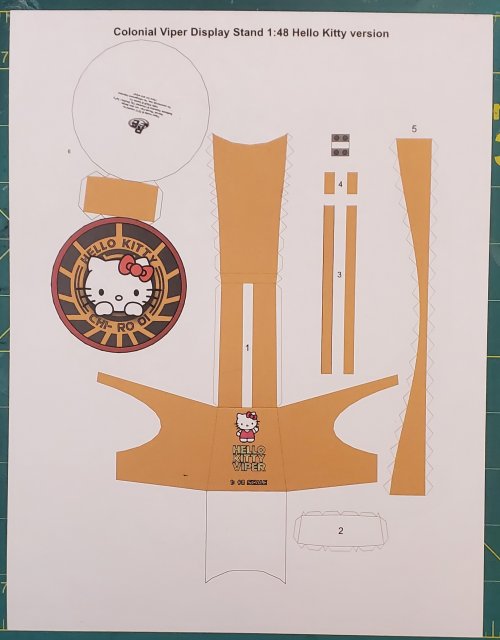
I started with the stand. Here is the template.
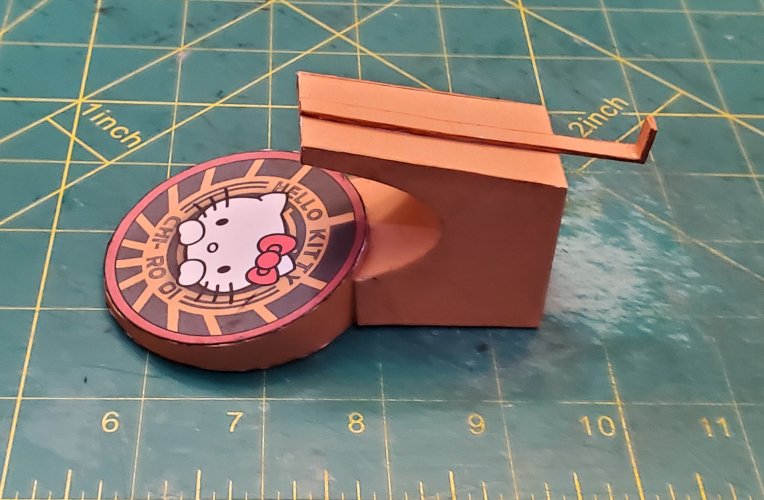
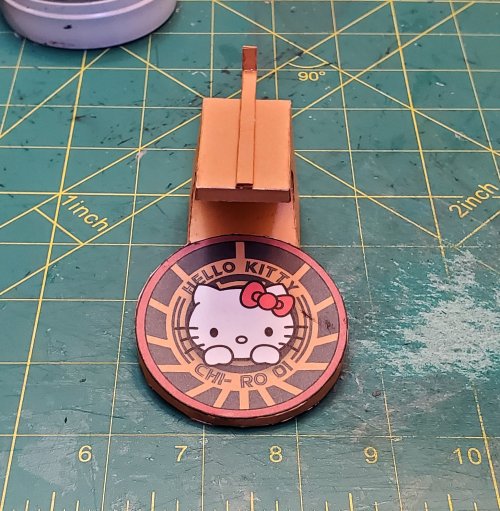
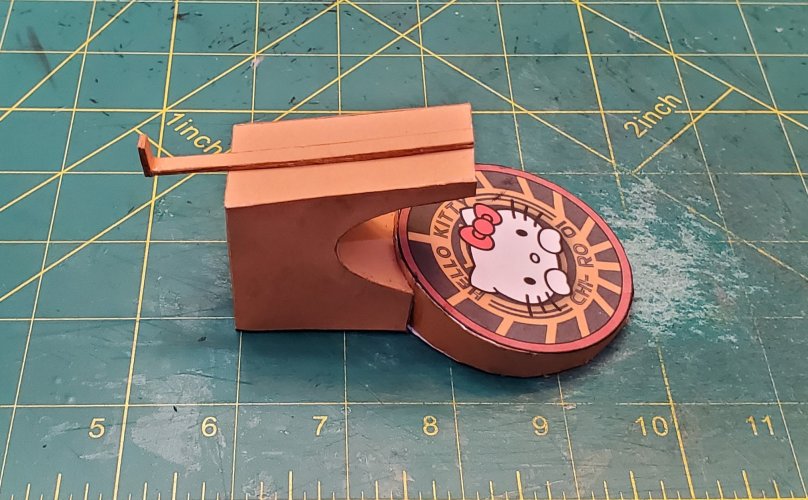
The stand went together easily. As you can see, there is a guide that will hold the Viper in place.
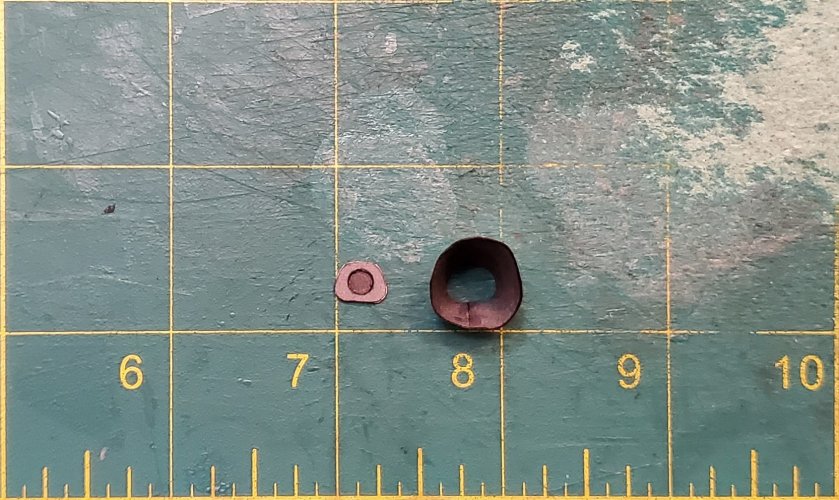
I then moved on to the cockpit interior. Here are the parts for the cockpit interior.
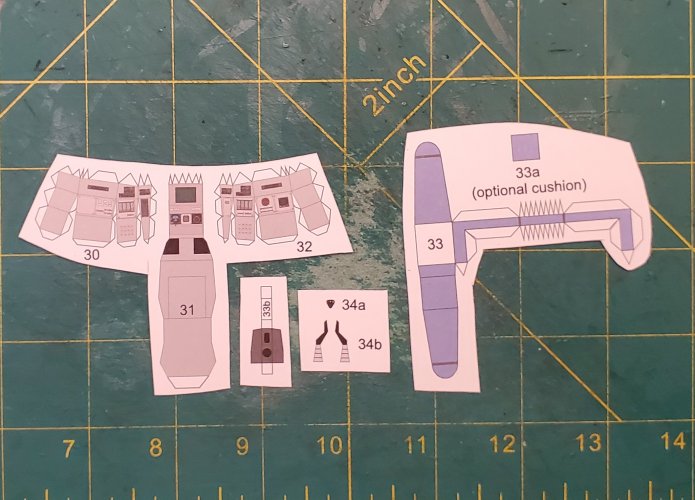
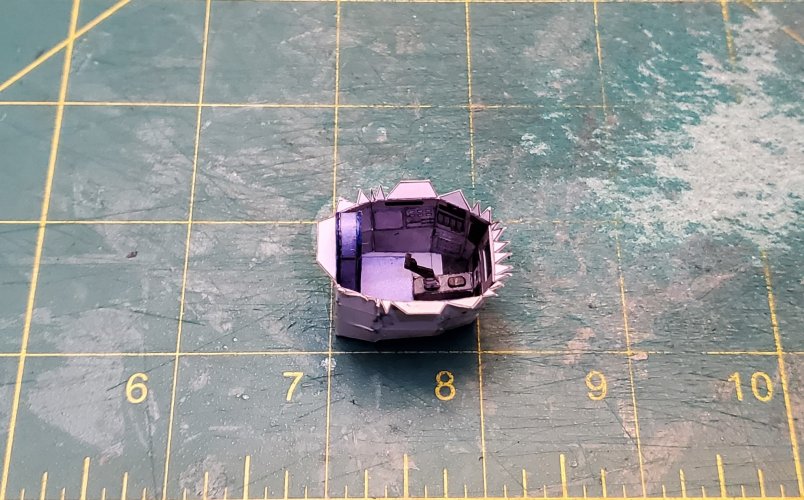
Starting with the cockpit tub. I detailed the control panels by raising the panels and recessing some of the screens.
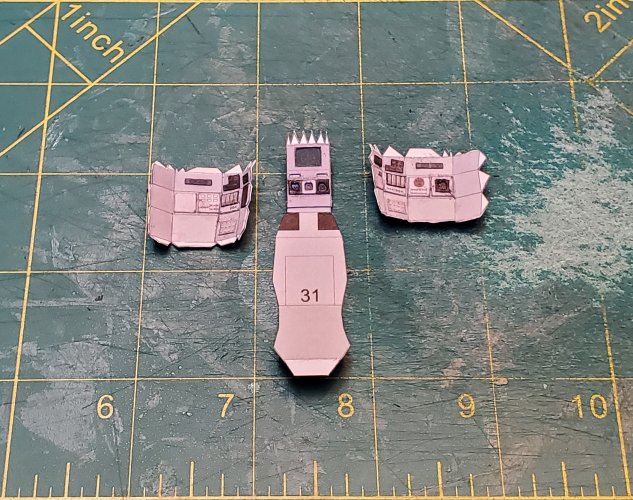
I started assembling the cockpit tub.
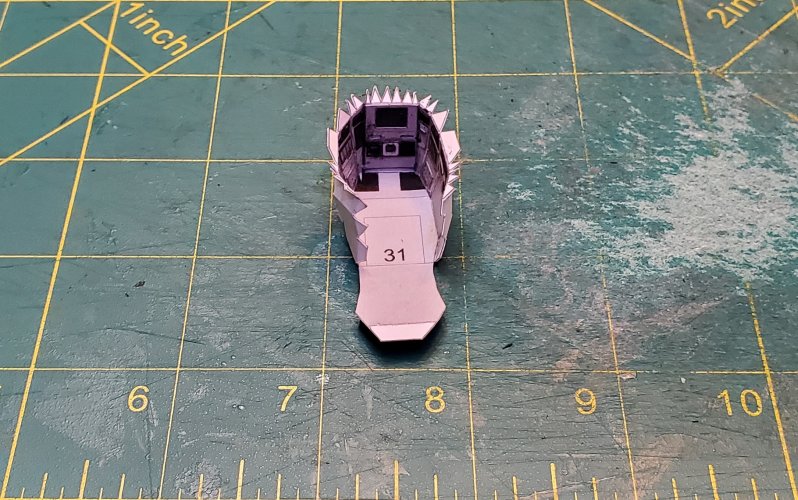
I attached the joystick mount.
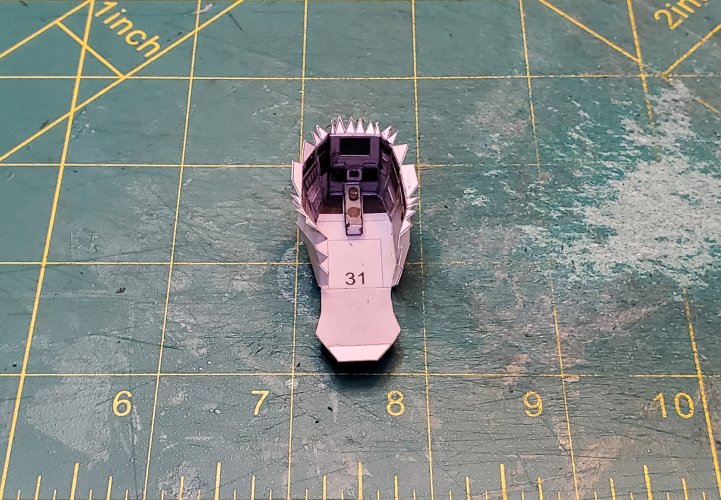
The Joystick is attached.
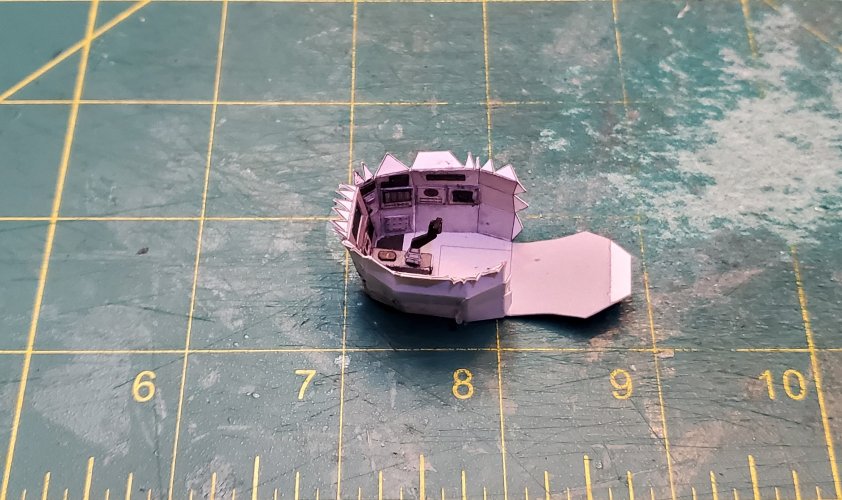
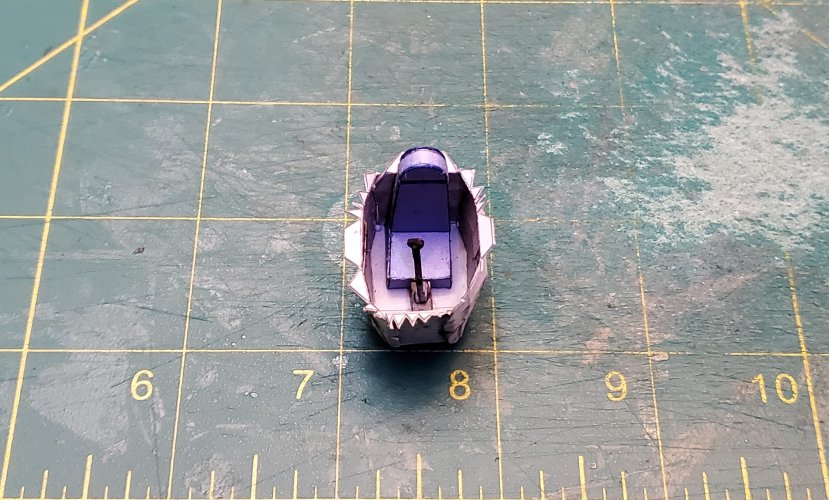
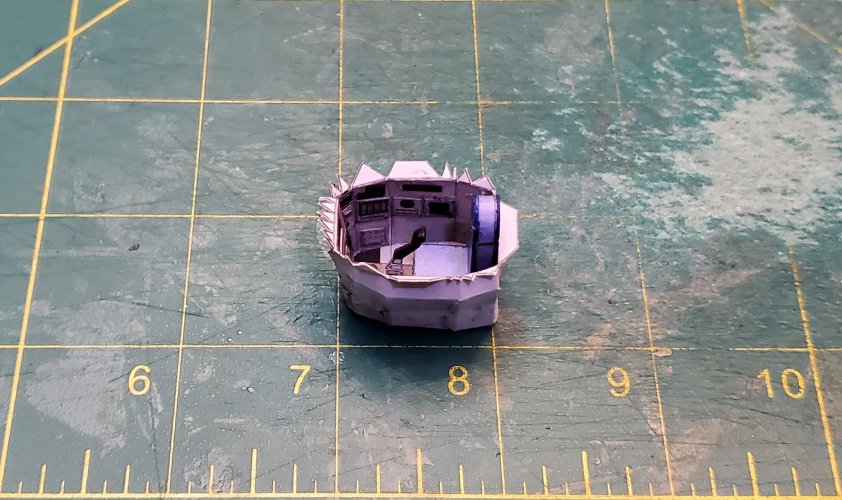
I closed up the tub and attached the seat.
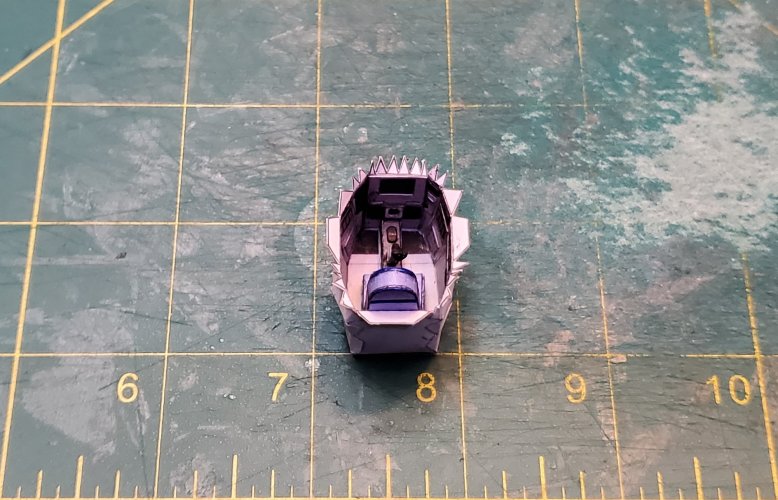
Please stay tuned in to your local Colonial Broadcast Network for further updates as they happen.
(*NOTE* Since I have already conducted two detailed builds of this model already, I am not going to be as detailed with this thread. However, I will be putting as much detail and greebling into this model as possible. Yes, I will feature the detail and greebling in this thread).
I started with the stand. Here is the template.

The stand went together easily. As you can see, there is a guide that will hold the Viper in place.


I then moved on to the cockpit interior. Here are the parts for the cockpit interior.

Starting with the cockpit tub. I detailed the control panels by raising the panels and recessing some of the screens.

I started assembling the cockpit tub.

I attached the joystick mount.

The Joystick is attached.

I closed up the tub and attached the seat.


Please stay tuned in to your local Colonial Broadcast Network for further updates as they happen.
Last edited:


