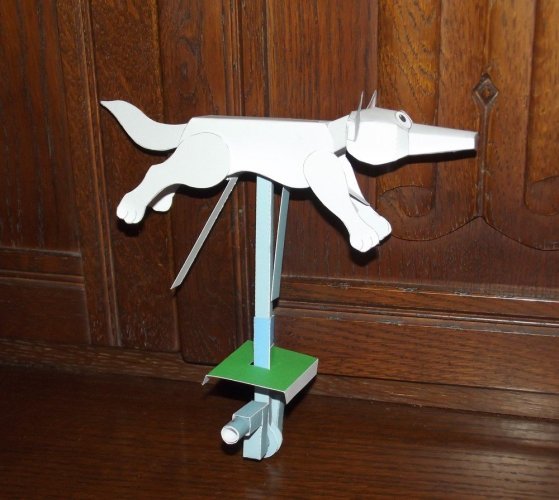
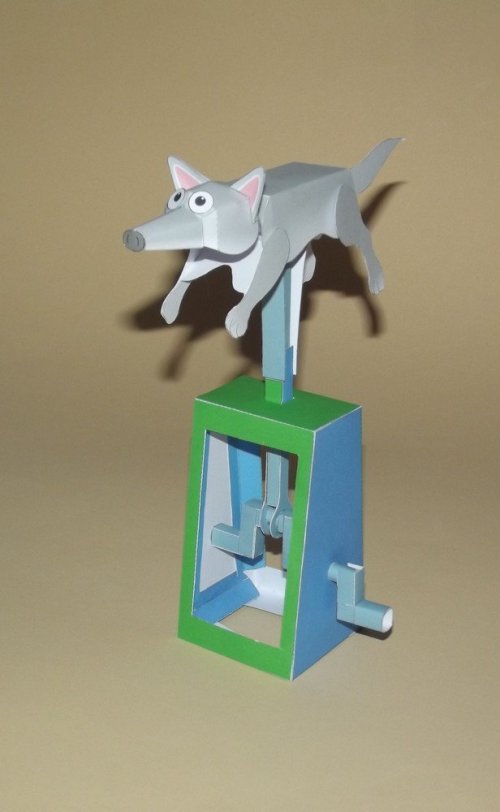
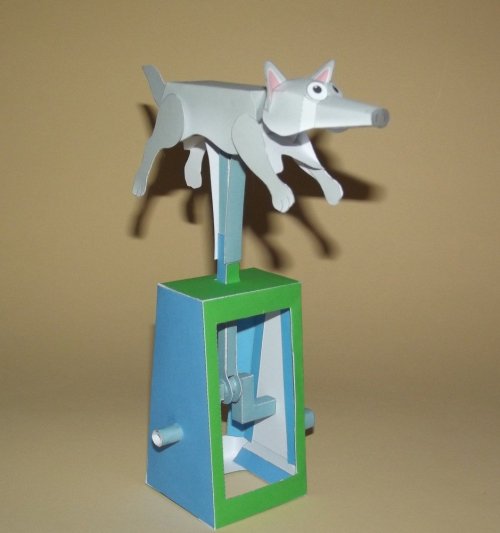
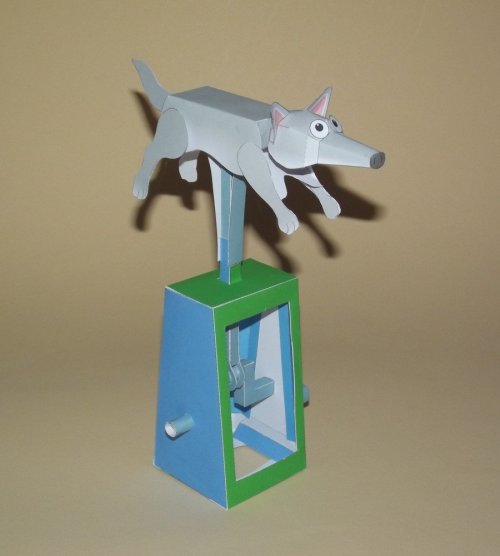
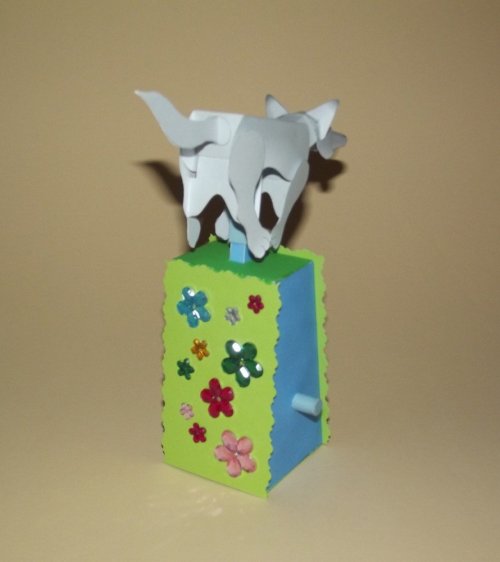
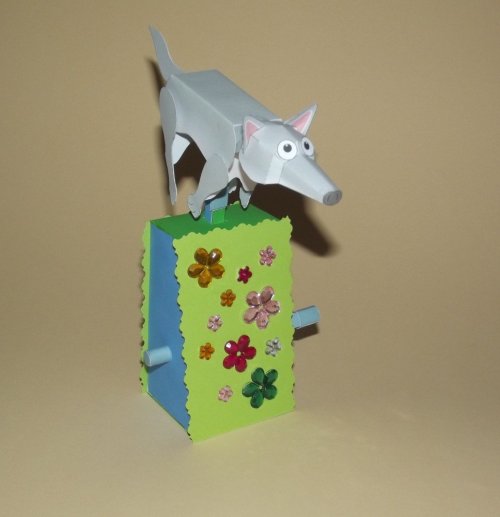
Leaping Wolf (Brother kit mod)

Revell-Fan

Co-Administrator
Staff member
Administrator
Moderator
Aug 1, 2009
12,417
13,877
228
Vreden
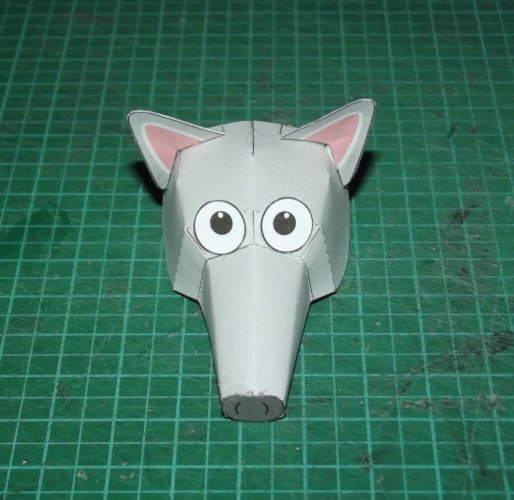
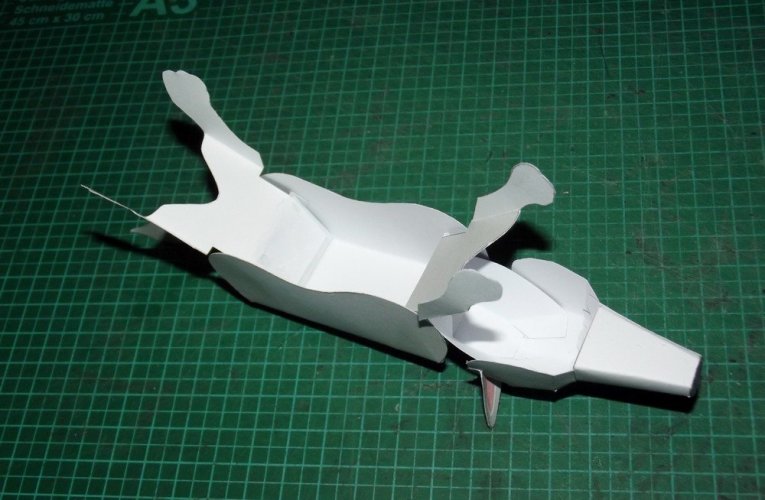
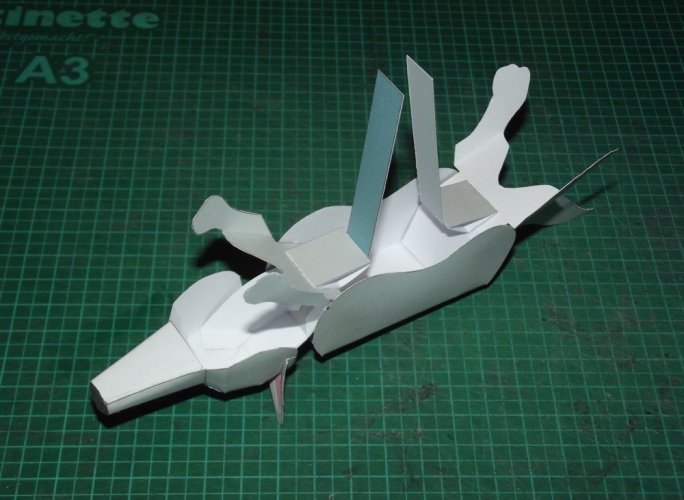
Howdee fans! As teased in the ambulance thread here comes a quickie: A dear colleague at work is leaving us and she should not go without a papercraft from me. She absolutely loves dogs which made me adapt the leaping fox kit by brother.
DSCF3178.jpg

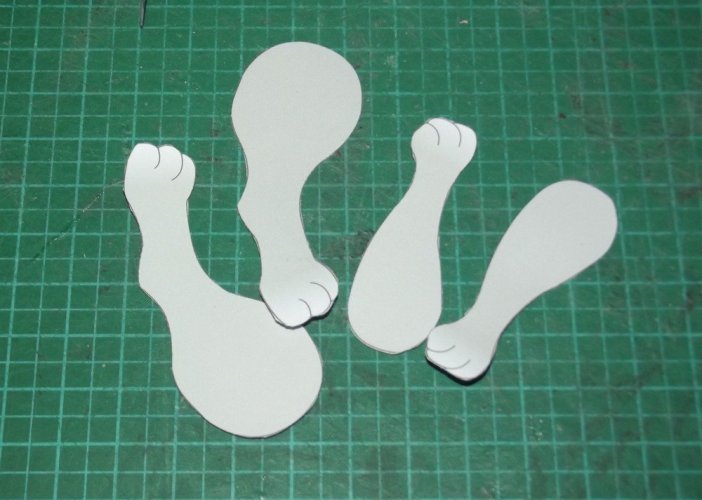
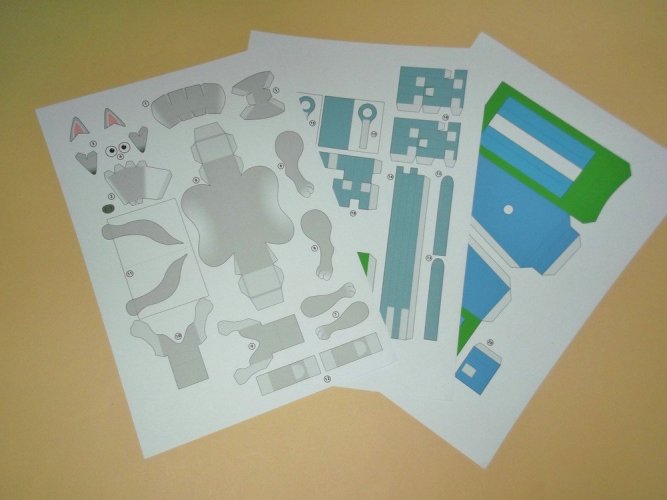
When I opened the PDF in InkScape all colour gradients changed in a weird way which ruined the graphics. So I imported the plans in Gimp and desaturated all parts of the fox to make them grey. The ears were scaled down by 25% to make them more fitting for a wolf.
IMG_20250219_164013.jpg

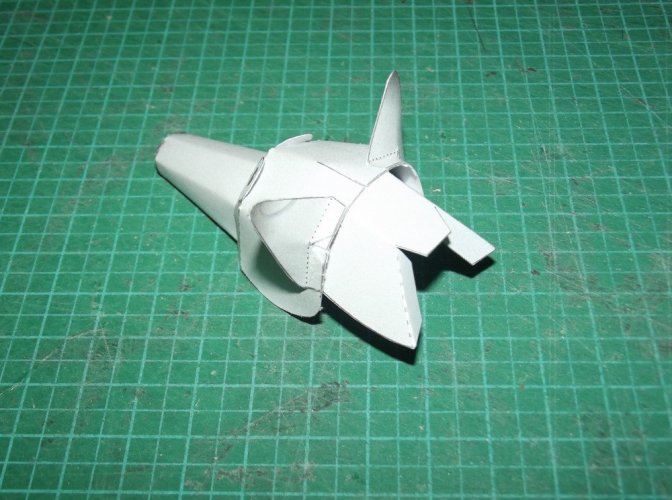
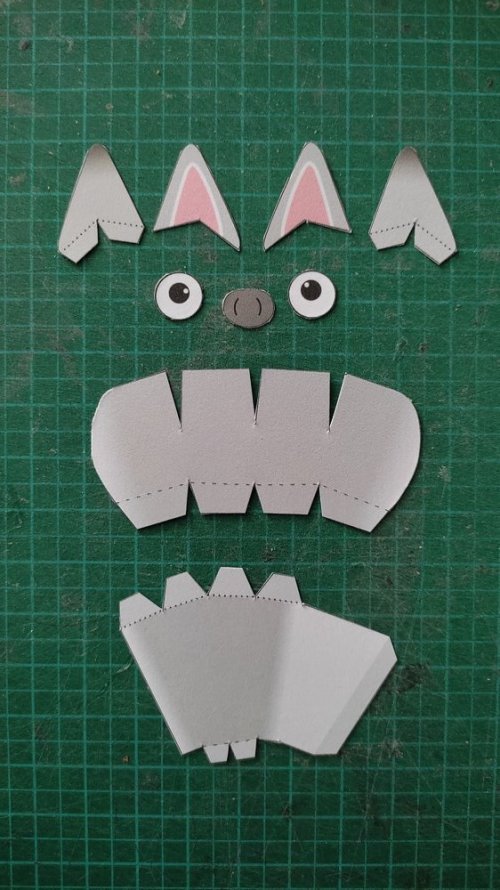
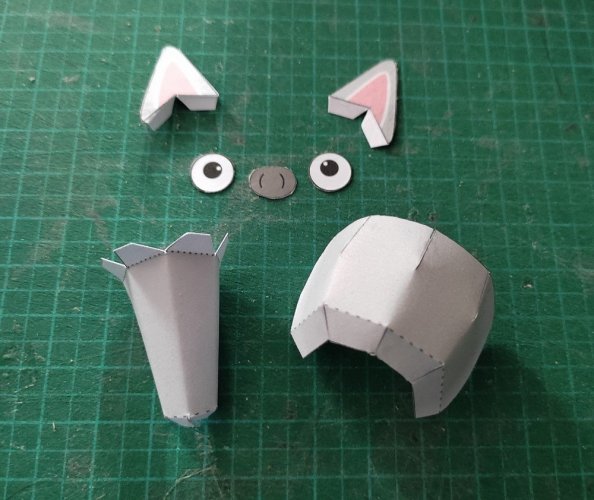
All parts for the head were cut out and placed on the cutting mat. As usual some very exotic shapes appeared... :biggrin:
IMG_20250219_170815.jpg

DSCF3180.jpg

DSCF3181.jpg

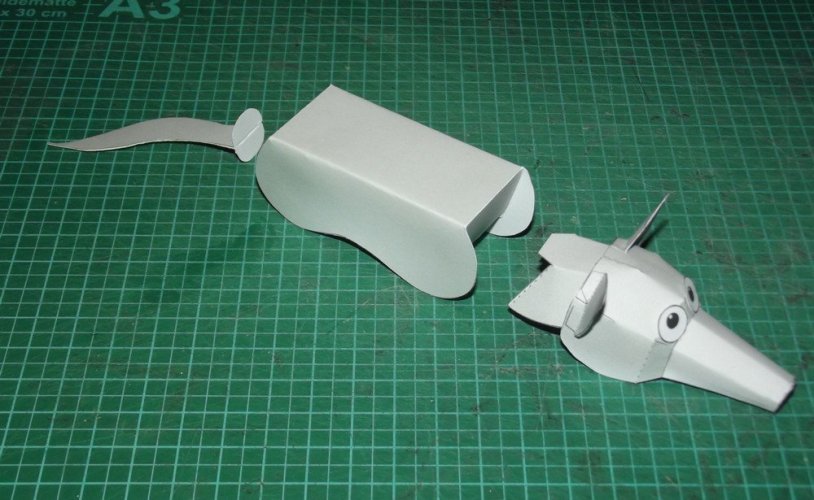
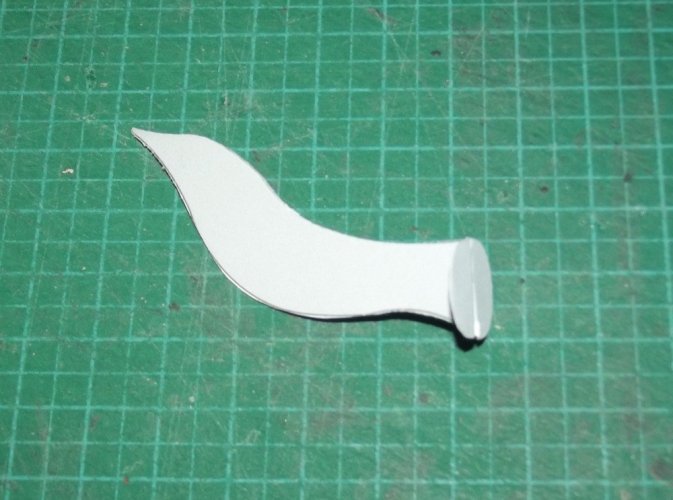
The tail got a new shape (in InkScape):
DSCF3182.jpg

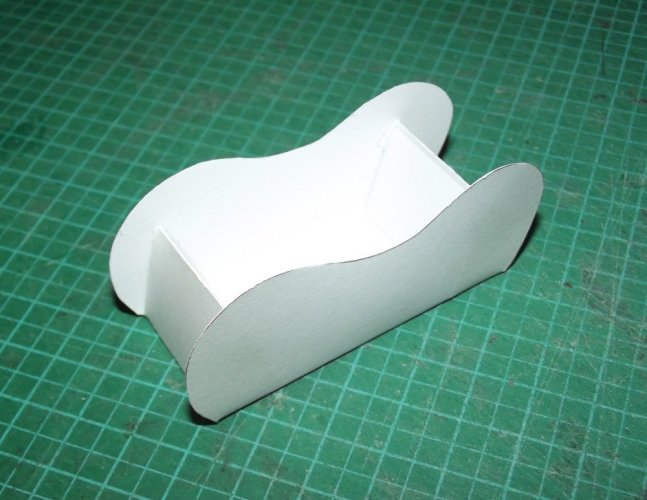
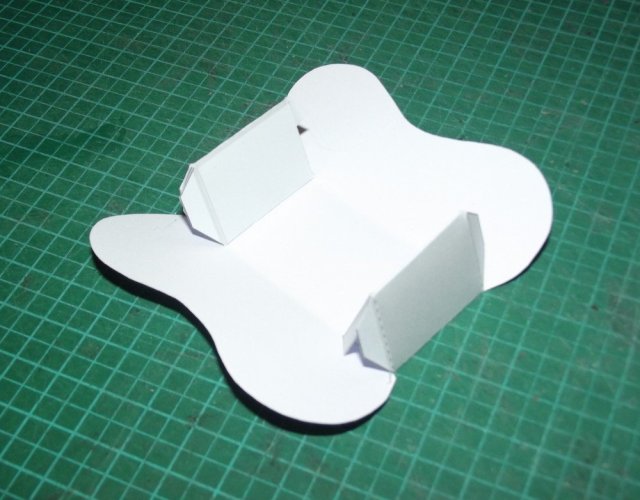
Assembly did not deviate from the original instructions.
DSCF3183.jpg

DSCF3184.jpg

DSCF3185.jpg

The instructions are very precise and clear.
DSCF3186.jpg

DSCF3187.jpg

DSCF3188.jpg

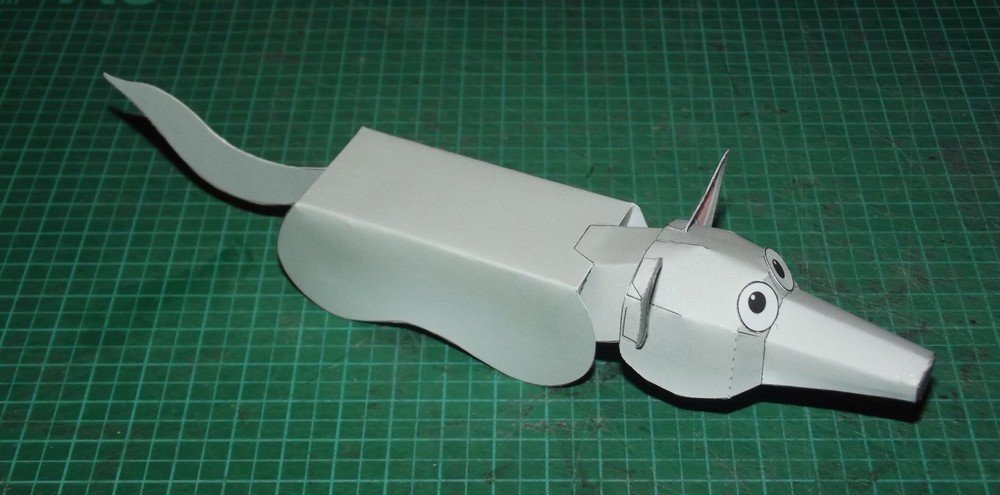
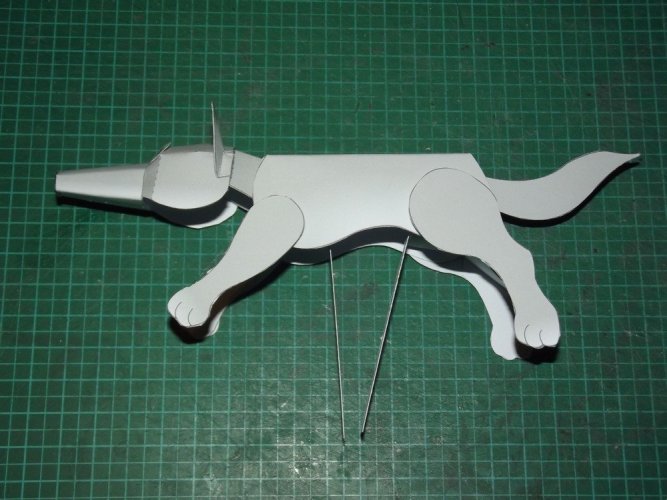
Everything went together properly.
DSCF3189.jpg

DSCF3190.jpg

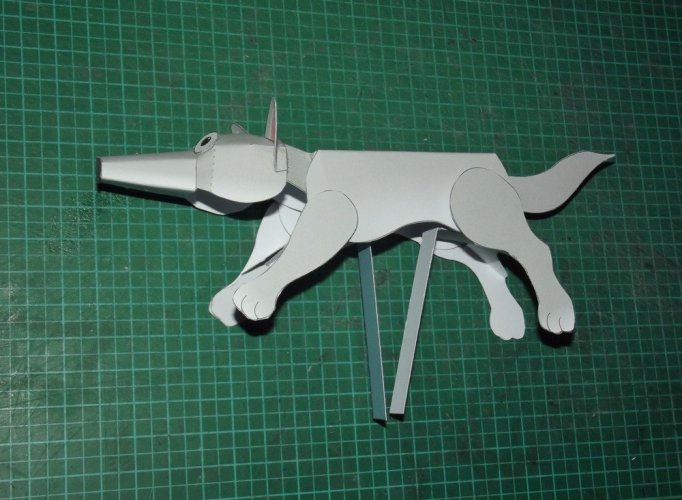
And after one hour of cutting and glueing the wolf was ready. :)
DSCF3191.jpg
 
The apparatus was assembled without issues.

DSCF3192.jpg

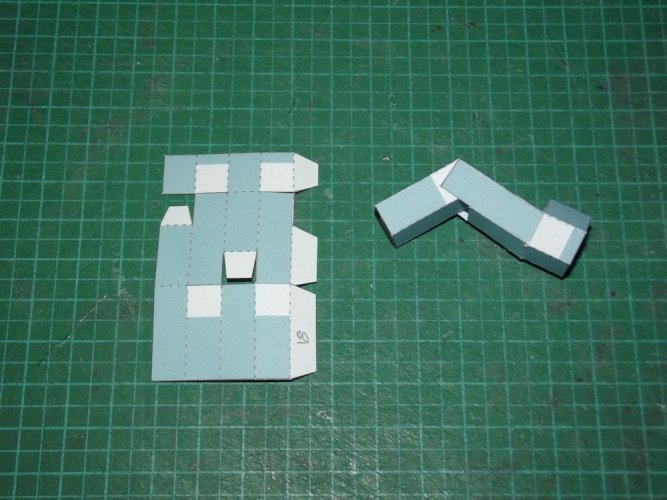
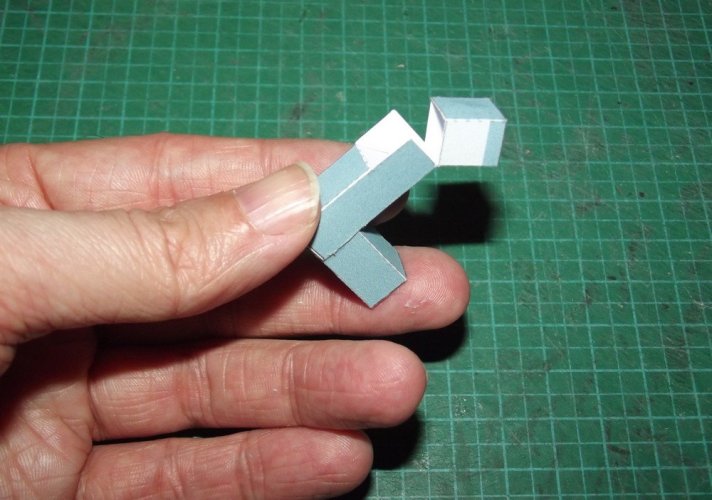
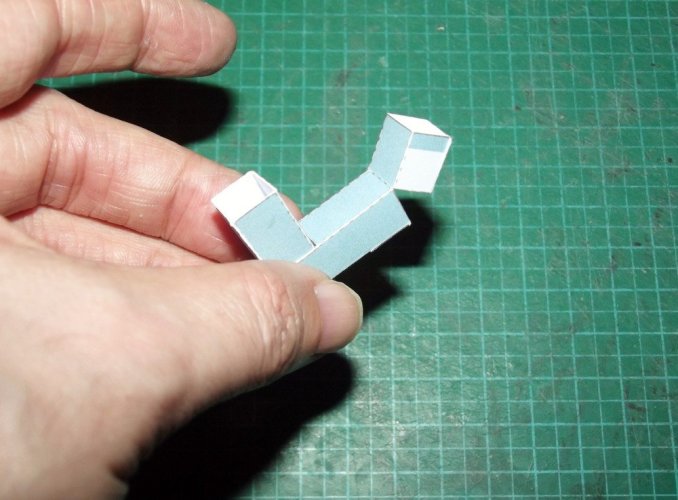
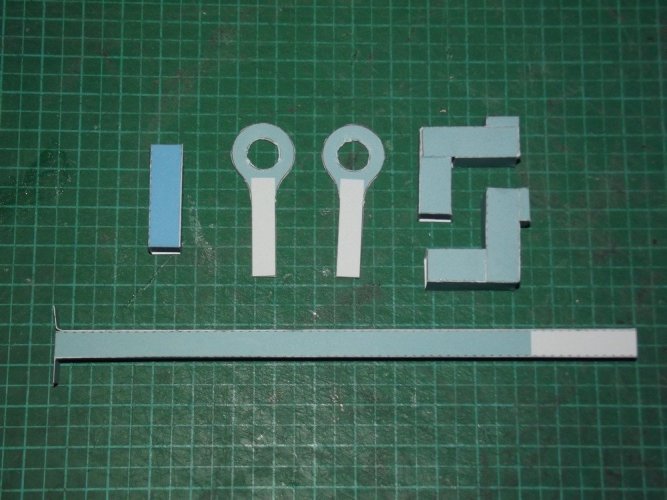
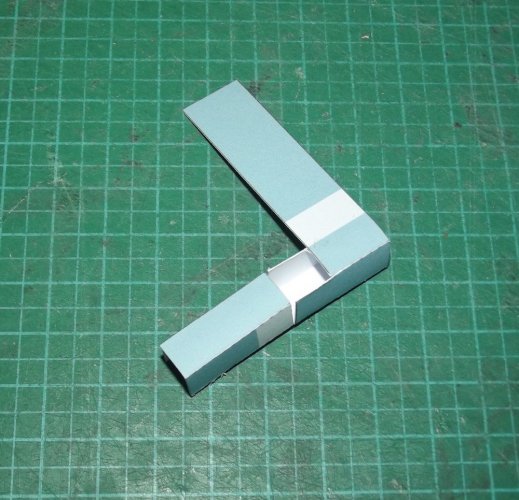
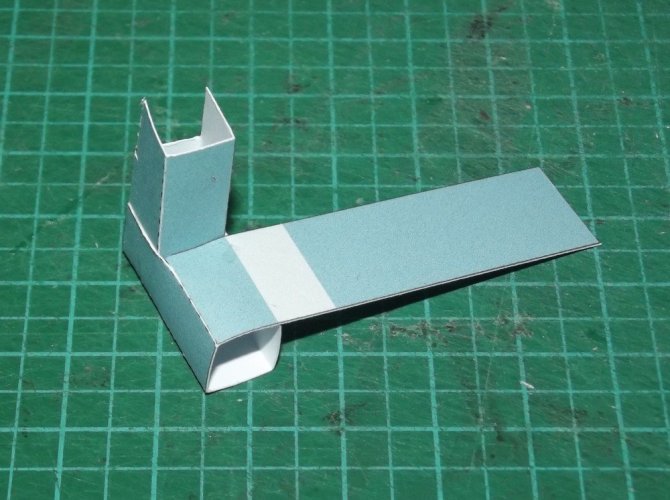
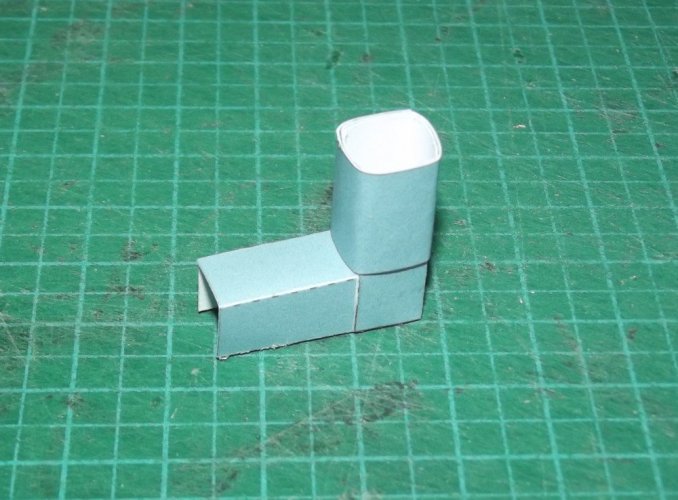
Several parts of the crank mechanism have some very intricate foldings. They are as effective as clever.

DSCF3193.jpg

DSCF3194.jpg

DSCF3195.jpg

DSCF3196.jpg

DSCF3197.jpg

DSCF3198.jpg

DSCF3200.jpg

DSCF3201.jpg

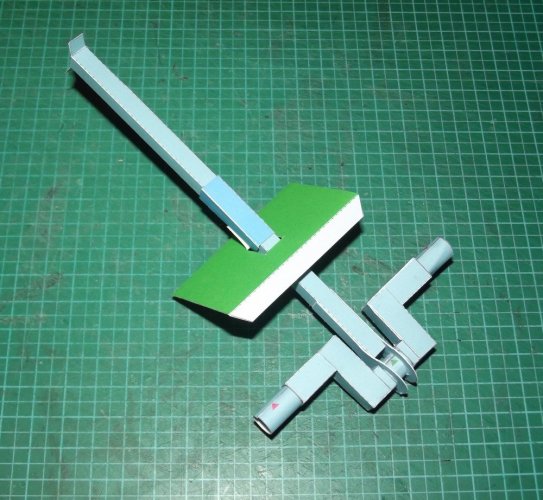
When you build this model it is absolutely necessary to look at the illustrations carefully so that you do not attach a part upside down by accident. I had to check twice to see that the long end of the guide must stick out of the cage.

DSCF3202.jpg

Everything went together smoothly.

DSCF3204.jpg

DSCF3203.jpg

As you can see I changed the colour of some parts in InkScape. The cage was assembled and the figure attached.

DSCF3205.jpg

DSCF3206.jpg

DSCF3207.jpg

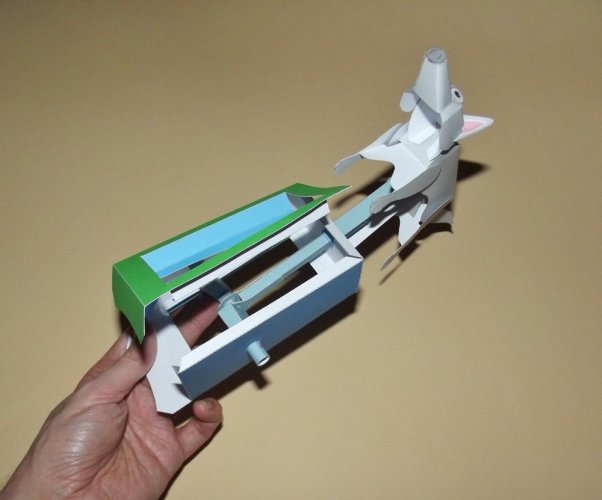
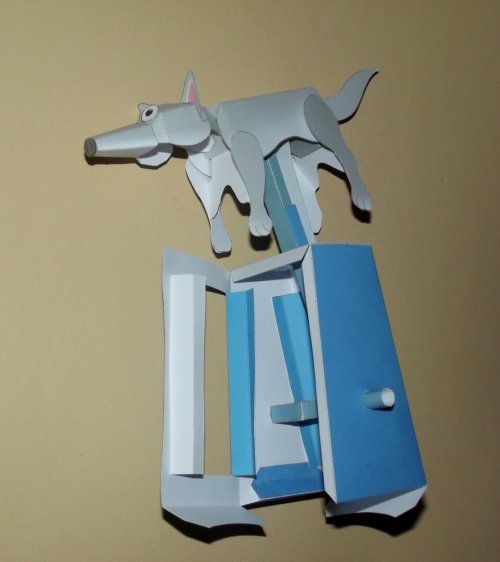
The edges of the cage feature some faces which are folded into triangles and glued to the neighbouring side of the body. This makes the construction pretty strong without attaching separate parts. This is the only thing of the kit which I would have solved in a different way.

DSCF3208.jpg

The edge reinforcements add some colour to the inside of the cage whereas the rest of the faces remain white. This gives a rather incoherent and unfinished appearance.

DSCF3209.jpg

It would have been better to have coloured the back side of the frame and used separate former pieces for the edges. But please don't get me wrong, eveything fits and works like a charm. My thoughts are just an observation and a matter of complaining on a high level. ;) :)
 
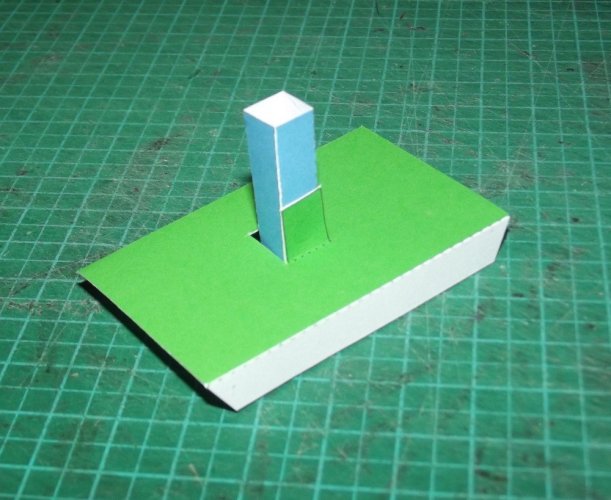
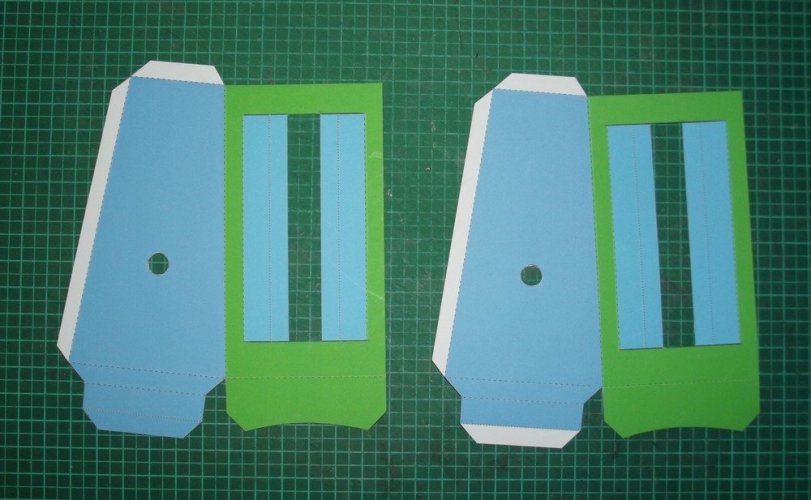
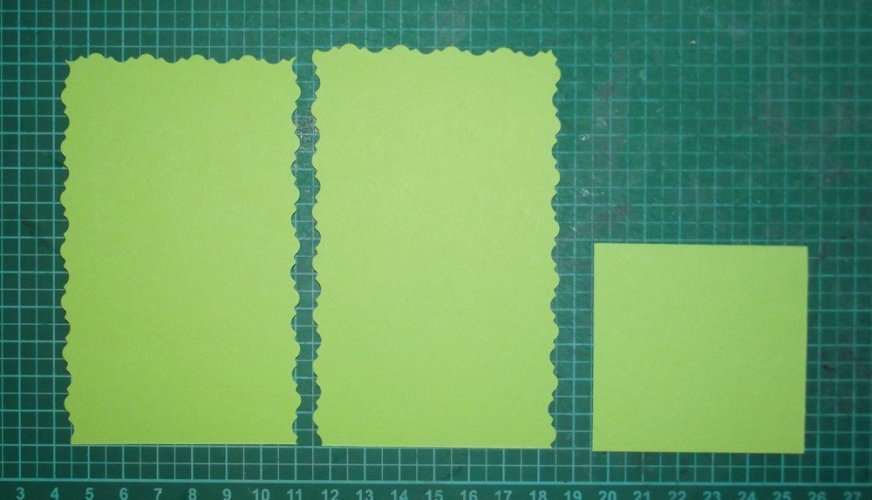
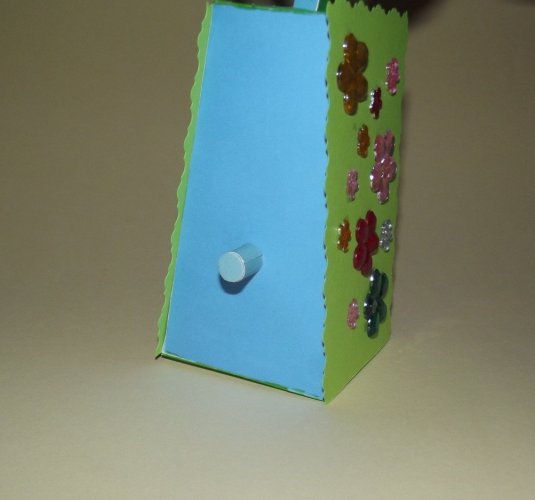
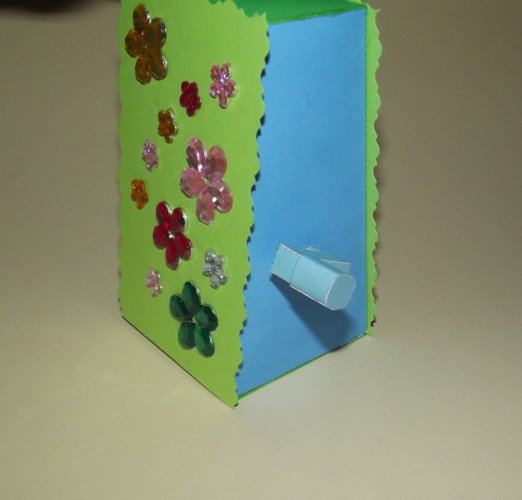
The original design allows you to watch inside the mechanism and see the crank at work. This is a fascinating and amazing piece of engineering. Hats off to the creator who managed to design such a beautiful and fun piece with so much attention to detail and with such a low parts count. However, I thought the view inside would take away some of the magic behind the build. So I chose to close the frame with some green card.

DSCF3210.jpg

The open tubes of the crank were closed as well.

DSCF3211.jpg

DSCF3212.jpg

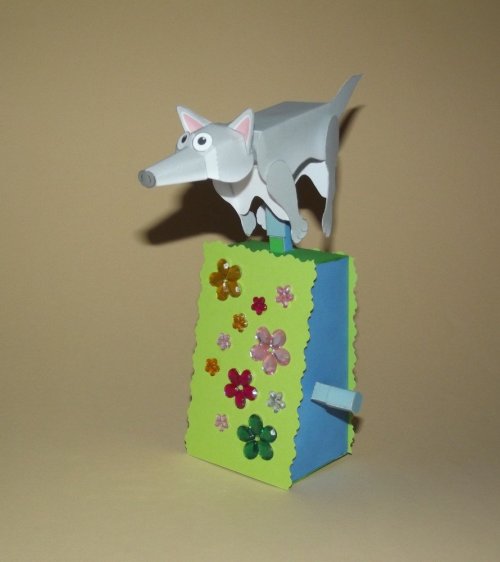
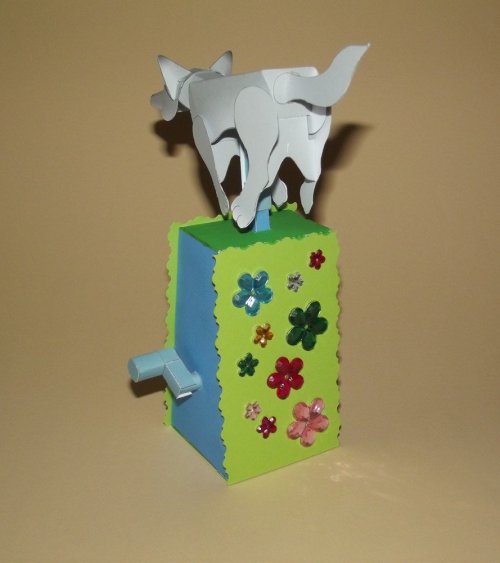
Finally I attached some deco gem stones to the front and back side

DSCF3213.jpg

which makes it look like the wolf was running across a meadow.

DSCF3214.jpg

DSCF3215.jpg

DSCF3216.jpg

:)