I am back to paper crafting after a few months break filled with doing other things.
And here comes a model that I really wanted to build since the beginning.
The King of Red Lions from Wind Waker
It is meant to be a present for a friend who loves the zelda games (I love these games too).
I still have time until end of july for this model. Should be more than enough.
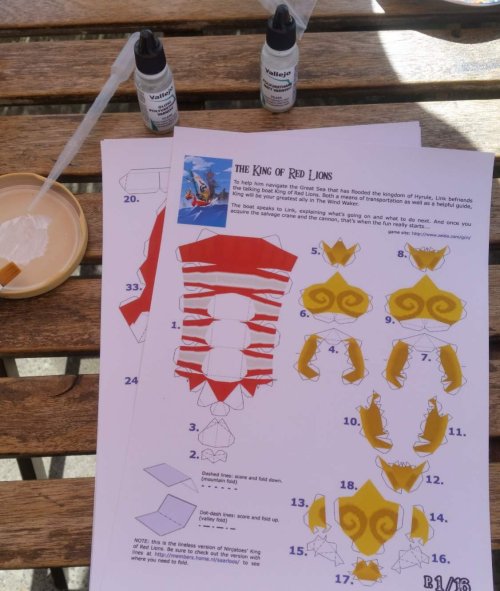
First step this time is a varnish sealing applied with a brush on the printed sheets. For this I used the method I tried in the sealing thread.
That means I use a 2:1 varnish:water mixture, here matt:glossy:water. I applied two layers. Should be sufficient to protect the delicate print during the process. When I have finished it, I think about applying a final sealing layer.

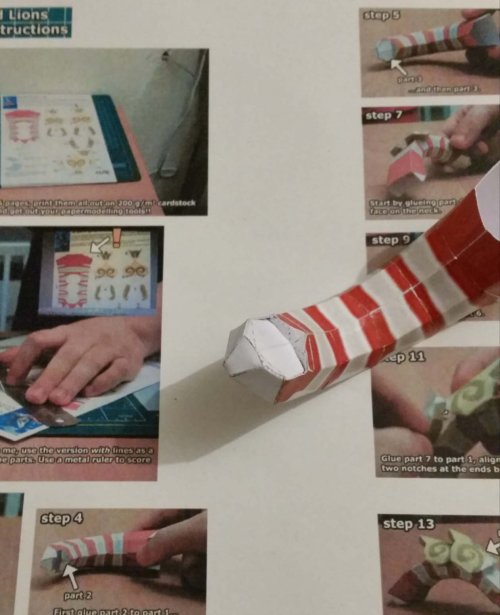
The first part, the neck, was quite easy but I am not quite sure if I folded and glued piece 2 and 3 in the right manner to the upper end of the neck. I guess only time will tell.

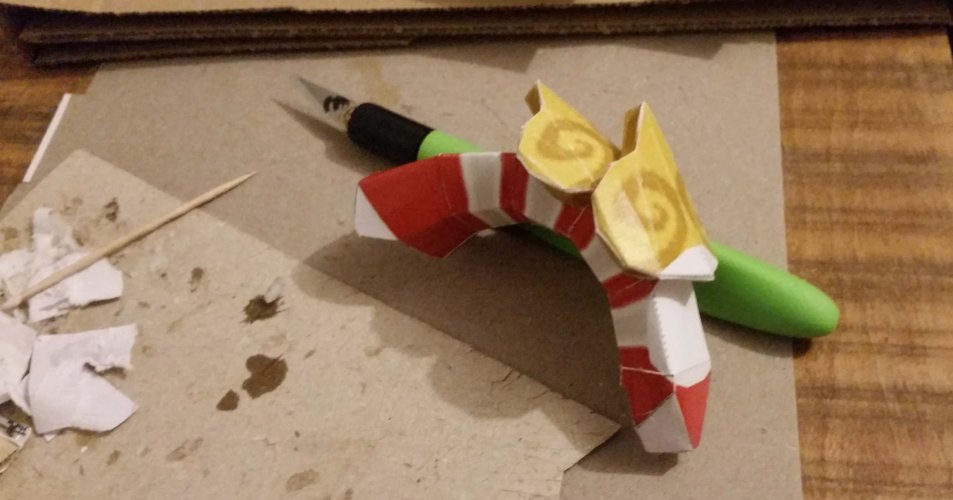
Two hours, the first evening, later I ended with this. Does not look like much but these two yellow neckshields were testing my dexterity and patience seriously.

And then I realized I used the yellow pieces from the wrong print. It was the test print which I did not sealed and I can see the color coming of on the fold lines.
But I will leave it like that.
And here comes a model that I really wanted to build since the beginning.
The King of Red Lions from Wind Waker
It is meant to be a present for a friend who loves the zelda games (I love these games too).
I still have time until end of july for this model. Should be more than enough.
First step this time is a varnish sealing applied with a brush on the printed sheets. For this I used the method I tried in the sealing thread.
Brush Varnish
Vallejo Gloss 70510
I did try the brush varnish a few months ago. But I thinned it out too much. Too much water for the paper and the wing of the Viper (siriusreplicas) lost its flat and level surface. I thinned out because in miniature painting you do that (at least youtubers told me )
)
Test #1
This time I started without diluting. Again I used some fresh printouts and as second test object I used that viper from the first try. The quick test was simply put some varnish drops on a lid, take some with the brush, wipe off again to not having too...
Vallejo Gloss 70510
I did try the brush varnish a few months ago. But I thinned it out too much. Too much water for the paper and the wing of the Viper (siriusreplicas) lost its flat and level surface. I thinned out because in miniature painting you do that (at least youtubers told me
 )
)Test #1
This time I started without diluting. Again I used some fresh printouts and as second test object I used that viper from the first try. The quick test was simply put some varnish drops on a lid, take some with the brush, wipe off again to not having too...

The first part, the neck, was quite easy but I am not quite sure if I folded and glued piece 2 and 3 in the right manner to the upper end of the neck. I guess only time will tell.

Two hours, the first evening, later I ended with this. Does not look like much but these two yellow neckshields were testing my dexterity and patience seriously.

And then I realized I used the yellow pieces from the wrong print. It was the test print which I did not sealed and I can see the color coming of on the fold lines.

But I will leave it like that.

