

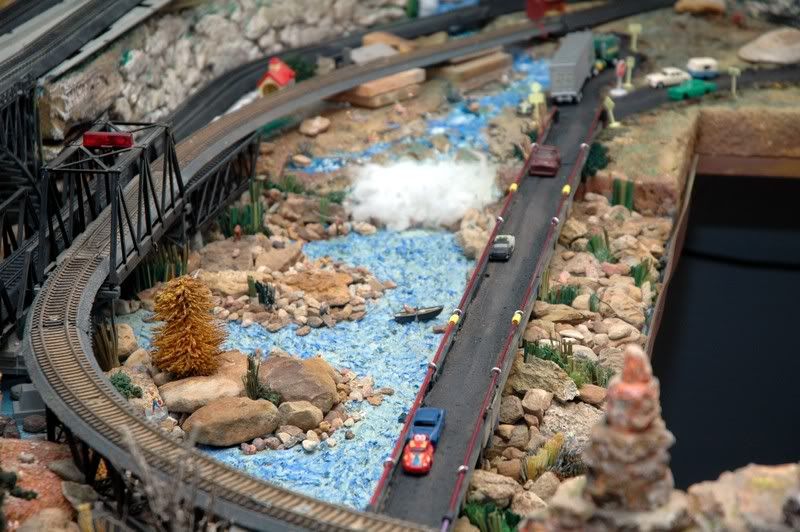
Thought I would share how I built the bridge shown below.
I was looking for something to make a fairly long bridge to cross a lake.
Got some plastic ribbon cartridges from a printer where I used to work and thought they would come in handy sometime but had no idea how to use them. I seperated the top and bottom haves and used the bottoms. Glued them together and strenghtened them by placing staples into holes already on the plastic cartridges where the two bridge sections but up against each other.
For the railings I saw some aluminum knitting needles from Wal-Mart. I cut off both ends and scrounged up some small plastic pieces that the needles would slide into to hold them together.
Got some small eye screws and screwed them onto the bridge railings and slid the needles through the eyes and that was it.
I then glued some strips of black rubber that my son used on his house roof to the width of the plastic cartridges. Then I sifted and washed some sand which I placed on glue that I had smeared on top of the rubber road bed.
