Help needed... Pieces too big to print on one page

wearelouder

New Member
Well this is a problem thats kind of vexed me for a little while. I'm trying to figure out how to resize some pieces (i.e. helmets), and some pieces end up running onto multiple pages.

I've seen a few answers but most were contradictory of each other. Some answers just flat out say "don't do it" others remark "just change the paper size and print on bigger paper".

I've also seen a mention of a part of the pepakura designer program called "zipper mode" but I do believe it's in the paid version not the free one.

Anyone else run into this problem? Any solutions out there that I'm just not seeing?
 

ASC Mclaren

Well-Known Member
If you absolutely can't print it on the correct size of paper, tile it. Print it on what you have and very carefully assemble the whole mess. I have do this on several models, and I'm sure I will do it in the (near) future.
 

wearelouder

New Member
If you absolutely can't print it on the correct size of paper, tile it. Print it on what you have and very carefully assemble the whole mess. I have do this on several models, and I'm sure I will do it in the (near) future.

Forgive my noobness... but I'm assuming that "tile" it means rotate/situate it so it sits on two pieces of paper next to each other? then attach them together after cutting?
 

Revell-Fan

Co-Administrator
Staff member
Administrator
Moderator
Forgive my noobness... but I'm assuming that "tile" it means rotate/situate it so it sits on two pieces of paper next to each other? then attach them together after cutting?
That's correct! :thumb:

If you have an unlocked *.pdo file you can open them in the Pepakura designer. Then re-scale the unfold and print it. Having printed it you can cut out the parts and re-join them. Pepakura Designer is able to print your development even if it is not registered.

You can do the same with image or *.pdf files: Load them into your favourite graphic program, re-scale the parts and use the "cut" function to tile the page. Then print them, cut the parts out and re-join them.

When you re-join them I recommend using tape or a strip of paper which you attach from the back side. So you will achieve a smooth result.

There is a re-scaled Aliens APC by Jan Rükr in the downloads section. Take a look at it and how the parts were split. This might give you some ideas of how it is done.

When you import the parts pages and re-scale it it is possible to alter the layout of the parts (move them around) before tiling them to reduce the number of parts which have to be re-joined. This is a bit labour intense but it often pays off.
 

wearelouder

New Member
That's correct! :thumb:

If you have an unlocked *.pdo file you can open them in the Pepakura designer. Then re-scale the unfold and print it. Having printed it you can cut out the parts and re-join them. Pepakura Designer is able to print your development even if it is not registered.

You can do the same with image or *.pdf files: Load them into your favourite graphic program, re-scale the parts and use the "cut" function to tile the page. Then print them, cut the parts out and re-join them.

When you re-join them I recommend using tape or a strip of paper which you attach from the back side. So you will achieve a smooth result.

There is a re-scaled Aliens APC by Jan Rükr in the downloads section. Take a look at it and how the parts were split. This might give you some ideas of how it is done.

When you import the parts pages and re-scale it it is possible to alter the layout of the parts (move them around) before tiling them to reduce the number of parts which have to be re-joined. This is a bit labour intense but it often pays off.

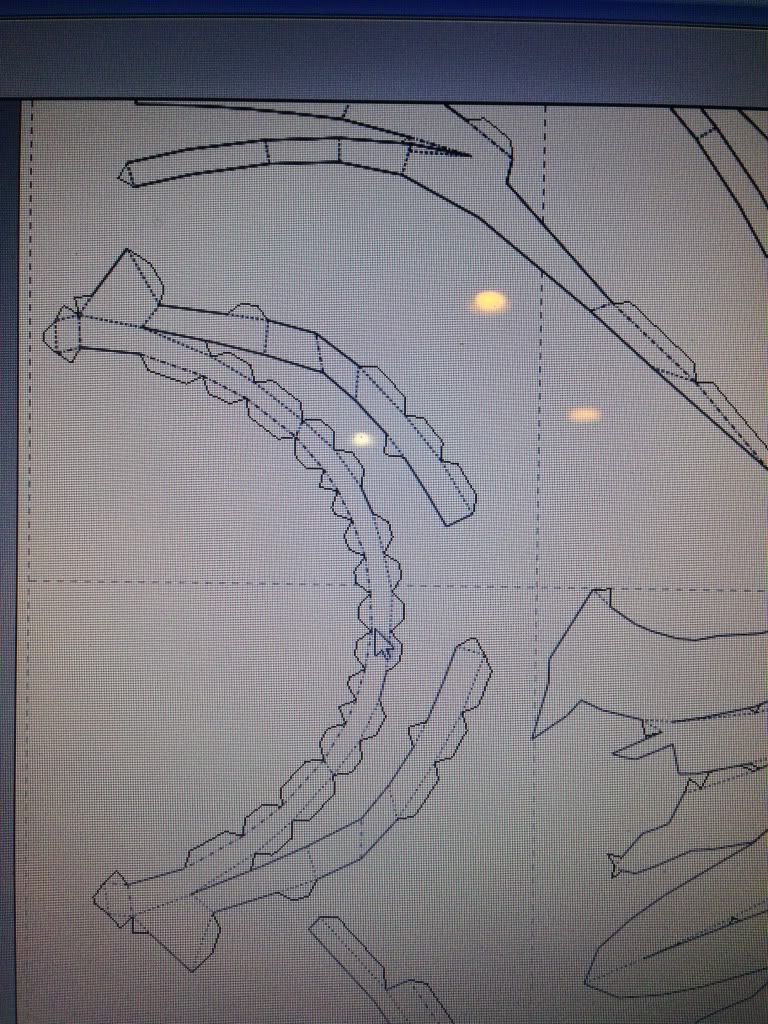
Well I finally got around to getting this done! Sorry for the delay. Well I have some pics to show what I've done. I'm starting with a Halo Reach helmet. Emile to be exact. I'm using the file (satchmo III), although I'm not sure exactly where I dwnlded from...

I've re arranged the pieces (thank you Tetris!) after resizing it to a wearable size.


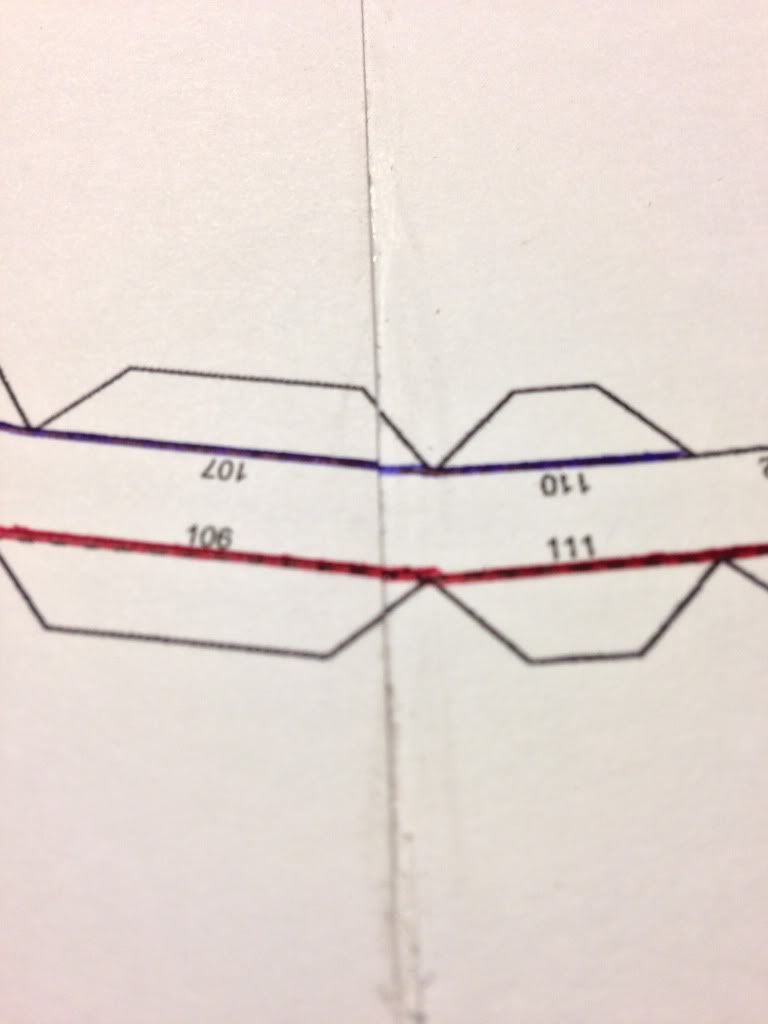
Now I stumbled upon a solution that maybe explained else where but I found it really useful when rearranging the pieces. When placing the piece over the two pages (after setting your margin to the lowest size of 5) it helps if you place them on a part that has some corners, junctions etc. in the page line. Kinda like this...


All in all I think this was a way more daunting task in my mind then it really is. Luckily I remembered not to hit yes when it asks me to automatically resize the pieces because they don't fit on the pages haha. Of course I'll take pics so I can bring you along on this journey to completion!

THANKS FOR ALL THE HELP GUYS!!!
 

zathros

*****SENIOR ADMINISTRATOR*****
Staff member
Administrator
Moderator
Get XNView. Press Print Screen, and it will grab whatever you are looking at, so make your picture full screen, and poportioned correctly. Fron there, you use the various above mentioned methods.

Check out this link for excellent tried alternatives: http://download.cnet.com/8301-2007_4-9714054-12.html
 

Scottgate

New Member
I used the snipping tool on my laptop windows 7.its like a screenshot.you can search for it on your computer or mine in down in the program menu.
 
Top