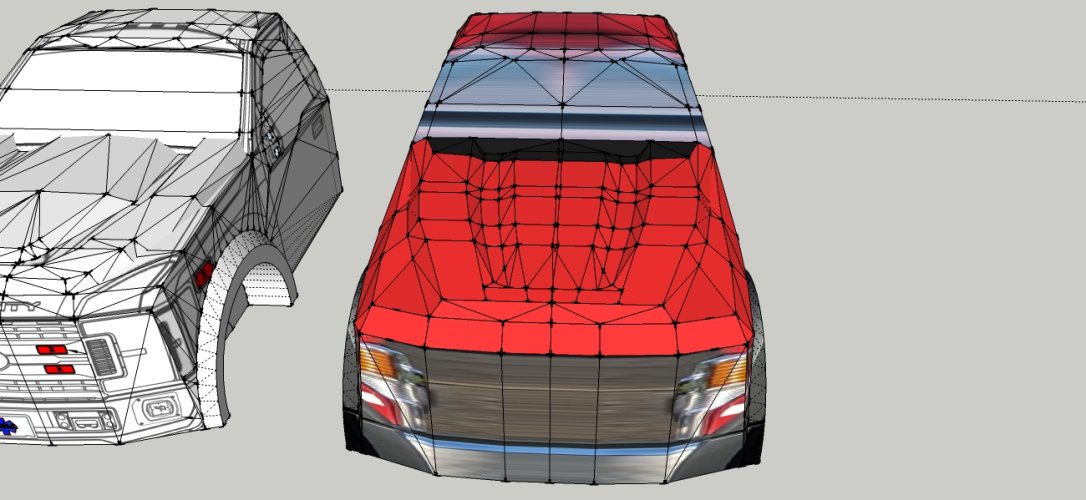
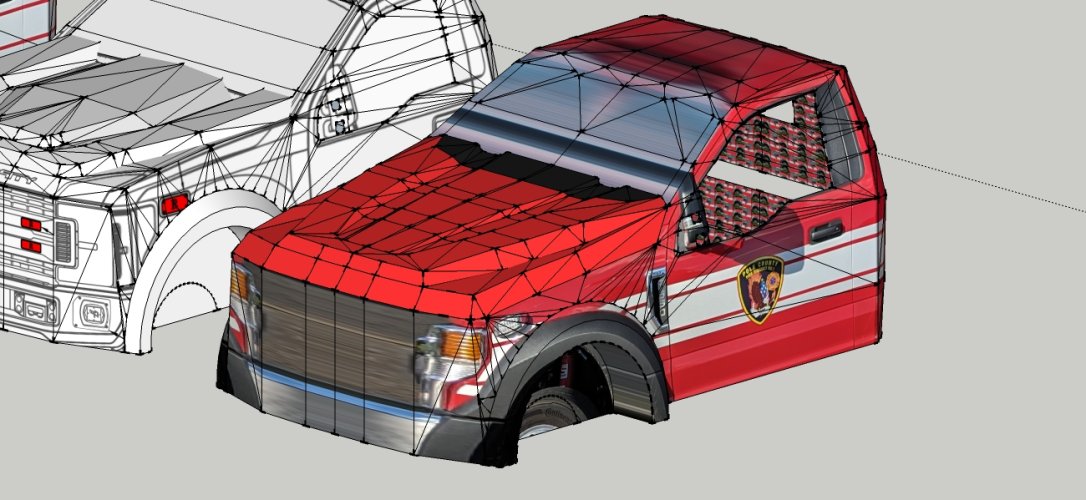
Howdee fans!
The firefighter theme has not let me go. After successfully submitting my firestation diorama to the honour brigade of Ottenstein @Rhaven Blaack asked me to repaint a Ford Ambulance car / truck model to honour the crew of his local fire fighter department of Polk County. He sent me some pictures of the car and a mini model of the Ford F350. However, upon closer inspection I found out that this model was so different from the Polk's that I decided to find some blueprints and build a completely new model. Since I only had five pictures of all sides and no other data I carefully examined the info given to find out which model it was. After determining the company (Ford) RB and I were scanning the web simultaneously, he from the US, I from Germany, and after 25 minutes of parallel research we settled on the model being an F550 Super Duty:
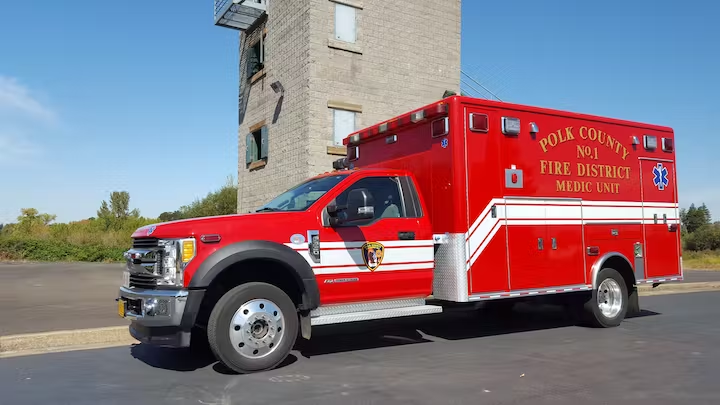
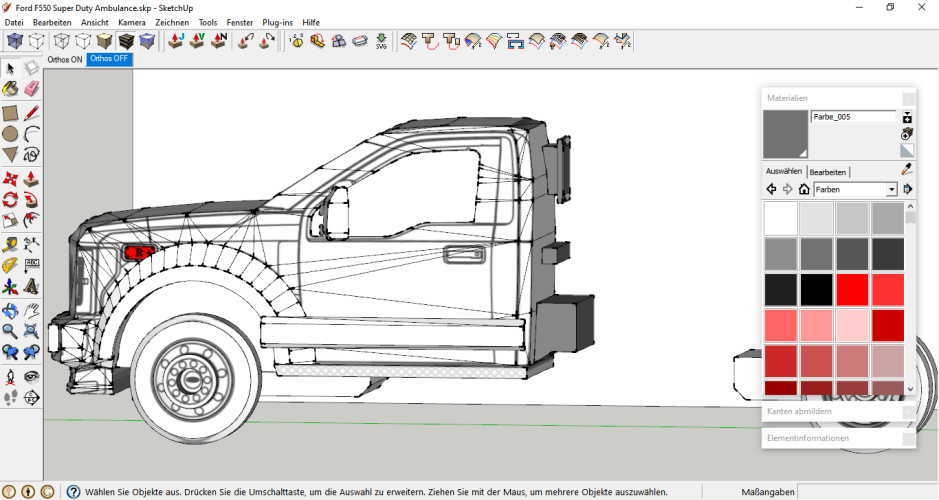
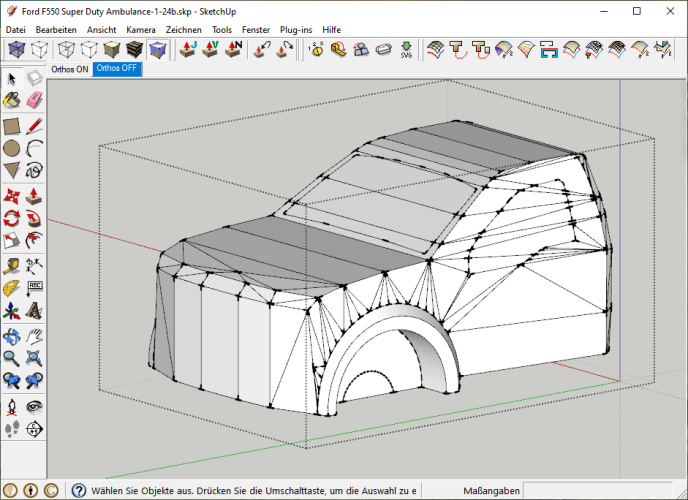
It was more challenging to find some blueprints. Chris sent me into the right direction and I began working on the CG model.
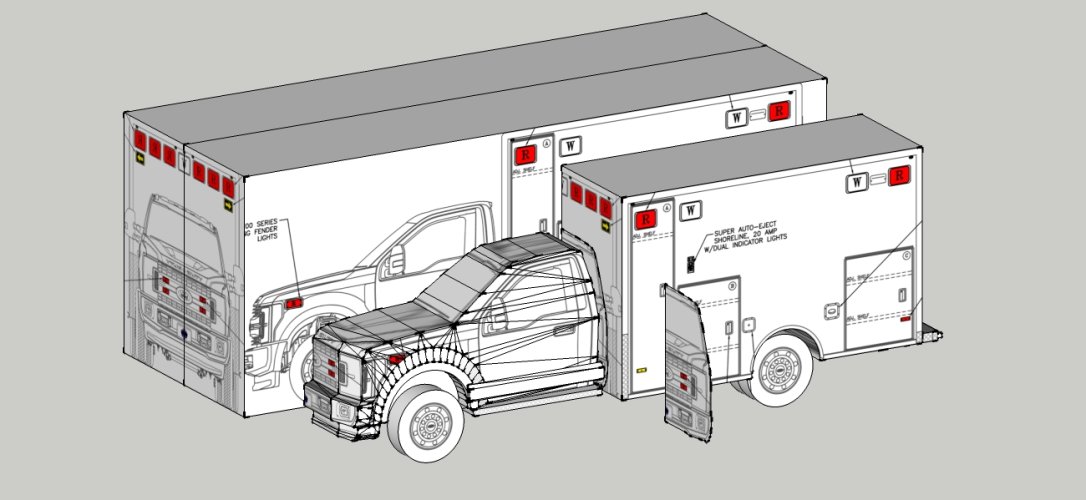
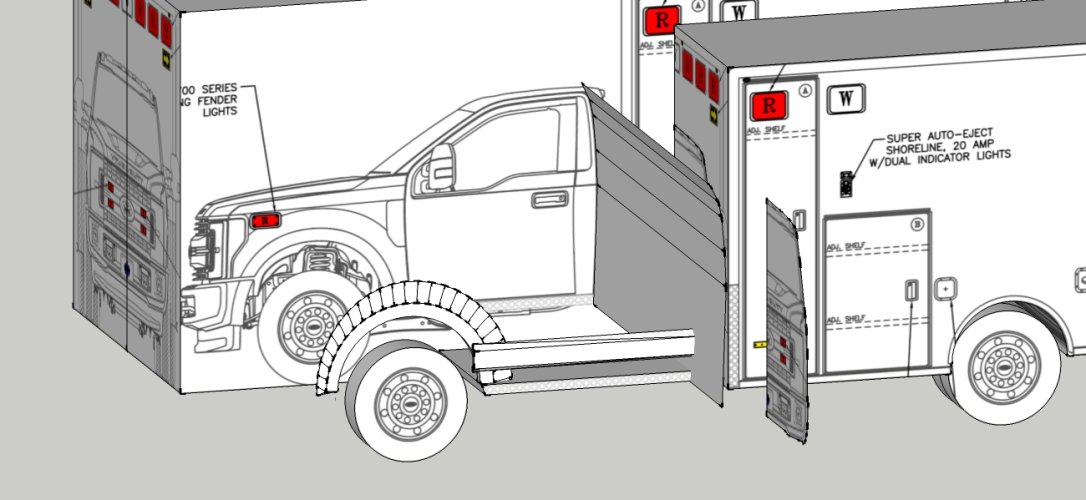
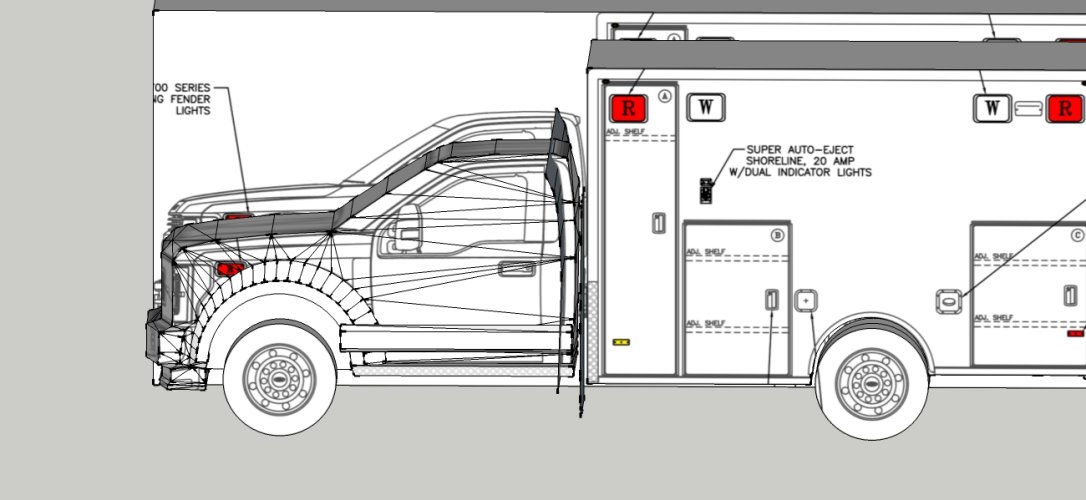
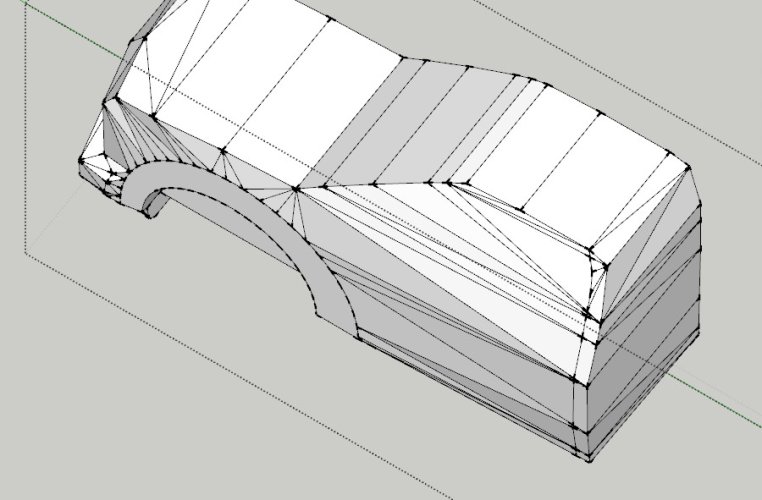
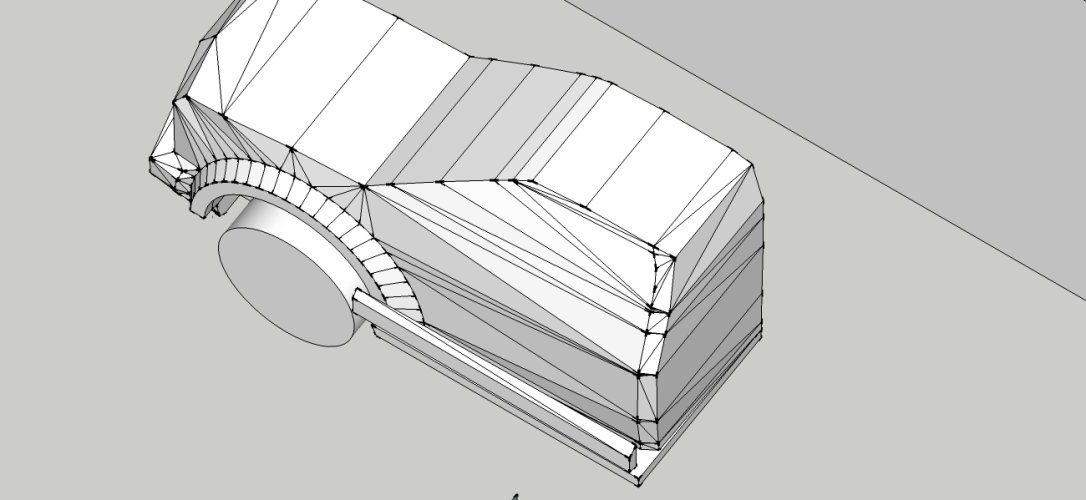
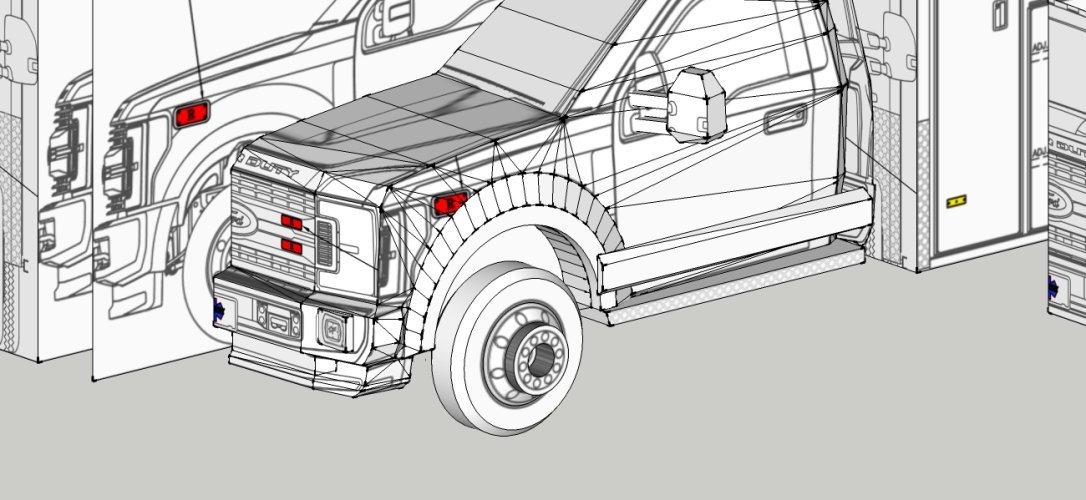
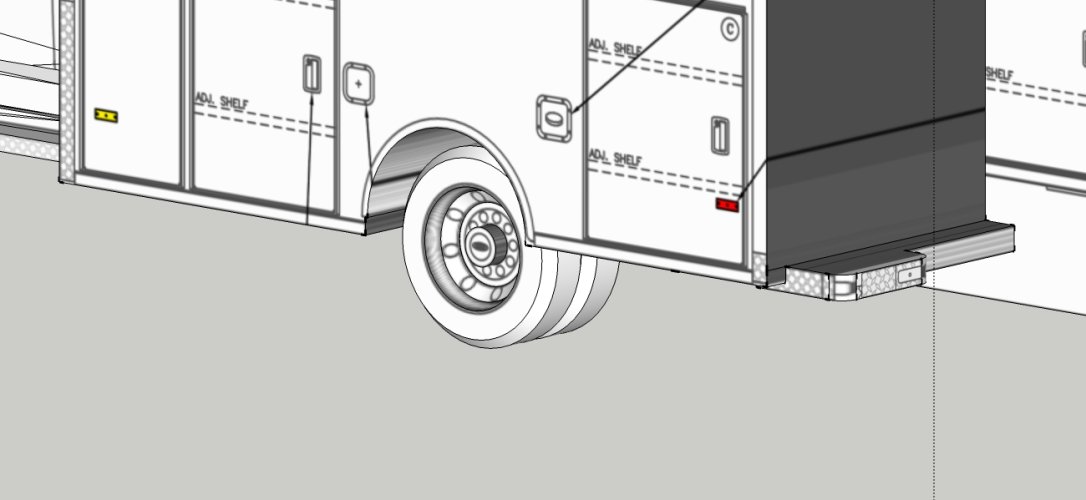
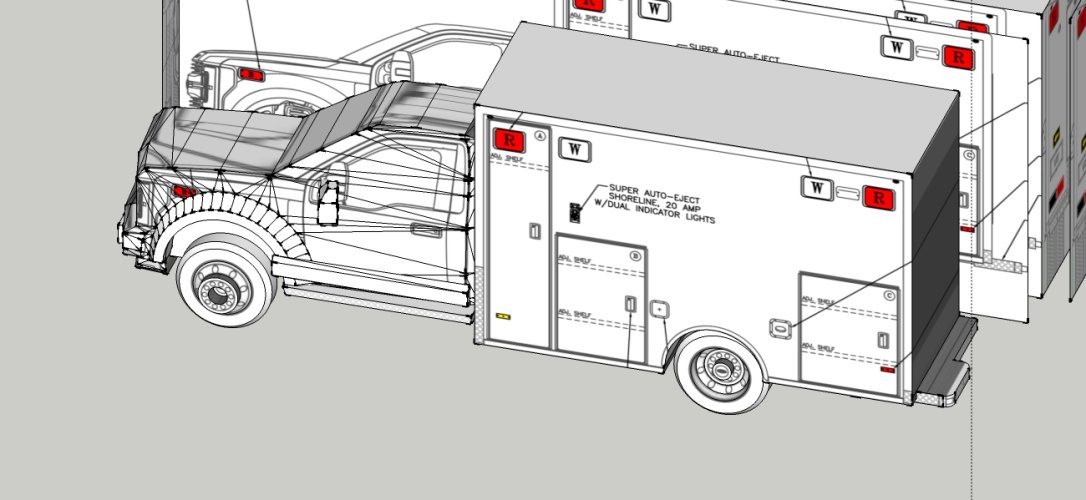
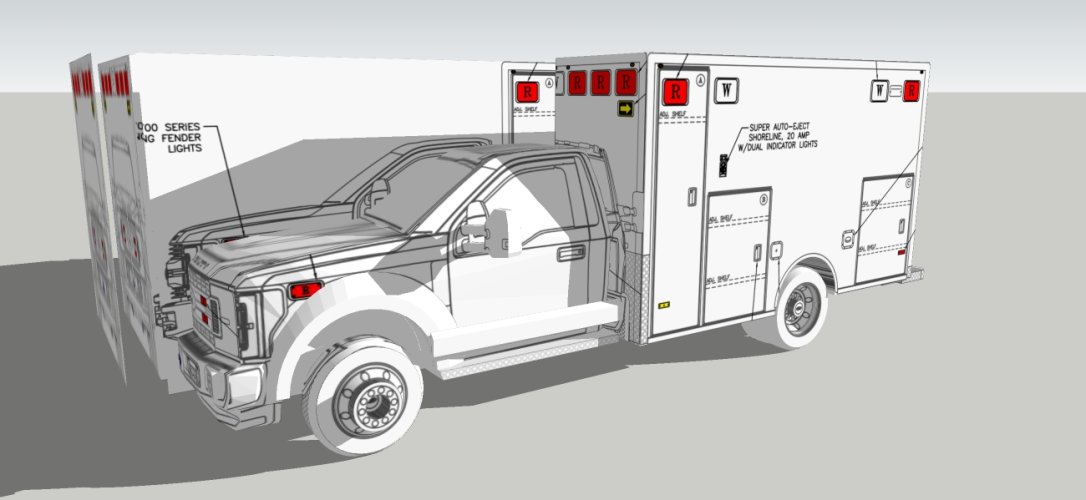
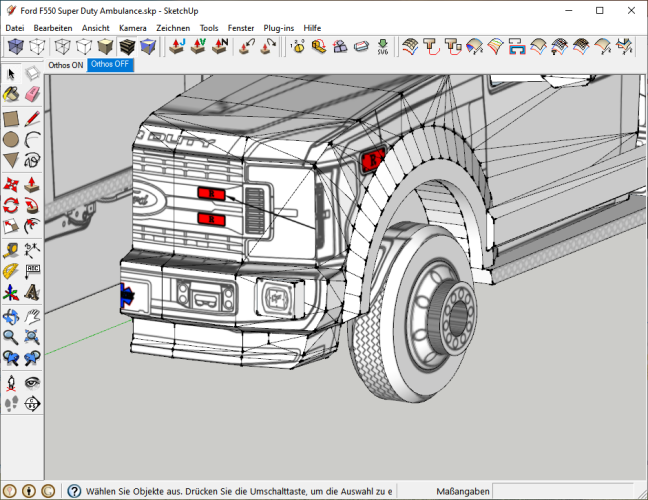
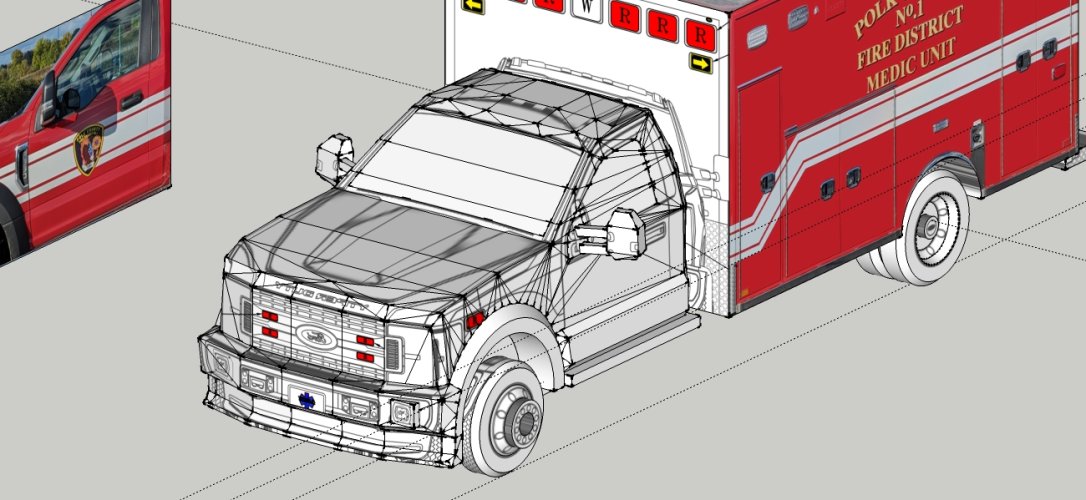
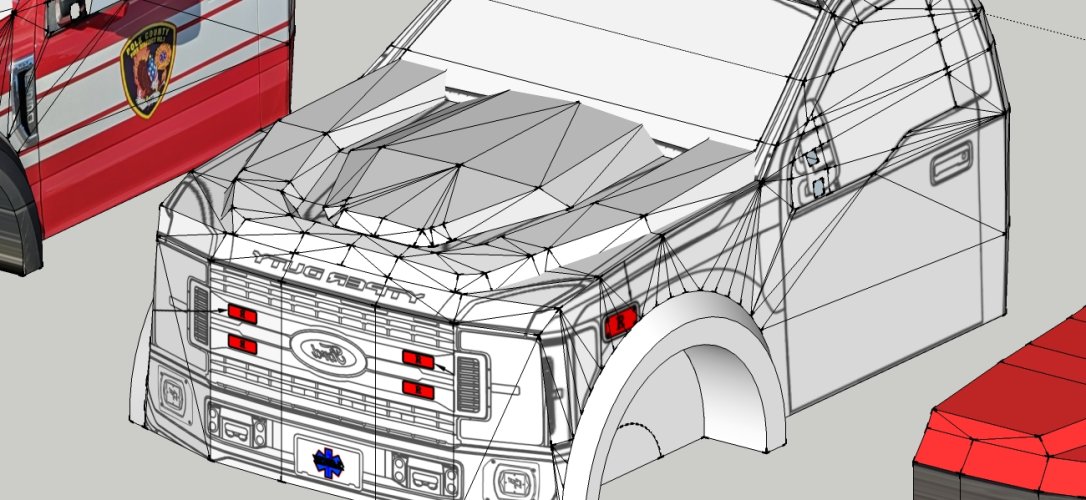
After some refinement the model was ready for cleanup and a first unfolding test.
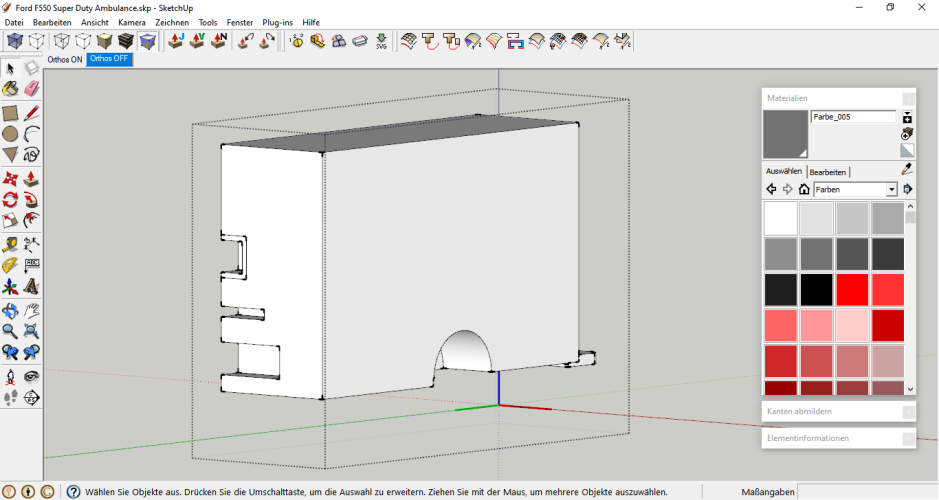
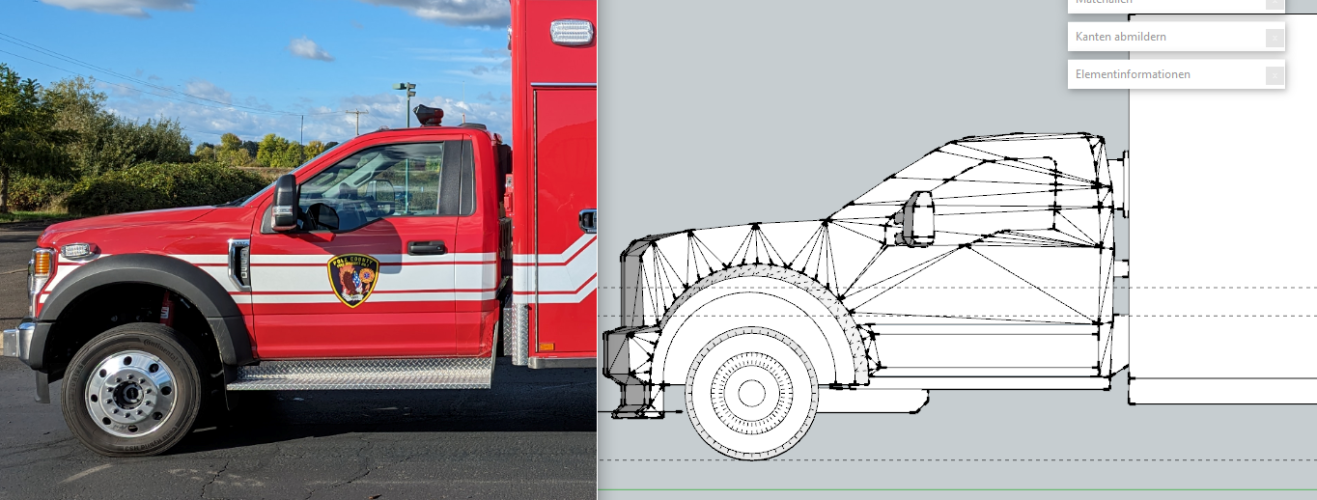
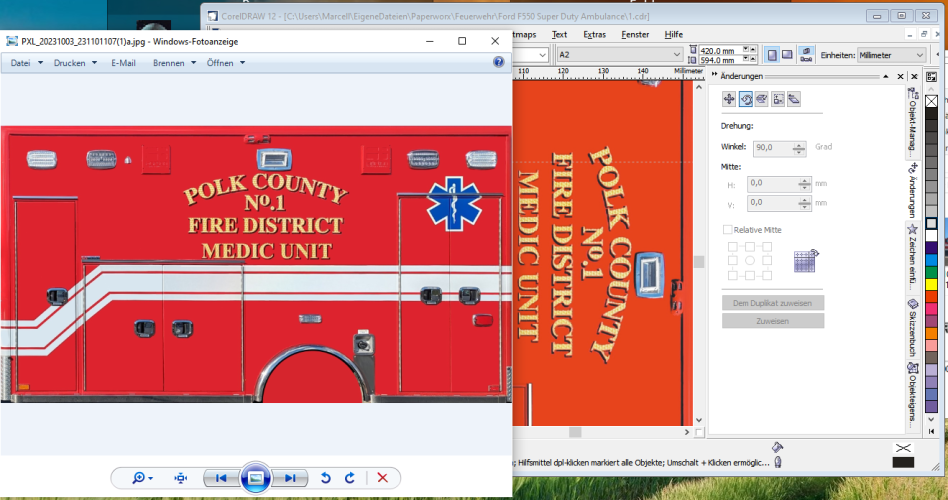
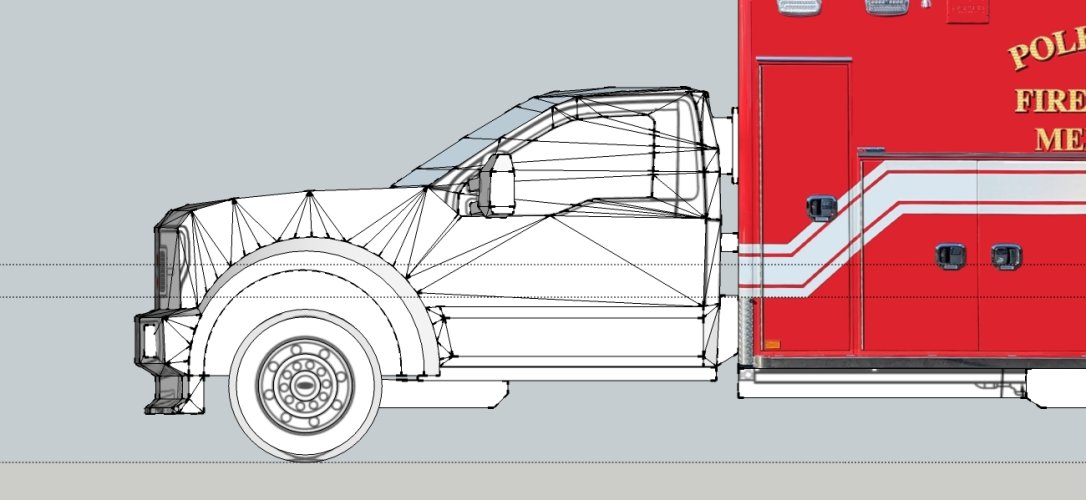
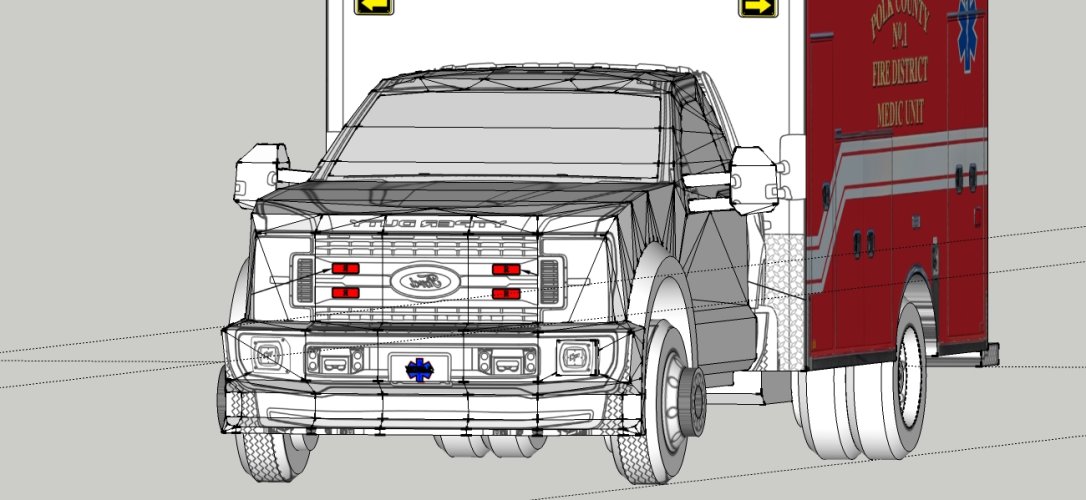
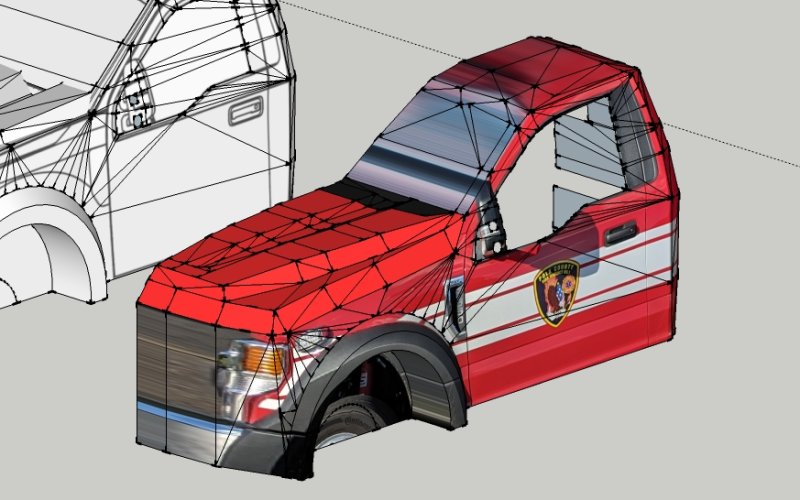
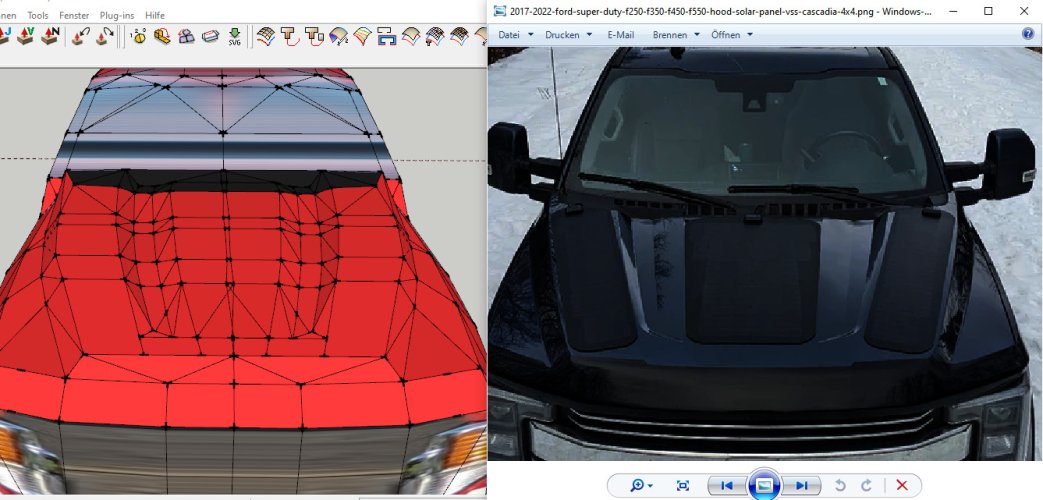
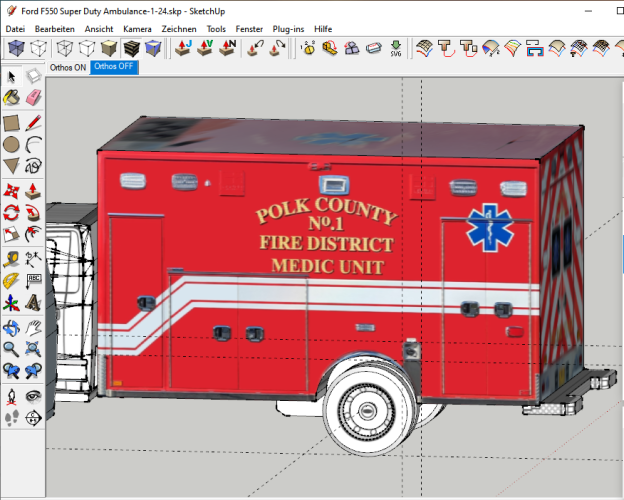
It was a good idea to apply a preliminary texture made from the pictures because that revealed some major deviations between the CG model blueprints and the real thing. The box was too short and the aft wheels were in the wrong position. To find out how much the box was supposed to be stretched I took the tank neck as a base and kept stretching the box until the neck turned from a rectangle into a square.
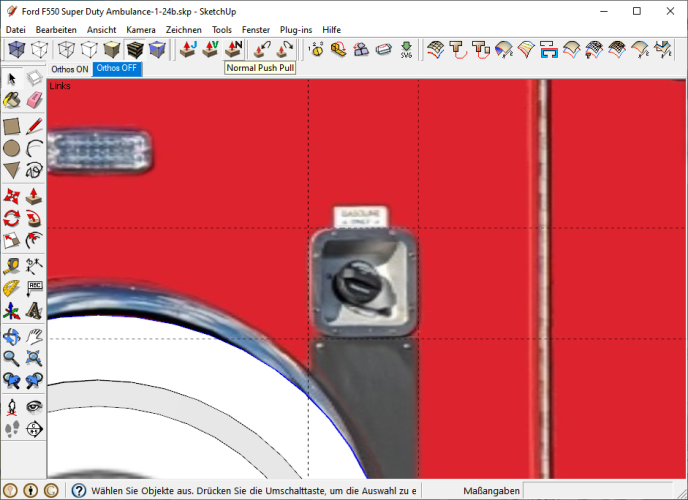
Then I moved the wheels and wheel boxes further to the back until they matched the position in the pictures.
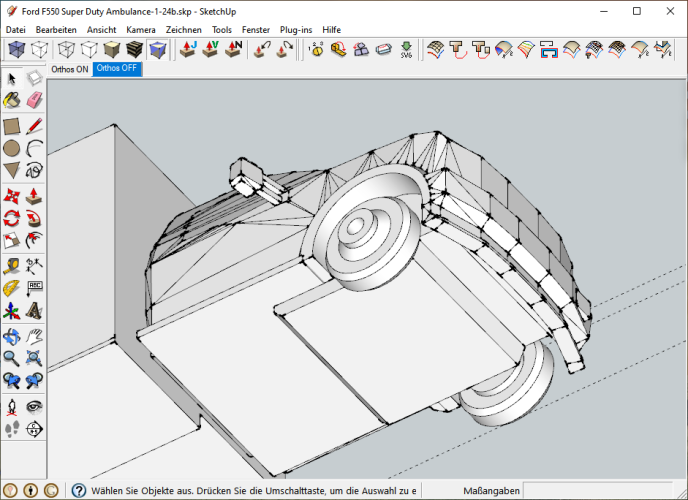
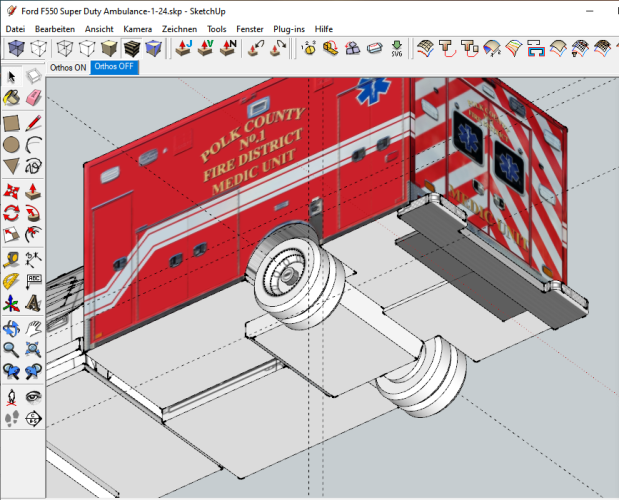
The right side sits deeper than the left. I added a step at the bottom to make that work.
The firefighter theme has not let me go. After successfully submitting my firestation diorama to the honour brigade of Ottenstein @Rhaven Blaack asked me to repaint a Ford Ambulance car / truck model to honour the crew of his local fire fighter department of Polk County. He sent me some pictures of the car and a mini model of the Ford F350. However, upon closer inspection I found out that this model was so different from the Polk's that I decided to find some blueprints and build a completely new model. Since I only had five pictures of all sides and no other data I carefully examined the info given to find out which model it was. After determining the company (Ford) RB and I were scanning the web simultaneously, he from the US, I from Germany, and after 25 minutes of parallel research we settled on the model being an F550 Super Duty:

It was more challenging to find some blueprints. Chris sent me into the right direction and I began working on the CG model.


After some refinement the model was ready for cleanup and a first unfolding test.
It was a good idea to apply a preliminary texture made from the pictures because that revealed some major deviations between the CG model blueprints and the real thing. The box was too short and the aft wheels were in the wrong position. To find out how much the box was supposed to be stretched I took the tank neck as a base and kept stretching the box until the neck turned from a rectangle into a square.

Then I moved the wheels and wheel boxes further to the back until they matched the position in the pictures.

The right side sits deeper than the left. I added a step at the bottom to make that work.

Last edited:


