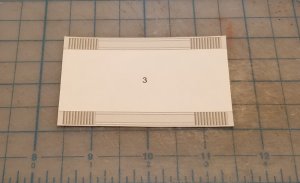
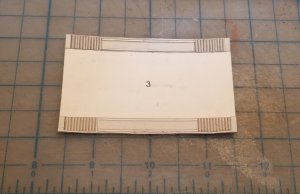
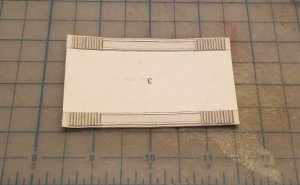
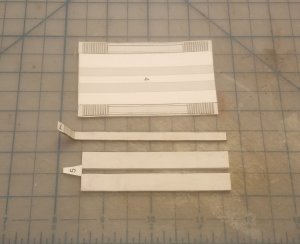
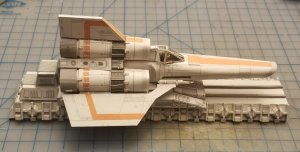
I meant four sheets (that way, I have enough parts for greebling.). Not four times larger than normal.FOUR times? That is ambitious!
BSG Viper Launch Rail System
- Thread starter Rhaven Blaack
- Start date
You are using an out of date browser. It may not display this or other websites correctly.
You should upgrade or use an alternative browser.
You should upgrade or use an alternative browser.
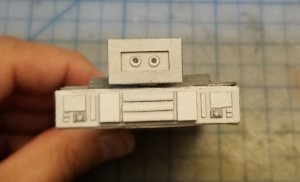
Moving on the the main body of the sled. In this installment post, I am working on greebling out the front end of it. Granted, once everything ins together and the hood/shroud is in place, you will not see most of the greebles, however, I still want to show you what all can be done.
I decided to recess the centerpiece and the inner components and the boarder around it. The strip that is below the main body will be used
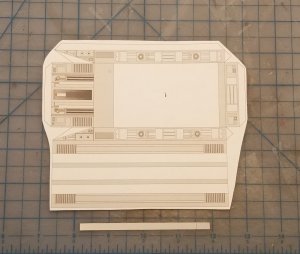
I cut out the wedge for recessing the center piece.
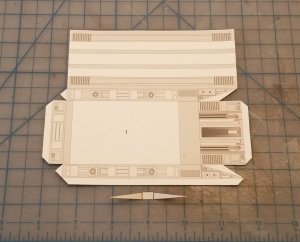
The center piece is cut open.
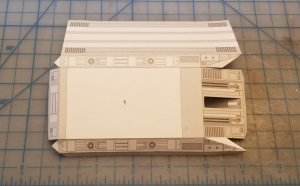
The wedge for the center piece is in place.
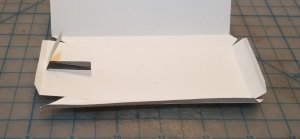
The center piece is now fully recessed.
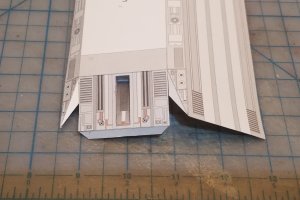
This is the black piece that goes in the recessed area.
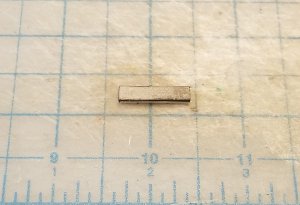
I filed the top edges of the black piece to a slight angle and put it in place.
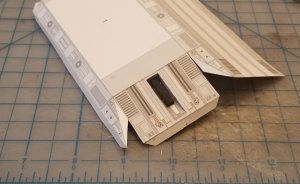
Here is the white piece that goes in front of the black one.
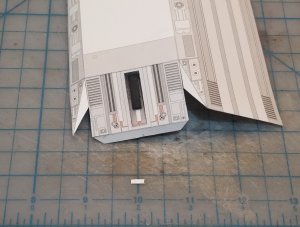
I filed the top edges of the white piece to a slight angle and put it in place.
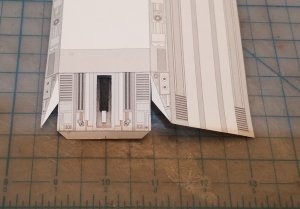
I raised the orange tubing that are coming out from the front of the white piece.

I raised the two long white strips. However, I cut them short and filed the back end to an angle so that the hood/shroud will fit right.
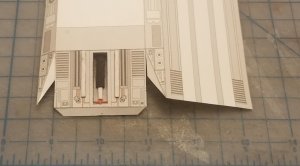
I raised the boarder around the center recessed area.
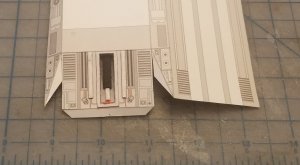
I raised the orange tubing that came out from the front the the white strips, and raised the light gray components that are on the outer sides of the white strips.
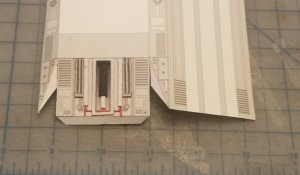
I raised the (figure 8) circles and the orange tubing that connect them to the gray components.
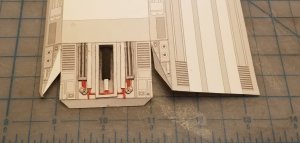
I added the louvres on top.
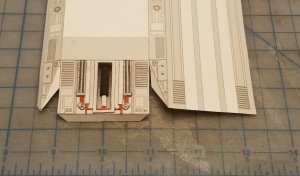
I added the panel around the louvres and raised the details.
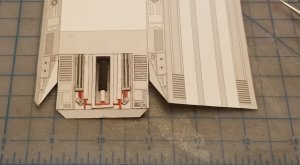
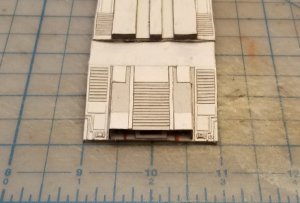
The front is now finished.
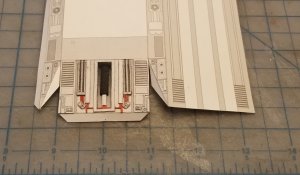
Time to move on to the rest body.
I decided to recess the centerpiece and the inner components and the boarder around it. The strip that is below the main body will be used

I cut out the wedge for recessing the center piece.

The center piece is cut open.

The wedge for the center piece is in place.

The center piece is now fully recessed.

This is the black piece that goes in the recessed area.

I filed the top edges of the black piece to a slight angle and put it in place.

Here is the white piece that goes in front of the black one.

I filed the top edges of the white piece to a slight angle and put it in place.

I raised the orange tubing that are coming out from the front of the white piece.

I raised the two long white strips. However, I cut them short and filed the back end to an angle so that the hood/shroud will fit right.

I raised the boarder around the center recessed area.

I raised the orange tubing that came out from the front the the white strips, and raised the light gray components that are on the outer sides of the white strips.

I raised the (figure 8) circles and the orange tubing that connect them to the gray components.

I added the louvres on top.

I added the panel around the louvres and raised the details.

The front is now finished.

Time to move on to the rest body.
As my grandfather would say, "If you are going to do something that is worth doing, it is worth doing right, and make it the best that you can."all this just to display the Viper...
Actually, it will all be part of a diorama once I am finished.
So, getting back on track with this build, here is another update.
SInce the person that I am giving this to, may play with it, I have decided to add some reinforcement.
I cut the sides and bottom away. and leaving the front, top, and back connected to one another.
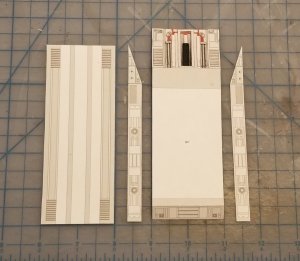
I made internal formers to run the length of the sled. The formers are laminated to 2 mm thick.
These will be placed toward the center, on either side of the front recessed center piece.
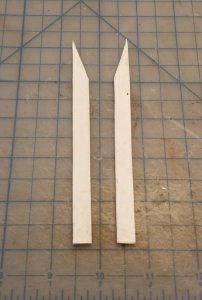
Here are the side walls, formers and the front, top, back section.
I laminated the side walls to 2 mm thick as well
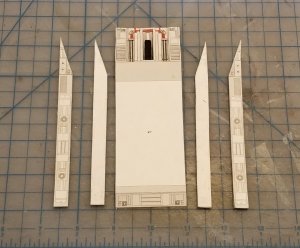
As mentioned earlier, I placed the formers on either side of the recessed center piece.
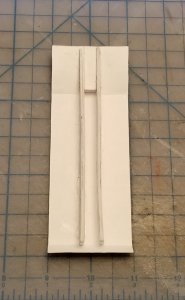
The side walls are in place.
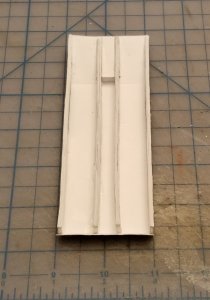
I originally cut the tabs off and now put strips on.
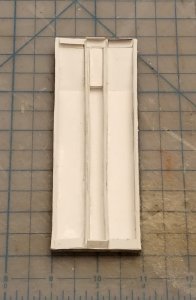
I attached the bottom plate.
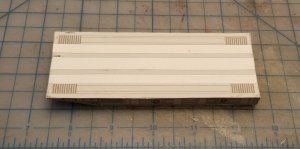
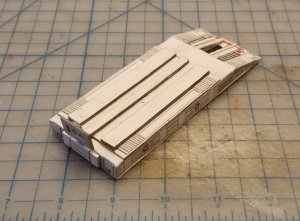
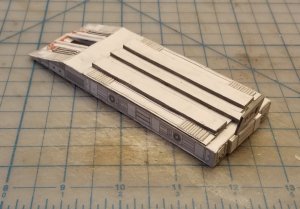
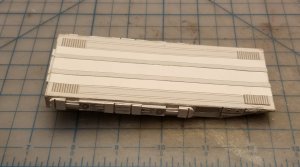
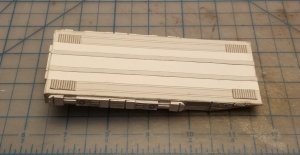
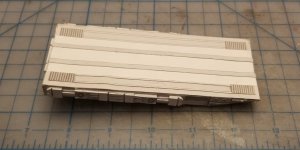
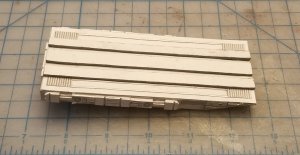
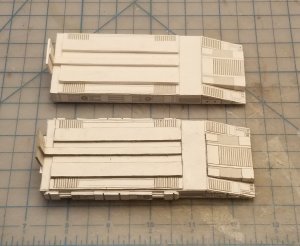
The main body is now complete.
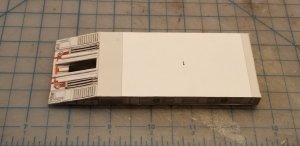
On to the rest of the fun!
SInce the person that I am giving this to, may play with it, I have decided to add some reinforcement.
I cut the sides and bottom away. and leaving the front, top, and back connected to one another.

I made internal formers to run the length of the sled. The formers are laminated to 2 mm thick.
These will be placed toward the center, on either side of the front recessed center piece.

Here are the side walls, formers and the front, top, back section.
I laminated the side walls to 2 mm thick as well

As mentioned earlier, I placed the formers on either side of the recessed center piece.

The side walls are in place.

I originally cut the tabs off and now put strips on.

I attached the bottom plate.

The main body is now complete.

On to the rest of the fun!
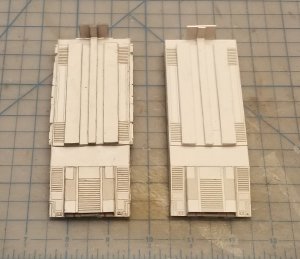
Here are the side greebles.
Here I raised the main panel so that the darker gray would be recessed. I also raised the finer greebles as well.
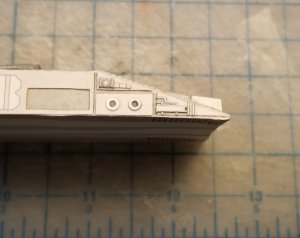
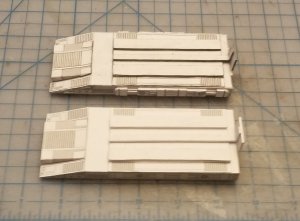
Here is the long piece. I laminated the main piece to 1 mm and the overlaying pieced to 0.5 mm.
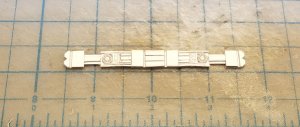
The long piece is in place.
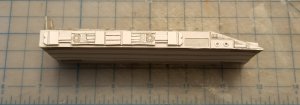
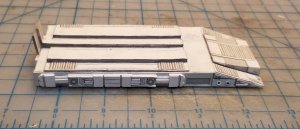
Here is the other side.
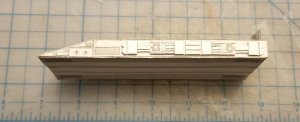
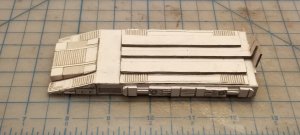
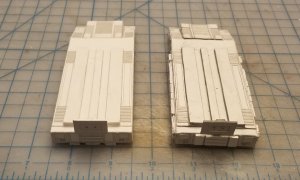
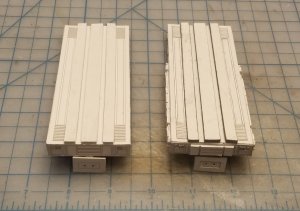
On to the bottom section.
Here I raised the main panel so that the darker gray would be recessed. I also raised the finer greebles as well.

Here is the long piece. I laminated the main piece to 1 mm and the overlaying pieced to 0.5 mm.

The long piece is in place.


Here is the other side.


On to the bottom section.
Alright @Rhaven Blaack now I'll have to find that file and make it to put my Viper on... 
Here you go!Alright @Rhaven Blaack now I'll have to find that file and make it to put my Viper on...
I am looking forward to seeing how it all turns out!!!


