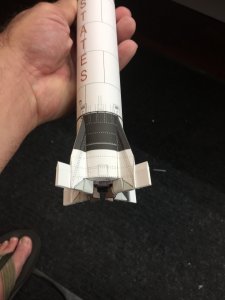
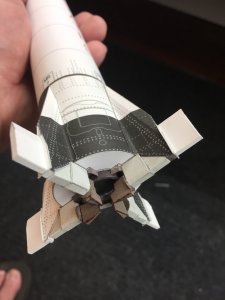
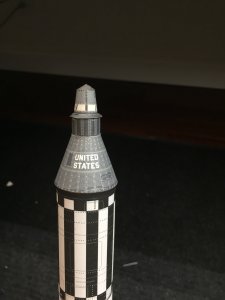
I have started work on the "Card In Space" 1/48 scale Mercury Redstone, designed by Michael Urban. The model depicts the Mission MR-3/Freedom 7, flown by Allen B. Shepard. 173 total parts.
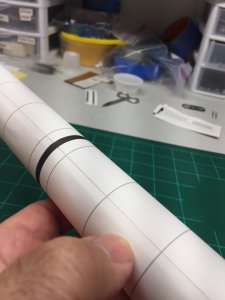
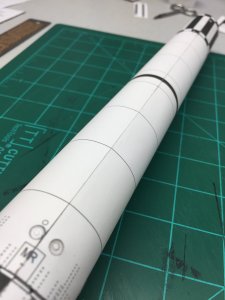
Once again, thank goodness for being able to make reprints. This one has been another learning experience for me. My first time at making "tubes" for bodies. My first attempt was OK, but I was not satisfied with the final result. For the main white section of the body, I used an underlying overlap to hold the butt joint together, made from the same 110# card stock. This made for an unwelcome bend/kink at the edge of the overlap. Basically, the edge of the overlap was visible because the combined overlap and body tube did not "roll" as easily as the single body tube layer. I hope this make sense. See the first picture below. It does a better job at explaining the problem than I do.
I experimented with making the overlap from 67# card stock and even typing paper, but was not satisfied with either of those. 67# gave the same results, and the typing paper gave the opposite results. The 110# overwhelmed the typing paper. I decided that the best way to do this was to make a tube within a tube. I cut a piece of 110# card stock that was about 120% the width of the actual body piece, and slightly shorter to allow for bulkhead formers and joiners at the top and bottom of each section. At the mid point of this new piece, I drew a line for where the but joint will lie. After rolling the inner and outer "tubes" separately to get them in the general tube shape, I rolled the inner tube into a tighter tube than would be the final size and locked it in shape with a paper clip at each end. The line I had drawn earlier was visible on the outside of the tube.
I brushed on a thin bead of glue to one side of that line and attached the first edge of the body tube in place. After this dried, I glued the other edge to the other side of the line, trapping the inner tube inside the outer tube. When that second glue joint was dry, I pulled the paper clips from the inner tube and it expanded out against the outer tube. This made for a nice evenly supported butt joint and a very circular/cylindrical body. Once the formers were inserted and glued at each end, the body was very smooth and rigid. I hope my explanation makes sense. The second picture shows the final result. If someone needs a pictures of what I mean, just let me know.
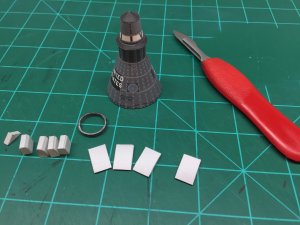
The third picture is other parts. i will be rebuilding the capsule as the smaller top section is canted to one side somehow. I must have glued an underlying former at a slight angle.


