Have no fear, tis i - builder of things, seeker of shrinkrays
  wink
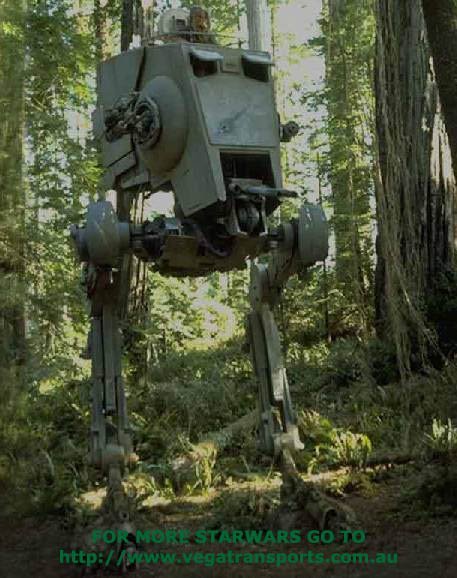
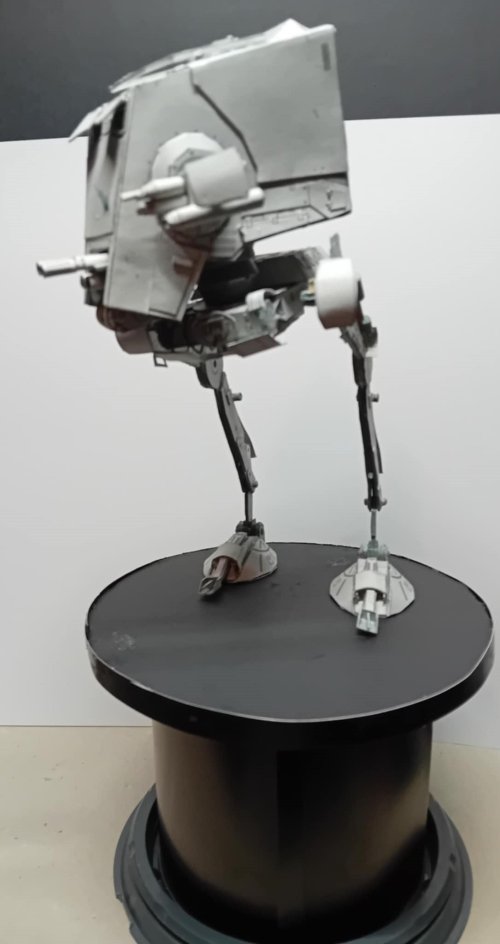
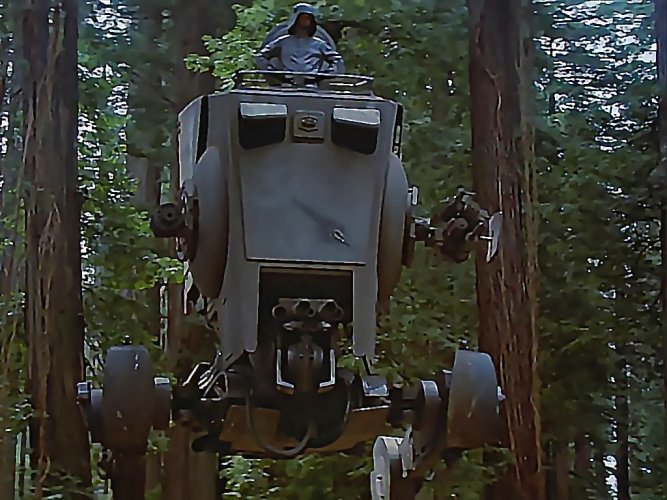
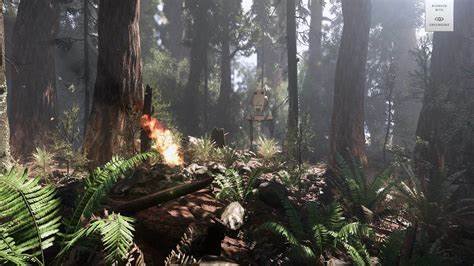
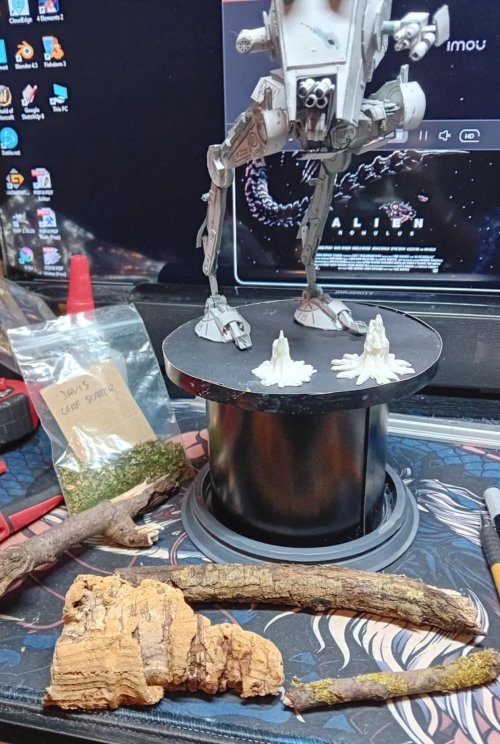
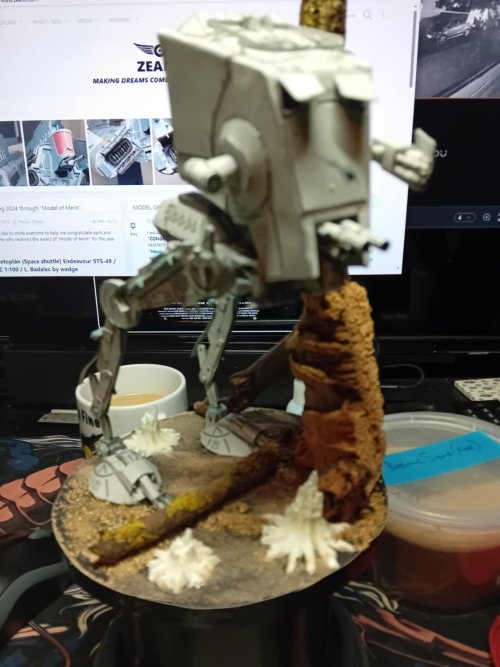
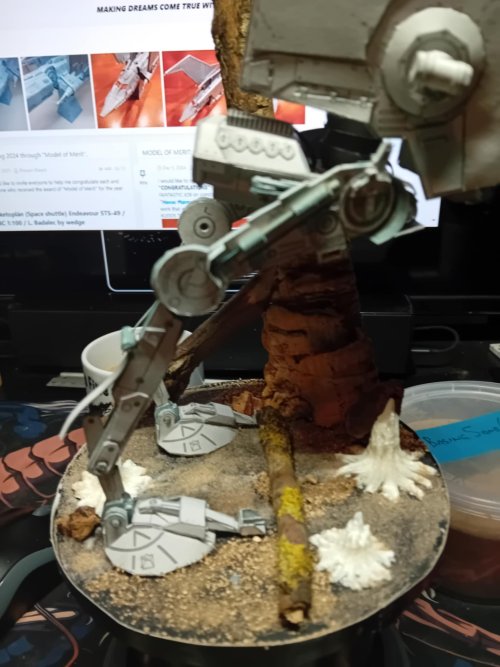
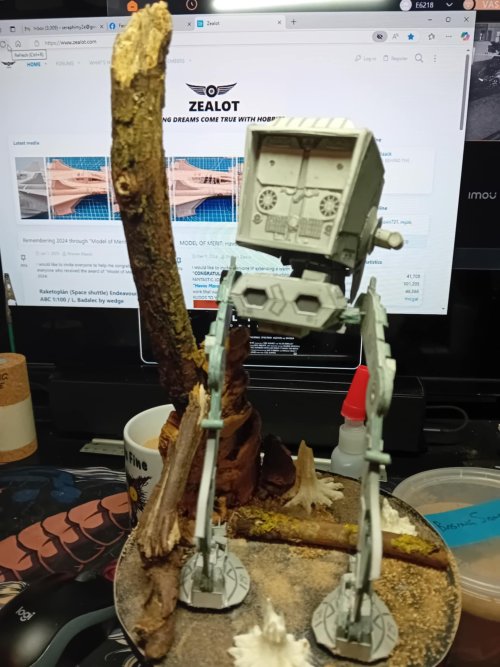
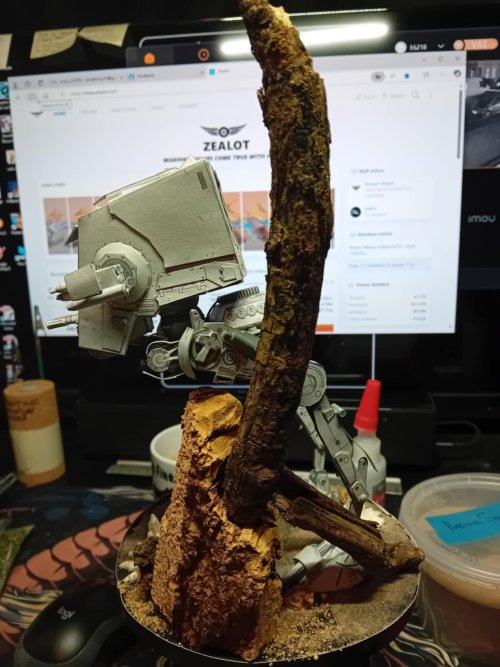
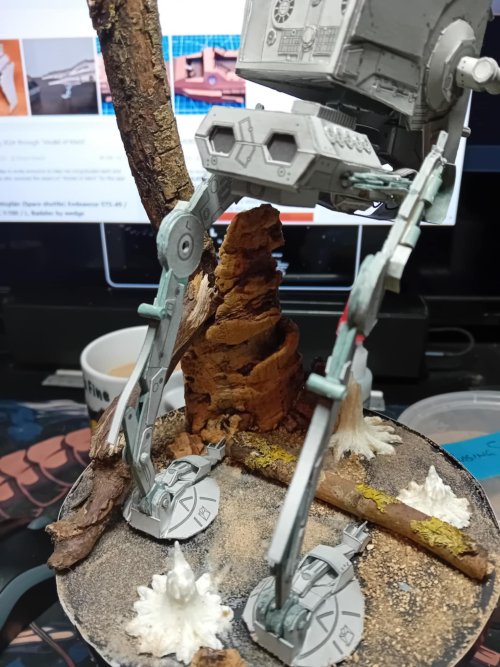
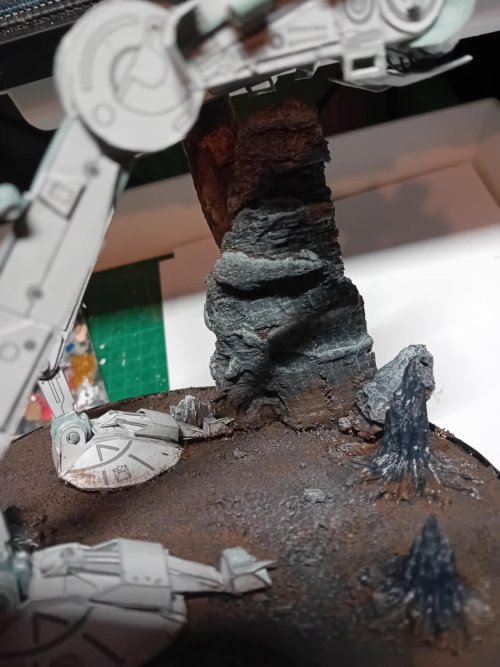
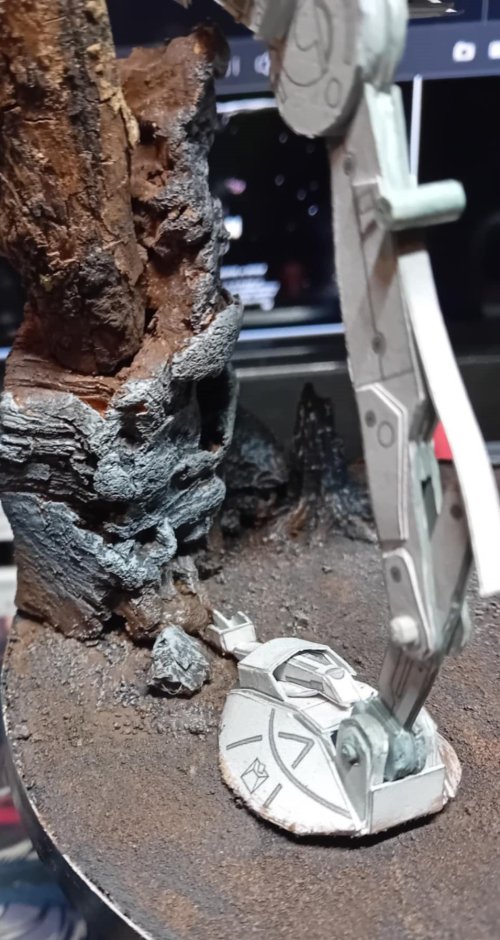
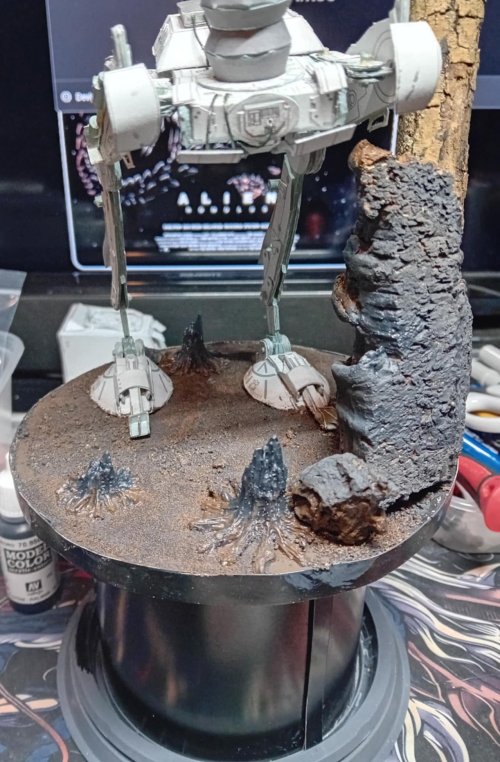
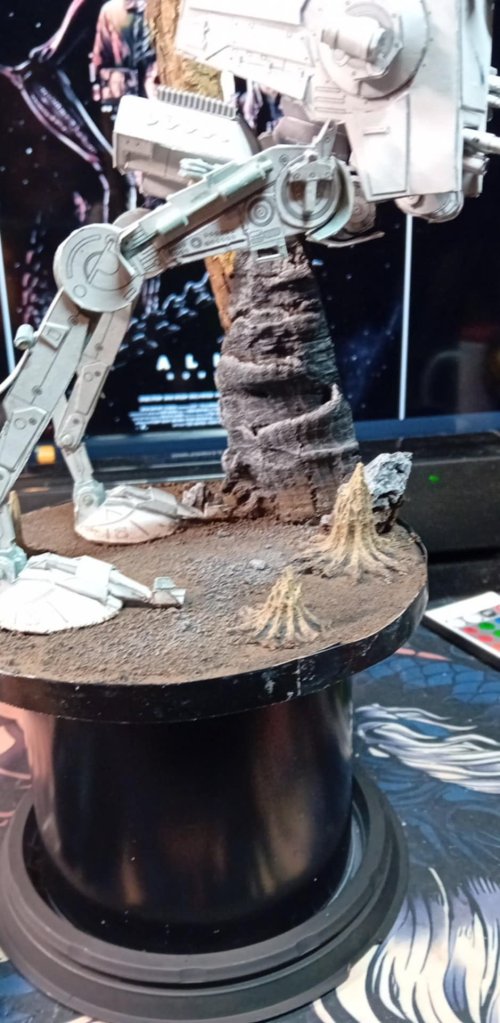
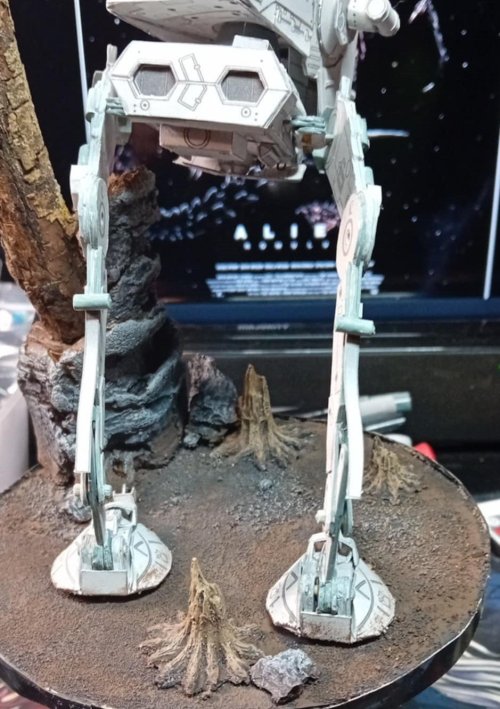
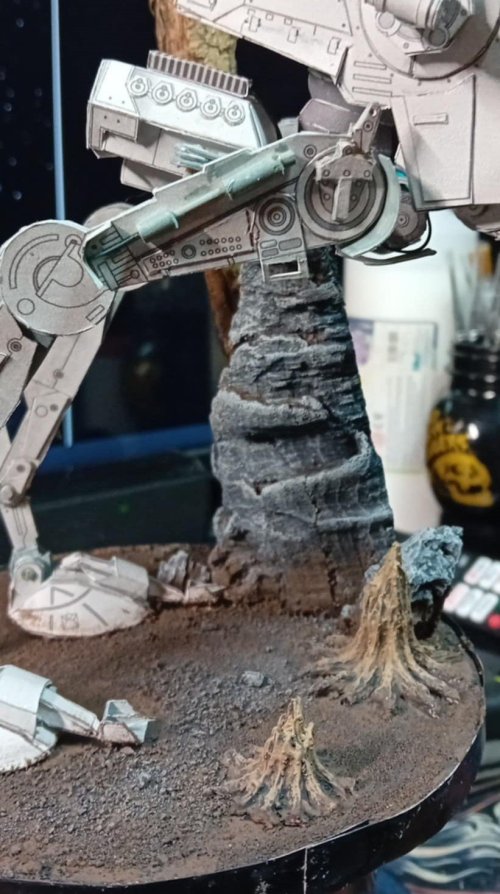
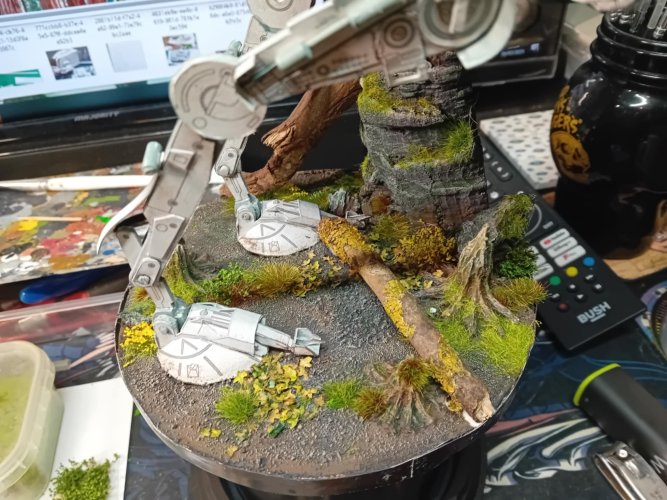
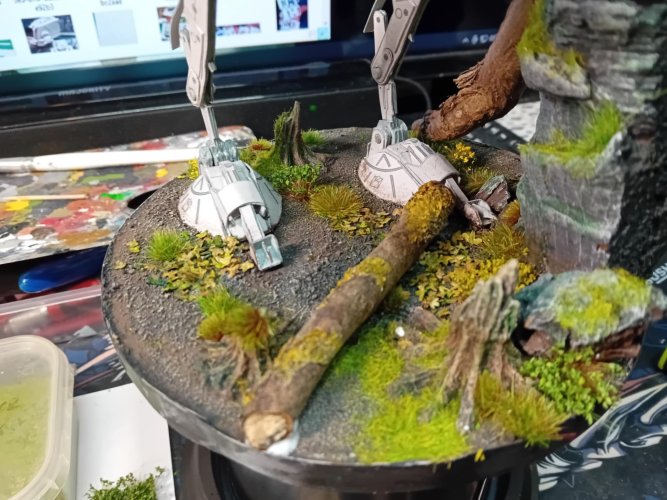
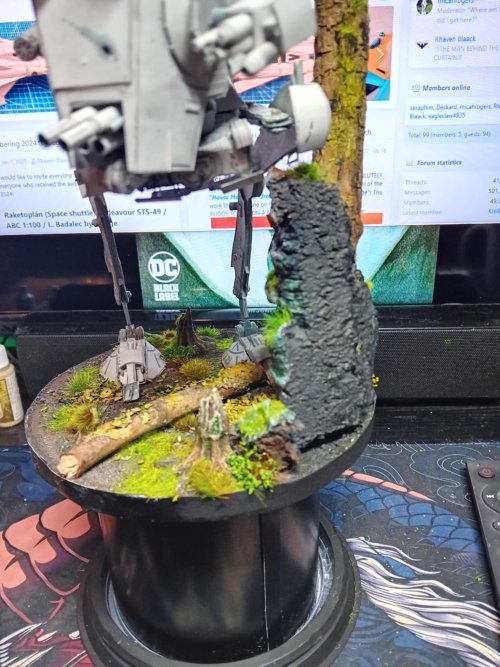
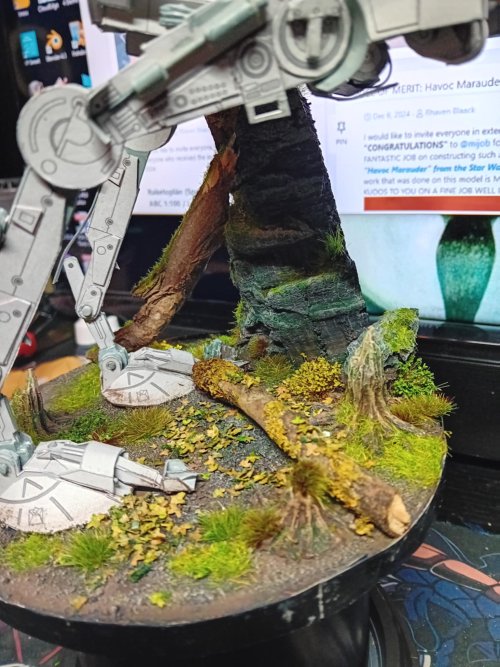
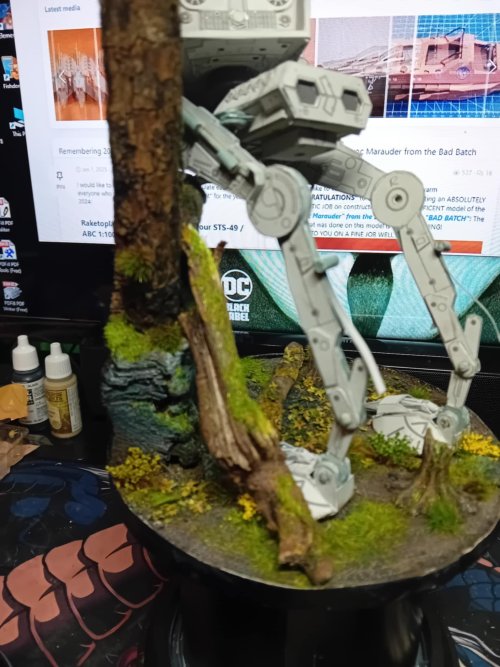
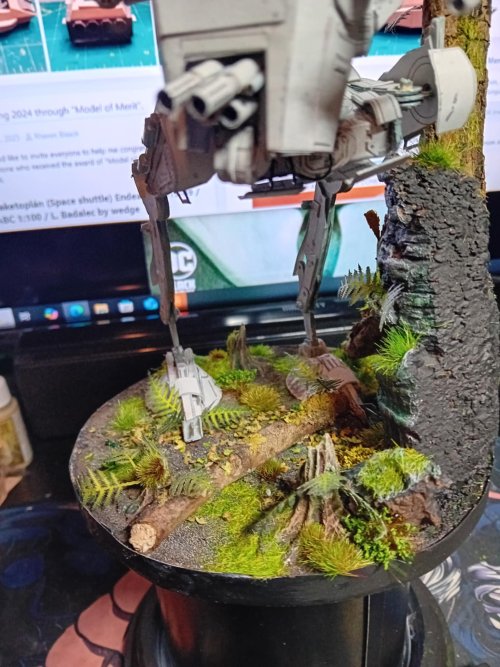
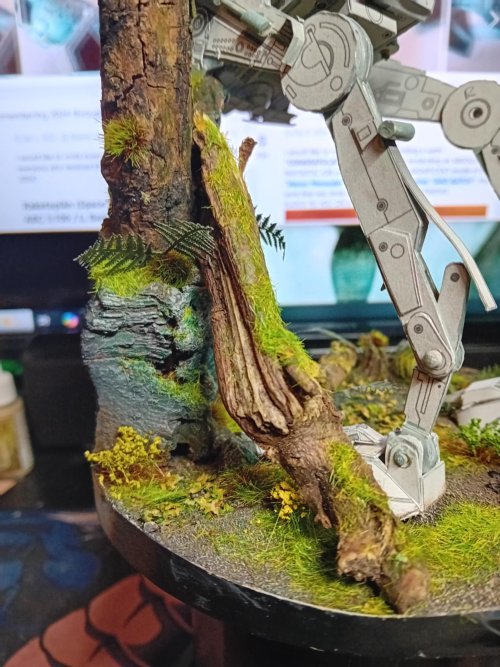
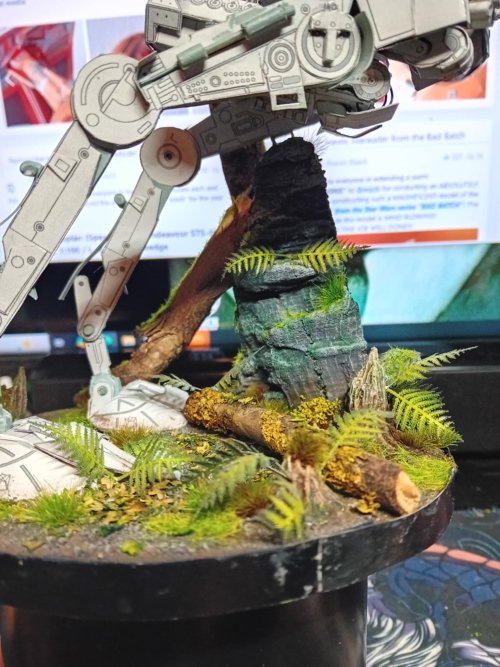
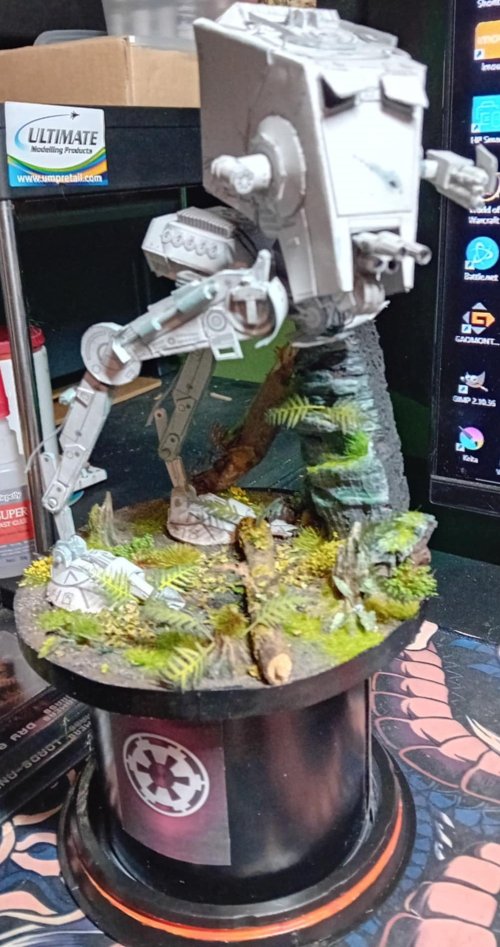
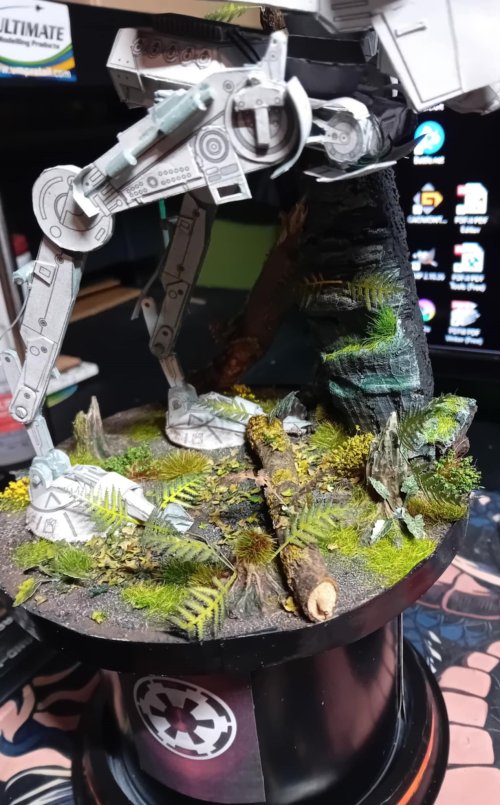
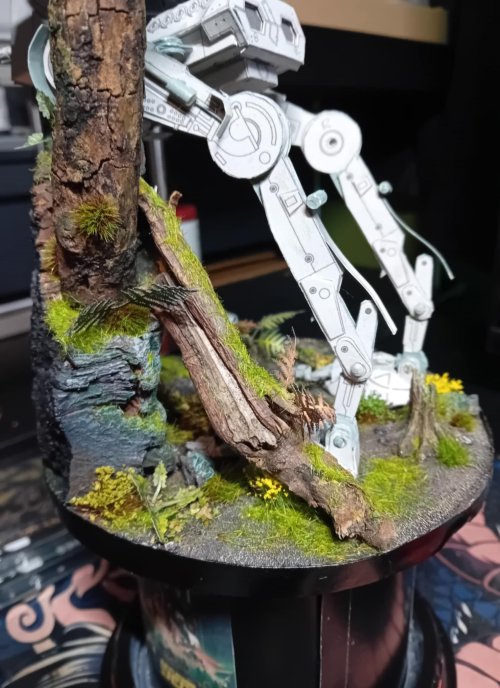
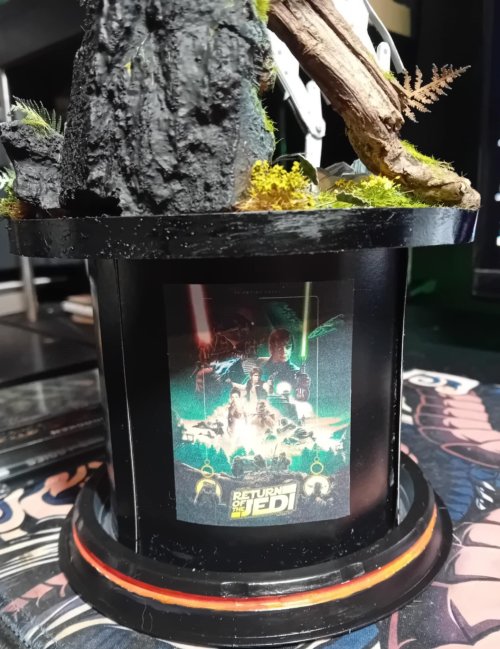
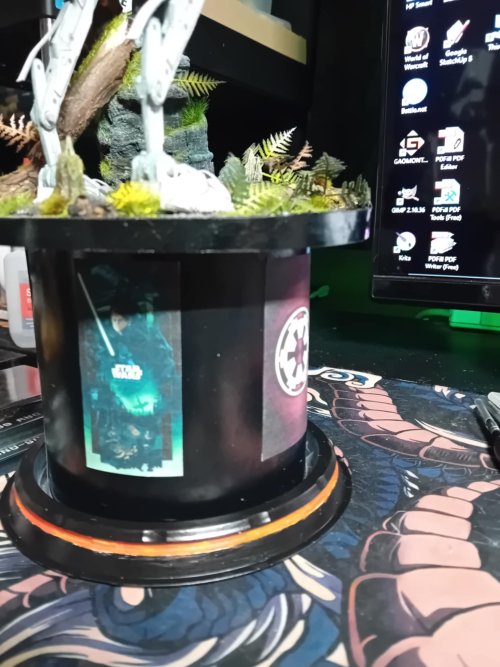
winkHaving finished the ATST build (see the 'guess whos back...' thread) im now ready to move on to its display, which will be a small diorama/vignette from RoTJ - the Endor fight. This is going to be made from various materials (hence this section) and feature terrain (and other things) as seen in the famous movie.
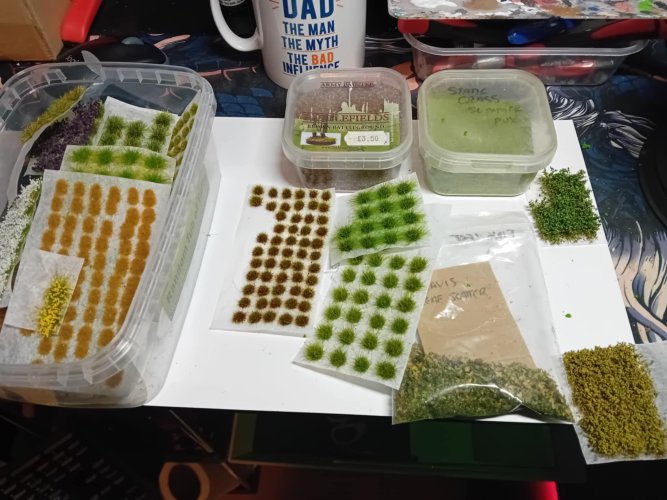
Ive already put the basic stand together - this is (from the bottom) an emulsion paint lid, black card for the drum, 3mm greyboard, 5mm black foamboard and more black card for the top base and edging that the ATST sits on. This is going to feature alot of different vegetation, trees/stumps etc to add to the scene plus some other 3D printed bits (to come yet) so sit back relax and watch the fun
 (1st pic is the build so far, rest are reference)