T-84BM Oplot, Ukrainian MBT in 1:35

Boris

Well-Known Member
Hello all
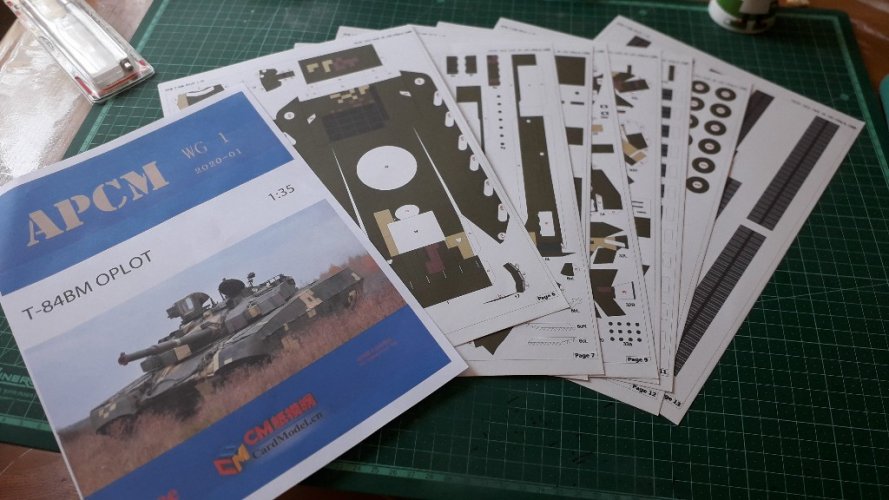
If you didn't know, there exist a paper models forum in China. There are some free models available, mostly of Chinese armored vehicles. One of the models is the T-84BM Oplot, Ukrainian Main Battle Tank. In essence, T-84 is a latest modernization of T-80 platform but with welded instead of cast turret and 6TD diesel engine instead of GTD-1000 gas turbine engine.
Model files were taken here:

The model design is not too difficult, no internal equipment is present.
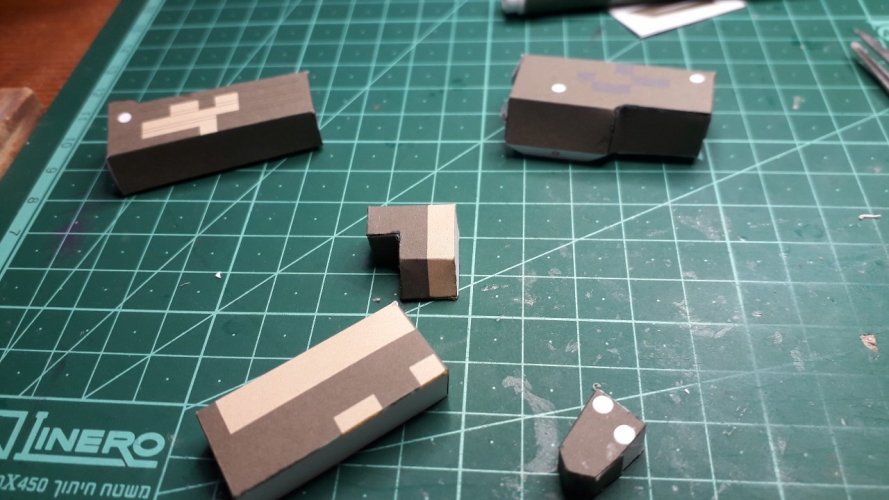
For those that don't want to deal with wheels in this scale, there is a simplified design of the wheels and tracks.
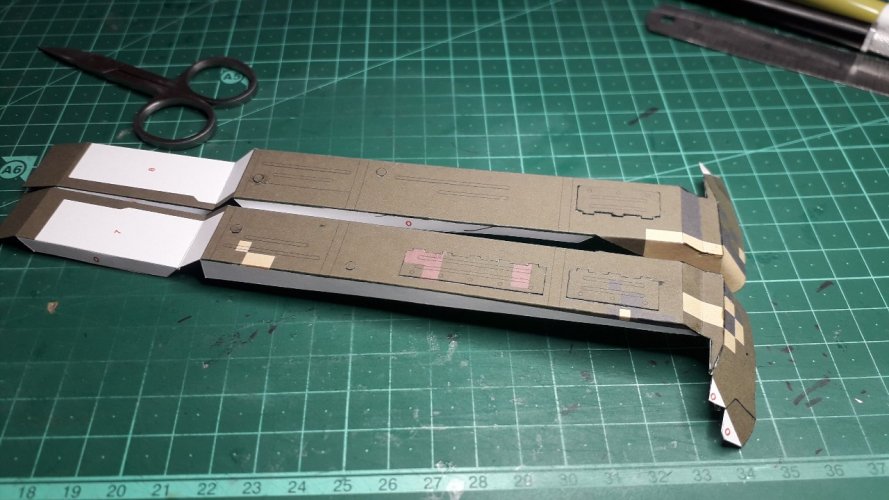
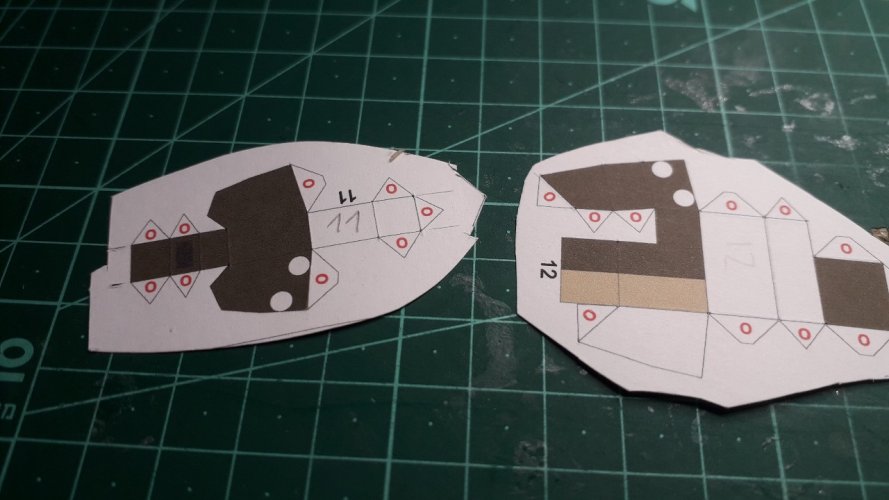
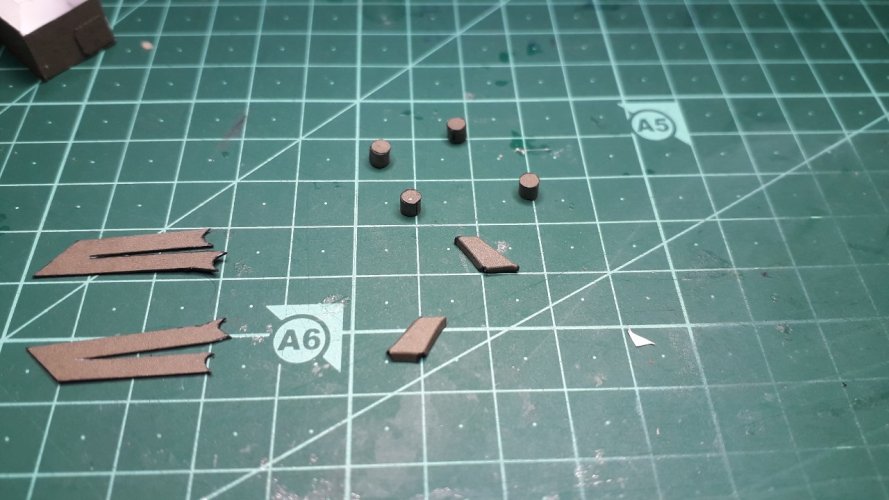
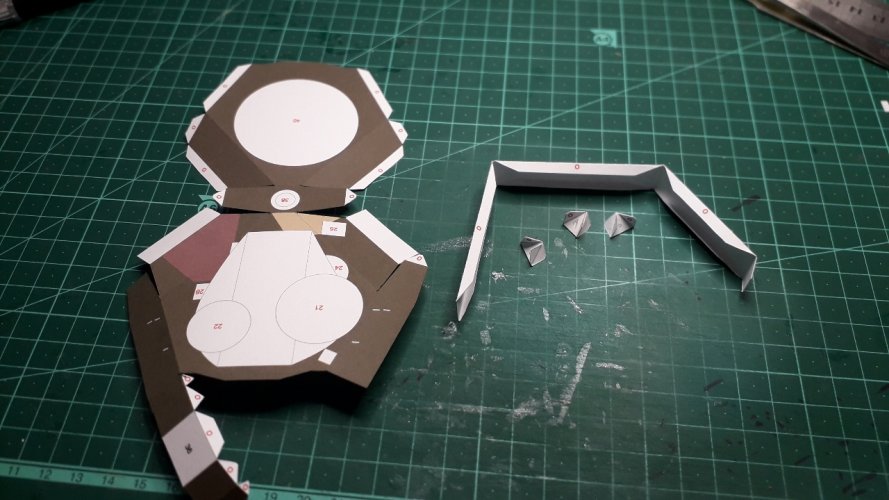
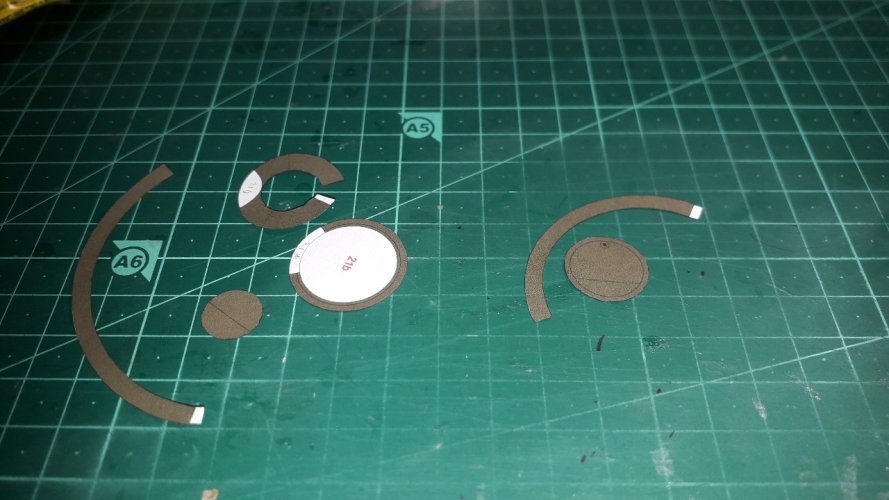
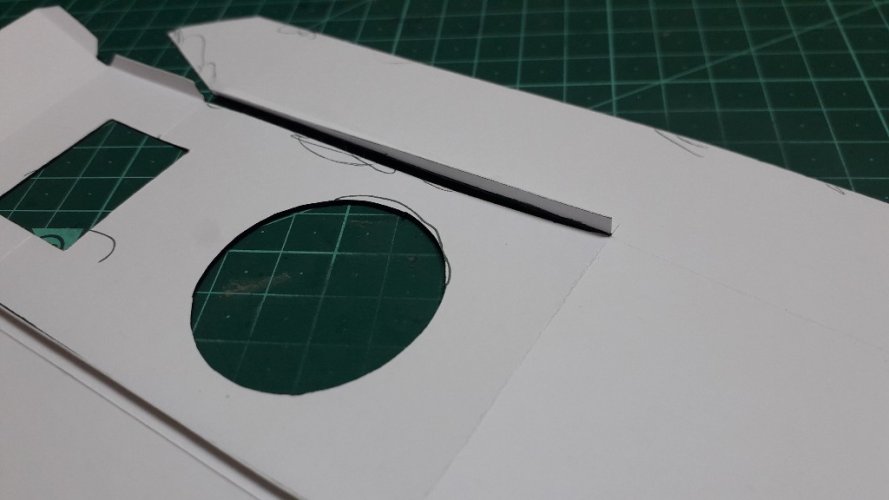
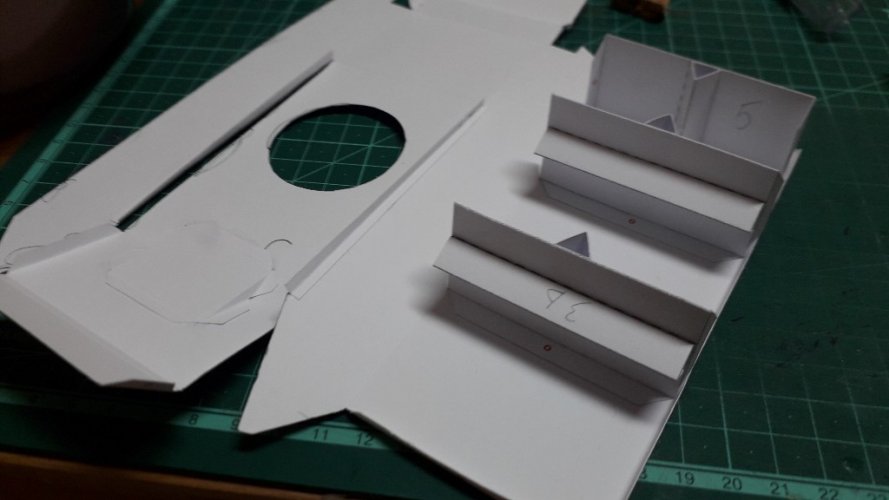
Also, no internal heavy cardboard reinforcements were designed. Only three reinforcements from paper.
I took the two pages of textual instructions and translated to English using Google Lens and Google translate. Not the best translation, but it is acceptable
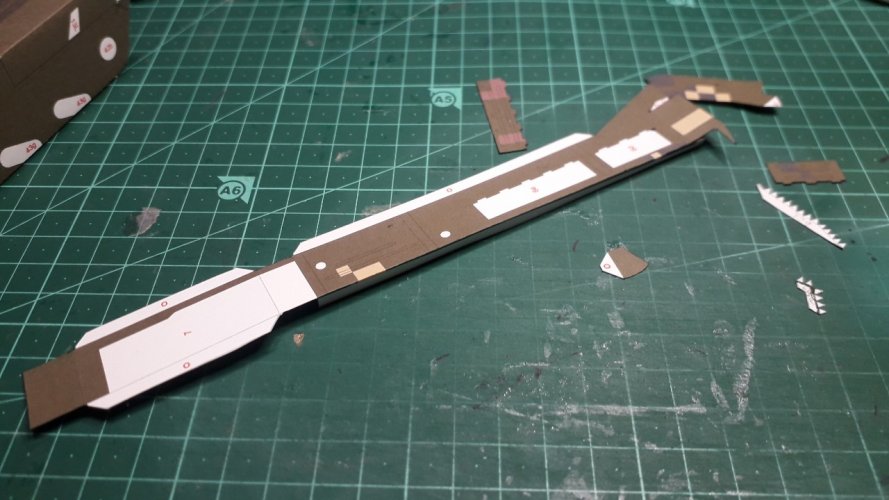
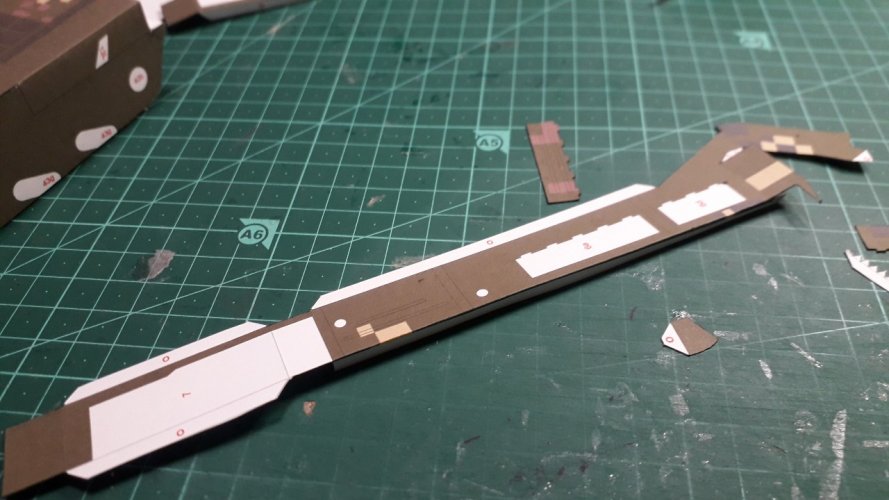
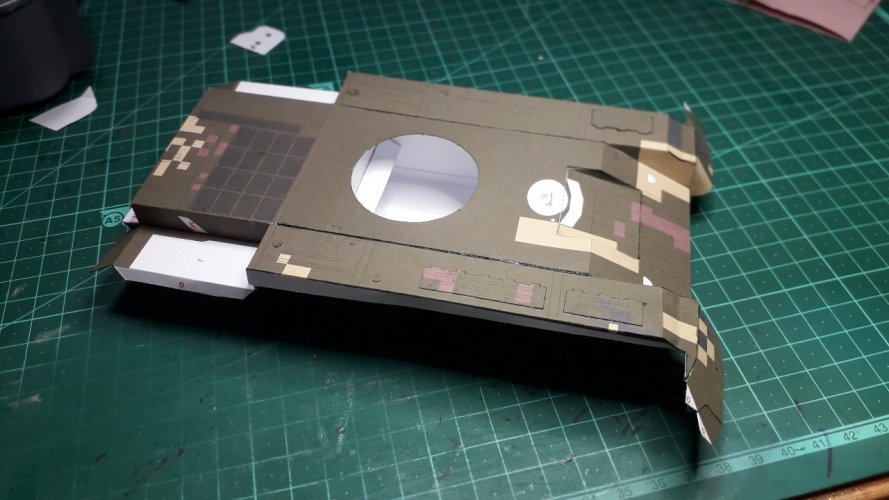
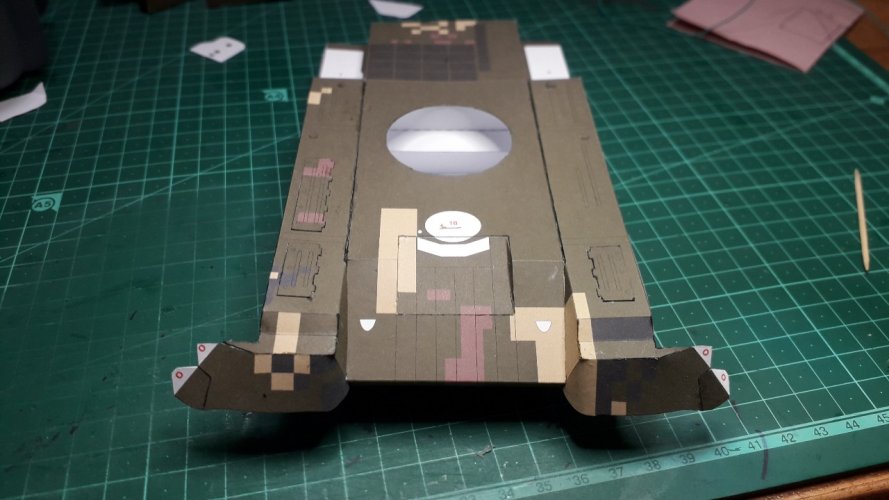
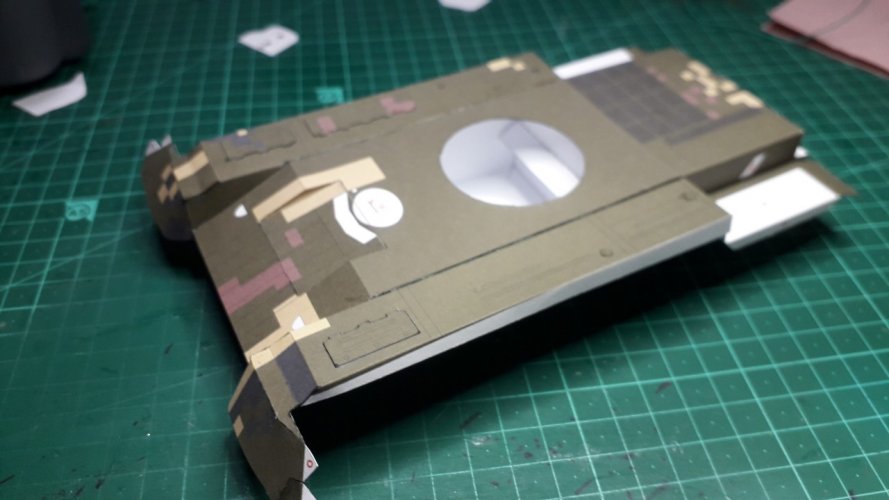
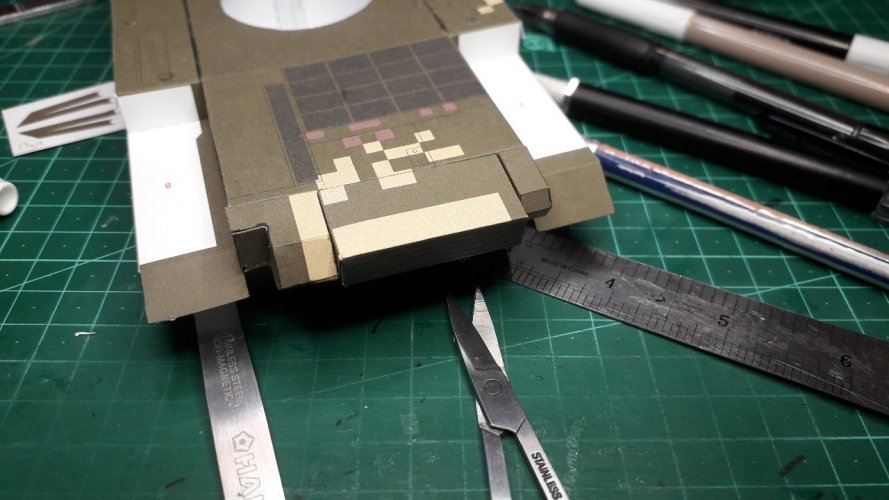
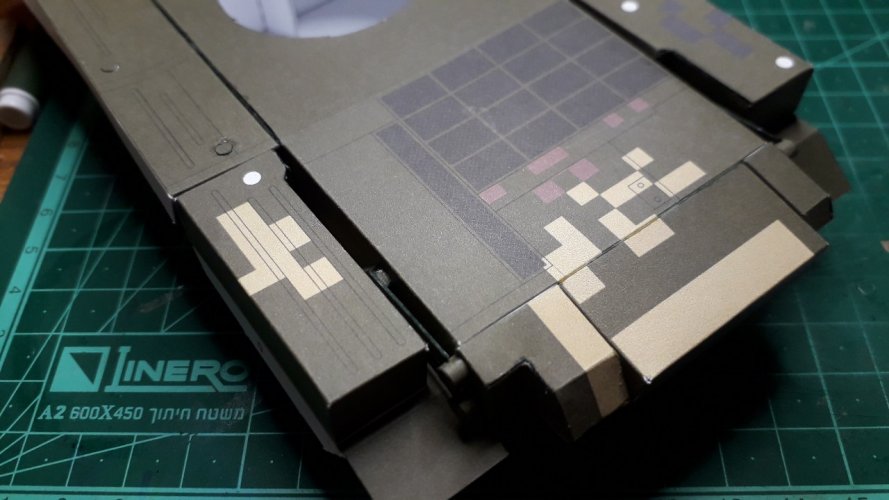
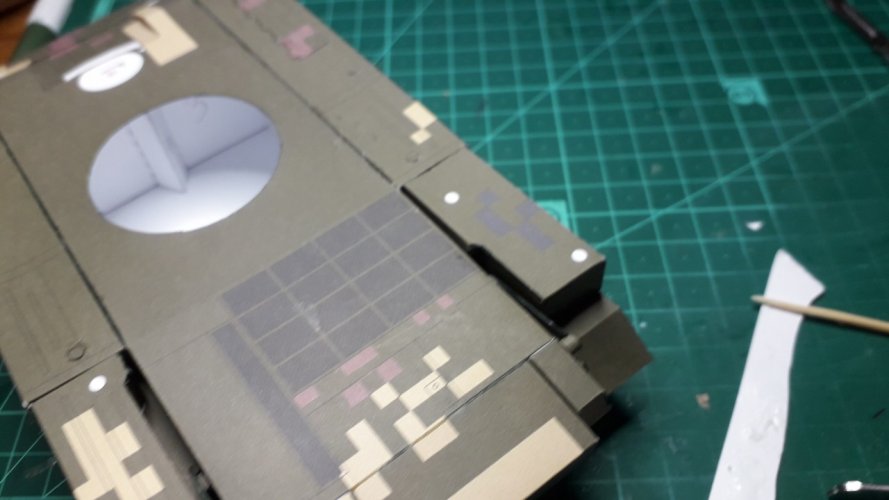
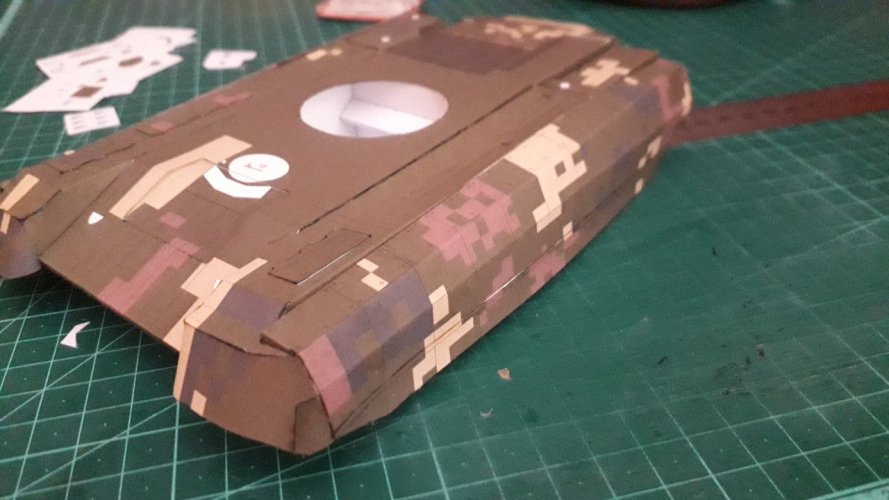
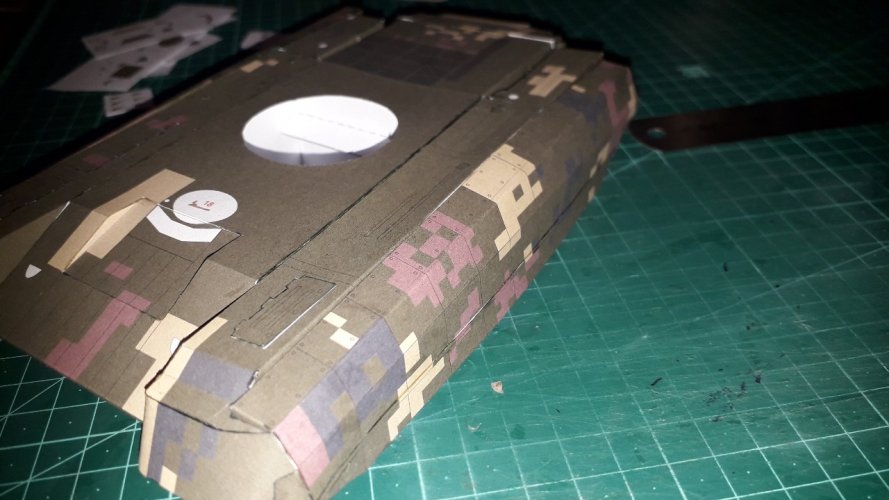
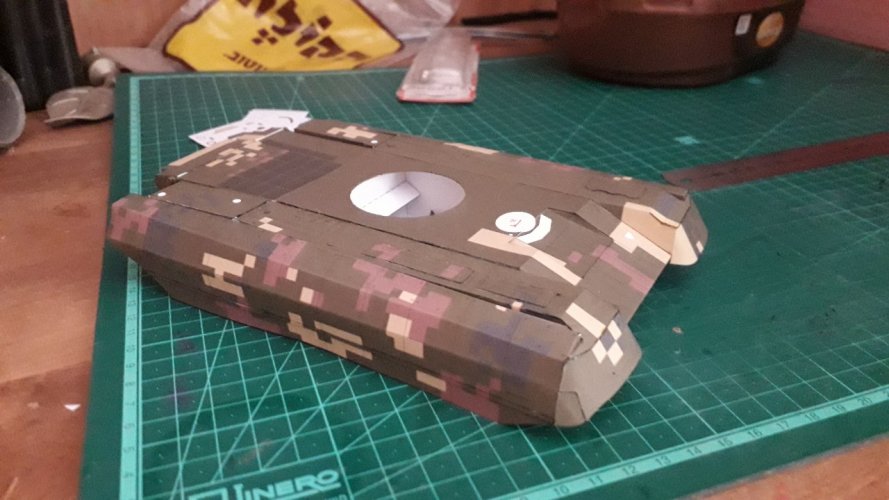
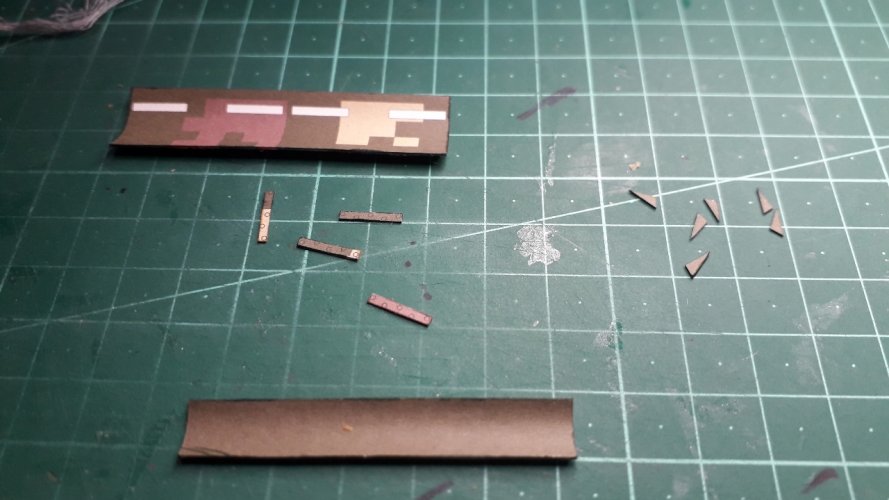
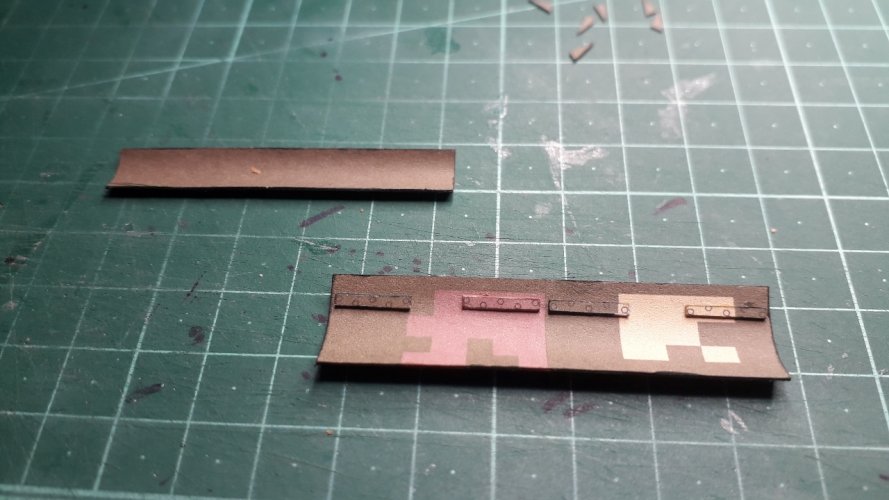
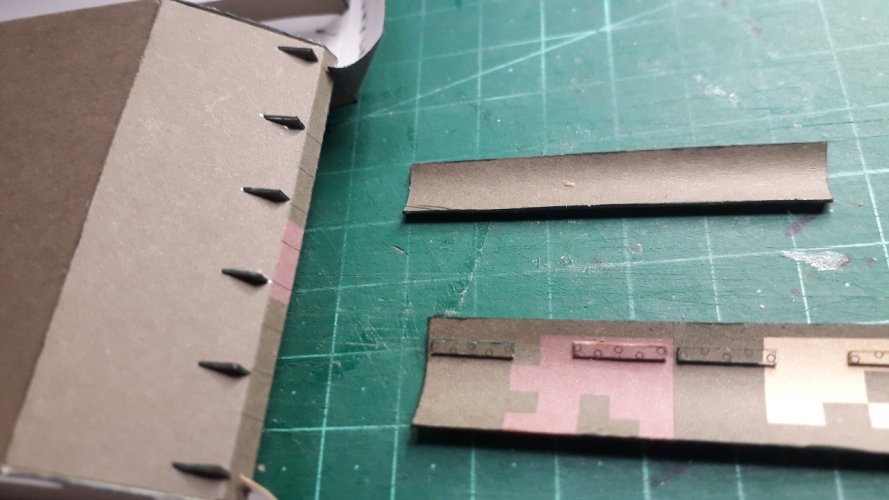
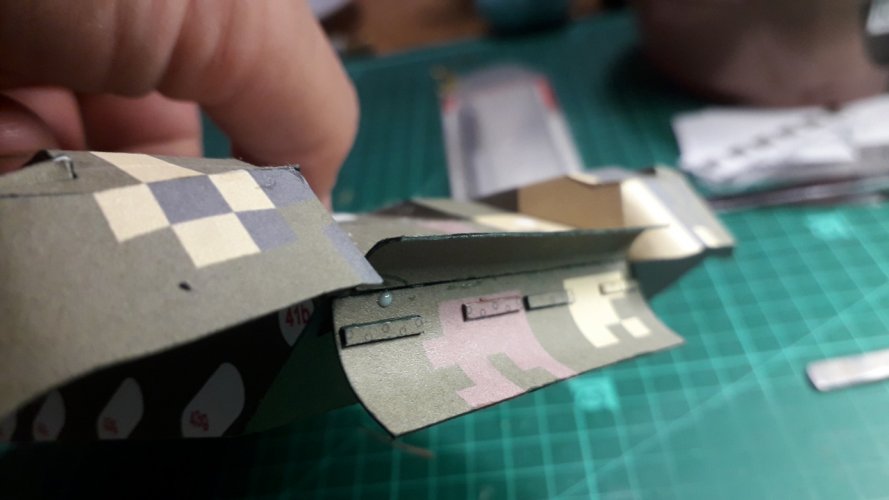
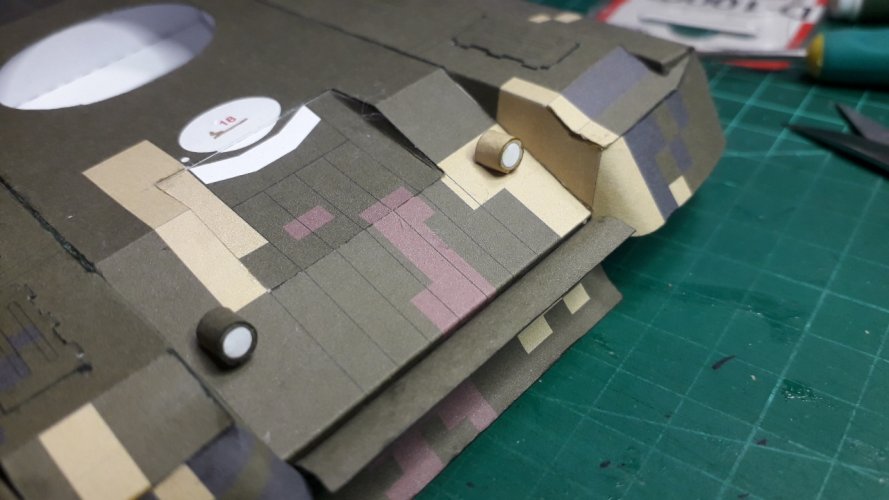
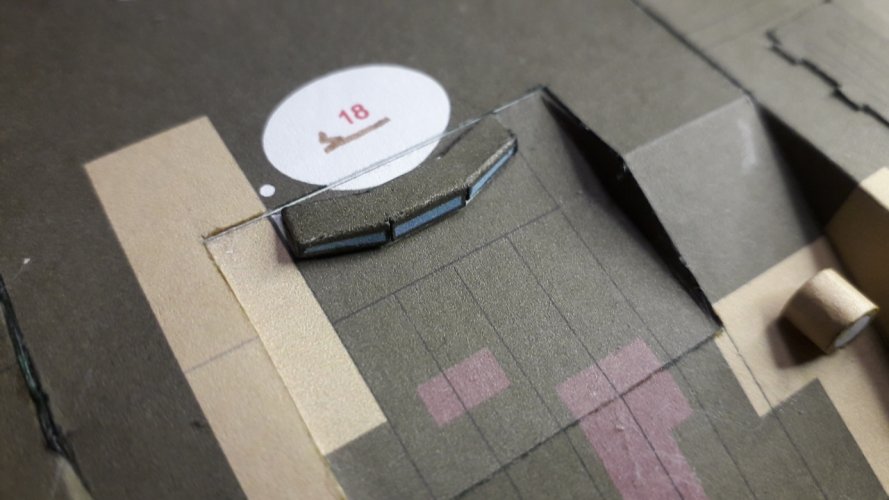
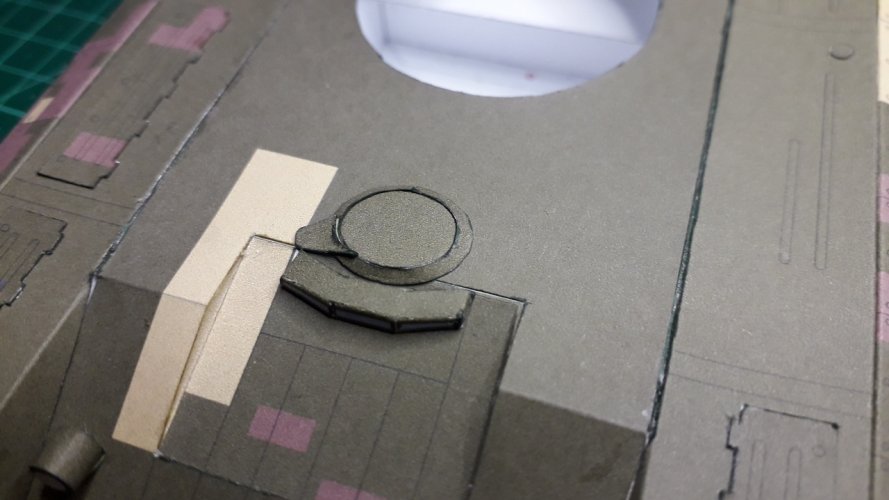
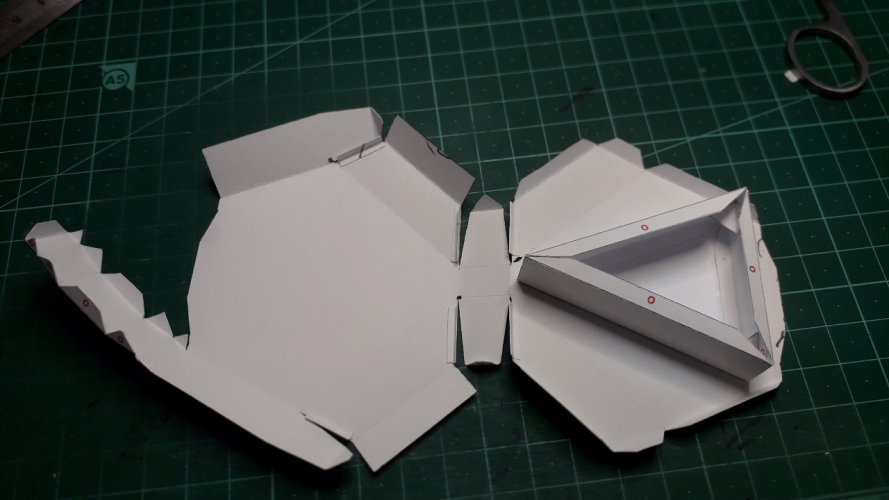
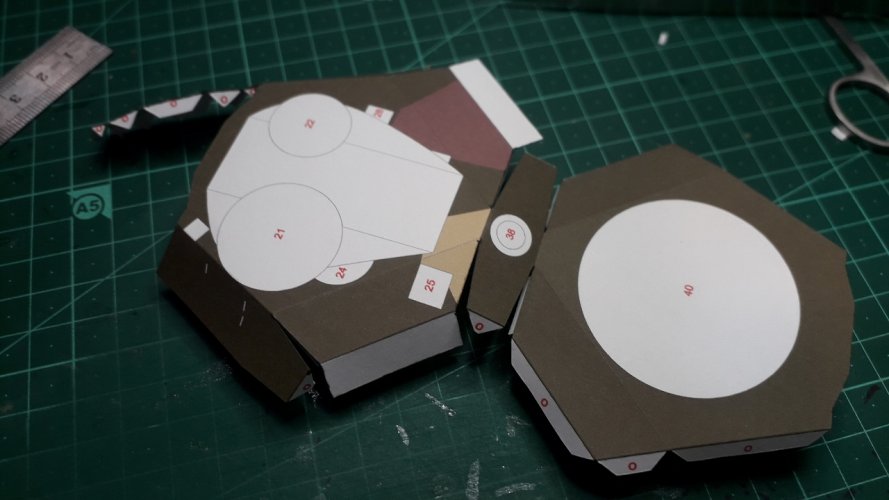
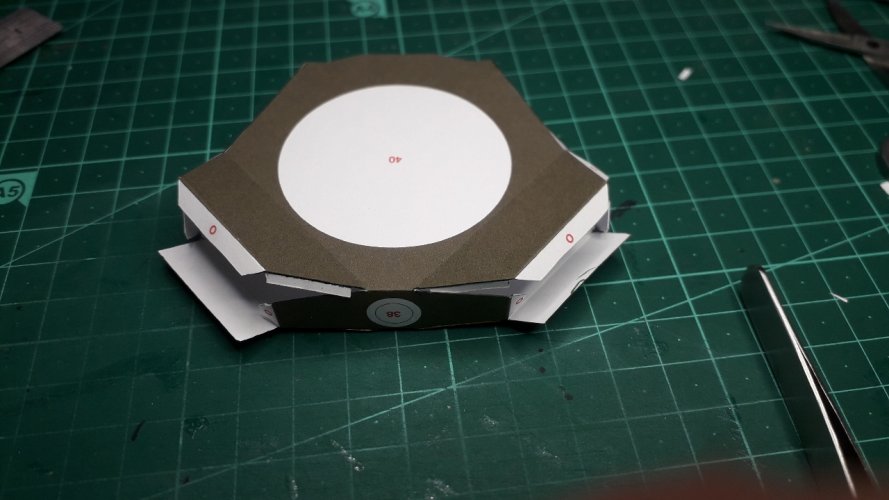
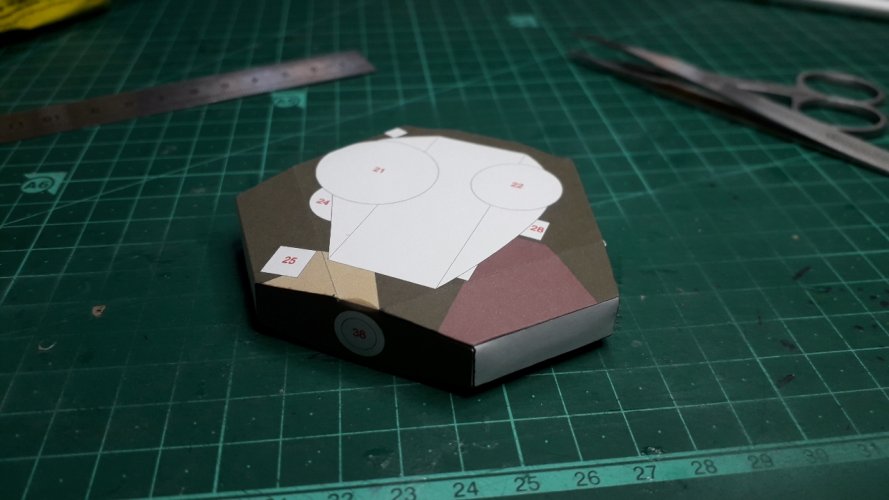
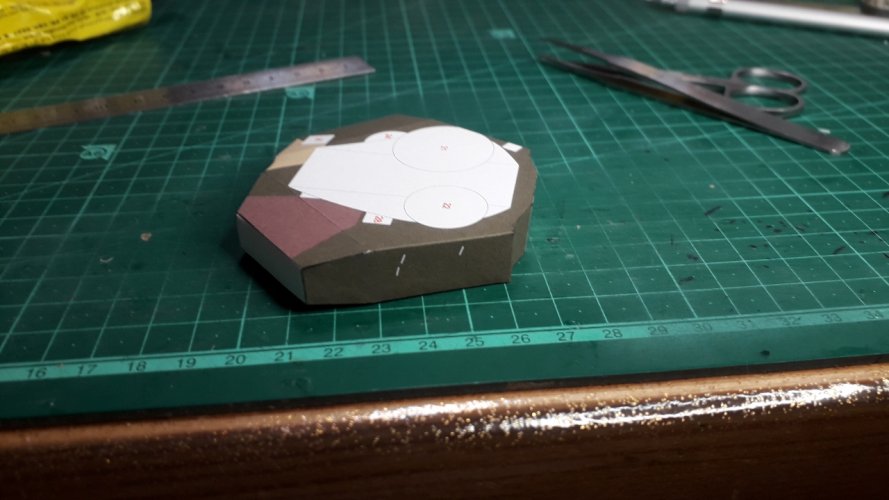
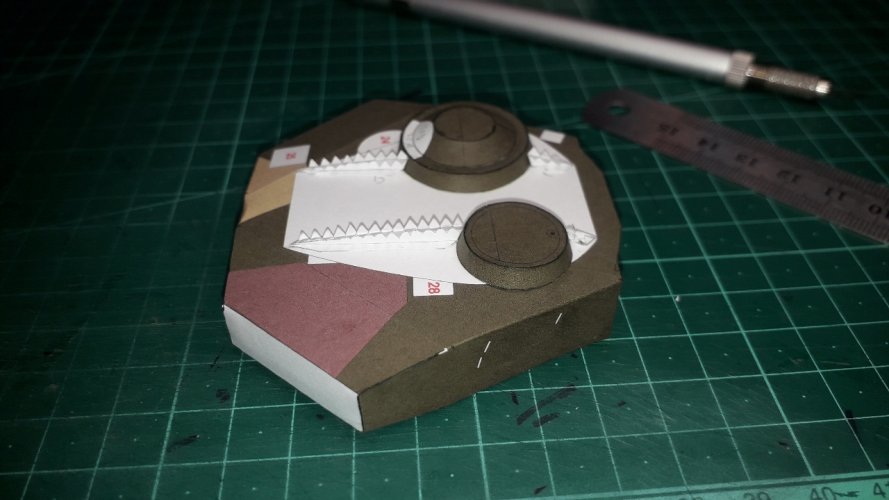
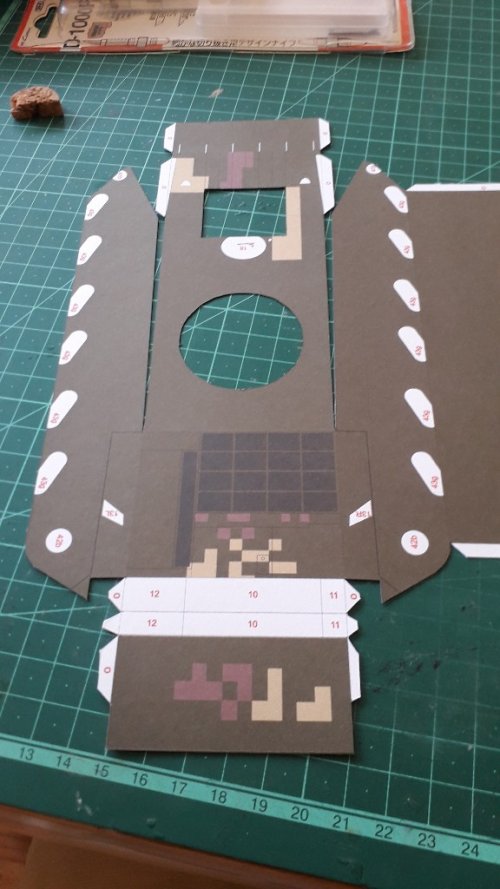
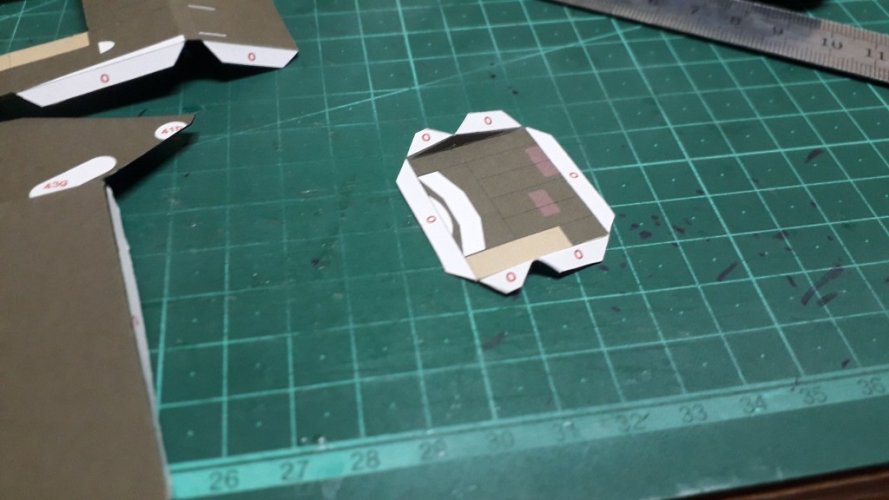
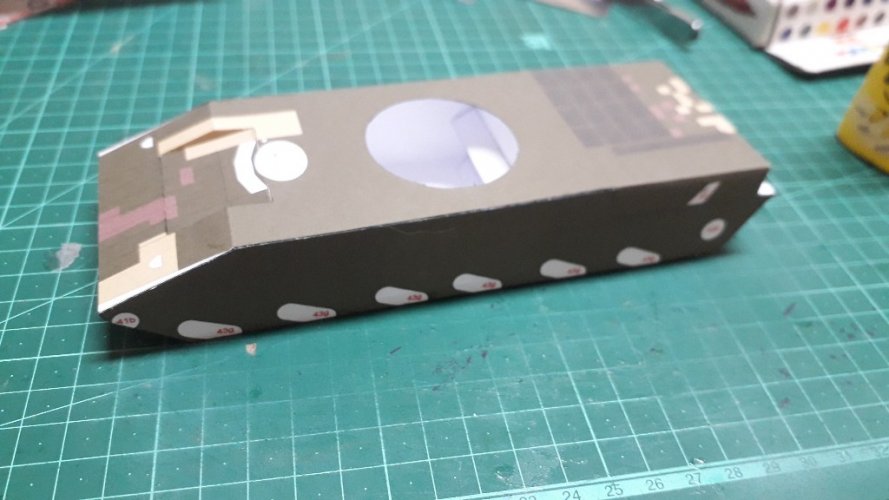
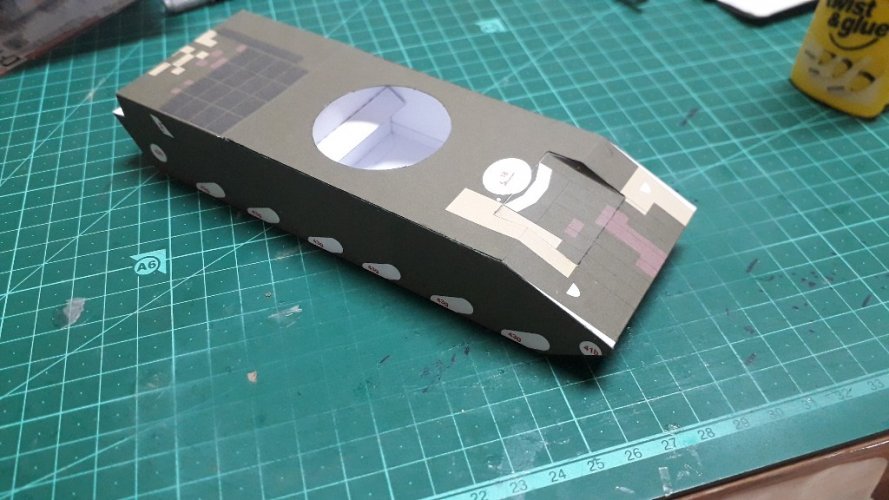
The build begins with making of main hull. It is given in one whole part, inside which reinforcements should be installed. Need to be careful here.
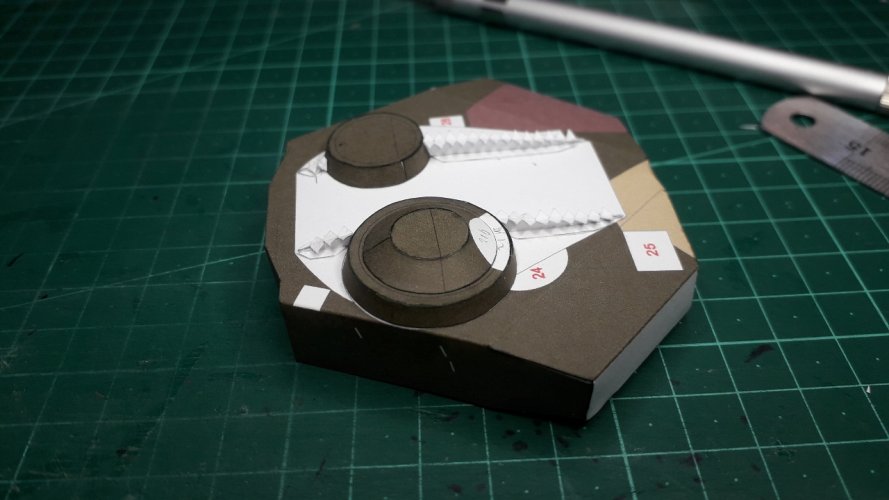
As usual for me, all paper edges were painted with Carioca water based felt pens. For now, I am using the Yellow-black UHU glue in Twist bottle.
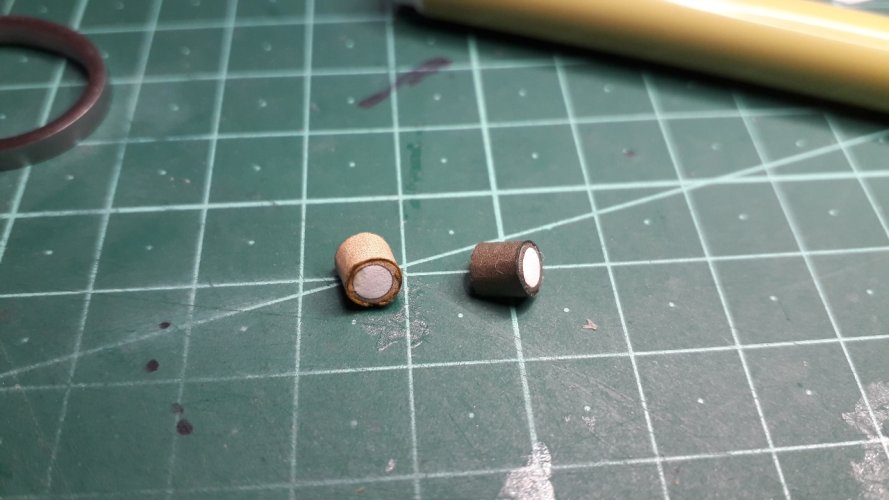
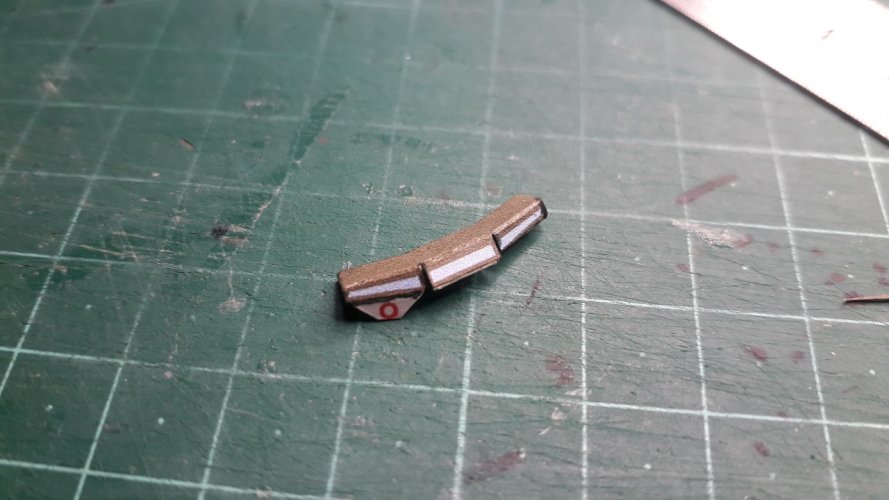
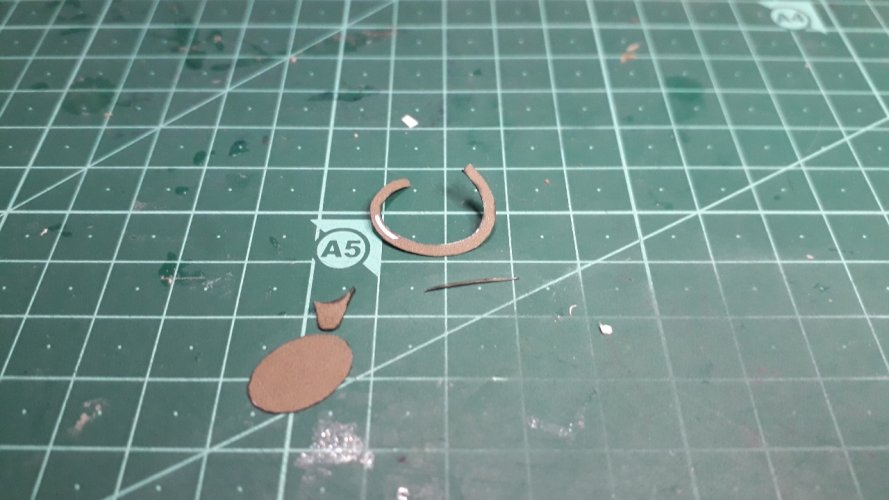
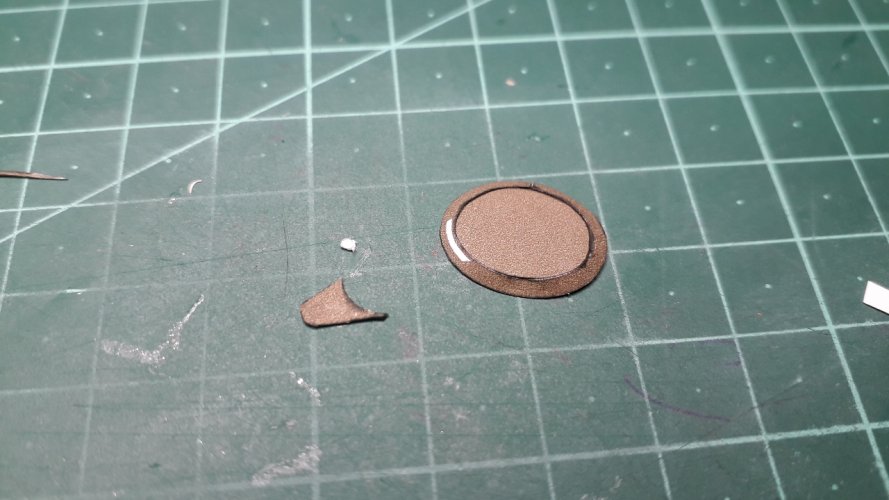
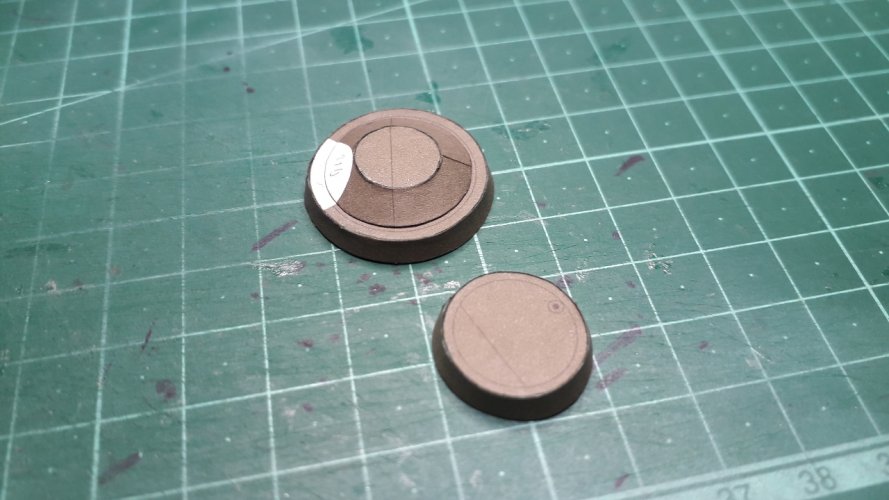
So here are some pictures
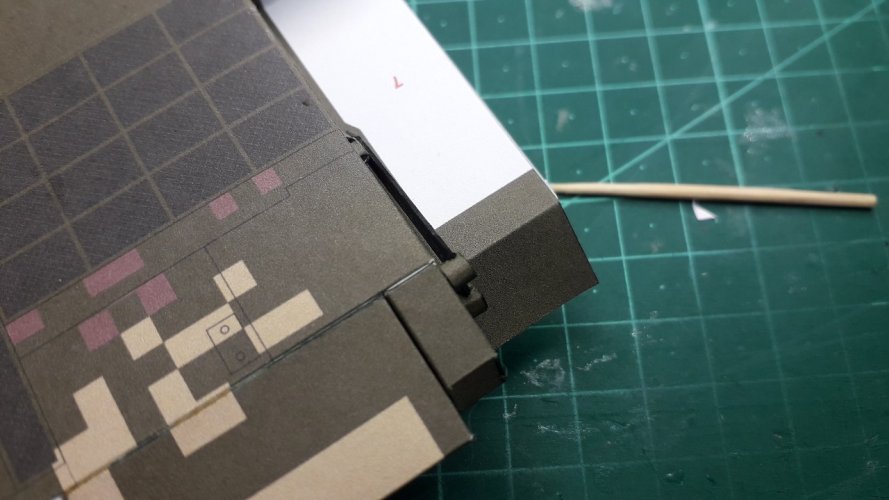
For now, no serious problems were seen, some missing gluing tabs and mixed markings.
I also added gluing tabs in some places I thought necessary
 

Attachments

  • 20220806_122450_copy_1024x576.jpg
    20220806_122450_copy_1024x576.jpg
    151.4 KB · Views: 2
  • 20220806_140506_copy_576x1024.jpg
    20220806_140506_copy_576x1024.jpg
    123.8 KB · Views: 1
  • 20220806_221046_copy_1024x576.jpg
    20220806_221046_copy_1024x576.jpg
    70.5 KB · Views: 1
  • 20220806_222417_copy_1024x576.jpg
    20220806_222417_copy_1024x576.jpg
    102 KB · Views: 1
  • 20220806_223115_copy_1024x576.jpg
    20220806_223115_copy_1024x576.jpg
    79 KB · Views: 1
  • 20220806_230012_copy_1024x576.jpg
    20220806_230012_copy_1024x576.jpg
    109.1 KB · Views: 1
  • 20220806_230023_copy_1024x576.jpg
    20220806_230023_copy_1024x576.jpg
    146.1 KB · Views: 2
  • 20220806_230027_copy_1024x576.jpg
    20220806_230027_copy_1024x576.jpg
    149.7 KB · Views: 2

Boris

Well-Known Member
Hello all.
Next step - the track covers.
For some reason, it took me some time to understand how to form the. Although it's pretty straightforward
 

Attachments

  • 20220813_013725_copy_1280x720.jpg
    20220813_013725_copy_1280x720.jpg
    183.2 KB · Views: 4
  • 20220813_013717_copy_1280x720.jpg
    20220813_013717_copy_1280x720.jpg
    175.1 KB · Views: 2
  • 20220813_023343_copy_1280x720.jpg
    20220813_023343_copy_1280x720.jpg
    210 KB · Views: 2
  • 20220813_041119_copy_1280x720.jpg
    20220813_041119_copy_1280x720.jpg
    174.1 KB · Views: 2
  • 20220813_041115_copy_1280x720.jpg
    20220813_041115_copy_1280x720.jpg
    165.1 KB · Views: 4
  • 20220813_041110_copy_1280x720.jpg
    20220813_041110_copy_1280x720.jpg
    129.1 KB · Views: 4

Boris

Well-Known Member
Hello all
Next step - building the rear of the hull. Nothing too difficult, just need to be careful.
 

Attachments

  • 20220826_220951_copy_1280x720.jpg
    20220826_220951_copy_1280x720.jpg
    158 KB · Views: 2
  • 20220826_231659_copy_1280x720.jpg
    20220826_231659_copy_1280x720.jpg
    186 KB · Views: 2
  • 20220826_232618_copy_1280x720.jpg
    20220826_232618_copy_1280x720.jpg
    183.6 KB · Views: 2
  • 20220827_021545_copy_1280x720.jpg
    20220827_021545_copy_1280x720.jpg
    184.4 KB · Views: 2
  • 20220827_024547_copy_1280x720.jpg
    20220827_024547_copy_1280x720.jpg
    166.1 KB · Views: 2
  • 20220827_024558_copy_1280x720.jpg
    20220827_024558_copy_1280x720.jpg
    169.6 KB · Views: 2
  • 20220827_025416_copy_1280x720.jpg
    20220827_025416_copy_1280x720.jpg
    163 KB · Views: 2
  • 20220827_025417_copy_1280x720.jpg
    20220827_025417_copy_1280x720.jpg
    118.9 KB · Views: 2

Boris

Well-Known Member
Hello all
Mr Slow is back.
The next part is the side protection ERA panels. It took me a lot of time to understand what and how to do here. There are 3 lines of textual explanation and a picture, still, I stared at the cut part for 45 min, trying to figure out how to fold and how to mount. But, finally, I got this. After gluing the part, need to mount the structure so that flat green part faces the hull. Front part of the panel should protrude upward but the panel should go lower than the caterpillar mud guards.
Again, careful execution required
 

Attachments

  • 20220903_094735_copy_1280x720.jpg
    20220903_094735_copy_1280x720.jpg
    189.8 KB · Views: 2
  • 20220903_094757_copy_1280x720.jpg
    20220903_094757_copy_1280x720.jpg
    178.8 KB · Views: 1
  • 20220903_094853_copy_1280x720.jpg
    20220903_094853_copy_1280x720.jpg
    213.8 KB · Views: 2
  • 20220903_094859_copy_1280x720.jpg
    20220903_094859_copy_1280x720.jpg
    195.5 KB · Views: 2

Chuffy70

Well-Known Member
Jun 5, 2022
842
1,708
75
Norwich UK
Take it easy...Mr Slow maybe, but enjoy the hobby and don't rush...

I think we all have the temptation to speed through, but slowly does it, my problem is having too many things to make...

great progress
 
  • Like
Reactions: micahrogers

Rhaven Blaack

!!!THE MAN BEHIND THE CURTAIN!!!
Staff member
Administrator
Moderator
Jun 12, 2009
12,516
9,892
228
Oregon
www.deviantart.com
Take all of the time that you wish. This hobby is meant to be ENJOYED (never rushed through)!!!
You are doing a GREAT JOB on this project!!!
 

Boris

Well-Known Member
Hello all.
A big update this time, so I am going to split messages by theme.
First, made and mounted the self-digging in shovel.
No issue here whatsoever except that need to be careful with the small triangular mounts.
 

Attachments

  • 20221004_231719_copy_1280x720.jpg
    20221004_231719_copy_1280x720.jpg
    546.6 KB · Views: 1
  • 20221004_232920_copy_1280x720.jpg
    20221004_232920_copy_1280x720.jpg
    578.8 KB · Views: 1
  • 20221004_233846_copy_1280x720.jpg
    20221004_233846_copy_1280x720.jpg
    555.5 KB · Views: 1
  • 20221004_234500_copy_1280x720.jpg
    20221004_234500_copy_1280x720.jpg
    481.5 KB · Views: 1

Boris

Well-Known Member
Next, the front lights, driver's periscopes and driver's hatch. Well, the hatch side contains very thin part, less than 1 mm. It is almost impossible to make and install it correctly. This marks the end of the hull
 

Attachments

  • 20221005_011858_copy_1280x720.jpg
    20221005_011858_copy_1280x720.jpg
    545.3 KB · Views: 0
  • 20221005_012134_copy_1280x720.jpg
    20221005_012134_copy_1280x720.jpg
    540.7 KB · Views: 0
  • 20221005_020719_copy_1280x720.jpg
    20221005_020719_copy_1280x720.jpg
    546.8 KB · Views: 0
  • 20221005_021858_copy_1280x720.jpg
    20221005_021858_copy_1280x720.jpg
    532.5 KB · Views: 0
  • 20221005_021901_copy_1280x720.jpg
    20221005_021901_copy_1280x720.jpg
    529.4 KB · Views: 0
  • 20221005_193323_copy_1280x720.jpg
    20221005_193323_copy_1280x720.jpg
    562.4 KB · Views: 0
  • 20221005_200316_copy_1280x720.jpg
    20221005_200316_copy_1280x720.jpg
    564.6 KB · Views: 0
  • 20221005_200750_copy_1280x720.jpg
    20221005_200750_copy_1280x720.jpg
    532.6 KB · Views: 0

Boris

Well-Known Member
Now, the turret build begins
Again, had some gluing tabs missing. Need to install the internal reinforcement and then make a closed box around. That was quite intricate, but I managed to make it. Next are the commander and gunner hatches and reinforcements for top reactive armor plate.
Will be continued
 

Attachments

  • 20221005_210756_copy_1280x720.jpg
    20221005_210756_copy_1280x720.jpg
    610.1 KB · Views: 1
  • 20221007_205135_copy_1280x720.jpg
    20221007_205135_copy_1280x720.jpg
    502.7 KB · Views: 1
  • 20221007_205129_copy_1280x720.jpg
    20221007_205129_copy_1280x720.jpg
    500.1 KB · Views: 1
  • 20221007_211548_copy_1280x720.jpg
    20221007_211548_copy_1280x720.jpg
    553.3 KB · Views: 1
  • 20221007_212617_copy_1280x720.jpg
    20221007_212617_copy_1280x720.jpg
    502.2 KB · Views: 1
  • 20221007_212633_copy_1280x720.jpg
    20221007_212633_copy_1280x720.jpg
    536.8 KB · Views: 1
  • 20221007_224407_copy_1280x720.jpg
    20221007_224407_copy_1280x720.jpg
    596.8 KB · Views: 1
  • 20221008_000111_copy_1280x720.jpg
    20221008_000111_copy_1280x720.jpg
    557.8 KB · Views: 1
  • 20221008_010427_copy_1280x720.jpg
    20221008_010427_copy_1280x720.jpg
    532 KB · Views: 1
  • 20221008_010509_copy_1280x720.jpg
    20221008_010509_copy_1280x720.jpg
    558 KB · Views: 1
  • 20221008_012127_copy_1280x720.jpg
    20221008_012127_copy_1280x720.jpg
    572.6 KB · Views: 1